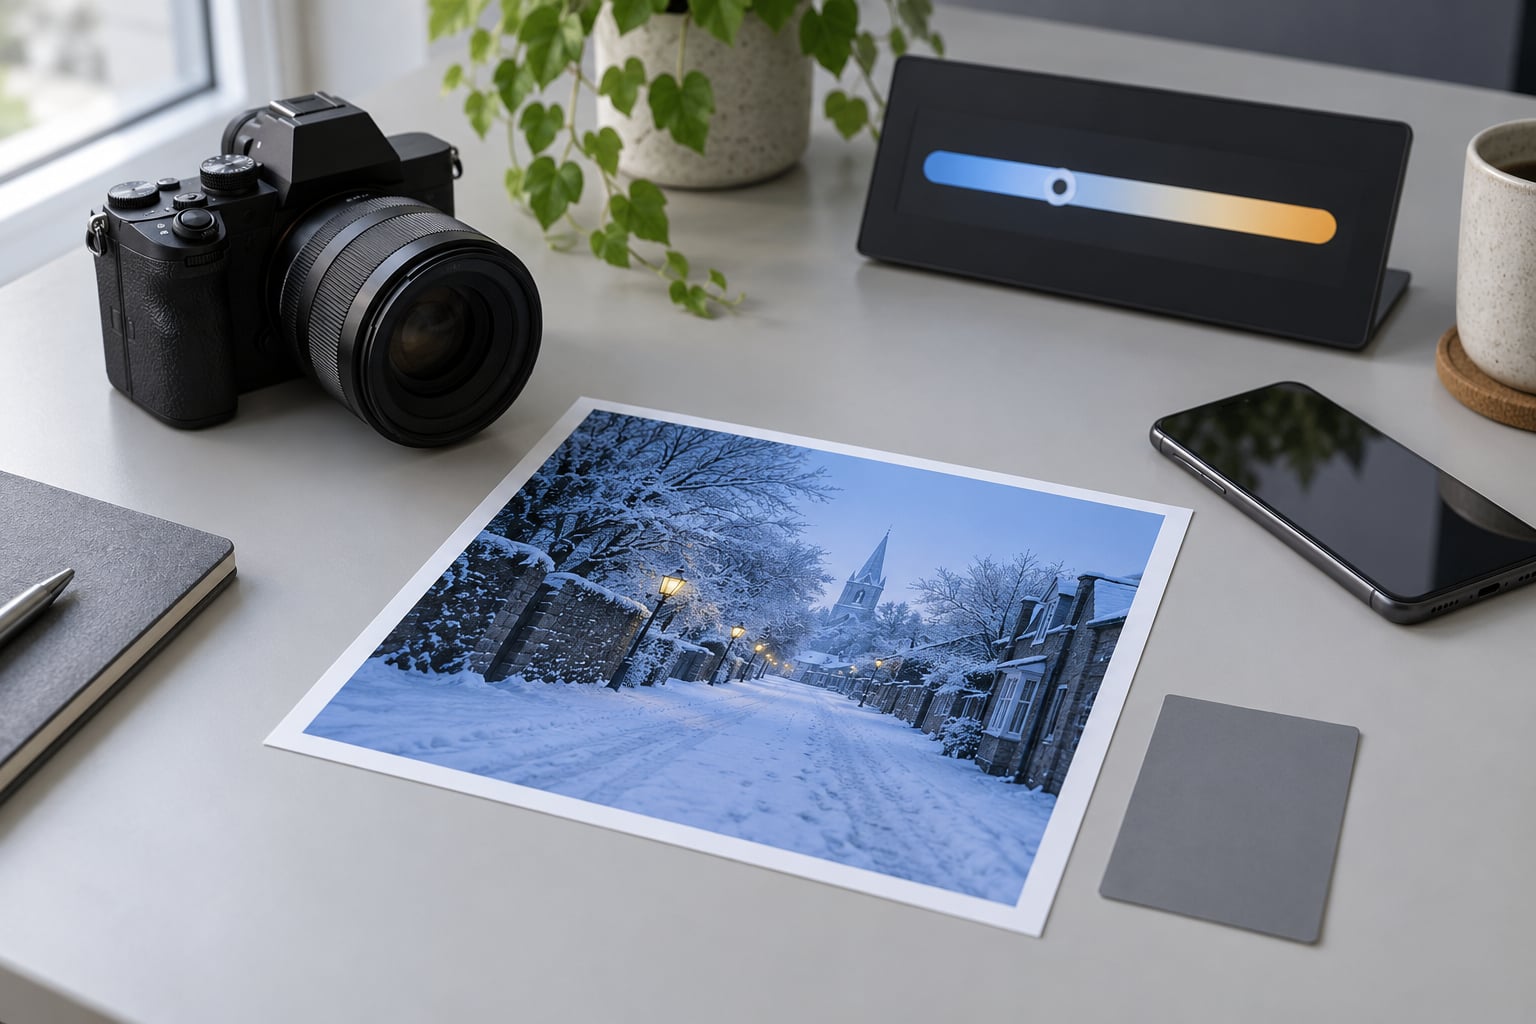
Why do my photos look too blue? In almost every case it is white balance: the camera added blue to compensate for a light source it misjudged, so neutral subjects like skin, snow and white walls render cold. Set the color temperature too high in Kelvin, or let auto white balance guess from a scene with nothing truly white in it, and the whole frame skews blue.
It is the single most common color problem in photography, and the most fixable. The annoying part is that it is nearly invisible on the camera screen and blinding on a properly calibrated monitor. A photographer in an r/AskPhotography thread shooting a white room indoors got a cast they could not explain until someone pointed at the fluorescent tubes overhead.
This guide covers what is actually causing it, how to confirm the cast in under a minute, and how to fix it in the camera, on your phone, or in editing software. It also covers the case where blue is the correct answer and you should stop fiddling. Updated for October 2026.
Table of Contents
- What causes a blue color cast in photos
- Kelvin set too high for the light
- Auto white balance guessing wrong
- Shade, overcast skies and open shade
- Mixed light sources in one frame
- Flash with the wrong white balance
- The cast is in the app, the screen or the scan, not the photo
- Fluorescent and LED lighting
- Why the same mistake gives you an orange tint
- How to tell if your photos are really too blue
- Blue photos: symptom, cause and fix
- How to fix a blue tint in your photos
- How to fix blue photos on your iPhone or Android
- How to fix a blue tint in Lightroom, Photoshop and free tools
- Lightroom and Camera Raw
- Photoshop
- Free browser tools
- White balance settings and Kelvin values explained
- Color temperature by light source
- Preset reference
- When a blue tint is a processing problem, not a camera problem
- When blue is correct and should stay
- How to stop blue casts happening
- Frequently Asked Questions
- What is white balance in photography?
- How to remove blue tint from a picture?
- How do I turn off auto enhance?
- Why does my camera have an orange tint?
- How do I get rid of blue in photos?
- Should I shoot in RAW to fix color?
- What to check first
What causes a blue color cast in photos
A blue cast happens whenever your camera renders a color that should be neutral as cold. It is not a defect in the sensor. It is the white balance system applying the wrong correction for the light that was actually there.
Kelvin set too high for the light
Every light source has a color temperature measured in Kelvin, and warm light sits at the low end. Set your camera to 6000K under a 2700K household bulb and the camera adds blue to make the bulb look neutral, which turns skin grey-blue.
The same logic works in reverse, which is why an indoor scene shot at 5000K looks orange.
Auto white balance guessing wrong
Auto white balance looks for a patch of neutral color to anchor itself to. Give it a scene with no true white or grey in it and it will make an arbitrary decision, usually from whatever dominates the frame. This is why blue-washed shots cluster around specific situations: a room full of blue walls, a stage lit in blue, a close-up of skin with no white reference nearby.
Shade, overcast skies and open shade
Skylight is genuinely blue, and a subject in open shade is lit mostly by sky rather than direct sun. Your eye adapts and you see neutral; the camera records literal blue. The cloudy and shade presets exist for exactly this, and a manual setting around 7000 to 7500K usually lands closer than auto does.
Mixed light sources in one frame
Window daylight near 5500K beside warm bulbs at 2700K cannot be fixed by one white balance setting. You either move or you accept two different color temperatures in the same photograph. This is the case most often reported on Photo Stack Exchange, where one part of the frame is blue and another is orange with no setting that satisfies both.
Flash with the wrong white balance
An Apple Discussions user saw blue tint specifically when firing the flash on an iPhone. The flash fires for a fraction of a second while the camera meters the scene as if lit only by the room, so the balance is calculated against the wrong light and the flash contribution skews the result.
The cast is in the app, the screen or the scan, not the photo
Before you change any settings, rule out the boring explanations. An uncalibrated monitor with a cool preset, a viewing app applying a filter, or a scanner with mismatched glass will all produce a blue cast that is not in your original file. Open the same photo in two different apps on two different displays. If the blue moves or vanishes, it was never in the photograph.
Fluorescent and LED lighting
Fluorescent tubes are notorious for a blue-green cast that the standard fluorescent preset does not fully remove, because old tubes with green phosphors and new tubes without them share the same preset name. Modern LED bulbs are more predictable, but cheap ones can drift. If fluorescent office lighting is your regular environment, a custom white balance taken from a grey card will beat any preset.
Why the same mistake gives you an orange tint
Temperature and tint are one axis, and the scale runs in both directions. Set the Kelvin number too high and the camera adds blue, so photos look cold. Set it too low and it removes blue and adds orange, so the same room looks like sunset. If your camera or phone looks orange rather than blue, the fix is the identical control moving the other way: raise the color temperature.
The second axis, tint, runs from green to magenta and has nothing to do with temperature. A bad green-fluorescent correction usually needs tint, not temperature.
How to tell if your photos are really too blue
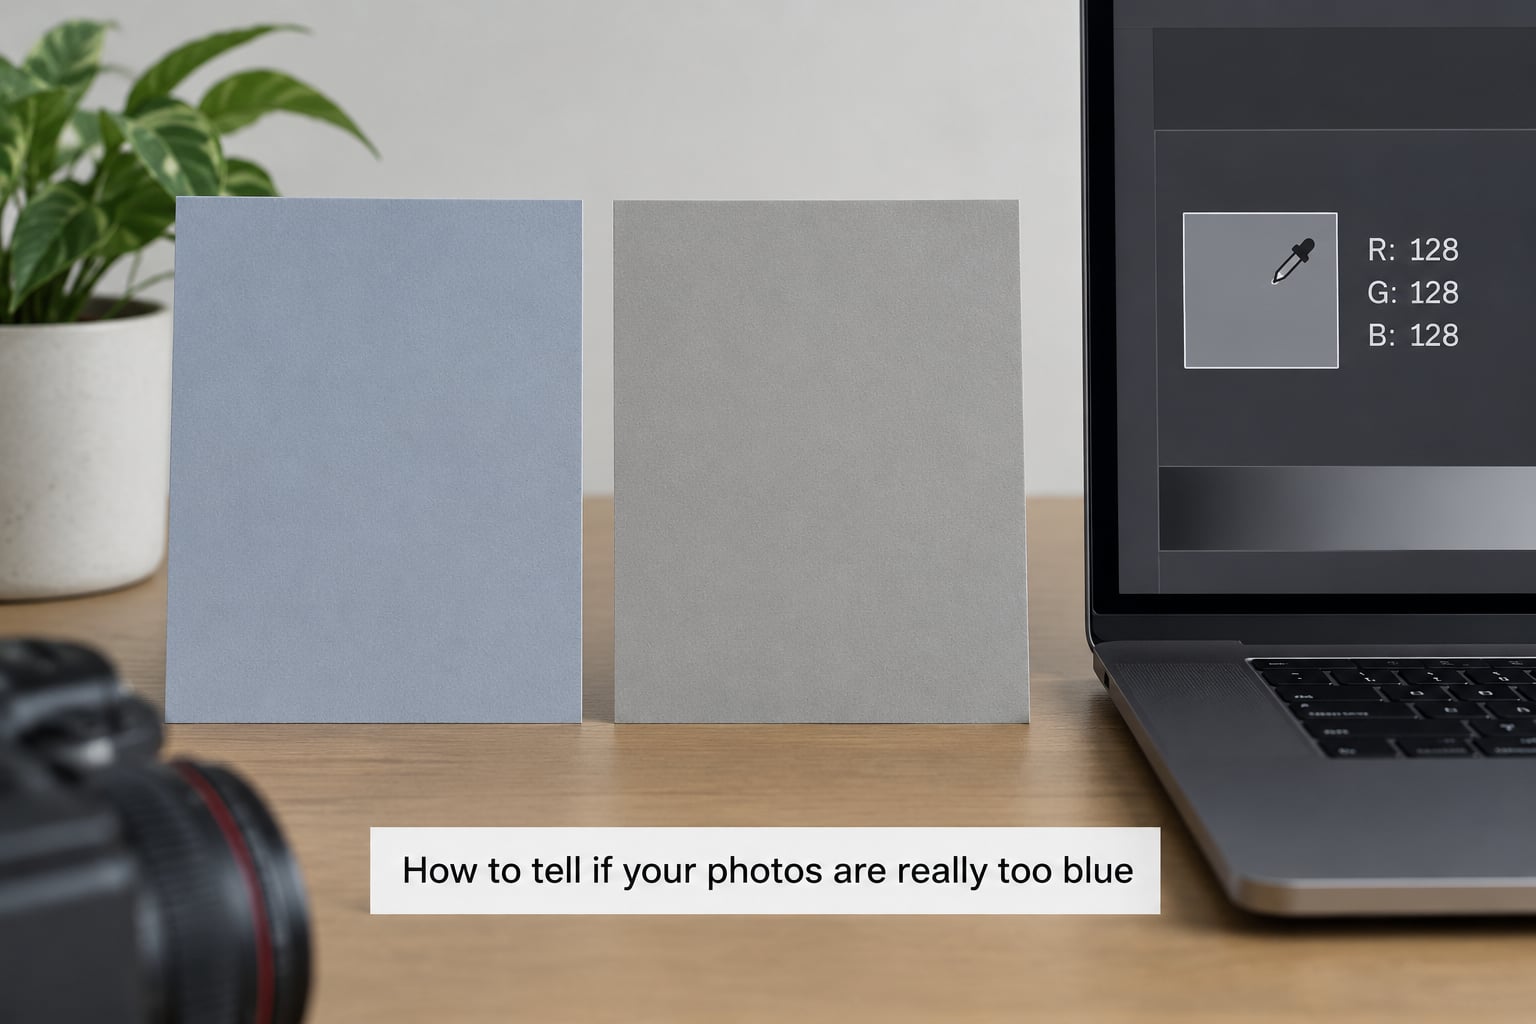
Run this before you change anything. It takes under a minute and it tells you whether you have a genuine cast or whether you are reacting to your display.
- Find a neutral reference in the frame. White clothing, a white wall, a piece of paper, a car bonnet, a grey card. If there is nothing, put a white card in the shot next time.
- Open the photo in your editor and use the eyedropper. In Lightroom, switch on the eyedropper icon beside the Temp slider, then click the neutral area. In Photoshop, use the eyedropper and read the RGB values in the Info panel.
- Read the numbers. A correctly neutral patch reads roughly equal red, green and blue. Blue clearly ahead of the other two means a blue cast. All three low and blue the highest means a cast plus an exposure problem.
- Check the histogram instead. In the RGB histogram view, a blue cast shows a visible bump in the blue channel with nothing matching it in red.
- Compare across displays. If the blue disappears in another app, fix your monitor or app instead of the photograph.
- Watch for the wrong reference. A patch you assume is white might be pale blue paint. Pull two or three supposed-white areas before concluding.
One more check worth doing: compare against a second photo from the same scene on a different day. Forum users repeatedly find that the cast appears only under certain light, which is a clue about the light rather than a camera fault.
Blue photos: symptom, cause and fix
| What you see | Likely cause | Fix |
|---|---|---|
| Everything blue on a phone, worst at night | Computational night processing pushing shadows toward blue | Disable Night Mode or auto enhance, edit with the Color Balance tool |
| Blue cast indoors in the evening | Kelvin set for daylight under warm household bulbs | Set around 2800 to 3200K or use the tungsten preset |
| Blue-green cast under office tubes | Fluorescent preset does not match your tubes | Custom white balance from a grey card |
| Blue in open shade on a sunny day | Skylight dominating the subject | Shade preset around 7000 to 7500K, or custom |
| Blue on an overcast day | Cloudy preset too low or left on daylight | Cloudy preset around 6500 to 7500K |
| Blue only when using flash | Flash white balance not applied or metering against room light | Set the flash preset or take a custom balance with the flash firing |
| One part of the frame blue, another orange | Mixed light sources | No single setting works; reposition or accept the split |
| Video turns blue after an edit or export | Missing or mismatched color management on the export | Export in the same space as the timeline, usually Rec.709 |
| Film negatives and slides scan blue | Development temperature, expired or cold-stored film, scanner optics | Correct in software, and only selectively |
| Scrolling photos in an app look blue but files are fine | App filter or night-mode preview | Open in a neutral viewer and turn off app filters |
How to fix a blue tint in your photos
- Check the white balance setting first. Auto, a preset, or a manual Kelvin number. On most cameras it sits on the top dial or in the menu under WB.
- Set the Kelvin value to match the light. Warm indoor bulb roughly 2800 to 3200K, overcast roughly 6500 to 7500K, direct sun roughly 5200 to 5600K, open shade roughly 7000 to 8000K.
- Adjust the tint slider if the cast runs green or magenta. Fluorescent tubes need this more than temperature.
- Take a custom white balance. Fill the frame with a neutral grey card under the actual light, then use the camera’s custom white balance option. This beats any preset in mixed or unusual lighting.
- Lock the white balance once it is right. Auto will drift frame to frame, which is why some shots in a roll are fine and others are blue.
- Shoot RAW. A RAW file stores the unprocessed sensor data, so white balance can be changed later without loss. A JPEG has the camera’s decision already baked in.
- Correct what you have in software. Use the eyedropper and temp sliders described below rather than painting over the blue.
How much room you have depends almost entirely on the file type.
| File type | What is fixed at capture | What you can still change |
|---|---|---|
| RAW | Very little; white balance is metadata | Temperature, tint, full color correction, no quality loss |
| JPEG from camera | The camera’s white balance decision | Warm or cool by a limited range before color breaks |
| JPEG from phone | Camera plus computational processing | Limited; large shifts push skin tones flat |
| Scanned film | Everything from development chemistry | Selective work only; global shifts look artificial |
The honest limit: a badly balanced JPEG has almost no room. Heavy warming of a blue JPEG drags skin toward orange and clips the blue channel where the data has already run out. RAW is the difference between a ten-second fix and a salvage job.
How to fix blue photos on your iPhone or Android
Phone blue casts come from two places: the capture pipeline, which merges several frames and pushes shadows blue in low light, and the editing apps you view the result in.
- Turn off auto enhance. On iPhone, open the Photos app, tap Edit, then Filters and set it to None. On Android, the equivalent toggle usually sits in the camera’s settings under something like Auto HDR, Auto enhance, AI scene detection or Adaptive color, depending on the maker.
- Adjust the built-in color balance control. In iOS Photos, tap Edit, then Color Balance, move the Temperature slider toward yellow until the blue goes, and use the Tint slider only if you see green.
- Reduce Night Mode for mixed-light scenes. Long exposure stacking in dark scenes is where the blue shadow shift is strongest. If you are indoors with lamps on, plain Photo mode usually renders truer color.
- Avoid the flash indoors. Firing a cool LED flash into a warm room produces a cast neither light source had on its own. Turn the flash off and raise ISO instead.
- Check app filters before blaming the camera. Some gallery and social apps apply a cool look at display time. Open the image in a plain file viewer to compare.
- For more control, use a manual camera app. Apps with a Kelvin control and RAW capture let you set white balance before the shot, which is far easier than fixing a JPEG later.
One useful habit: if you shoot a lot of white product shots or documents on a phone, tap the screen on a neutral area. Phones use that as a white reference, and it beats relying on the whole-frame guess.
How to fix a blue tint in Lightroom, Photoshop and free tools
Every serious editor has the same three controls: temperature, tint, and a neutral target. Knowing which to reach for saves most of the time.
Lightroom and Camera Raw
- Select the RAW or JPEG in the Develop module.
- Click the eyedropper icon beside the Temp slider and click a supposed-white or grey area.
- Drag the tint slider until the patch reads neutral in the Info panel.
- Set Temp back to zero as your starting point, then check the histogram for blue still sitting in the shadows elsewhere in the frame.
- For a whole batch, select all images, right-click, Synchronize Settings, or copy and paste settings once you are happy.
Start in the Temp Correction panel and move sliders slowly. Large jumps clip channels and you lose detail you cannot get back.
Photoshop
Open the file as a RAW or TIFF where you can, then use Image, Adjustments, Match Color. Set Fade to around 30 percent, click the neutral patch, then use the tint sliders to remove any green or magenta. Match Color is fast but it does not preserve white point accuracy across the whole frame.
For a cleaner result, use Curves on individual channels. Select the red curve, click the eyedropper, and lower the red output level slightly; do the same inverted on the blue curve. Small moves across two channels beat one big global push.
Snapseed, which is free, handles the same correction on a phone: open the photo, tap Tune Image, and pull down Warmth until the blue clears, then check Color Balance for tint.
Free browser tools
Several online white balance fixers run in the browser with no install and no account. They work on a JPEG upload, warm or cool it automatically, and let you set strength before downloading. They are fine for a single image and poor for consistency across a set, because they rarely let you lock a value.
For files that matter, a free trial of the desktop software above beats any one-click web tool, because you control the numbers.
White balance settings and Kelvin values explained
White balance is the setting that tells your camera what neutral looks like under the current light. Set it correctly and whites render white and every other color falls into place. Set it wrong and the camera actively adds the wrong color to compensate.
Color temperature by light source
| Light source | Typical Kelvin | Looks like |
|---|---|---|
| Candle and firelight | 1000 to 2000K | Deep orange |
| Household bulb, early morning | 2700 to 3200K | Warm, orange-white |
| Warm white LED | 3000 to 3500K | Soft warm |
| Cool white LED, office | 4000 to 5000K | Neutral to faintly cool |
| Daylight fluorescent tubes | 4000 to 5000K | Green-blue tint |
| Direct midday sun | 5200 to 5600K | Neutral white |
| Camera flash | 5500 to 6000K | Neutral white |
| Overcast sky | 6500 to 7500K | Cool, slightly blue |
| Open shade | 7000 to 8000K | Cool, distinctly blue |
| Deep blue hour sky | 9000 to 12000K | Strongly blue |
Note the direction: lower Kelvin numbers are warmer light, higher numbers are cooler. When a photo looks too blue, you move the number down, not up.
Preset reference
| Preset | Approximate Kelvin | Use it when |
|---|---|---|
| Auto | Variable | The scene has clear white or grey in frame |
| Daylight | 5200 to 6000K | Direct sun, no shade in the frame |
| Cloudy | 6000 to 7000K | Overcast or lightly clouded daylight |
| Shade | 7000 to 8000K | Open shade, subject lit by sky only |
| Tungsten | 2800 to 3400K | Household bulbs and warm indoor light |
| Fluorescent | 4000 to 4500K | Office tubes; expect to add tint |
| Flash | 5500 to 6000K | Flash is the dominant or only light |
| Custom | Whatever the camera measures | Mixed, unusual, or regular-but-persistent lighting |
Presets are averages. If you shoot in the same room every week, a custom white balance is a five-minute setup that beats switching presets every time.
When a blue tint is a processing problem, not a camera problem
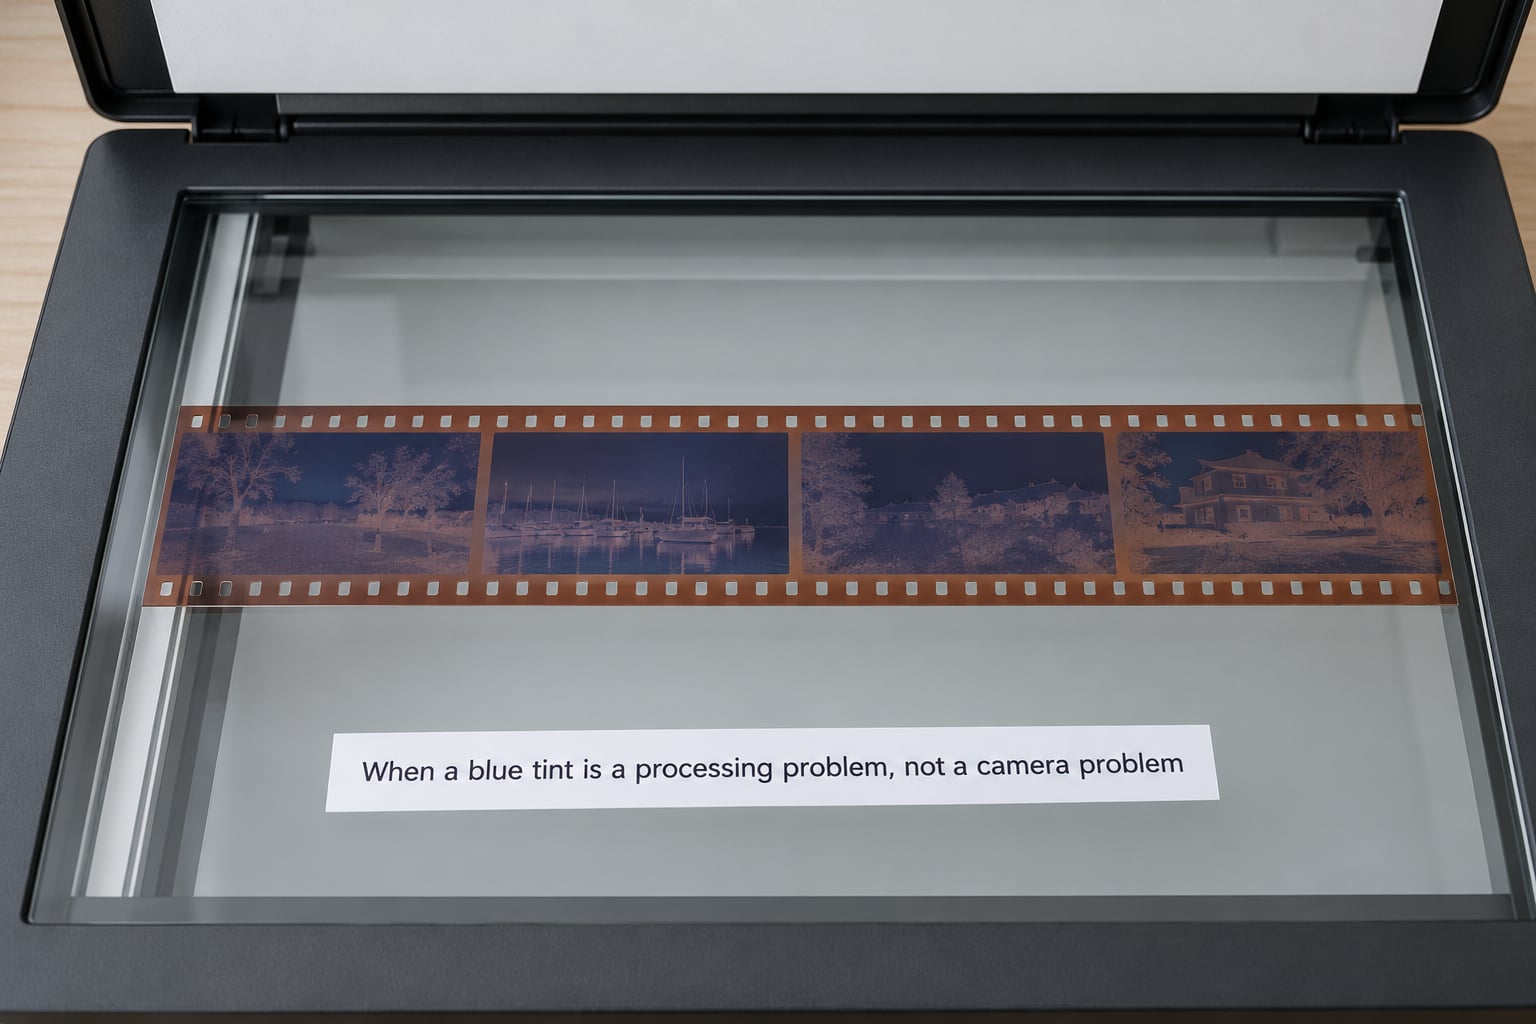
If your photos come from film and the blue appears only after scanning, the camera is innocent. A developer on r/AnalogCommunity reported months of blue-washed home-developed negatives and then lab-developed slides that came back dark and blue-washed on a bright day, with no resolution in the thread.
Several things can cause it:
- Development temperature. C-41 chemistry is temperature sensitive. Under-developing leaves the dye layers thin and desaturated, and a cool cast often reads first.
- Expired or cold-stored film. Film kept in a refrigerator shifts slightly toward a cool cast as it ages.
- Scanning software settings. Many scanners default to a cooler daylight assumption than the actual light on the platen.
- The film base itself. Most colour negative has a bluish base, and a scan that does not account for it looks blue when the scene was neutral.
- Dust on scanner glass. Often a haze rather than a cast, but it can skew a first scan badly enough to trigger an automatic correction.
The fix is largely in the scanner software: set it to a custom or manual white point rather than auto, calibrate with a target strip if you have one, and shoot or scan a neutral reference in the same light. Once the scan exists, global blue removal on film looks unnatural, because the cast and the color are mixed together. Selective work on the specific areas that read wrong tends to hold up better.
When blue is correct and should stay
Some of the most reliable complaints in photography forums are corrections that should never have been made. Blue is the accurate color of open shade, snow scenes lit by blue sky, underwater at depth, and the sky itself during blue hour, that short window after sunset when the sun is below the horizon and the whole sky turns deep blue.
Before you neutralize anything, ask what the light was actually doing. A blue sky at dusk is not a camera error. If you correct it to a warm orange, you have taken a photograph of nothing.
Blue is also a stylistic choice. The teal and orange look in film and commercial photography is built on pushing shadows toward blue and holding skin warm. On Photography Stack Exchange, threads asking how to bring out the blue in Greek and Portuguese villages are not about fixing a cast at all; they are about keeping a color that carries the place.
A useful test: if the blue appears in the sky, in deep shadow, or across an entire frame from one light source, it is probably real. If it sits on skin and white surfaces only, it is probably a cast.
How to stop blue casts happening
- Shoot RAW, always when you can. It is the only real insurance.
- Set white balance manually once per light source and leave it there for the session.
- Carry a grey card for indoor, mixed, and unfamiliar lighting. A white or 18 percent grey card costs very little and turns a guess into a measurement.
- Learn your environment. If you shoot in one office, one studio, or one room at home, find the correct Kelvin for it once.
- Avoid mixing light sources. Turn off the overhead and use one kind of light if a frame matters.
- Calibrate your monitor if you edit seriously. A cool monitor makes every warm image look bluer than it is, and you will chase a cast that was never there.
Frequently Asked Questions
What is white balance in photography?
White balance is the camera setting that tells the machine what neutral looks like under your current light. Light sources have different color temperatures measured in Kelvin, so a camera told 5500K under a 2700K bulb will add blue to compensate. Get it right and whites render white and other colors fall into place. Get it wrong and the camera actively pushes the whole frame toward the wrong color.
How to remove blue tint from a picture?
Open the file in an editor, use the eyedropper on a supposed white or grey area, then lower the temperature until that patch reads neutral. On iPhone, use Edit, then Color Balance, and drag Temperature toward yellow. Shoot RAW next time, because a blue cast baked into a JPEG leaves almost no room to correct without breaking skin tones and clipping the blue channel.
How do I turn off auto enhance?
On iPhone, open the photo in Photos, tap Edit, then Filters, and set it to None. On Android, look in the camera settings for Auto HDR, Auto enhance, AI scene detection or Adaptive color, then switch it off. If blue persists, open the image with Edit, then Color Balance and pull the Temperature slider toward yellow until the cast clears.
Why does my camera have an orange tint?
An orange tint is the same white balance mistake in the opposite direction. Color temperature runs both ways on one scale: set too high and photos look blue, set too low and the camera removes blue and adds orange. Raise the Kelvin value to fix it, using roughly 2800 to 3400K for household bulbs or 5200 to 6000K for daylight. Adjust the tint slider only if you also see green or magenta.
How do I get rid of blue in photos?
Check the white balance setting first, since that is where most blue comes from. Set the Kelvin value to match your light source, add a custom white balance from a grey card for mixed or unusual lighting, and lock it for the session. If the photos are already taken, correct them with the eyedropper and temperature controls in Lightroom, Photoshop, Snapseed or your phone’s Color Balance tool. RAW files are far easier to repair than JPEGs.
Should I shoot in RAW to fix color?
Yes, if color accuracy matters. A RAW file stores the unprocessed sensor data, so white balance can be changed later with no quality loss and shadows can be recovered. A JPEG has the camera’s decision already baked in, which leaves only a limited range before skin tones go flat and the blue channel clips. The trade-off is larger files and a slower editing workflow.
What to check first
Start with the white balance setting on the camera or phone, before opening any editing software. Nine times out of ten, the blue is a Kelvin value that does not match the light, and one dial fixes the whole frame.
If the blue survives a manual setting, run the eyedropper test on a neutral area and read the RGB values. Those three numbers tell you whether you are dealing with a real cast, and how big it is. If you shoot film and the blue only appears after scanning, the problem is in development or scanning software instead, and it needs a more selective fix. Updated for October 2026.