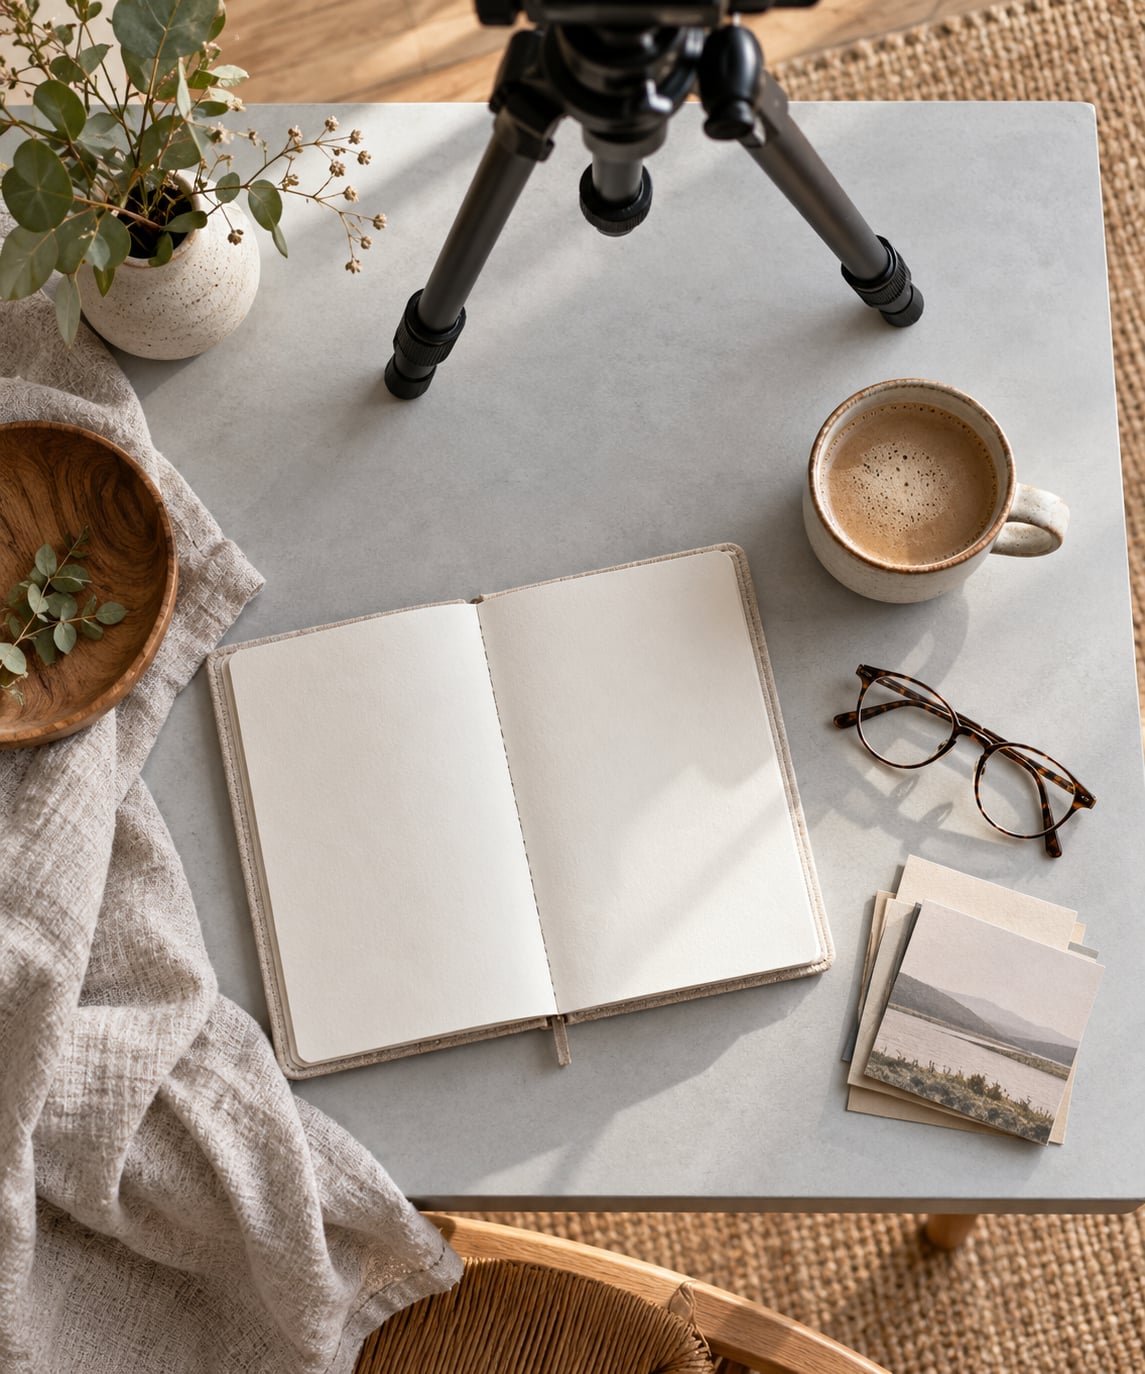
Learning how to photograph a flat lay comes down to four things: even light, a clean background, a camera held level directly overhead, and an arrangement where one item clearly leads. The whole shoot takes about twenty minutes once you have a plan. Everything after that is adjustment.
Most beginners lose the shot in one of two places: shadows falling across the surface, or a frame that is slightly crooked. Fix those two and the picture already looks better than most things on a shop wall. This guide walks through the whole process, starting with the surface and ending with the edits I actually make.
Table of Contents
- What You Need
- How to Photograph a Flat Lay Step by Step
- Step 1: Plan the Arrangement and Choose a Surface
- Step 2: Set Up Soft, Even Lighting
- Step 3: Style the Objects for Balance
- Step 4: Position the Camera Directly Overhead
- Step 5: Adjust Camera Settings and Focus
- Step 6: Capture Variations and Make Final Corrections
- Common Mistakes
- Frequently Asked Questions
- What is the best camera angle for photographing a flat lay?
- Can I photograph a flat lay with a phone?
- How do I avoid harsh shadows in a flat-lay photo?
- What background is best for product and object flat lays?
- Should I use natural light or a flash for a flat lay?
- How do I make flat-lay photos look more professional?
- Conclusion
What You Need
The gear list for this is short, which is why flat lays are a good first studio project. You can build a complete setup with things you already own.
- A flat, clean surface. A sheet of white foam board, a large piece of poster board, a wooden table or a tile floor all work. Matte finishes beat glossy ones because gloss shows every smudge and reflection.
- Three to five objects with a connection. A theme is what turns a pile into a photo. Three coffee items read better than a random mix of eight.
- Light from one direction. A north-facing window is ideal because it stays even all day. Overcast daylight works well too.
- A camera or phone, held level. A flat surface, a step ladder, a sturdy chair or a tripod all solve the overhead problem. If your camera has a tilting screen, it helps more than any other feature for this style.
- A diffuser and a reflector. A white sheet or sheer curtain softens light. A piece of white foam board or aluminum foil on cardboard bounces fill back into the shadows.
- Small styling tools. Painter’s tape for a grid, a soft brush for dust, small weights for fabric, and a ruler or phone level for checking the frame.
That is genuinely it. A phone and a window will carry you through your first fifty images, and none of the items above cost more than the objects you are already photographing.
How to Photograph a Flat Lay Step by Step
Work in this order and you will not have to rebuild the arrangement halfway through. Plan before you style, style before you lift the camera, and only then worry about settings.
Step 1: Plan the Arrangement and Choose a Surface
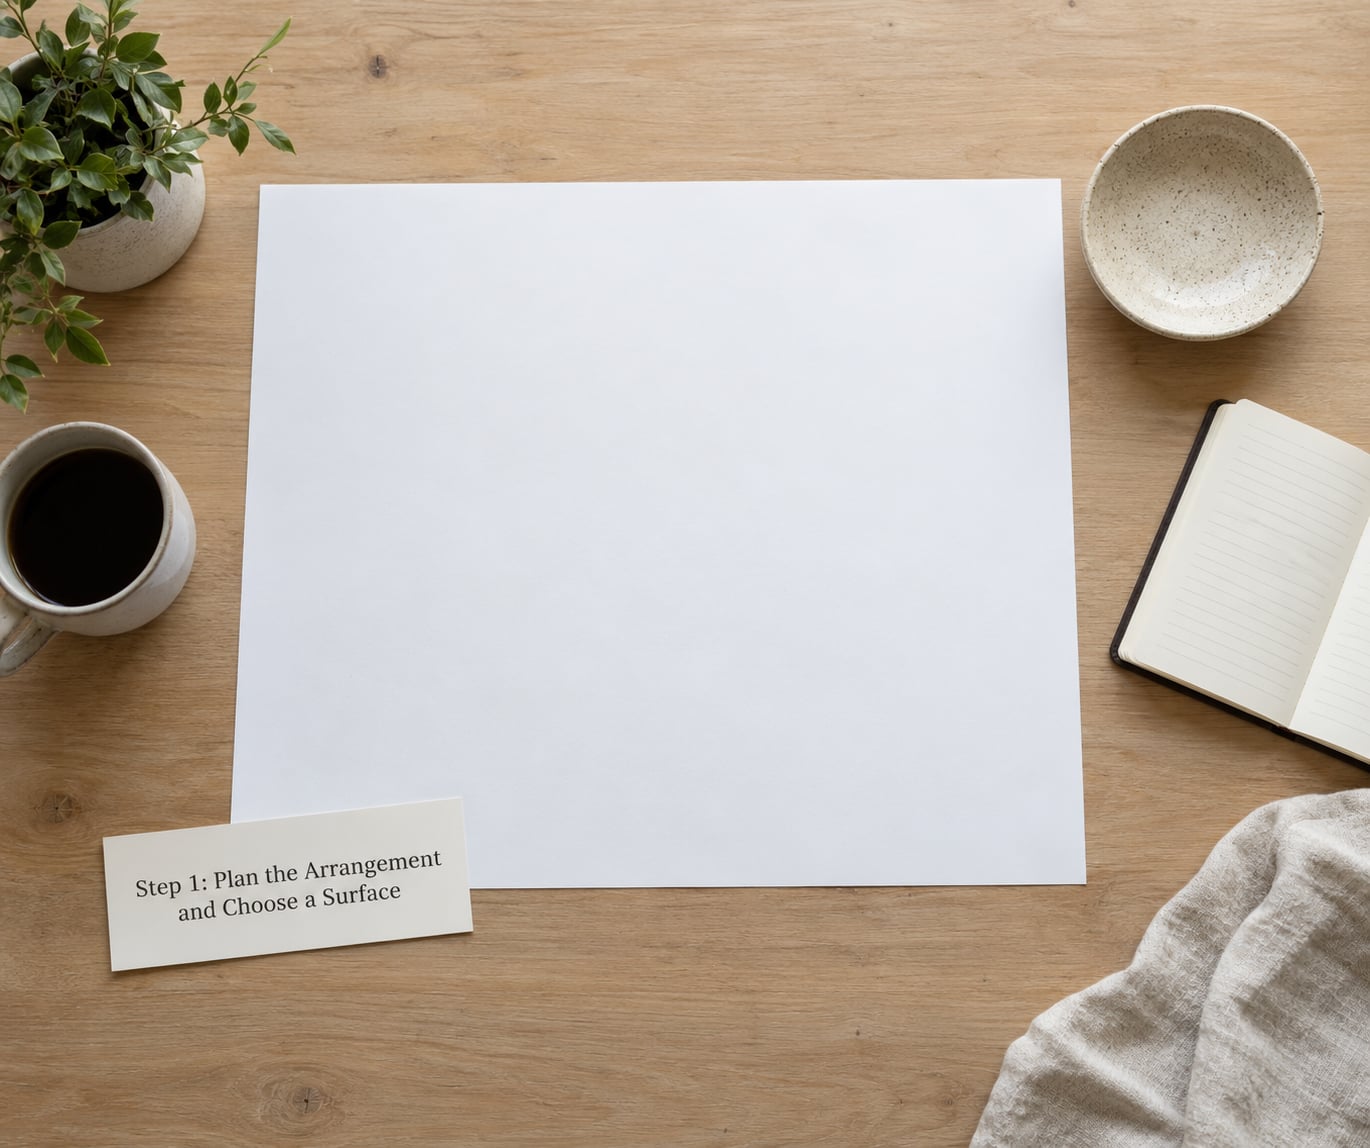
Decide what the photo is about before you pick anything up. “A slow Sunday morning” or “what is in my camera bag” gives you a filter, and the filter tells you what to leave on the table.
For the surface, pick something matte and large enough that your objects never touch the edge of the frame. White and pale grey are the safest starting points because they do not compete with the objects. If you want more character, marble-effect contact paper over a board is cheap and easy to swap out.
How to tell this step worked: you can set the objects down in a rough cluster and there is still a visible margin of empty surface on all four sides. If something hangs over the edge, you have either too many objects or too small a surface.
Step 2: Set Up Soft, Even Lighting
Put the surface beside a window, not in front of it, so the light rakes across at a low angle rather than pointing straight down. That sideways angle is what creates visible, gentle shadows that give the objects depth.
Hang a sheer curtain or a white sheet over the window if the light is harsh. Direct sun makes hard black edges that look amateur, and it also blows out the white balance on any glossy object.
Use a reflector on the side facing the window to fill in shadows that are much darker than the lit side. Two cards are usually enough: one large white board opposite the window, one smaller one angled to soften the darkest corner.
How to tell this step worked: take a test frame and squint at it. If your eyes close because one area is glaring, move the surface, not the objects. If everything is the same brightness, you have gone too flat and should reduce the reflector.
A large soft source is what kills reflections on phones, watches, glasses and metal. A pointed light gives you a hot spot on every curve; a big soft source gives you a smooth gradient instead.
Step 3: Style the Objects for Balance

Choose one hero piece. It should be the tallest, the most textured or the most colorful object in the frame, and everything else supports it. If two objects are competing to be the hero, the viewer cannot tell where to look first.
Group the supporting pieces in odd numbers and in clusters rather than spreading them evenly around the surface. Three related items sitting close together read as a thought; three identical items spaced apart read as an inventory sheet.
Vary height and texture. Something flat against the background with nothing on top of it looks like a sticker. Lifting a small object onto a book or a folded cloth creates a second layer and a shadow, which is where the depth comes from.
Leave breathing room. Roughly a quarter of the frame empty on one side gives the composition somewhere to rest, and it gives you a place to put text later if the image is for a shop or a blog header.
On color, stick to two or three colors plus your neutrals. A monochromatic palette built around one hue with two shades reads calm; complementary colors, like warm wood against a cool blue, read energetic. More than four colors and the image turns to noise.
How to tell this step worked: take a photo, blur your eyes, and look at the shapes only. If the shapes are evenly spread with no anchor, you have no hero piece yet.
Step 4: Position the Camera Directly Overhead
Center the camera over the middle of the arrangement, lens pointing straight down, sensor as close to parallel with the surface as you can manage. Any tilt turns a rectangle into a trapezoid, and that distortion is the single most obvious amateur tell in a flat lay.
A tripod is the easiest fix. Stand a step ladder beside it when you need to reach the center of a large surface. With a phone, rest your elbows on something at the same height, or stack boxes on a table until your device hovers over the arrangement.
Turn on the camera grid and level guides. Most phones and mirrorless cameras offer a digital horizon line; enable it and adjust until it sits flat. On a phone with no level, put a small spirit level or a water level on the camera body.
How to tell this step worked: turn on live view, look at the edges of the surface in the frame, and make sure they form clean parallel lines. If one edge drifts, nudge the camera, not the objects.
Step 5: Adjust Camera Settings and Focus
Turn off auto everything you can. Auto white balance in particular will shift color from frame to frame, which makes a series of shots impossible to match.
Start here and adjust from there:
- Aperture: f/5.6 to f/8. Stopping down keeps the tallest and shortest objects both sharp. Wide open looks lovely on a single object and falls apart as soon as props have different heights.
- ISO: 100 for bright window light, up to 400 if you are working in a dim room. Raise it before you raise the shutter speed.
- Shutter speed: anything at or above 1/100 of a second. On a tripod you can go slower; handheld, keep it fast because camera shake ruins a top-down frame.
- Focal length: around 50mm equivalent. Phone cameras sit near 25 to 35mm equivalent and will bow the edges of the frame, so step back and crop in rather than shooting wide and close.
- White balance: set it to daylight, cloudy or shade depending on your window, then leave it alone.
- Focus: manual focus or single autofocus on the hero piece. Tap to focus on a phone, then lock exposure and focus so a stray hand does not reset it.
How to tell this step worked: zoom to 100 percent on the preview and check the hero piece and the furthest corner. If the corner is soft, close the aperture one stop and shoot again.
Step 6: Capture Variations and Make Final Corrections
Shoot at least five frames before you touch anything. Move one object a few centimeters, rotate the arrangement slightly, change the position of the hero piece by a hand’s width, and shoot again.
Between shots, check four things: that the surface edges are parallel, that no shadow cuts through the hero piece, that no bright highlight is blowing out, and that the white balance still matches the first frame.
Keep the edit small. Correct the lens distortion, lift the shadows slightly, pull back the highlights, and set the white balance to match what your eyes saw. A flat lay shot in clean light needs contrast and saturation added in small doses, not turned up until it looks like a poster.
If you shoot a catalog or a lookbook, keep your surface, light position and camera height identical between sessions and change only the objects. That consistency is what makes a set of images look like a set.
How to tell this step worked: compare the frames side by side on your phone. The right image is the one where nothing in the corners is fighting for attention.
Common Mistakes
Uneven lighting. One corner of the surface is brighter than the other, usually because the window is off to one side. Move the surface until the brightness reads the same in all four corners, then bring the reflector back for the shadows.
A tilted frame. The edges of the surface should be parallel. Use the level guide and adjust the camera rather than trying to straighten the objects.
Too many objects. Crowding leaves nowhere for the eye to rest and every item competes. Remove items until you can name the hero in one glance. If you cannot name it, cut more.
Harsh reflections on shiny things. Phones, jewelry, glass and glossy packaging all bounce a hard light source as a bright hotspot. Enlarge the light source rather than dimming it, and angle objects slightly off square so the reflection moves off the surface.
Wrong white balance. A warm cast from household bulbs or a blue cast from shade will make every color in the frame look off. Set white balance manually and check it against a white object in the scene.
Missed focus on the tall items. This is the usual reason a flat lay looks soft at the edges. Stop the aperture down to f/8 and focus on the middle of the arrangement rather than the nearest object.
Over-editing. Heavy contrast and heavy saturation kill the soft, even quality that makes flat lays appealing. Make small corrections and then look at the image on a phone screen, which is where most people will see it.
Editing instead of arranging. You cannot rescue a cluttered layout in software. Re-style the surface and reshoot; it takes less time than the edit would have.
Frequently Asked Questions
What is the best camera angle for photographing a flat lay?
Straight down, with the sensor parallel to the surface. Put the camera on a tripod, a step ladder or stacked boxes and use the digital level guide to confirm it is flat. Tilt is what makes rectangles bow into trapezoids, and no amount of editing fixes it convincingly. A camera with a tilting screen makes overhead work far easier.
Can I photograph a flat lay with a phone?
Yes, and most flat lays online were shot on one. Turn on the grid and level if your phone has it, rest your elbows on a stack of boxes so the phone hovers over the arrangement, tap to focus on the hero object, and lock exposure and focus with a long press. Shoot at the highest resolution and step back a little rather than filling the frame.
How do I avoid harsh shadows in a flat-lay photo?
Never use direct sun or a bare flash. Hang a sheer curtain or white sheet over the window so the light spreads out, and put a white board opposite the window to bounce fill into the shadow side. If shadows are still dark, move the surface closer to the window rather than adding another light source. Larger and softer beats smaller and brighter every time.
What background is best for product and object flat lays?
A matte surface with a subtle texture is the safest choice, and white or pale grey works with almost anything. White foam board and poster board are cheap, flat and easy to clean. Wood adds warmth for food and craft subjects. Avoid glossy surfaces, busy patterns and anything with strong grain, since all three pull attention away from the objects themselves.
Should I use natural light or a flash for a flat lay?
Natural window light wins on ease and on color. A north-facing or overcast window gives you soft, even light all day with no equipment. Flash or a speedlight makes sense only in a dark room, and then you need diffusion or a softbox, because a bare flash creates hard shadows and blown-out reflections on glossy objects.
How do I make flat-lay photos look more professional?
Limit the palette to two or three colors plus neutrals, give the frame one clear hero object, leave about a quarter of the image empty, and keep your camera perfectly level. Shoot in even light and edit lightly. Professional flat lays are usually simple arrangements shot cleanly, not complicated ones shot with better equipment.
Conclusion
Start tonight with three to five related objects, a piece of white board, and a window. Set the camera directly overhead, hang something sheer over the glass if the light is hard, and shoot a dozen frames. Once you have one image you like, change one thing at a time and see what it does. That loop, repeated, is how you learn how to photograph a flat lay properly.