To use fill flash outdoors, expose the camera for the bright background and then dial the flash output down by one to two stops so it lifts the shadows on your subject without looking like a flash was fired. That is the whole technique. It takes about five minutes to set up and roughly ten minutes to get comfortable with, and it is the difference between a usable portrait and one where the face is a dark shape against a white sky.
Most people get this wrong in the same way: they raise exposure to save the face, and then the background blows out. Fill flash works in the opposite direction. You keep the background where your meter says it belongs and add a small, controlled amount of light to the shadow side of the person in front of you.
The guidance below assumes any camera with a hot shoe, a built-in pop-up flash or a phone with manual controls. Brand names barely matter here, because the logic is optical, not brand specific.
Table of Contents
- What You Need
- How to Use Fill Flash Outdoors Step-by-Step
- How to Use Fill Flash Outdoors: Assess the Sun and Shadows
- How to Use Fill Flash Outdoors: Set the Camera First
- How to Use Fill Flash Outdoors: Position the Flash
- How to Use Fill Flash Outdoors: Dial In the Flash Power
- How to Use Fill Flash Outdoors: Check and Refine the Result
- Common Mistakes
- Frequently Asked Questions
- Do I need fill flash when taking portraits outdoors?
- What flash setting should I use for outdoor portraits?
- Can I use fill flash in direct sunlight?
- Should I use a reflector instead of a flash outdoors?
- How do I balance flash with the sunlight?
- Does fill flash make outdoor photos look unnatural?
- Conclusion
What You Need
The camera is the least interesting part of the kit. Almost any camera with manual exposure and a flash sync socket will do the job.
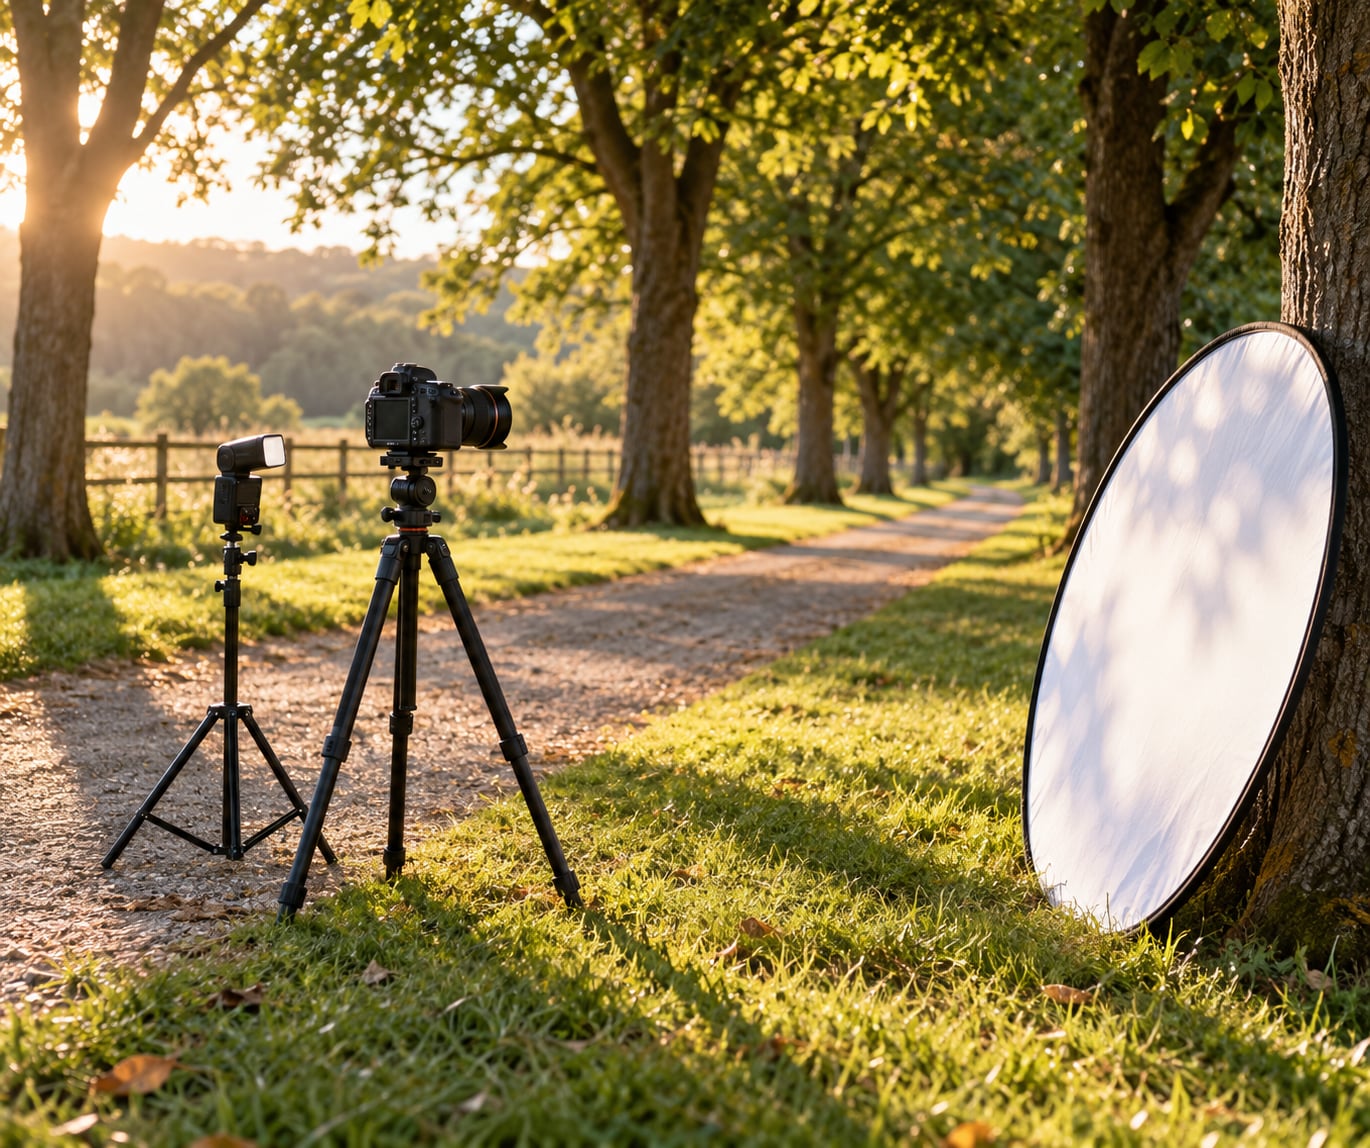
- A flash. A dedicated speedlight on the hot shoe gives you a real light source you can move off the camera axis. It matters far more than having the newest model.
- A small tripod or light stand. For fill you usually place the flash 30 to 45 degrees to one side of the subject, which means off the camera. A pocket tripod is enough for portraits.
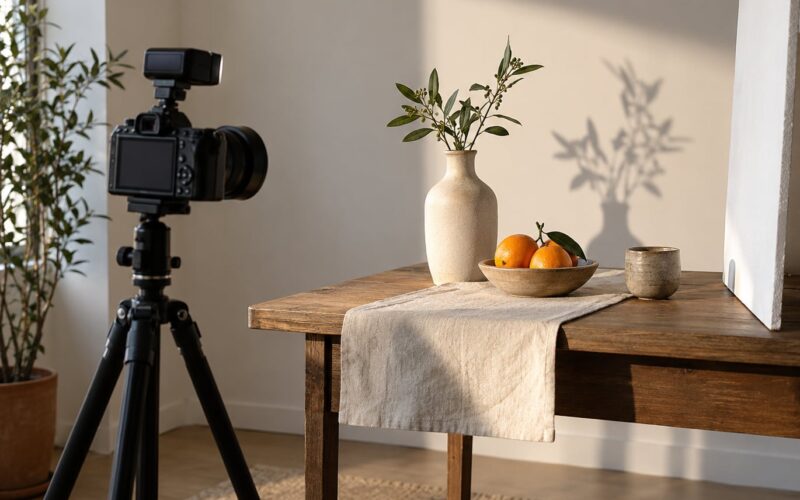
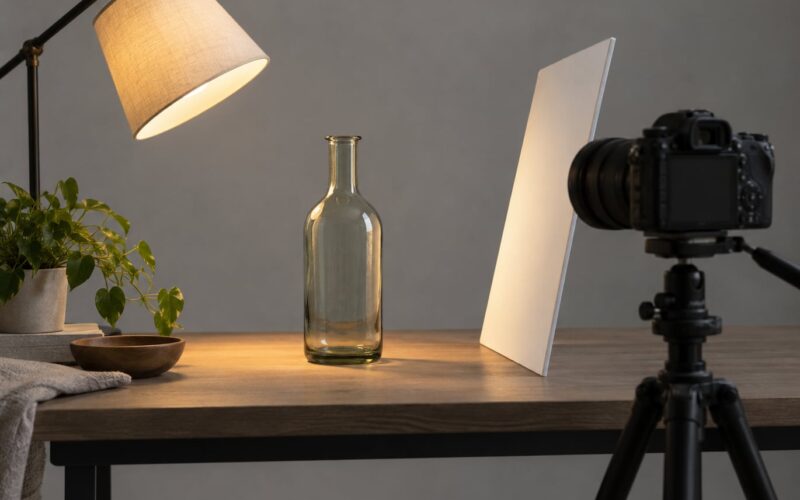
- A white reflector or foam board. This is the free alternative to fill flash. If the only gap is a moderately deep shadow, bounce sunlight back into it and you avoid firing anything.
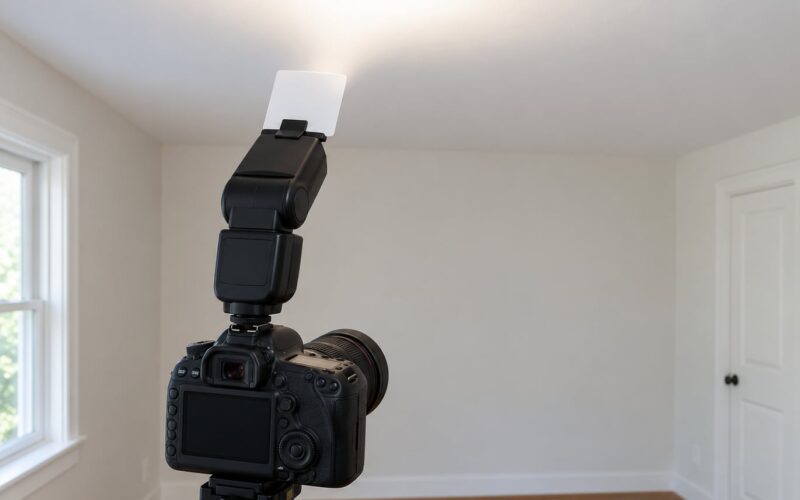
- A small softbox or diffuser, optional. A speedlight head is small and hard, so its shadows have crisp edges. A diffuser on a speedlight usually costs little and softens them noticeably. If you want one source of light you can shape properly outdoors, a portable battery strobe with a 32-inch umbrella gives you more control than a speedlight can, but it is a bigger kit to carry.
- A sandbag or a second pocket tripod. Wind picks up light stands faster than you expect.
If you only own a pop-up flash, work with it. Shoot slightly off-axis by stepping a foot or two to the side, keep the flash raised for as short a time as you can, and check that your finger is not covering the head when you hold the camera vertically. That last one catches almost everyone once.
How to Use Fill Flash Outdoors Step-by-Step
Work in this order: read the light, set the camera, place the flash, set the power, then check. Reversing steps three and four is what produces the look most people describe as obvious flash, because they set the power and then walk the flash around afterwards.
How to Use Fill Flash Outdoors: Assess the Sun and Shadows
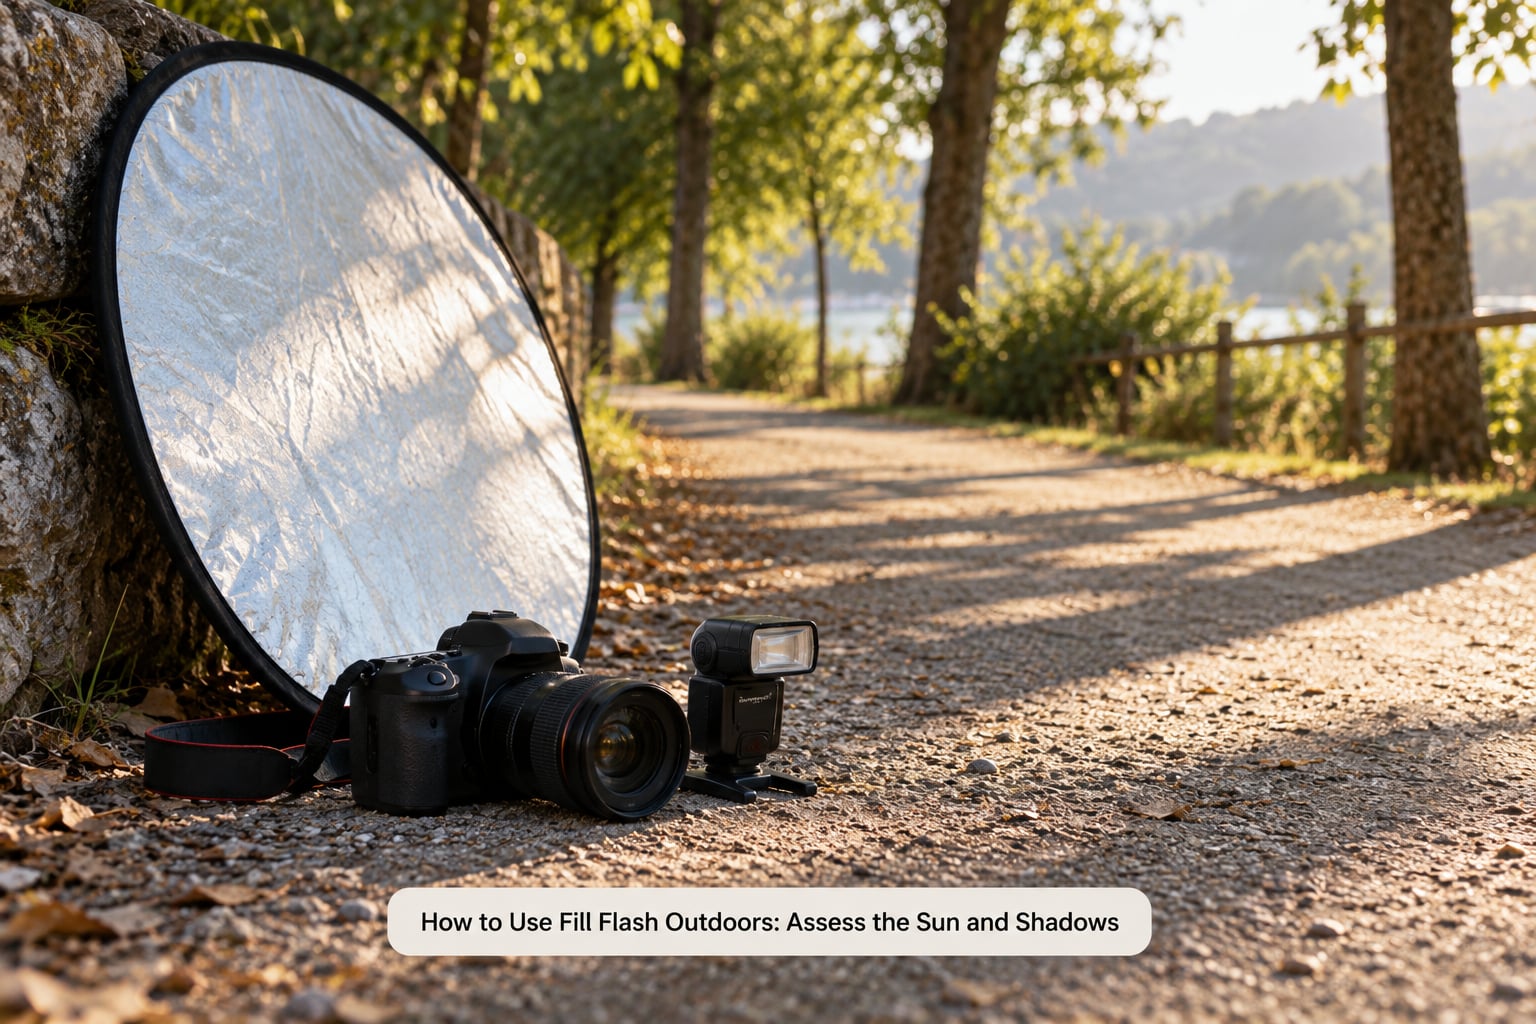
Find out where the sun is and where it is not. If the sun is behind the subject, you are shooting into backlight and the face needs a substantial amount of added light. If the sun is behind you, you are working with shade under the hat brim, under hair or on the side turned away from the light.
Look at the shadow side and decide how deep the shadow is. One to two stops of difference means a reflector will handle it and flash is optional. Three stops or more, which is what happens in open shade on a bright day, needs a light source.
Also check where the sun sits relative to the frame. Side light and back light both need fill. Straight-on light usually does not, because the shadows are already filled by bounce light from whatever is in front of your subject.
How to Use Fill Flash Outdoors: Set the Camera First
Set the exposure for the background before the flash goes anywhere near the frame. In Aperture Priority, meter the bright area, typically the sky or a sunlit wall behind your subject, and let the camera expose for that.
Choose an aperture that suits the light rather than the other way round. Wide apertures let you hold a fast shutter and keep the background softly blurred. In full sun, f/2.8 to f/4 and 1/1000s will keep a fast shutter and a background you can still blow out if you are careless.
Keep the shutter at or below your camera’s maximum sync speed, commonly 1/200s or 1/250s, unless you deliberately turn on High-Speed Sync. HSS lets you shoot above the sync speed, which is useful when you want a wide aperture in bright sun, but the flash loses roughly a stop and a half to two stops of power, so it needs closer positioning and more output than you would expect.
Set ISO to the lowest value the light allows, usually 100 or 200 outdoors, so you keep the shadow detail that fill flash is supposed to recover.
How to Use Fill Flash Outdoors: Position the Flash
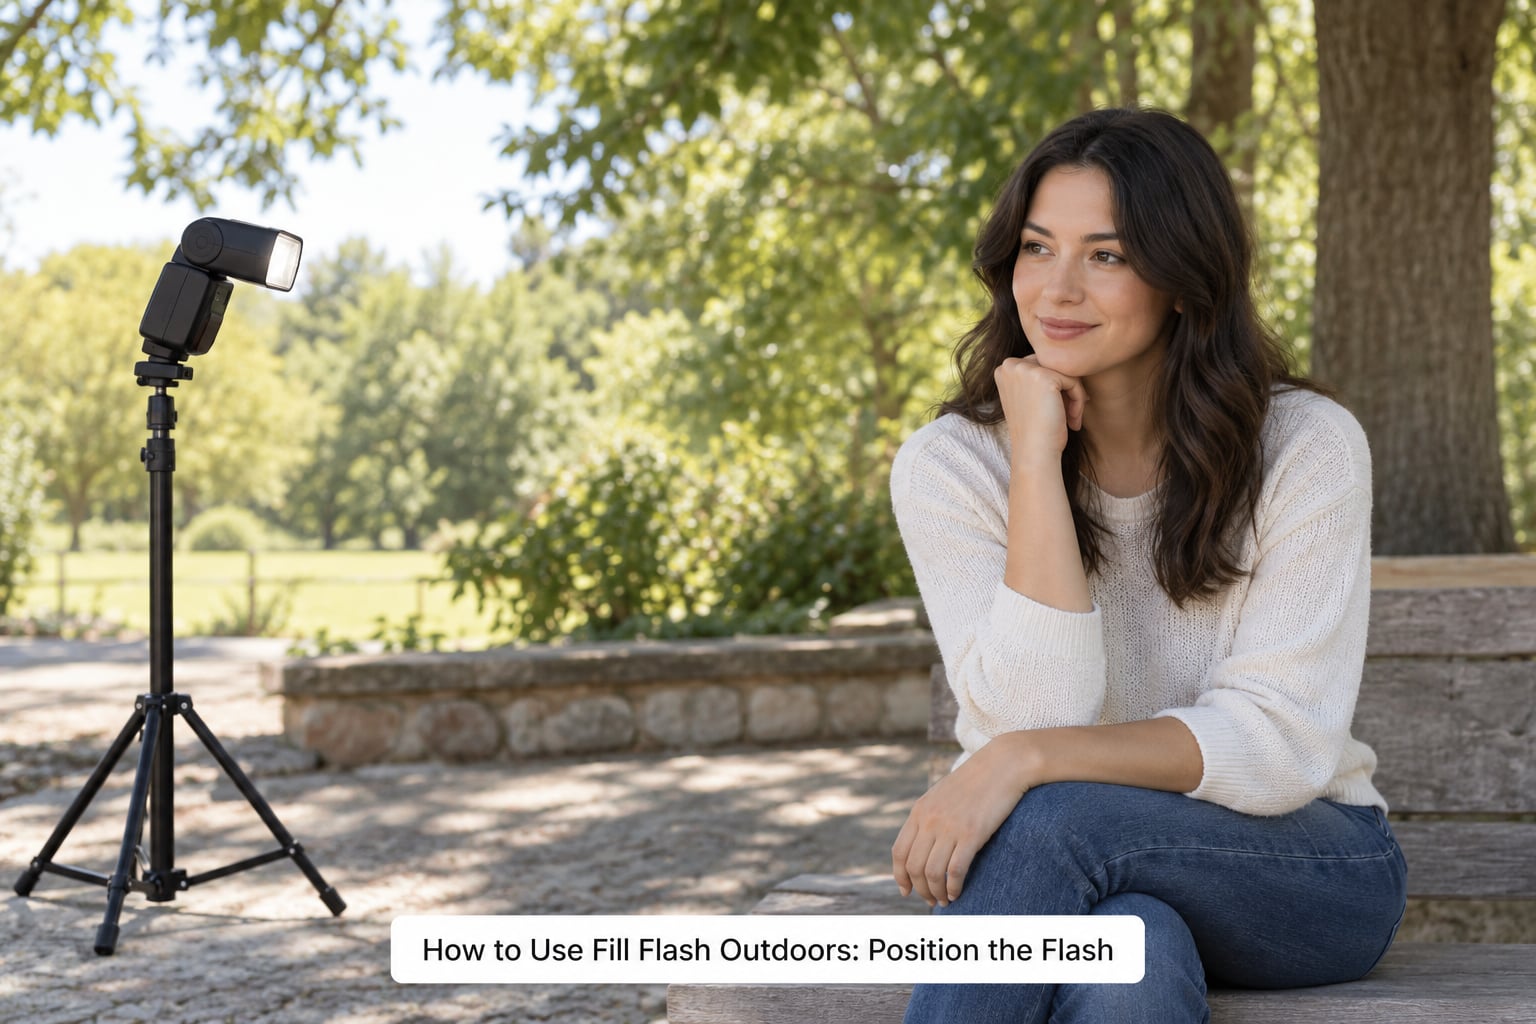
On-axis light is the fastest way to make a face look flat and cut out from the scene, because it puts the light exactly where the camera is. Move the flash instead.
Place it 30 to 45 degrees off the axis, and on the same side as the sun. Photographs of this set up on portrait forums keep repeating the same point: when the flash comes from the opposite side to the natural light, the image reads as wrong even if the exposure is technically correct. Matching the direction is what makes the lighting look like it belongs to the scene.
Get the flash close to your subject rather than far away. Light falls off with distance squared, so moving a flash from 6 metres to 3 metres roughly quadruples the light reaching the subject. Closer also means softer shadows, because the light source subtends a larger angle from your subject’s point of view.
To judge softness, imagine the source from where your subject stands. A bare speedlight head is smaller than a dinner plate at a metre and produces hard-edged shadows. A 60 to 90 cm softbox or a reflector umbrella placed just behind the flash produces the wraparound softness people associate with studio light.
How to Use Fill Flash Outdoors: Dial In the Flash Power
In TTL mode, start with flash exposure compensation at minus one and take a test shot. Move to minus two if the face still looks lit by flash, and toward zero if the shadows are still too dark. This is the fastest loop when you are new to it, because each press of the button moves the result a full stop.
Manual flash power is more repeatable once you know what you want. Values like 1/8, 1/16 or 1/32 of full power are simply fractions of the flash’s output, and doubling or halving the denominator is exactly one stop. If 1/16 is too bright, go to 1/32.
The real reason for the reduction is worth understanding, because it explains the rest of the settings. Outdoors, a shaded face is often three or four stops darker than a sunlit background. The camera cannot record both, so you let the background clip slightly or lift it a touch, and then you add flash to close the gap on the face. Adding light on top of an already correct ambient exposure is what makes flash look pasted on. Setting the flash to sit one to two stops under the ambient level, and then leaving it there, is what makes it disappear.
If you shoot in Aperture Priority with the flash in TTL, the camera will ignore the shutter speed for flash brightness but still control the ambient exposure with it. Lowering the shutter speed darkens the ambient and makes the flash relatively stronger. That gives you a second control on the ratio after FEC.
How to Use Fill Flash Outdoors: Check and Refine the Result
Check four things before you change anything else. Look at the catchlights in the eyes, which tell you the flash is aimed at the same point your camera is. Look at the shadow edge under the nose or chin to judge softness. Look at the darkest part of the hair and the shadow side of the face for detail. Then look at the background for clipping.
If the background is blown out, add exposure compensation or raise the shutter speed rather than pulling the flash down further. Pulling flash down to save the background leaves the face dark again, which puts you back where you started.
If shadows look unnaturally flat, you have two options. Reduce the flash output by another stop, or keep the power and move the flash further to the side so the remaining shadow has a visible direction.
Match the colour while you are there. Daylight and flash are not the same colour temperature, and a mismatch shows as pale or grey skin. Shoot a RAW file and set white balance to daylight rather than auto, or check your flash’s colour temperature setting against the sun. This step alone fixes a surprising share of portraits that look oddly flat.
Common Mistakes
- Firing into the sun with too little power. Shooting directly into midday sun may need more output than a small speedlight can give from a distance. Move the flash closer, use a reflector, or change position so the sun is behind you.
- Using on-axis flash. Light straight down the lens flattens the face. Move the flash 30 to 45 degrees off-axis, on the sun side.
- Over-flashing. This is the most common complaint on photography forums, and the fix is nearly always the same: drop the flash exposure compensation by a stop and look again. Use as little flash as you can while still lifting the shadow.
- Fighting the sync speed. Going above 1/250s without HSS darkens the frame. Either stay at or below the sync speed, or switch HSS on and accept the light loss.
- Positive exposure compensation to save a face. Raising ambient exposure brightens the face and the background together, which is how backgrounds get destroyed. Fill the face with light instead.
- Shadow direction mismatch. Flash on the opposite side to the sun makes results feel wrong even when exposure is right. Match the direction and the problem usually disappears.
- Finger over the pop-up flash. Check the frame before you shoot in vertical orientation.
- Colour casts on skin. Set white balance to daylight and shoot RAW.
One more practical note for full sun: speedlights get hot, and repeated full-power fires drain batteries fast while the recycle time climbs. If you are working hard, carry a second set of batteries and expect a slower recycle between bursts.
Frequently Asked Questions
Do I need fill flash when taking portraits outdoors?
You need it whenever the contrast between the lit and shadowed parts of your subject exceeds what the camera can record in one frame, which is most of the time outdoors. In open shade on a bright day, or when shooting into the sun, the face can sit three or four stops under the background. Fill flash closes that gap. In soft, even light such as heavy overcast, you rarely need it.
What flash setting should I use for outdoor portraits?
Most people start with TTL mode and flash exposure compensation at minus one, then adjust by single stops. In full sun or backlight, minus two is a common working value. If you want repeatability, switch to manual power and work in fractions such as 1/8, 1/16 or 1/32, remembering that each doubling of the denominator is one stop less light.
Can I use fill flash in direct sunlight?
Yes, and direct sun is one of the situations where it earns its place most clearly. The problem is that sunlight at midday can exceed what a small flash can usefully match from a distance, so get the flash close to your subject, choose the sun side, and expect to work harder than in open shade. A reflector is often the faster answer in full sun.
Should I use a reflector instead of a flash outdoors?
Use a reflector when the shadow is one or two stops deep. It costs nothing, needs no batteries, and the light matches the sun in direction and colour by definition. Bring the flash when you are three stops or more behind, when you shoot into the sun, or when the light has dropped enough that a speedlight needs most of its power anyway.
How do I balance flash with the sunlight?
Meter the bright background first and let the camera expose for it. Then set the flash so its contribution sits one to two stops under that ambient level, using flash exposure compensation in TTL or manual power fractions. Shutter speed gives you a second control, because lowering it darkens the ambient and makes the flash relatively stronger by comparison.
Does fill flash make outdoor photos look unnatural?
It can, and the causes are predictable: too much power, light coming from the wrong side to the sun, and colour temperature that does not match daylight. Set the flash on the sun side, dial the power down until you have to look for it, and set white balance to daylight. Subtle fill should be nearly invisible when you compare it to a shot without.
Conclusion
Start with one shot: put your subject in open shade, expose for the bright background, and fire the flash at minus one stop of compensation from about a metre to the subject’s side. Compare it against the same frame with no flash and you will see immediately what fill is doing.
Then repeat the exercise in hard sun, adding high-speed sync only if you need a wider aperture, and move the flash to the sun side each time. Matching the flash to the ambient light in power, direction and colour is what separates a natural portrait from one where the flash gives itself away. Updated for 2026.