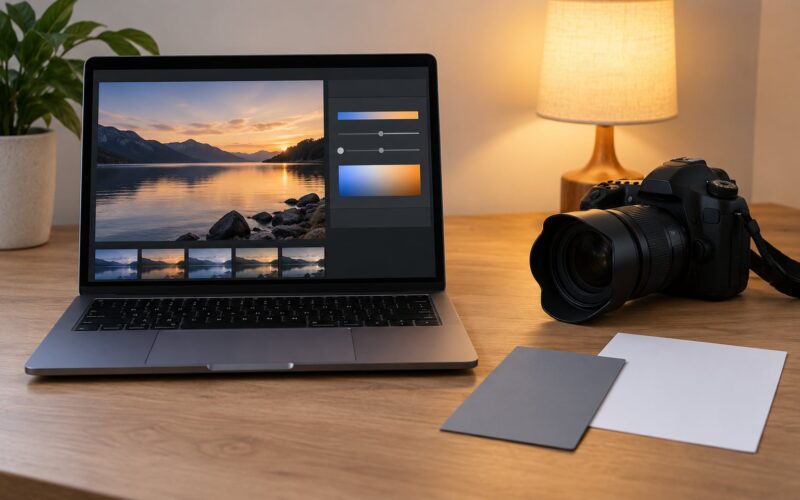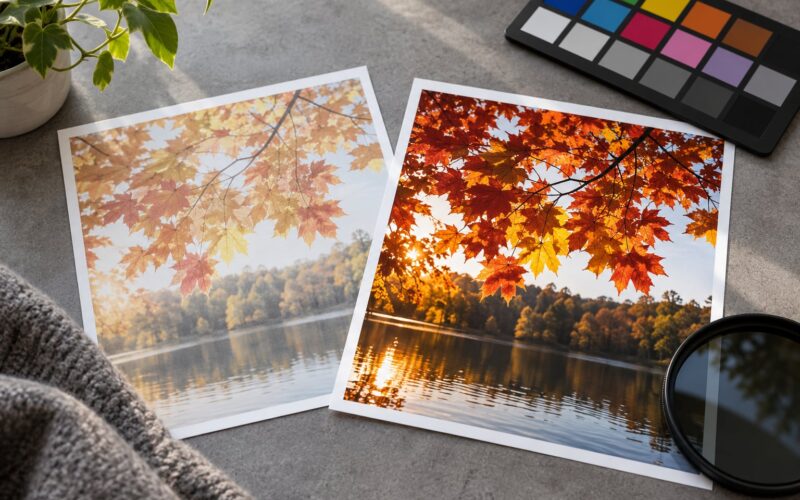
The short answer to why do my photos look too yellow: your camera recorded warm indoor light and white balance failed to correct it. Tungsten bulbs and warm LED bulbs push everything toward amber, and when auto white balance follows the warmth of the scene instead of cancelling it out, skin turns sallow and white walls go dingy. In most cases the fix is a white balance setting, not a broken camera.
I shoot a lot of indoor food and event work, and this is the single most common colour complaint I get handed. It is also one of the cheapest problems to fix once you know which knob to turn.
Table of Contents
- What Makes Photos Look Too Yellow?
- Is It a Camera Problem or a Lighting Problem?
- How to Fix Yellow Photos in Camera Settings
- What Kelvin value should I use indoors?
- Why Do My Photos Look Too Yellow in Editing Software?
- How to fix white balance in a photo, step by step
- How to Correct a Yellow Cast Without Making Colors Look Fake
- Why Do My Photos Look Too Yellow on My Phone?
- When Should You Accept a Warm Yellow Look?
- Frequently Asked Questions
- How can I make my photos less yellow?
- Why do my photos look fine on the camera screen but yellow in the file?
- Why are iPhone photos yellowish?
- What is the best white balance for indoor photography?
- Can yellowed old photos be restored?
- Start With One Setting
What Makes Photos Look Too Yellow?
A yellow cast is a colour cast, and colour cast always comes down to white balance. Your camera has to be told what counts as neutral white in a given light, and when it is told the wrong thing, everything shifts along with it.
- Warm indoor bulbs. Household tungsten and old-style incandescent bulbs sit around 2800–3200K. That light is genuinely orange, and if your camera renders it as white, everything indoors inherits the orange.
- Warm LED bulbs. Many “white” LED bulbs ship at 2700K or 3000K to look cosy. They are every bit as warm as tungsten, but people don’t expect a photo from them to look amber.
- Mixed lighting in one room. Warm bulbs plus daylight through a window gives the camera two different colours in a single frame. It picks one white balance and the other half of the room turns orange or blue.
- Wrong preset or a misread auto white balance. Auto white balance guesses from the brightest part of the frame. Indoors it often guesses wrong, or over-corrects and swings you to a cold blue cast instead.
- Editing choices. Warm filters, presets, and a temperature slider nudged too far toward warmth turn a neutral frame yellow. It is easy to do by accident with an over-enthusiatic preset.
- Old or scanned prints. This one has nothing to do with your camera. Chemical fades and silvering in old prints and slides leave a steady yellow-brown stain that editing can reduce but never truly undo.
Fluorescent office and gym lighting is the mirror-image problem: it often pushes skin toward green rather than yellow. If your greens look radioactive, you are looking at the same white balance failure running in the opposite direction.
Is It a Camera Problem or a Lighting Problem?
Work out where the colour is being introduced before you change anything, because the fix differs. Take the same subject in four situations and the answer usually becomes obvious within a minute.
| Symptom | Likely cause | What to do |
|---|---|---|
| Yellow only indoors, correct outdoors | Warm bulbs the camera is treating as white | Set the tungsten or incandescent preset |
| Yellow in one half of the frame only | Mixed lighting, usually window light against bulbs | Turn on every light in the room, then reshoot |
| Correct on the camera screen, yellow in the file | Screen preview shows an approximate balance, not the saved one | Judge from the file, set a custom white balance |
| Fine in camera, yellow after editing | Warm filter, preset or temperature slider | Drop the filter, reset temperature to zero |
| Yellow only on your phone | Auto white balance plus HDR and filter processing | Lock exposure and white balance, or fix in editing |
| Yellow in every app, on every camera | Possible hardware fault | Test with a known-good file, then have it serviced |
The screen-versus-file confusion trips up a lot of beginners. The rear screen and viewfinder run a simplified, usually boosted preview so you can see the scene in daylight; the saved file applies the real white balance and colour profile. People regularly report photos that look perfect on the camera and arrive amber on the computer, and it is almost always this gap. A quick JPEG preview on the camera’s playback button shows the processed result, which is a better check than the live view.
There is a second cause of a persistent yellow cast that survives every setting change: hardware. If the same frame comes out warm in two different cameras, on a second memory card, with the white balance locked, a filter disabled and a known-good neutral subject, suspect the sensor or an internal filter rather than your settings. Rare, but worth ruling out before you spend an afternoon on presets.
How to Fix Yellow Photos in Camera Settings
Set white balance deliberately instead of leaving it on auto, and start with the preset that matches your light. Here is where the setting lives on the major brands. Exact wording varies a little by model, but the path is consistent.
- Canon EOS: press the Q button and choose White balance, or go to Menu and open the red shooting-tab, then WB / Picture Style for the presets. Custom WB is under the same screen.
- Nikon: Menu button, go to the Photo Shooting Menu, then White balance. Pick from the presets or use the Custom option from a reference shot.
- Sony: Menu, then the WB (white balance) page, where you can set Daylight, Shade, Cloudy, Incandescent, Fluorescent and a manual Kelvin value.
- Fujifilm: the WB Shift buttons on the front of the body, or the Q menu. Dedicated WB buttons on newer bodies cycle presets directly.
What Kelvin value should I use indoors?
Match the light, not the room. These numbers are the usual starting points; adjust by eye once you know the direction to move.
| Light source | Approximate temperature | Setting |
|---|---|---|
| Candle, candlelit dinner | 1800–2000K | Tungsten, warmed slightly less than needed |
| Tungsten / incandescent bulb | 2800–3200K | Tungsten or Incandescent |
| Warm “white” LED bulb | 2700–3000K | Tungsten, or 3200K manual |
| Cool fluorescent tube | 4000–4200K | Fluorescent, expect a green tint to correct |
| Daylight, direct sun | 5200–5500K | Daylight |
| Overcast sky | 6500–7500K | Cloudy |
| Open shade | 7500–9000K | Shade |
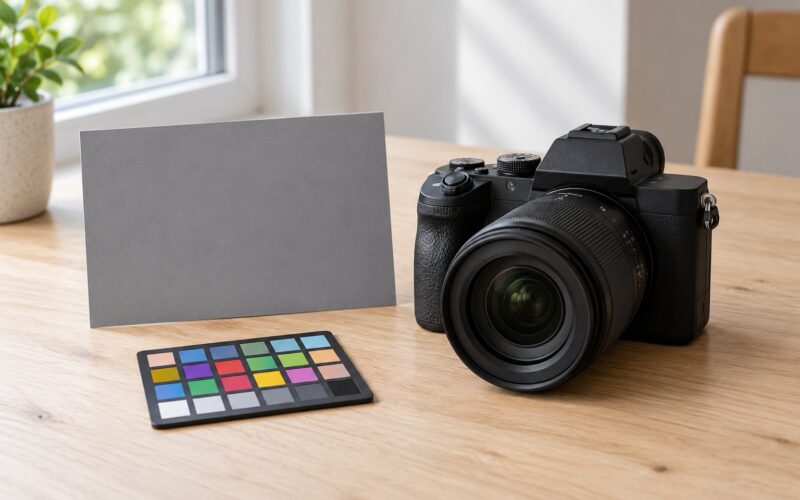
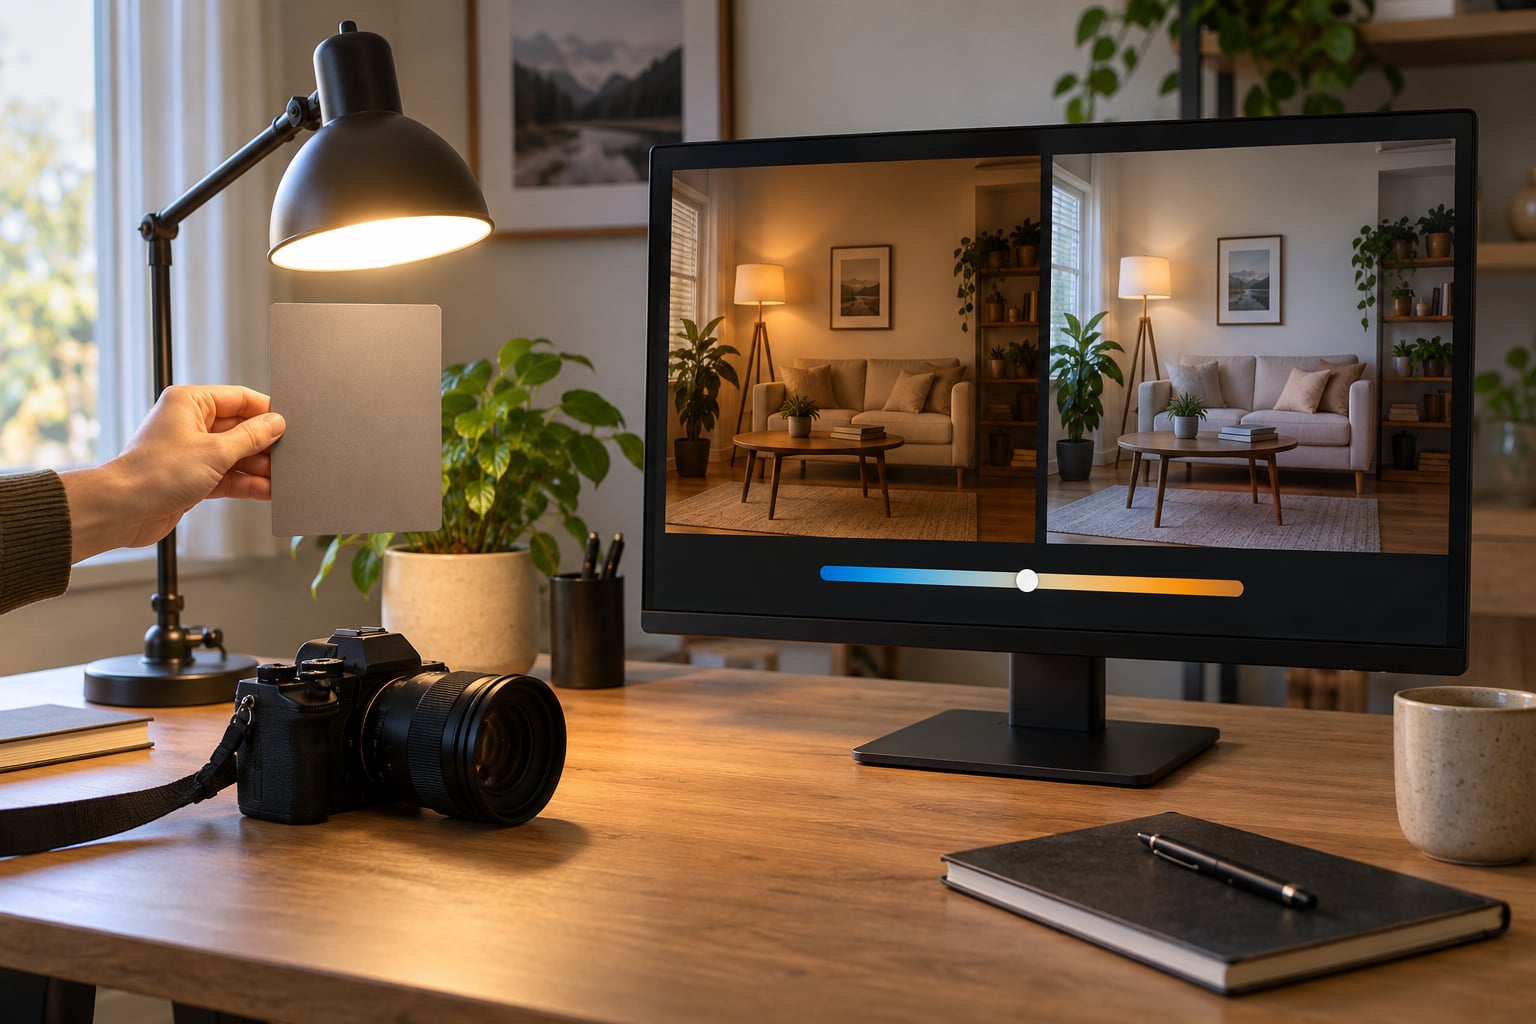
For anything that matters, use a custom white balance. Put a grey card or a plain white surface in the same light as your subject, frame it, and set custom WB from it. The camera measures that patch, works out what the light is doing, and applies it. A collapsible grey card costs little and saves guesswork on every job.
Two habits help more than the presets do. Turn on every light in the room before you shoot, so the colour is at least consistent across the frame. And shoot RAW whenever you can, because a RAW file stores colour data before white balance is applied, giving you room to change your mind later. JPEG has the white balance baked in, and a badly warm JPEG cannot be fully recovered.
Why Do My Photos Look Too Yellow in Editing Software?
Sometimes the camera got it right and the software made it worse. Warm presets and one-tap filters are the usual culprits, and the fix is usually to reset rather than adjust: drop the preset, set temperature and tint back to neutral, then correct what is left.
Temperature is the horizontal axis, running from cool blue through neutral to warm yellow. Dragging it left cools the image and cancels a yellow cast; dragging it right warms it. Tint is the vertical axis, running green to magenta, and it fixes the greenish fluorescent problem and any residual magenta or green bias that temperature alone cannot reach.
Profile choices also matter. A raw or wide-gamut profile such as Adobe Color or ProPhoto RGB keeps more colour information and tolerates a stronger pull on the temperature slider before things fall apart. A small sRGB profile clips sooner, which is why big temperature moves look flat in it.
How to fix white balance in a photo, step by step
In Adobe Lightroom on desktop or mobile, open the edit panel, find the Temp and Tint pair in the colour section, and use the WB selector icon to click a neutral patch. It sets both values for you. In Snapseed, open Tune Image, tap the three-dot menu and switch the colour control from Colour to White Balance; the eyedropper there does the same job. Apple Photos keeps it simpler: Edit, then the White Balance panel with temperature and tint sliders centred on neutral. In GIMP, use Colors and Color Balance and drag the yellow and blue sliders apart, which gives finer control when temperature alone leaves a cast behind.
One warning about the temperature slider. The relationship is not linear, and the last stretch of the range is where skin turns grey and blue patches show up in shadows. If you have to drag a long way, you were better off setting white balance from a reference patch at the start.
How to Correct a Yellow Cast Without Making Colors Look Fake
Cooling a photo is easy; cooling it without draining the life out of it takes a controlled order of operations. This is the sequence I use.
- Find a neutral reference in the frame. White window trim, a white shirt, a grey road surface, a sheet of paper. If nothing in the shot is truly neutral, you are guessing.
- Use the eyedropper, not the slider. In Lightroom, the white balance selector sits under the Temp and Tint controls. In Snapseed it is the eyedropper in Tune Image. In Apple Photos it lives in the white balance panel. Click the neutral patch and let the app solve for it.
- Fine-tune temperature by eye. Pull a little cooler until the reference looks white, then stop. Going further is where skin goes grey and you lose the ability to fix it later.
- Correct the tint axis. A faint green cast after cooling is normal under mixed light. Add a touch of magenta until the neutral patch is genuinely neutral.
- Bring saturation back selectively, not globally. A global saturation bump over-corrects everything. Use a selective mask or brush on the areas that went flat, raise saturation and clarity there, and leave the background alone.
One note from a photography forum thread worth repeating: when the white balance correction alone is not enough, switch from a white balance adjustment to a colour balance adjustment, which can move hue and saturation together instead of fighting them. In Affinity that is the difference between the WB tool and the Colour Balance panel, and in Lightroom it is Curves or HSL on the yellows.
Why Do My Photos Look Too Yellow on My Phone?
Phones have no manual white balance dial, so they decide for you, and their processors apply HDR tone mapping and often a scene filter on top of that decision. In low light they deliberately warm the image to suggest candlelight, which is why indoor evening shots come out amber.
On iPhone, open Photos, tap Edit, then the White Balance control in the adjustment row. Older iOS versions put it under Adjust instead. You get temperature and tint sliders with neutral at the centre, so drag temperature left until whites look white. On recent models with Camera Control, press and hold the control to reach Camera Control settings and lock exposure and white balance for the next shot, which stops the phone from re-deciding mid-sequence.
On Android, Samsung’s Pro mode exposes white balance presets directly, including a custom Kelvin value; a Samsung user in a low light problem thread traced their yellow photos to the default setting and fixed them at 2500K for indoor shooting. Google Pixel cameras have no manual white balance, so the practical route is the same as iPhone: fix it in editing, or use a third-party app that lets you set temperature manually.
Check one more thing on phones: a night mode or filter left switched on from a previous shoot. Phones remember the last setting, so an amber cast that only happens on some evenings is usually a leftover mode rather than a lighting problem. Filters can also be embedded in the file itself, which is why the tint survives being opened in another app.
When Should You Accept a Warm Yellow Look?
Not every warm frame is a mistake, and correcting it can be the wrong call. Golden hour, sunset, candlelight, firelight, autumn foliage, and a tungsten lamp deliberately used to create mood all depend on that warmth to work. Neutralising them leaves the picture flat and lifeless, and no amount of added contrast brings it back.
The test is simple. If you can point to a warm light source that is genuinely in the scene, and the whites in the frame are supposed to be warm, keep it. If the frame was meant to look neutral and the warmth is an accident of a bulb or a bad white balance, correct it. Warm light on a face that was meant to look like a person, not a sunset, is always worth cooling.
Frequently Asked Questions
How can I make my photos less yellow?
Cool them, either in camera or in editing. In camera, set the tungsten or incandescent preset, or read a custom white balance from a grey card in the same light as your subject. In editing, drag the temperature slider left, or use the white balance eyedropper on a neutral grey or white patch in the frame. Stop as soon as your reference looks neutral.
Why do my photos look fine on the camera screen but yellow in the file?
The rear screen and viewfinder show a simplified, brightened preview so you can see the scene in daylight. It is an approximation of the colour, not the saved result. The file gets the real white balance and colour profile applied. Judge colour from the exported file or a quick JPEG playback on the camera, not from the live preview.
Why are iPhone photos yellowish?
Phones set white balance automatically and their processors add HDR tone mapping plus a scene filter on top of it. In low light many models deliberately warm the image to suggest candlelight. Turn off any active filter, open the photo in Photos, tap Edit and choose White Balance, then drag temperature left until whites look white.
What is the best white balance for indoor photography?
Match the light source rather than the room. Tungsten and warm LED bulbs run around 2800 to 3200K, so use the tungsten or incandescent preset, or about 3200K on a manual scale. Fluorescent tubes sit near 4000 to 4200K and usually need a small magenta tint correction. For accuracy, read a custom white balance from a grey card in the scene.
Can yellowed old photos be restored?
Partly, and it depends why they yellowed. Faded dye and chemical staining can be reduced noticeably by cooling the image and lifting the blue channel, ideally with a split-toning or channel adjustment rather than a global filter. Silvering and mould damage cannot be recovered, and heavily degraded prints often look worse when over-corrected, so work on a copy.
Start With One Setting
If you only change one thing, take your camera off auto white balance and set the tungsten preset for warm indoor bulbs. That single change fixes more yellow photographs than any editing trick I know. Everything after that, the grey card, the custom reading, the temperature slider, is refinement.