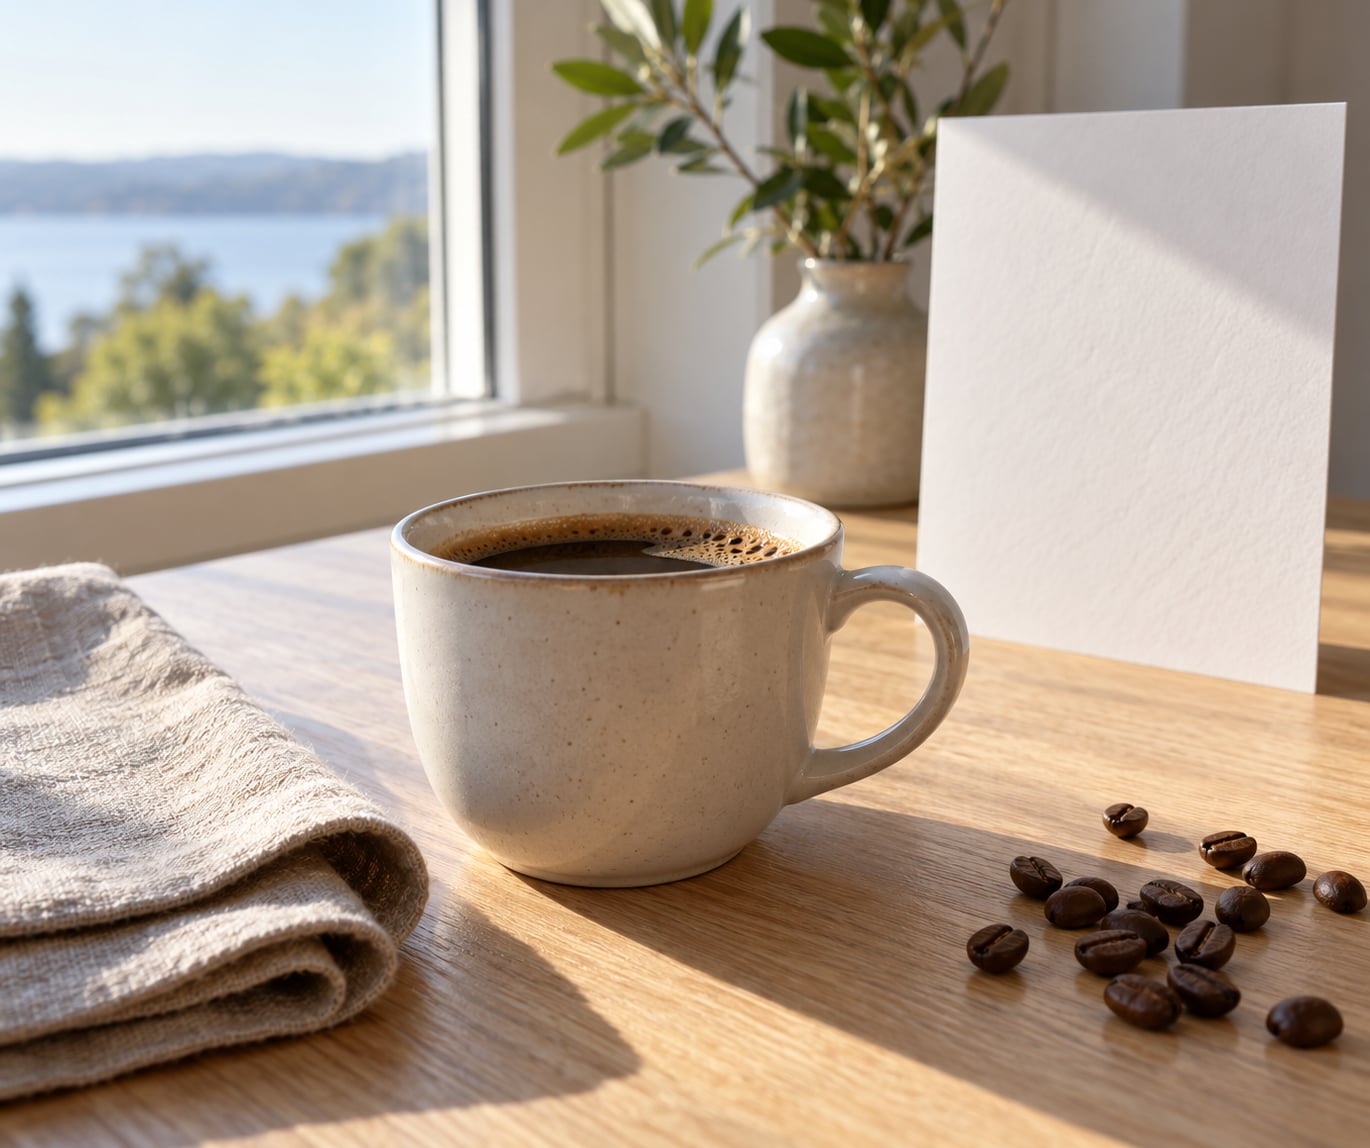
A coffee cup photograph works when three things line up: light that shows the steam, a background that stays quiet, and a cup placed where that light falls cleanly. Get those three right and a phone camera is genuinely enough. Most beginner coffee photos fail because the cup sits in the middle of a bright room with a pale mug and no directional light at all.
This guide walks through the whole process in eight steps, from choosing the cup to a light edit at the end. Set aside about twenty minutes. Most of that is standing around waiting for the light, not shooting.
Table of Contents
- What You Need
- Step-by-Step: How to Photograph a Coffee Cup
- Choose the Drink and Cup
- Set Up a Simple Background
- Use Soft Natural Light
- Add Props Without Cluttering the Scene
- Frame the Cup and Control Focus
- Set Camera Settings for Coffee Cup Photography
- Take Several Variations
- Review and Edit the Photograph
- Common Mistakes and Quick Fixes
- Frequently Asked Questions
- Can I photograph a coffee cup with just a phone?
- What is the best lighting for a coffee cup photo?
- Should I use portrait mode when photographing a coffee cup?
- What background works best for coffee cup photography?
- How do I photograph coffee without showing distracting reflections?
- What props look good in a coffee cup photo?
- Conclusion
What You Need
You need far less gear than coffee photography articles suggest. Grab these items and you can produce a publishable image this afternoon.
- A coffee cup. Any cup, but white or pale ceramic shows light best. A glazed mug throws bright reflections, which is both useful and the thing beginners struggle with most.
- Coffee, or something that reads as coffee. Brew it fresh if you can. The crema on espresso, the swirl in a pour over and the foam on a latte all give the camera something to render.
- A simple surface. A wooden table, a stone counter, a linen cloth or a plain painted board. Keep it near a window.
- A window or a soft lamp. Daylight through a window is the best free light source you will ever use. A desk lamp works if it has a diffuser.
- A phone or camera. A recent phone with a rear main camera beats a cheap compact with a tiny sensor. A tripod is useful but not required.
- Optional props. A saucer, a spoon, a linen napkin, a scattering of coffee beans, a book, a small plant. One or two, not ten.
- A white card. A sheet of white poster board or foam core. This is your fill light and it costs almost nothing.
Step-by-Step: How to Photograph a Coffee Cup
Choose the Drink and Cup
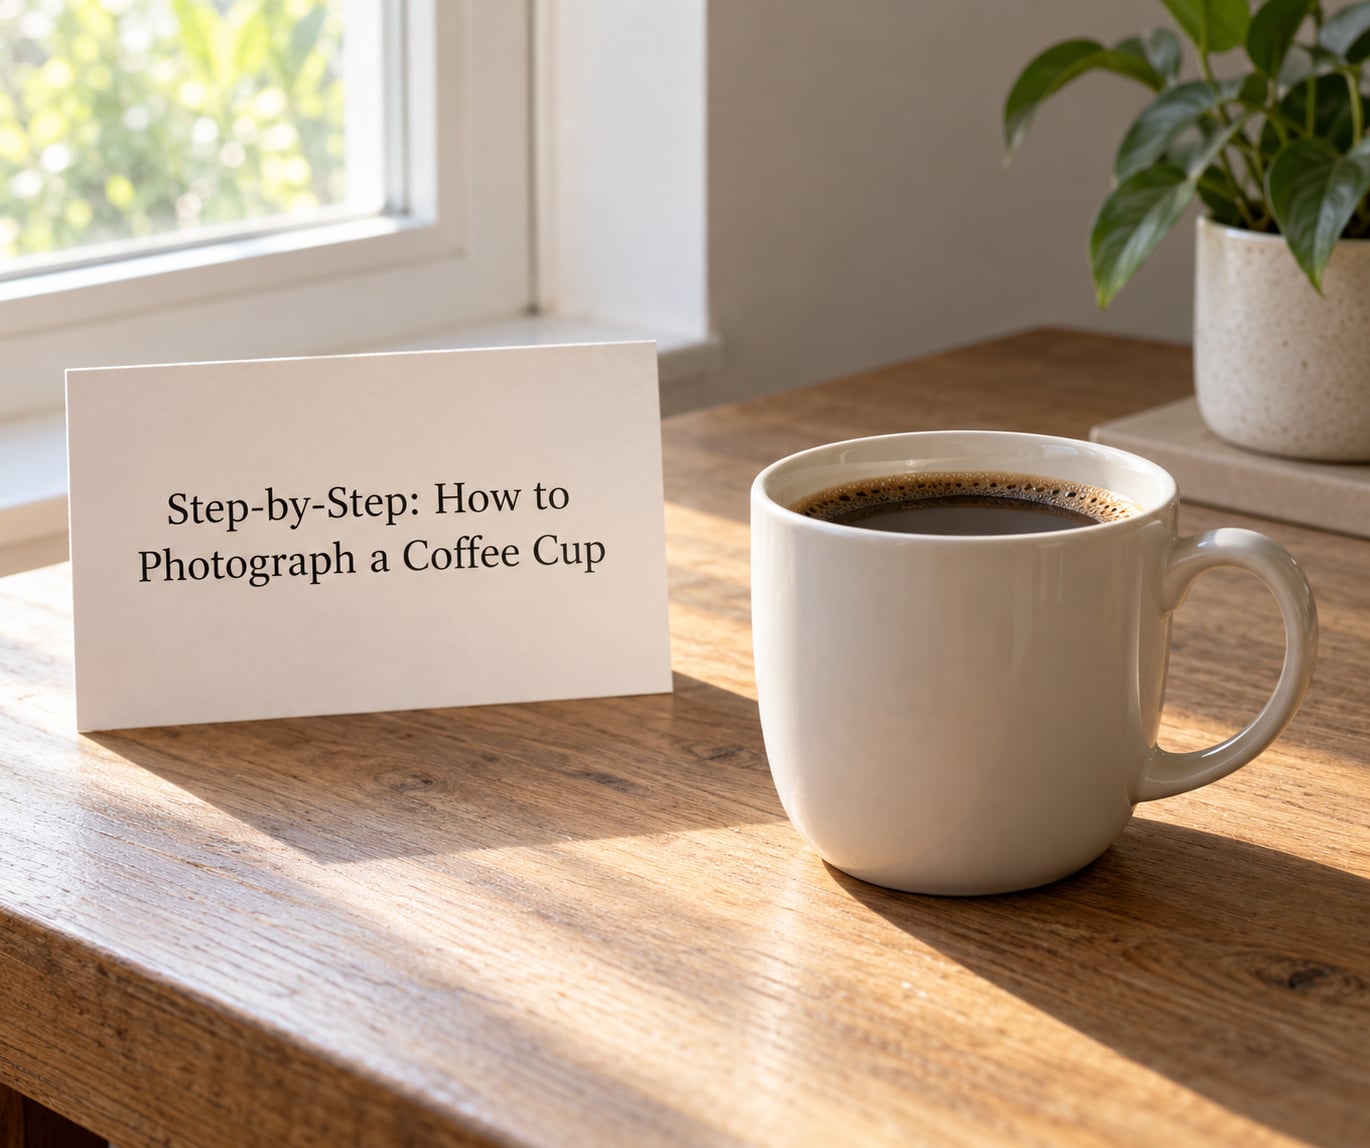
Pick a cup that is clean and free of chips, stains and fingerprints, because every mark shows up under directional light. A cup with a visible rim and a clear interior shape photographs better than one with a heavy handle filling half the frame.
For the drink, use whatever is freshest. Espresso crema catches a highlight and reads as fresh coffee in a way that black liquid never does. A latte with foam gives you texture; a pour over gives you depth and colour variation. You did say this was how to photograph a coffee cup, so get the coffee right first and worry about the camera second.
Wipe the rim and the base of the cup before you start. Drips and rings on the saucer pull the eye away from the drink faster than almost any other mistake.
Set Up a Simple Background
Choose a neutral, uncluttered background: wood grain, linen, stone, or a plain wall painted a soft grey or cream. The surface should support the cup without competing with it.
If you want visible steam, go darker. Steam is water vapour made visible by light passing through it, so a pale background washes it out. A dark wood board or a slate-coloured backdrop turns the vapour into a bright plume against shadow.
Position the surface close to a window but out of direct sun. Direct sun through glass gives you hard-edged shadows and blown-out highlights on the glaze.
Use Soft Natural Light
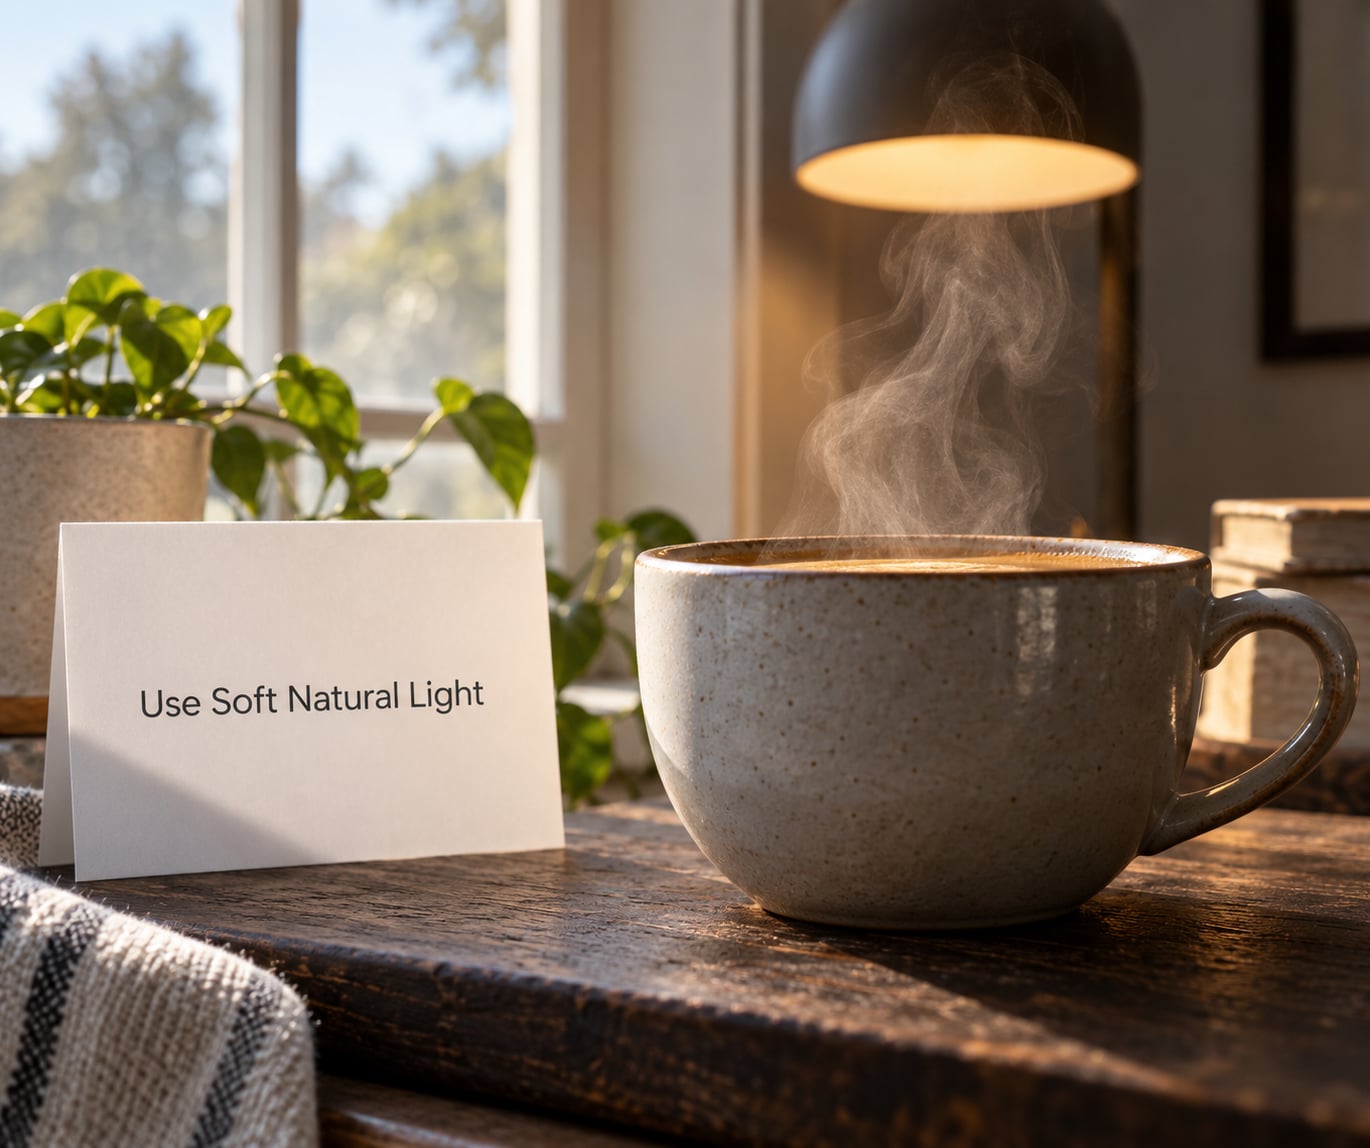
Place the cup near the window, not in front of it. Side light at roughly 45 degrees to the cup shapes the glaze, shows the curve of the rim and casts a shadow that tells the viewer the cup is solid. Backlighting alone flattens everything.
If the light is harsh, hang a sheer white curtain or a thin white sheet across the window. That single piece of fabric turns a hard beam into a soft box and removes the shadow you do not want.
Set a white card on the side facing away from the window. It bounces light back into the shadow side of the cup and keeps the dark side from going muddy. Then check the liquid surface: if you can see your own face or phone screen reflected in the coffee, you need to shift the cup or the camera, not fix it later in editing.
For the steam itself, put your second light source behind and slightly above the cup, aimed at the gap between the rim and the rising plume. A desk lamp held slightly above and behind the cup works better than anything expensive, and a paper tube taped around the bulb narrows the beam so it lights the vapour and not the table.
Add Props Without Cluttering the Scene
One or two supporting props are enough to suggest a morning routine or a café moment. A spoon resting on the saucer, a folded linen napkin, or a small scatter of beans near the edge of the frame all read well.
Leave empty space around the cup. Beginners overfill the frame, then the cup disappears into the styling. Match rounded props to the cup rather than mixing sharp objects with curved ones, and keep colours quiet so the coffee stays the warmest thing in the picture.
Check the frame edges. Half a bean scattered at the corner reads as an accident rather than a choice.
Frame the Cup and Control Focus
Place the cup slightly off centre and leave breathing room in the direction it faces, which is usually the side the handle points to. Shoot from an angle that shows both the rim and the surface of the drink, since the surface is where the colour and crema live.
Three angles cover almost everything: overhead for flat lays and menu shots, about 45 degrees for the classic hero view, and eye level with the rim for a quieter, more intimate feel.
On a phone, tap the front edge of the cup or the coffee surface to focus, then press and hold to lock focus and exposure. That lock stops the camera from hunting when your hands move. On a camera, use a single autofocus point on the rim and shoot with the aperture wide enough to soften the background but not so wide that only a sliver of the cup is sharp.
Set Camera Settings for Coffee Cup Photography
Start at the lowest native ISO your camera offers and adjust from there. Noise in the shadow of a white saucer is very visible, and raising ISO to compensate is usually the wrong trade.
These settings cover the common shots:
| Shot type | Aperture | Shutter speed | ISO | Focal length |
|---|---|---|---|---|
| Steaming cup, still | f/2 to f/4 | 1/60 to 1/125 s | Lowest native | 50mm to 85mm |
| Steam with soft motion blur | f/2.8 | 1/25 to 1/40 s | Lowest native | 50mm to 85mm |
| Latte art or crema texture | f/4 to f/5.6 | 1/125 s | Lowest native | 85mm to 100mm macro |
| Pour action or stirring | f/5.6 | 1/500 s or faster | Low to mid | 50mm to 85mm |
| Iced drink or flat lay | f/5.6 to f/8 | 1/125 s | Lowest native | 35mm to 50mm |
On a phone, use the rear main camera rather than the digital zoom, clean the lens with a soft cloth first, and hold still against a table edge or use the two-second timer. If your phone offers a raw or pro mode, dial in the same numbers as the table.
Expose for the white saucer. Tap the saucer and drop exposure compensation by about half a stop if the ceramic is clipping to pure white, since blown highlights cannot be recovered later.
Take Several Variations
Do not take one shot and move on. Move the cup a few centimetres, change the light direction by a hand’s width, shoot from a different height, and try the frame without the props.
A subtle shift in perspective usually improves the picture far more than any equipment change. Shoot at least ten variations per setup, and keep the coffee hot between takes by warming the cup under hot water first. That way the steam keeps coming for the frames you actually want.
Photographers posting practice shots and asking for critique say the same thing repeatedly: the tenth frame is almost always better than the first.
Review and Edit the Photograph
Crop out the extra empty space so the cup fills a comfortable share of the frame without touching the edges. Correct the exposure, then set the white balance by hand rather than letting auto white balance drift between shots.
Aim for a warm but believable tone. Lift the shadows gently, add a little contrast around the cup’s edge, and sharpen the rim and the surface of the drink.
Stop there. Over-smoothing kills the texture of the crema, heavy saturation turns the coffee orange, and crushed blacks make the frame look heavy. The atmosphere you built with real light and real steam is the part that makes the photograph feel welcoming, and heavy editing is the fastest way to lose it.
Common Mistakes and Quick Fixes
Steam that will not show. You need light behind or beside the vapour, and a darker background. Aim a small light source from behind and slightly above the cup, not straight into the lens.
Harsh, hard shadows. Hang a white sheet across the window, or move the cup further from the glass so the light spreads out.
Blown-out white saucer. Expose for the brightest surface, usually by dropping exposure compensation about half a stop. Watch the histogram rather than the screen.
Your reflection in the cup or the liquid. Move the cup a few centimetres, or move yourself, until the reflected angle no longer lines up with the lens. Changing the camera height fixes more of these than any light change.
A flat, grey photo. Almost always mixed lighting. Inside a café, overhead tungsten fights the daylight from the window. Face the window, turn off the overhead lights you can, and set a custom white balance around 5000K to 5500K to match the daylight.
A tilted horizon. Straighten in the crop tool before anything else. It is the fastest way to make an otherwise decent frame look amateur.
Too many props. Remove everything except one prop and the cup. Then add one more and compare the two frames.
Missed focus. Tap to lock focus on the front rim, not the background. Half a second of patience with the focus lock saves the frame.
For hot drinks, have everything composed before you pour, then shoot within the first thirty to sixty seconds while the vapour is dense. For iced coffee and cold brew, drop the backlight entirely and light for the ice: a side light that rakes across the cubes, plus condensation on the glass, gives you all the texture you were chasing with steam.
One honesty note. Commenters on popular steam tutorials point out that a real cup rarely steams like the pictures online suggest. If your vapour looks moderate, that is accurate. Shoot what is in front of you rather than pouring boiling water into a cold cup to fake a plume.
Frequently Asked Questions
Can I photograph a coffee cup with just a phone?
Yes. A recent phone with its rear main camera can produce a coffee photo good enough for social media, a blog header or a cafe post. Use the rear camera instead of digital zoom, clean the lens, tap the cup rim to lock focus and exposure, and shoot at a tap below normal exposure when a white saucer is in frame. Add a small light behind the cup when you want visible steam.
What is the best lighting for a coffee cup photo?
Soft directional daylight from a window placed about 45 degrees to the cup, with a white card on the opposite side to fill shadows. Put the cup beside the window rather than in front of it, and diffuse harsh sun with a sheer white curtain. For steam, add a second small light behind and slightly above the cup aimed at the vapour.
Should I use portrait mode when photographing a coffee cup?
Portrait mode is useful when the background needs to fall away and the cup sits well clear of it. It struggles when the cup rim overlaps busy props or a flat lay, because it treats the edges as depth and softens them. For a flat lay or a tight hero shot, normal photo mode with a controlled background gives you the cleaner, more believable edge.
What background works best for coffee cup photography?
A neutral, uncluttered surface such as wood, linen, stone or a plain painted board. Light backgrounds suit bright, airy images and show the cup shape clearly. Dark backgrounds are the better choice when steam matters, because vapour only reads as a bright plume against shadow. Keep the surface close to your light source so it does not fall off into darkness.
How do I photograph coffee without showing distracting reflections?
Glazed ceramic and the liquid surface both mirror whatever is in front of them. The fix is positional, not technical: move the cup a few centimetres or change your camera height until the reflected angle no longer lines up with the lens. A polarising filter helps on a camera when you can rotate it, and always keep your fill card out of the reflection by moving it higher.
What props look good in a coffee cup photo?
One or two quiet props are enough: a spoon on the saucer, a folded linen napkin, a small scatter of beans, a book or a small plant. Match rounded props to the cup, keep colours muted so the coffee stays the warmest element, and leave empty space around the cup so it does not disappear into the styling. Check the frame edges for half-finished arrangements.
Conclusion
Put a clean cup on a simple surface next to a window, turn off the overhead lights, and take two test frames: one straight down, one from the side. Compare them, fix whichever one looks flat, and add a light behind the cup only if the steam is missing.
That is how to photograph a coffee cup with equipment you already own. Change the light and the styling before you change anything in your camera bag, because light is doing most of the work here.