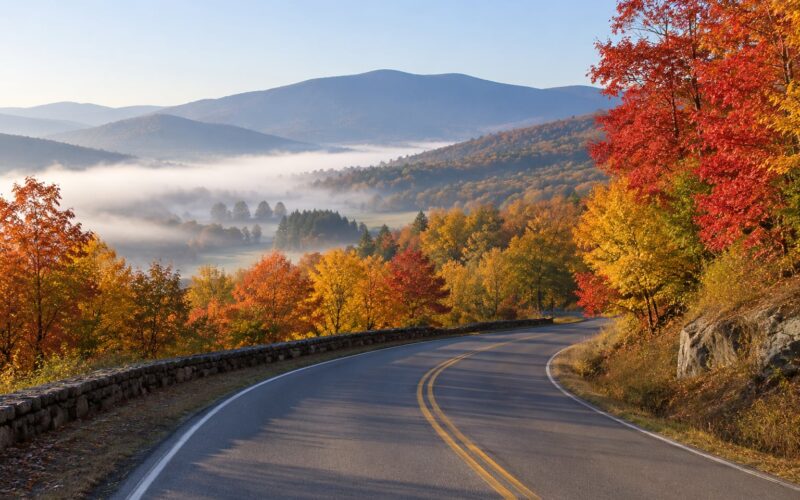
A fall foliage photo trip is a short, tightly timed travel window built around one region and one week: you stand in the right forest at the right hour on the one or two days that region is at peak color. How to plan a fall foliage photo trip comes down to four moves — pick a region, pick a flexible arrival week inside its peak window, book something you can cancel, and build a sunrise-to-sunset route through vantage points that sit within a short drive of each other. Budget three to seven days, and treat every forecast as a strong hint rather than a promise.
That last warning is the part experienced photographers repeat most often. Peak color lasts roughly one to two weeks per elevation band, and the window moves two or three weeks from year to year based on temperature and rainfall. The same hillside that peaked in late September one season can still be fully green in early October the next.
What follows is the workflow I use: choose the look first, choose the region second, then build the trip around light, access and a shot list. Start with the sections below in order.
Table of Contents
- What You Need to Plan a Fall Foliage Photo Trip
- Step-by-Step: How to Plan a Fall Foliage Photo Trip
- 1. Define the Look for Your Fall Foliage Photo Trip
- 2. Choose a Location With Reliable Fall Color
- 3. Time the Visit Around Peak Color and Light
- 4. Build a Realistic Route and Shooting Schedule
- 5. Prepare Camera Settings and a Compact Kit
- 6. Scout Compositions Before Peak Light
- 7. Photograph the Changing Conditions
- Common Mistakes to Avoid
- Frequently Asked Questions
- How early should I book for fall colors?
- Is fall foliage predictable?
- What camera settings work best for fall color photography?
- Do I need a tripod for fall foliage?
- How do I handle rain and wind on a foliage trip?
- How do I know when foliage is at peak in the field?
- Conclusion
What You Need to Plan a Fall Foliage Photo Trip
Most failed foliage trips are not equipment failures. They are planning failures: the wrong week, the wrong trailhead, or a parking situation nobody checked. Here is what you actually need, split into essentials and nice-to-have.
Essentials
- A target region or trail. Not “New England” — a specific valley, forest or scenic byway. Vague targets double your drive and halve your shooting time.
- A date window with slack. At least three days of flexibility so an early or late peak doesn’t cost you the trip.
- Current foliage and weather data. SmokyMountains.com for prediction maps, your state tourism department’s fall color report for ground truth, and the National Weather Service forecast for the actual dates.
- Route and parking details. Road restrictions, seasonal closures, lot sizes, and how far the last stretch of trail is from a legal parking spot.
- Weather-appropriate clothing and footwear. Autumn trail mud is real. Boots with grip, layers you can strip, and rain shell packed no matter what the forecast says.
- Water, food, navigation, and a charged phone. Download maps for the area before you leave; cell coverage is patchy in exactly the places worth photographing.
Optional, but worth it
- A circular polarizer to cut glare off waxy leaves and deepen a blue sky.
- A headlamp for pre-dawn arrivals at trailheads that open before dawn.
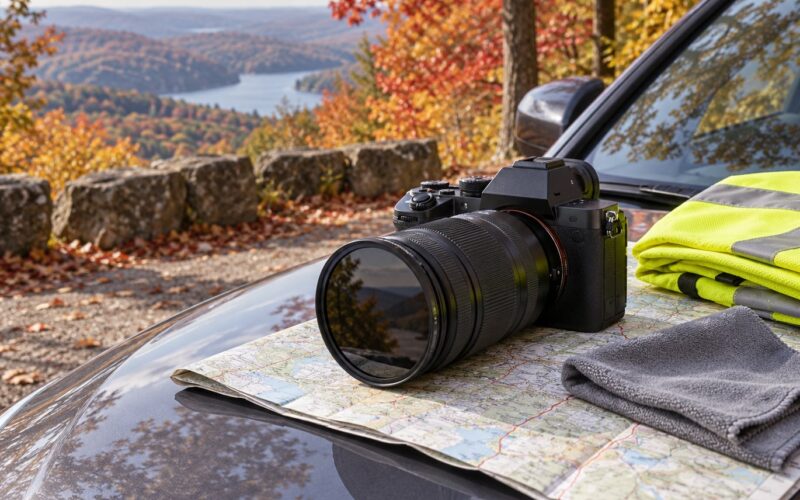
- A small cleaning kit — microfiber cloth, blower, rain cover — more useful in autumn than any other season.
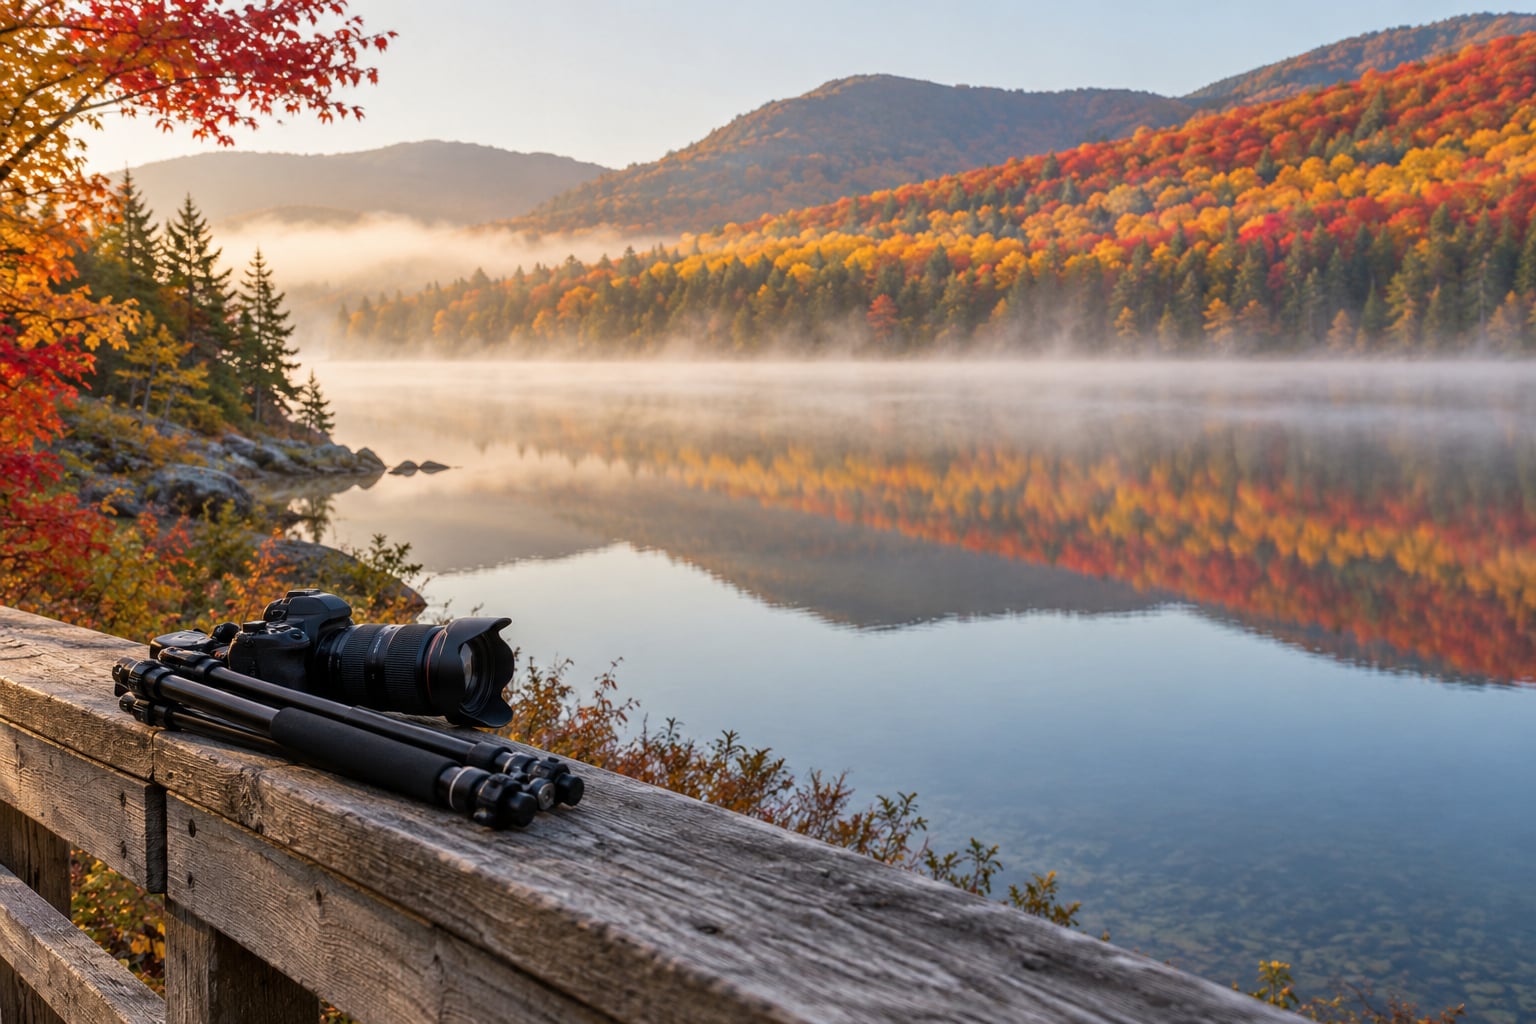
- A tripod if you plan to shoot water, backlit canopies or low-light forest scenes.
For a single day hike from a base camp, trim that to camera, one lens, water, a layer, and a snack. For a multi-day trip, add the polarizer, the tripod, and a second body so a dying battery doesn’t end the shoot.
Step-by-Step: How to Plan a Fall Foliage Photo Trip
The goal is not to find one perfect viewpoint. It is to line up five moving parts — location, timing, light, access and shooting priorities — so that when the color arrives, you are already standing in the right place with the right shot prepared.
1. Define the Look for Your Fall Foliage Photo Trip
Before you look at a single map, decide what kind of photographs you want to bring home. Broad color across a valley, close leaf textures and bark, a forest trail, an autumn garden, a family outing where the camera is secondary — each one points somewhere different.
That choice sets your region, your lens, and how long you need. Wide establishing views need elevation and early starts. Intimate details can be shot in a single afternoon close to home. Say the goal out loud before spending money on travel.
2. Choose a Location With Reliable Fall Color
Compare candidates using three sources together, because no single one is trustworthy alone. Prediction maps like the one SmokyMountains.com builds from historical temperature and rainfall data tell you roughly when a zone should turn. Your state tourism department’s fall color report tells you what observers are actually seeing on the ground. Your own memory of that specific trail tells you what the map cannot — which side of the ridge holds color longest.
Elevation matters more than most people expect. Higher ground turns earlier than the valley floor, sometimes by two weeks. Species matters too: aspens and cottonwoods tend to run early and turn together, maples and birches vary year to year, and oaks tend to hold on the longest after everything else has dropped.
| Region | Typical peak window | Best elevation | Signature species | Photo note |
|---|---|---|---|---|
| Northern New England | Late September to mid October | Mid to high | Sugar maple, birch | Reliable color, heavy weekend crowds at famous overlooks |
| Mid-Atlantic and Appalachians | Mid to late October | Mid to high | Maple, oak, hickory | Long ridges read as layered color bands |
| Rockies | Mid to late September | High | Aspen, cottonwood | Fast turn, dramatic backlit groves, cold mornings |
| Upper Midwest | First half of October | Low to mid | Maple, birch, oak | Flat lakeside reflections, short daylight by mid-October |
| Pacific Northwest | Late October into early November | Low to mid | Bigleaf maple, vine maple | Wet evergreen understory keeps scenes from going bare |
These windows are a starting frame, not a schedule. Confirm them against the current prediction map and a live fall color report every week once you start looking.
Then build in a backup. Pick one secondary region roughly 60 to 90 minutes away that peaks a few days later or earlier than your primary. When the primary comes up flat or the weather closes in, you drive instead of sitting.
3. Time the Visit Around Peak Color and Light
Coordinate three calendars: the foliage prediction window, sunrise and sunset times, and the National Weather Service forecast. Autumn daylight shrinks every week, so sunset can land well before 6 p.m. by mid-October — build your shooting day around that, not around a summer habit.
Take a weekday if you can. The same overlook that is shoulder-to-shoulder on a Sunday afternoon is a private composition on a Thursday.
Plan three light blocks and treat each as optional. Dawn for mist, still water and empty trailheads. Late afternoon into golden hour for backlit canopy, which is where the glowing-leaf shots come from. And a full overcast midday, which sounds like a rest day but produces the most even, most saturated rendering of mixed color you will get all season.
4. Build a Realistic Route and Shooting Schedule
Turn your chosen locations into a timed route, not a list of wishes. Every stop needs an arrival time, a parking note, a rough walking estimate, and a trigger — the light, the leaf condition, or the weather that tells you to move on.
A workable single day looks like this:
- 4:45 a.m. Leave base, coffee in hand.
- 6:10 a.m. Arrive at the trailhead, walk in during blue light.
- 6:35–8:00 a.m. First shooting block: mist over water, reflections, backlit ridge.
- 8:00–8:30 a.m. Breakfast and a card check while the light flattens.
- 9:00–11:30 a.m. Overcast or soft-light block: forest details, leaf carpets, a second viewpoint at a higher elevation.
- 11:30 a.m.–1:00 p.m. Lunch, drive the scenic byway segment, check the live report for a pocket of color elsewhere.
- 1:00–3:00 p.m. Backcountry option if the light is dead: a shaded creek or a beaver pond.
- 3:00–4:30 p.m. Return to a known vantage point and wait for the light to turn.
- 4:30–5:15 p.m. Golden hour and backlit canopy. Sunset finish, then home.
Add a 30-minute buffer between stops. Foliage trips run long for two boring reasons: parking at popular trailheads, and the color being better one valley over than where you planned.
5. Prepare Camera Settings and a Compact Kit
Autumn is forgiving on exposure and demanding on detail. A practical starting point: shoot RAW, keep ISO low, stop down to around f/5.6 to f/8 for depth of field, and set shutter speed near the reciprocal of your focal length — 1/250 at 250mm. Leaves move in the slightest breeze, so shutter speed wins over the extra stop of aperture.
Underexpose by roughly one stop and check the RGB histogram. Reds and oranges clip before the standard exposure meter ever warns you, and a blown red leaf cannot be recovered in editing. Set white balance to daylight rather than auto when you want true color; the cloudy preset gives a cooler, softer look that some photographers prefer.
A circular polarizer is worth the space: it knocks down glare off waxy leaves and saturates skies. Just remember it costs a stop or two of light and can make backlighting uneven at wide angles, so loosen it or remove it once the sun is behind the canopy.
Pack a camera, a versatile wide-to-short zoom, and optionally a telephoto for compression across a ridge. Add spare batteries (cold cuts their life noticeably), memory cards, a lens cloth, a tripod, and rain protection. A small blower and microfiber cloth have saved more autumn shoots than any setting.
Backlight is the technique people ask about most. Shoot roughly 30 degrees off full backlight: the leaves glow, and you avoid the flare that comes from pointing straight into the sun.
6. Scout Compositions Before Peak Light
Arrive early enough to walk the scene before the light turns. Look for three layers — a foreground anchor such as a rock, railing or branch; a midground subject; and a background of ridge or sky. Find reflections, a path or boardwalk that leads the eye, and a tree that frames the view instead of blocking it.
Write down a short list of three to five compositions and note which light each one needs. A five-item list beats an hour of wandering, and it tells you exactly where to stand when the good light arrives.
7. Photograph the Changing Conditions
Wind, fog, rain and fading color are not failures; they are different photographs. Wind gives you movement at slow shutter speeds. Fog separates the ridge layers and gives you clean bands of color. Just after rain, wet leaves and puddles reflect everything back at you.
Work through a range of frames rather than one idea: a wide establishing view, a vertical from ground to canopy, a layered shot that stacks several bands of color, a backlit close-up where light comes through a single leaf, and something with a person or a trail for scale.
Do not abandon the trip the day after peak. Ground-level leaf carpets and wet-leaf closeups are often better than the canopy shots everyone else made. At the end of each day, review the cards on camera and pull the frames worth keeping, and note the one thing you missed so tomorrow has a purpose.
Common Mistakes to Avoid
Almost every avoidable disappointment on a foliage trip traces back to one of these.
Locking in a single date. Peak moves; your booking does not. Fix — set an arrival window of three to five days and book refundable.
Ignoring elevation. A valley-floor trip and a ridge-top trip can be three weeks apart. Fix — pick one elevation band and stay in it.
Arriving after peak. Bare branches photograph fine but not as autumn. Fix — check the live report the week you travel, not the month you booked.
Assuming parking. The lot fills by 9 a.m. at the best-known overlooks, and the illegal shoulder spot is not a fallback. Fix — verify parking and trailhead access in advance, and pick a second vantage point within walking distance.
Packing too much gear. Every extra lens is weight on a wet trail and one more thing to protect. Fix — bring a body, one zoom, a polarizer, and the second body only if you actually shoot two.
Waiting for sunny skies. The Northeast autumn delivers few of them. Fix — plan for bright overcast, which renders the widest range of color most evenly, and treat clear mornings as the bonus.
Shooting only at golden hour. You will burn the whole day waiting. Fix — fill the flat middle of the day with details, interiors of the forest, and the higher overlook you want anyway.
Leaving the foreground out. A wall of color with nothing in front of it is flat. Fix — spend five minutes at each stop finding something to anchor the frame.
Leaving gear unprotected. Cold drains batteries and rain finds every seam. Fix — a rain cover on the body, batteries in an inside pocket, and a cloth in the top pocket of the bag.
Three habits smooth almost every trip: check the live fall color report the morning you shoot, keep one full day of flexibility in the plan, and decide your three must-get shots before you leave the car. Everything else on the trip is a bonus.
Frequently Asked Questions
How early should I book for fall colors?
Book the trip as soon as you know the window, but only book lodging with free cancellation or a cheap rate you can change. Popular trailhead towns fill for peak weeks well before the color arrives, so lodging goes first, while flights and rental cars usually hold until a few weeks out. Pay for the room, not the date, and give yourself three to five days of slack inside your window.
Is fall foliage predictable?
Predictable to a point, not to a day. Prediction maps and historical averages tell you the week a region is most likely to peak, and that is genuinely useful. The exact starting day shifts with summer heat, nighttime temperatures and rainfall, so treat a published peak date as a target to aim at rather than a guarantee. The same hillside can run a week early or a week late from one year to the next.
What camera settings work best for fall color photography?
Start with RAW, ISO as low as the light allows, an aperture around f/5.6 to f/8, and a shutter speed near the reciprocal of your focal length so moving leaves stay sharp. Underexpose by about a stop and watch the RGB histogram, because reds clip before the meter warns you. Set white balance to daylight for accurate color, and finish the work in editing rather than chasing vivid JPEG modes.
Do I need a tripod for fall foliage?
Not for most daylight scenes, but yes for anything that benefits from a slower shutter. A tripod earns its weight on still water, long exposures of moving leaves, low-light forest interiors, and any bracketing for a high dynamic range scene. If you plan to work reflections or backlit canopies at dawn, pack one. Otherwise a monopod or a stable rock is usually enough.
How do I handle rain and wind on a foliage trip?
Both make better photographs than most people expect. Rain leaves surfaces reflective, so wet leaves and puddles double your options, and shooting just after a shower often gives the richest color. In wind, raise shutter speed rather than narrowing the aperture, because a sharp frame beats depth of field. Protect the body with a rain cover and keep batteries in an inside pocket, since cold drains them fast.
How do I know when foliage is at peak in the field?
Peak is when roughly half the leaves in the canopy are fully colored and none have started to drop, so the ground stays clean under a full crown. Check a live fall color report for your area first, then confirm on site. Look for even color across a whole hillside rather than one bright tree, and photograph without shaking branches or stripping anything. A public report plus your own eyes beats any single map.
Conclusion
Do four things this week. Choose the region and the elevation band you actually want, check the current foliage prediction map and your state fall color report, open a date window with three to five days of slack, then book refundable lodging and build a dawn-to-sunset route around one primary location and one backup. How to plan a fall foliage photo trip is not complicated, but every part of it has to be flexible, because the color decides the schedule and not you.