A softbox is nothing more than a light source made physically bigger: a box lined with a reflector and covered at the front with a translucent white material, so the light hits your subject from a wide area instead of from a bare bulb. Here is the short version of how to make a DIY softbox: cut an opening in a large cardboard box, line the inside with aluminum foil, cover the opening with two layers of white diffusion fabric, and set the light inside with air around it. Budget about an hour for the cardboard version, and the first real skill is not cutting, it is choosing a box big enough to do the job.
The reason this build is worth doing is that softness in a photograph is decided by one ratio: the size of the light compared with its distance from the subject. A bare flash head or a single bulb is tiny, so it throws hard-edged shadows and bright hotspots on skin, and every one of those edges is what makes a cheap photo look cheap. Enlarging the source with a softbox is the least expensive way to get the even, wrapping light that studio strobes give you.
Community builds have shown this more than once. A cardboard-and-diffusion thread on r/DiWHY confirmed it as the quick approach, while a build posted on r/howto used a frame instead: 3 meters of 3/4 inch PVC pipe with a tee, an elbow, a coupler and a fluorescent tube, all assembled with a pipe cutter, pliers and hot glue. Both produce usable light. What follows covers the cardboard version in full, because it is the one you can build tonight with things already in the house.
Updated for 2026.
Table of Contents
- What You Need
- Step-by-Step
- How to Choose the Right Box and Light
- Cut and Prepare the Box
- Line the Interior and Add Diffusion
- Place the Light and Test the Softbox
- Common Mistakes
- Frequently Asked Questions
- What material can I use to diffuse a DIY softbox?
- Can I use a regular light bulb inside a cardboard softbox?
- How large should a DIY softbox be for portraits?
- Should the inside of a DIY softbox be white or foil-lined?
- Can I use a DIY softbox with a camera flash?
- How do I prevent a DIY softbox from getting too hot?
- Conclusion
What You Need
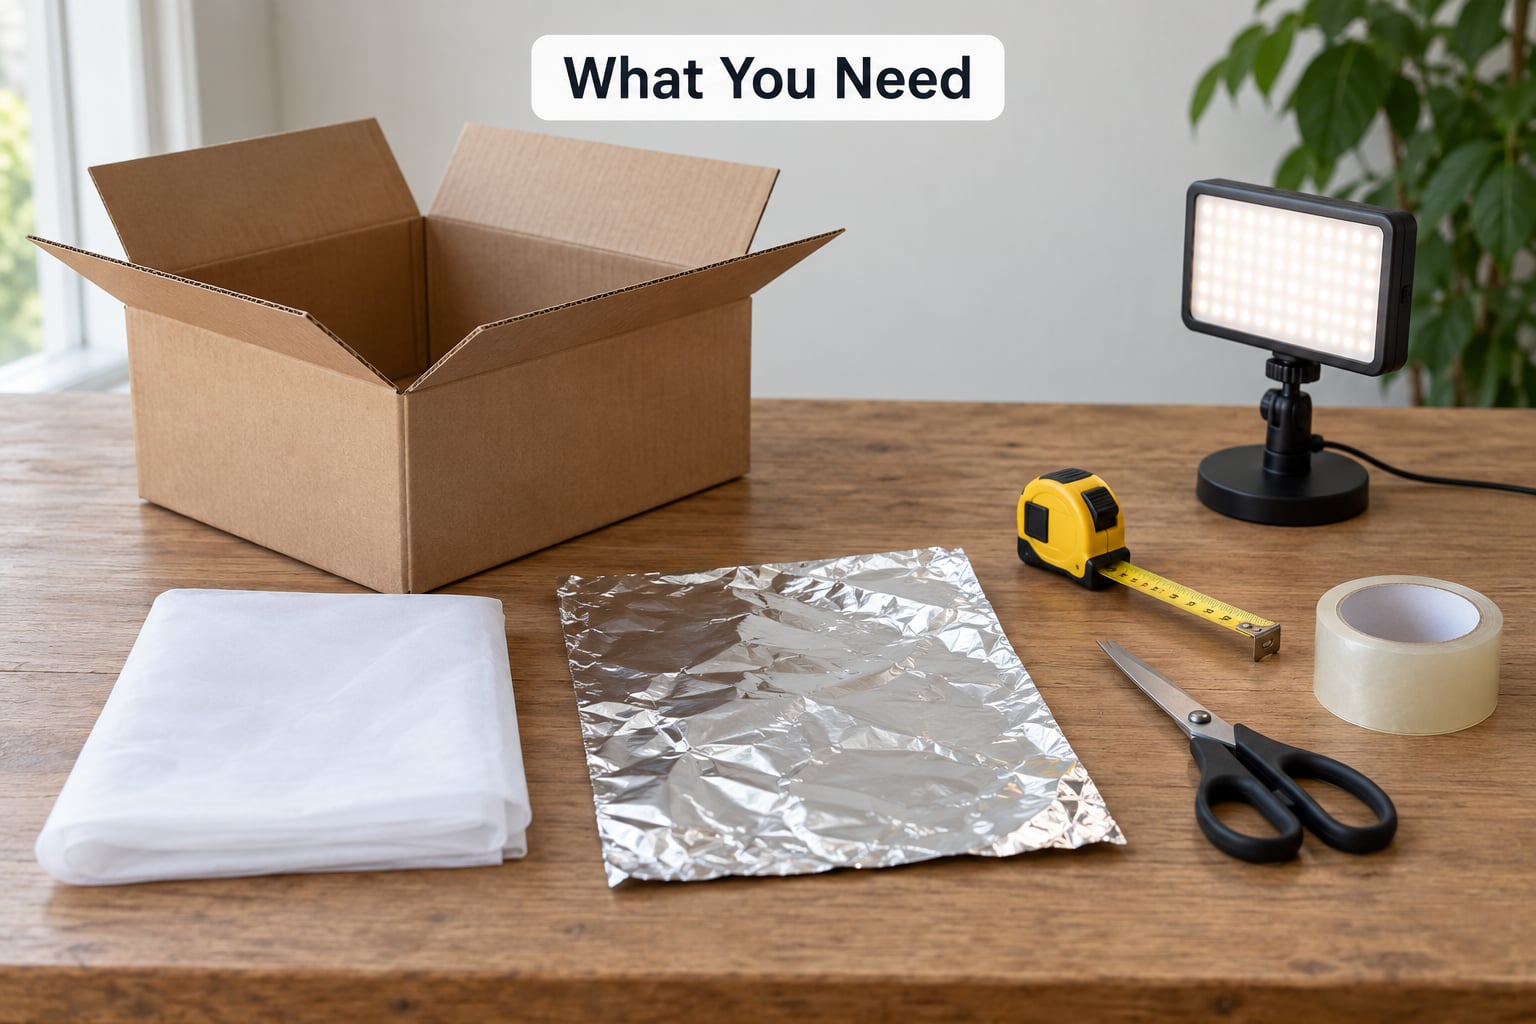
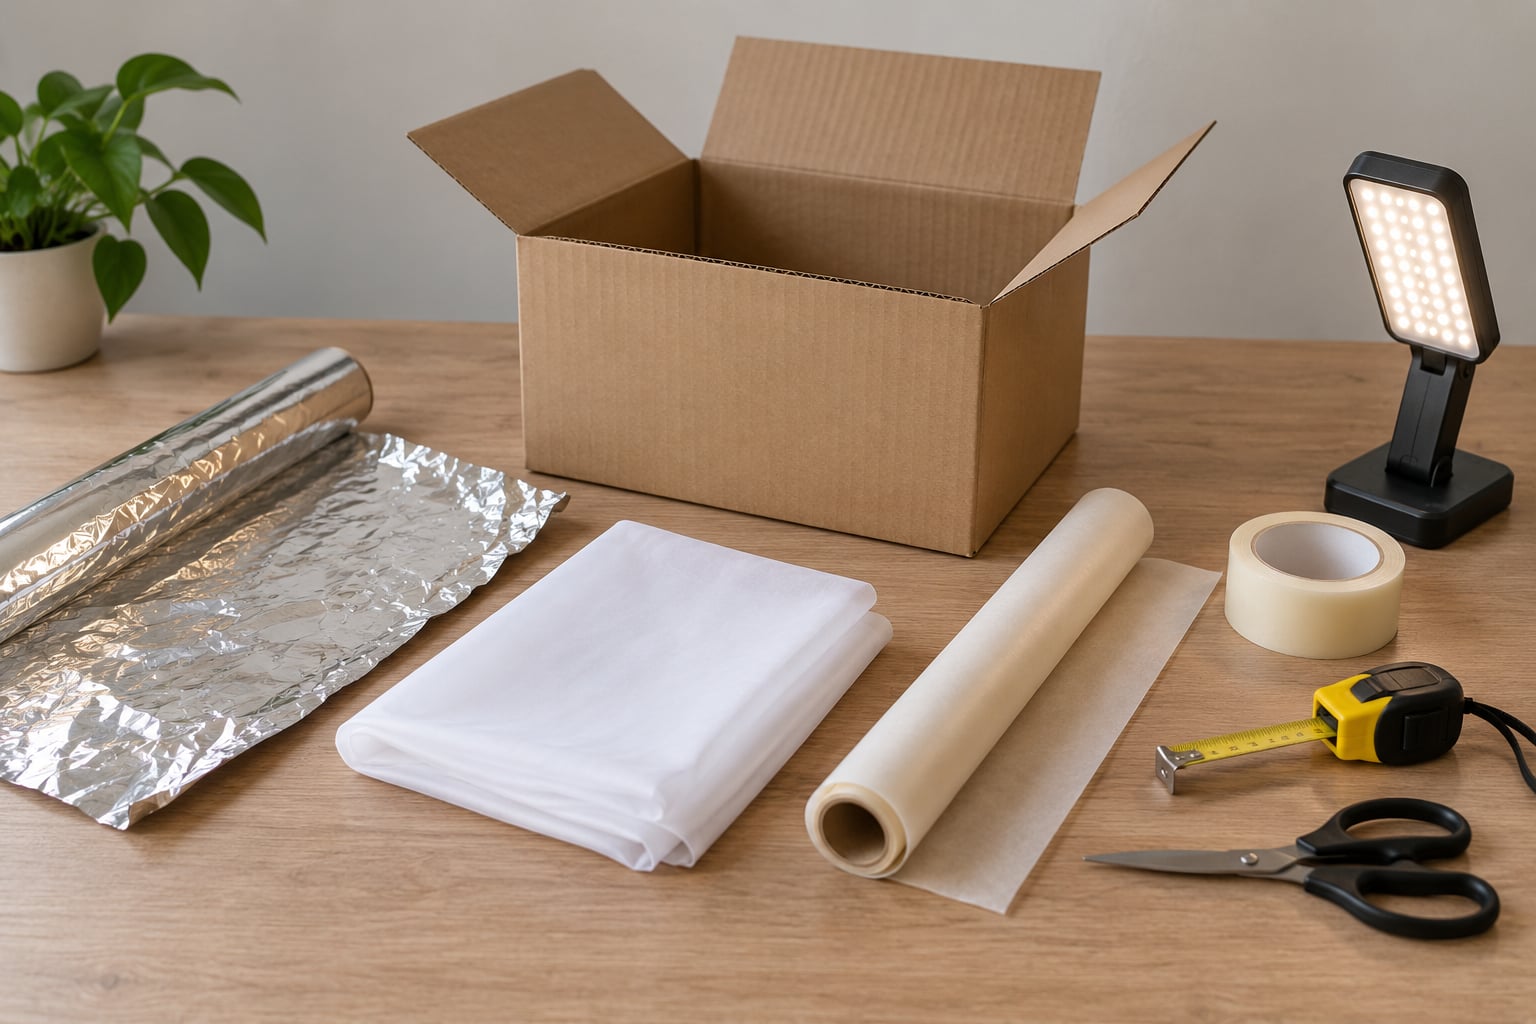
For how to make a DIY softbox you need less than most guides imply, and the list below covers the whole build. Everything except the light source itself is something you already own or can pick up in a single hardware store run.
- A large corrugated cardboard box — roughly 18 by 18 by 24 inches is the sweet spot for portraits and small products. A moving box or an appliance box works. A shoebox also works, but it gives you a much smaller source and noticeably harder shadows.
- White diffusion material — about 3 by 3 feet of it. Two layers of white tissue paper, parchment paper, a white cotton sheet, a thin shower curtain or even a clean white garbage bag all behave differently, which is why the table below matters.
- Aluminum foil — one or two large sheets for the interior reflector. White foam board or white poster board works too, with slightly less output.
- Adhesive — duct tape or gaffer tape for the structural joins, plus masking tape or safety pins for holding fabric to the box.
- Cutting and measuring tools — a utility knife or a pair of scissors, a ruler, and a marker for marking the opening.
- A light source — an LED panel, an LED strip on a 12V power supply, a compact fluorescent bulb, or a clamp work light on a stand. Cool-running sources are the safest choice inside cardboard.
- Optional for heat protection — a wire light cage, a metal reflector dish, or heat-resistant gloves if you plan to use an incandescent bulb.
- Optional for mounting — an L-bracket, a camera clamp, or a standard light stand adapter so the box does not have to sit on the floor.
How much light you lose depends entirely on what you stretch over the opening, so pick your diffusion layer deliberately rather than grabbing whatever is nearest.
| Diffusion material | Opacity | Light loss | Notes |
|---|---|---|---|
| White garbage bag | Low | Minimal | Wrinkles badly, so tape it flat. Good for a first quick build. |
| Parchment or baking paper | Medium | Moderate | Cheap, heat-tolerant to a point, easy to replace. The usual beginner choice. |
| Single layer white tissue | Low | Very low | Diffuses edges more than it softens light. Use two layers. |
| White cotton sheet or thin fabric | Medium-high | Moderate to high | Softest result, but needs a frame and it can scorch near a hot bulb. |
| Frosted acrylic or polycarbonate sheet | High | High | Durable and reusable, but opaque enough that you need a brighter source. |
Rule of thumb: the brighter your light source, the more diffusion you can afford to lose. A dim bulb behind heavy fabric produces a weak, flat image no amount of exposure can rescue.
Step-by-Step
This is the actual build, in the order that avoids rework. Do not start cutting until you have decided on a size, because the dimensions of the opening determine everything that follows.
How to Choose the Right Box and Light
Choose the box based on the widest subject you plan to photograph. For head-and-shoulders portraits, the front panel of the softbox should be roughly the size of your subject’s head and shoulders, so a box face around 18 inches square works. For a full-length portrait or a large product, go bigger, and remember that the frame rate matters more than the shape.
Then place the box at a distance that keeps it close to the subject. Put the front of the softbox about 1.5 to 2 times the box width from your subject. Move it closer and the shadows soften further, because the apparent size of the source grows; move it back and contrast returns. Closer also means brighter and hotter, so go slowly and watch the material near the light.
For your light source, an LED panel or LED strip is the least troublesome in a cardboard build, since neither puts meaningful heat into the box. A compact fluorescent bulb is a workable middle ground. An incandescent bulb works but is the reason so many builds scorch their diffusion fabric, so treat it as the last option rather than the first.
A whiteboard or sheet of white foam board on the opposite side of the subject does more for you than any amount of extra diffusion. Reflecting the soft light back into the shadow side is what turns a softbox into flattering light rather than merely soft light.
Cut and Prepare the Box
- Mark the opening. Lay the box on its side so the face you cut becomes the front of the softbox. Draw your intended diffusion panel on the open face, leaving a 1 to 2 inch border of cardboard to act as a frame. Confirm the size against your subject before you cut.
- Cut the front opening out completely. Score the line first with a utility knife, then cut along it. Removing the whole panel rather than cutting a small window keeps the frame square and gives you a bigger source, which is the whole point.
- Reinforce the frame. Fold the border inward and tape it, or run strips of tape around the cut edge. Cardboard flexes and the corners tear where the light and the tape both pull, so reinforce the corners first if your box is large.
- Make a back vent and a mount hole. Leave the back panel slightly open or cut a row of small holes along it so warm air can escape. While the box is still flat, cut a hole near the top for your stand adapter, a broom handle, or an L-bracket.
- Check for a clean surface. Wipe dust off the inside. Dust on cardboard is invisible until the light hits it, and then it shows up as a hot, dirty patch in every frame.
Line the Interior and Add Diffusion
For how to make a DIY softbox that actually throws light forward, the interior lining is the part people skip, and it is the part that matters. Bare corrugated cardboard absorbs light and scatters it in every direction, which weakens the output and leaves uneven illumination across the diffusion panel.
- Line the inside with foil. Cut sheets to fit the side walls and the back, and tape them with the shiny side facing the subject. Smooth out the creases as you go, because every crease becomes a visible bright line in the finished light.
- Add a reflector cone if the box is deep. A deep box with a small light at the back throws a hotspot in the centre of the panel. Cut two foil triangles and tape them together into a shallow cone, then tape the cone inside the box so the light spreads across the full opening instead of hitting one spot.
- Stretch the diffusion material over the opening. Lay it over the front face, pull it taut and tape the edges to the inside of the frame. Tension matters more than material: fabric that sags or wrinkles prints those wrinkles onto everything you shoot. Two light layers of tissue paper or one layer of parchment is a fine starting point.
- Leave airflow around the bulb. Keep a gap between the light and the diffusion panel and between the light and the foil. Never seal a hot bulb inside a closed cardboard box.
If you tape a second layer of fabric, do it at right angles to the first layer so the seams do not line up. Aligned seams create a cross-shaped bright line on the subject, and you will spend an hour wondering where it came from.
Place the Light and Test the Softbox
- Mount the light inside the box. Put the source about a third of the way back from the diffusion panel, pointing forward. If the source sits right at the opening you lose the reflecting benefit of the interior; if it sits at the very back of a deep box you get a hotspot.
- Secure the box so it cannot tip. Use the light stand adapter you cut a hole for, or tape the box to a clamped work light or a shelf bracket. A softbox that moves a few degrees between shots will cost you the whole shoot.
- Test on a neutral surface first. Put a sheet of white paper or grey card where your subject will be and take a frame. You are checking three things: even brightness across the panel, shadows that have soft edges rather than hard ones, and no bright hotspot in the middle.
- Adjust distance before exposure. Move the box closer for softer shadows and further back for more contrast, and stop down the camera or reduce your ISO rather than adding more light. Adding light raises the hotspot as well as the exposure.
- Compare against your bare light. Take the same shot with the light uncovered. If you cannot see a clear difference in shadow edge, your diffusion panel is probably too transparent or too small, and adding a second layer is the fastest fix.
That fifth test is the one most builds skip, and it is the only way to know whether your build did anything at all.
Common Mistakes
Almost every disappointing homemade softbox fails for one of a handful of reasons, and each has a specific correction rather than a general encouragement to try harder.
Light leaking around the edges. If the diffusion material is not sealed to the frame, you get raw, hard light escaping around it. Tape the fabric edges to the inside of the cardboard frame rather than the outside, and overlap the corners so there is no straight seam.
Wrinkled or transparent diffusion. Diffuser cloth that hangs loose prints its own creases on the subject. Pull it tight, then steam or iron it flat first, and use two thinner layers instead of one heavy one. If the material is thin enough to read the outline of the bulb through it, it is not doing enough work.
An overheated bulb. Cardboard, plastic film and fabric all have low heat tolerances. The fix is a cool-running source: LED panel or LED strip where possible, a clear gap around the light, ventilation holes at the back, and never left unattended while running. If you smell scorched paper, switch off at the wall and let it cool where it is.
A box that is too small. A shoebox makes the light source larger than nothing but far too small for soft shadows. Use a bigger box or move the small one closer to the subject, which is the cheaper fix than a second box.
Shadows that stay harsh. Usually the box is too far away, the diffusion is too transparent, or there is nothing opposite the subject to bounce the light back. Work through those three in that order before cutting another hole.
An unstable box. Cardboard on a light stand is a sail. Sandwich the stand mounting point between two scrap pieces of plywood, tape them together, and test the whole rig with a firm nudge before it is carrying anything expensive.
Two habits make any softbox look better. Watch the shadows on a white sheet rather than on a dark background, because you see edge quality far more clearly against white. And keep the build flat-packed if you shoot on location: a box that comes apart into two taped panels and a roll of foil reassembles in minutes and survives a car boot far better than a rigid one.
Frequently Asked Questions
What material can I use to diffuse a DIY softbox?
White tissue paper, parchment paper, a thin shower curtain, a white cotton sheet or even a clean white garbage bag all work. Tissue is the weakest and parchment is the usual first choice; cotton fabric gives the softest result but scorches near a hot bulb. Whatever you use, pull it taut and tape it to the inside of the frame, because wrinkles print on the subject.
Can I use a regular light bulb inside a cardboard softbox?
You can, but it is the option most likely to cause trouble. An incandescent bulb runs hot enough to scorch diffusion fabric, dry out cardboard and warp thin plastic, so use an LED or compact fluorescent bulb instead. Keep a gap between the bulb and the diffusion panel, cut ventilation holes in the back, and never run it unattended.
How large should a DIY softbox be for portraits?
For head-and-shoulders portraits, aim for a front panel roughly the size of your subject’s head and shoulders, so an 18 inch square face is a good starting point. Place it about 1.5 to 2 times the box width from the subject. Closer gives softer shadows and more brightness, so move it nearer before you rebuild anything bigger.
Should the inside of a DIY softbox be white or foil-lined?
Line it with aluminum foil for the brightest, most even output, since the reflective surface bounces stray light forward instead of letting the cardboard absorb it. White foam board or white poster card is a fine substitute and is easier to cut, with slightly less output. Whichever you use, add a foil cone in a deep box to spread the light across the opening.
Can I use a DIY softbox with a camera flash?
Yes, and it is the most common way to get real flash power into a homemade softbox. Mount the flash on an L-bracket or a flash bracket with a 1/4 inch thread so the head sits a third of the way back from the diffusion panel. Continuous lights give you a preview of the falloff; flash does not, so test exposure before each setup change.
How do I prevent a DIY softbox from getting too hot?
Use a cool-running source such as an LED panel or LED strip rather than an incandescent bulb. Keep clear air around the light, cut ventilation holes along the back panel, avoid sealing the box, and keep fabric away from the bulb. If you detect a scorched smell, switch off at the wall immediately and let the box cool before you touch it.
Conclusion
Start with the three things that decide whether the build works: a stable box with a front panel close to the size of your subject, an interior lined in foil and a cool-running light with air around it, then a test shot at close range before you shoot anything you care about. Get those right and the rest of the setup is just positioning.