Mixed lighting is any scene lit by two or more sources with different color temperatures at the same time: warm household bulbs beside a daylight window, a monitor glow across a desk, flash landing on skin that is standing in shade. Your camera can only render one white balance for the whole frame, so whichever source you correct to, the others drift orange, green or blue. Photographing in mixed lighting well comes down to one decision — pick the source that matters most to your subject — and then handling exposure, white balance and fill in a fixed order. Setting that up on location takes about ten minutes, and the rest is a couple of slider moves afterwards.
The rest of this guide walks through that order: what to have with you, how to spot the sources, how to expose, how to set color temperature, how to soften shadows without adding a third color to the problem, and how to finish the file in post. If you only read one section, make it the Kelvin cheat sheet under step three.
Table of Contents
- What You Need
- Camera and lens
- Lighting gear
- Supporting tools
- Step-by-Step
- How to identify the light sources in a mixed lighting scene
- Set exposure for the most important subject
- Set a white balance when you photograph in mixed lighting
- Control contrast with a fill source
- Shoot in RAW and make precise corrections
- Common Mistakes
- Frequently Asked Questions
- Can I use automatic white balance when photographing in mixed lighting?
- How do I fix an orange or blue color cast in a mixed-light photo?
- Should I use flash when there is already window light or lamps?
- What is the best camera setting for mixed lighting indoors?
- Can I photograph mixed lighting on a smartphone?
- Why do my highlights look overexposed when I brighten the shadows?
What You Need
Most of this list is gear you probably already own. The two items people skip, and then wish they had brought, are a gray card and a CTO gel.
Camera and lens
Any camera with manual white balance and RAW capture handles this well. A phone that shoots RAW or DNG works too, though its limited aperture makes the indoor exposure math harder. Lens choice matters less than people think: a 24-70mm covers most interior work, and a fast prime such as a 35mm f/1.8 or 50mm f/1.4 is what I reach for at events because it lets you keep ISO down and shutter up in a dim room.
Lighting gear
For rooms lit only by mixed household bulbs, an off-camera flash bounced off the ceiling or a nearby wall will do more than any white balance trick. Bring a small LED panel too — it gives you a continuous fill you can dim to match the room instead of fighting it. A standard pop-up flash is the one option I would skip, because its fixed position guarantees a nose shadow and a very hot spot on the face.
Supporting tools
- A gray card or a ColorChecker card, for a neutral reference in every frame.
- CTO and CTB gels that clip or tape over the flash head, so flash and ambient agree on color.
- A tripod or monopod, so you can drop to a slower shutter than handholding allows.
- A remote release or two-second timer, to avoid shaking the frame at low shutter speeds.
- A phone app with manual RAW, a separate white balance control and exposure bracketing, for shooters who travel with only a phone.
A note on the gray card: since RAW files hold white balance freedom, some people assume the card is redundant. It is not. RAW tells you the colors are recoverable; the card tells you what neutral actually was, and without it you are guessing.
Step-by-Step
The order below matters more than the individual settings. Do them once, in sequence, and most mixed-light problems disappear before you lift the camera.
How to identify the light sources in a mixed lighting scene
Look at the scene and name every source before you touch a dial. Daylight through a window, direct sun, overcast sky, open shade, household bulbs, halogen lamps, LED bulbs and tubes, fluorescent tubes, screens and monitors, and your own flash are the usual suspects. Reflections count too: a white ceiling bouncing tungsten onto the top of a face is a real source, and one that is easy to forget.
Then decide which one lands on the part of the subject that matters. For a portrait that is the face. For an interior that is usually the largest window or the room’s main ceiling fitting. That single decision answers the question forum photographers ask most — which source do I correct for first — and the rule is simple: correct for the light that hits the subject, not the light that dominates the room by square metres.
A quick check for whether you have it right: put your hand under the subject’s nose, or ask them to look straight up at the ceiling. The colour of that light is the colour your white balance needs to treat as white.
Set exposure for the most important subject
Meter for the subject and let the rest of the frame do what it does. If you are shooting a face against a bright window, spot meter the face or use a two-second timer, then apply whatever exposure compensation gets the skin a comfortable half stop under the middle grey. A window two or three stops brighter than a face is normal and fixable in post; a blown-out face is not.
For indoor work without flash, work through this order. Open the aperture as wide as you can live with, set shutter to at least 1/60 second for a stationary subject and roughly 1 over your focal length as the absolute floor for handheld, then raise ISO to whatever it takes. Shutter has the priority it always deserves: any camera back to around ISO 6400 looks fine at f/1.8 and a 1/125 second.
When the contrast between a window and the interior exceeds what a single frame holds, bracket three exposures and blend them in 32-bit. Match the white balance first so the frames actually match each other, and you avoid the muddy colour seams that come from merging frames the camera white-balanced differently.
Set a white balance when you photograph in mixed lighting
Switch white balance from auto to a preset or a custom Kelvin value matching the source you identified. Auto white balance assumes the whole frame is lit by one source and averages its guess across everything, which is exactly why mixed scenes shift from frame to frame with no visible cause.
Here is the cheat sheet. The counter-intuitive part is the direction of the scale: a higher Kelvin number means cooler, bluer light, which is why setting a warm tungsten scene to 5200K makes everything colder and bluer rather than warmer.
| Light source | Typical Kelvin | White balance to try | Matching gel |
|---|---|---|---|
| Direct midday sun | 5200-5600K | Daylight, 5500K | None |
| Overcast sky | 6500-7500K | Cloudy, 6500K | None |
| Open shade under blue sky | 7500-9000K | Shade, 7500K | Very slight warming |
| Blue hour, open sky | 10000K and above | Custom, above 10000K | None |
| Tungsten or incandescent bulb | 2700-3000K | Tungsten, 3200K | CTO |
| Halogen lamp | 3000-3200K | Tungsten, 3200K | CTO |
| Warm household LED bulb | 2700-3000K | Custom, 2800-3000K | CTO |
| Neutral or cool LED bulb | 4000-4500K | Custom, 4000-4500K | Half CTO or none |
| Daylight fluorescent tube | 4000-4500K | Fluorescent, plus tint toward magenta | CTG on flash |
| Older green fluorescent tube | 4200-4500K | Fluorescent, then tint toward magenta | CTG on flash |
| Computer or TV screen | 6500-9300K | Custom, high Kelvin | None |
| Unmodified camera flash | 5200-5500K | Flash or Daylight preset | Depends on ambient |
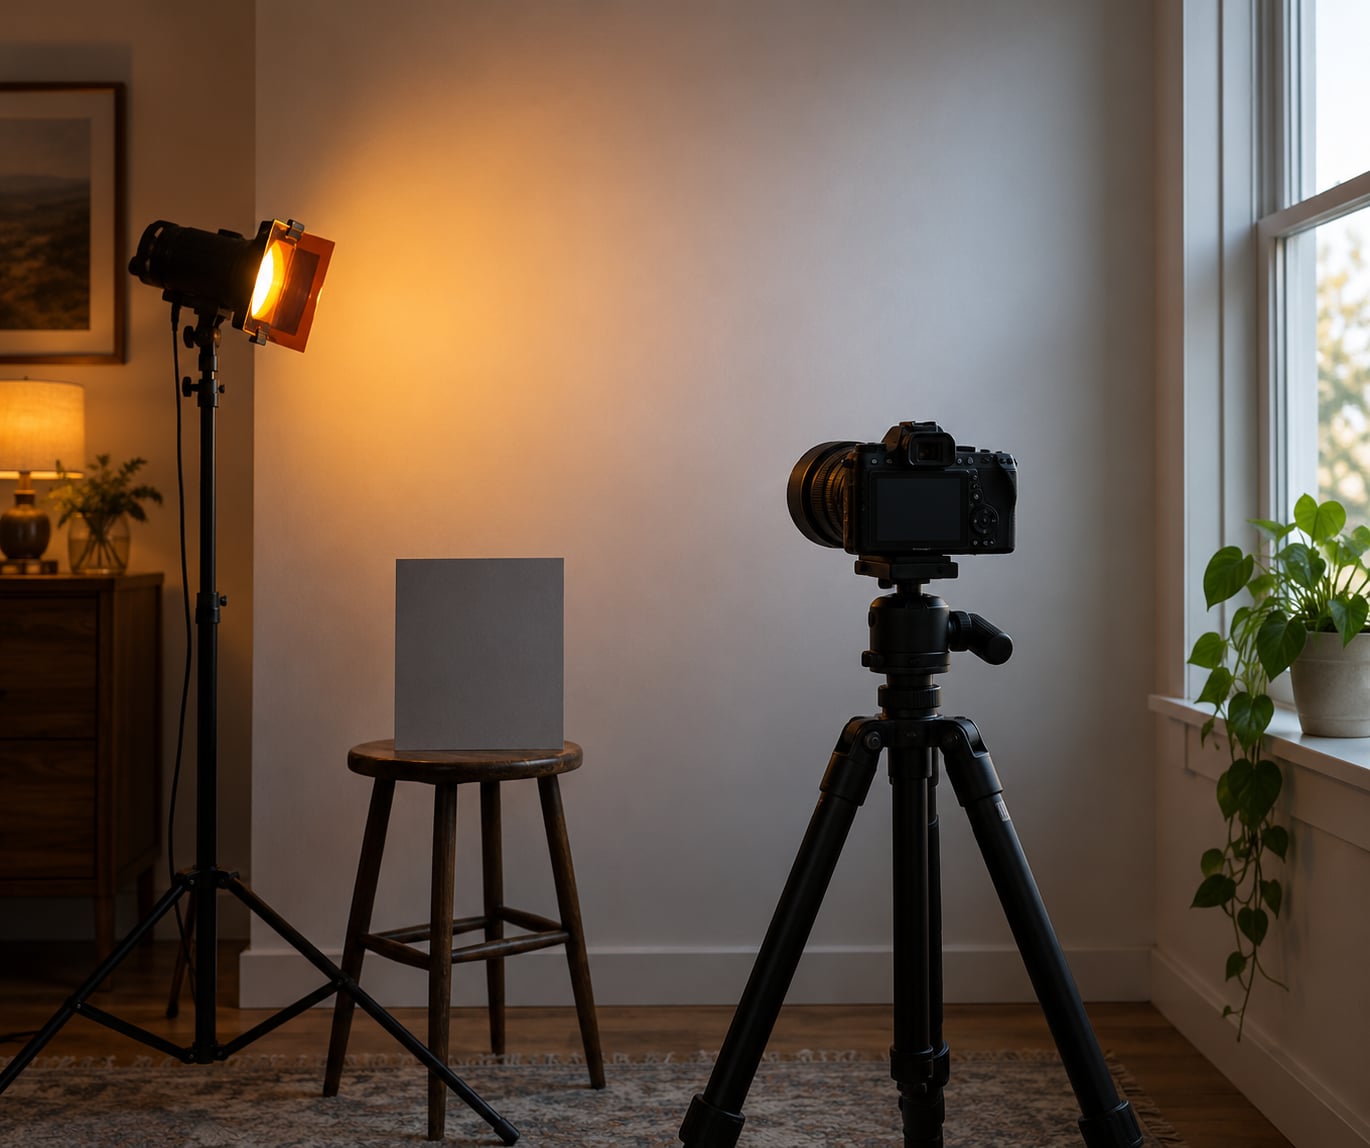
Take a gray card reading in the light that matters before you start shooting, and re-shoot it if the lighting changes. If you are working without a card, put a neutral reference in the frame: a sheet of plain white paper, an unpainted wall, or the inside of a cupboard. Skin tones are the other reference, and the quickest test is to check that any neutral in the frame reads grey and that skin reads somewhere between red and yellow rather than either extreme.
The second axis most people skip is tint, which runs green to magenta. Temperature alone cannot fix a green fluorescent wall or a cheap LED bulb, because those lights are off on the green-magenta axis rather than along blue-orange. Pull tint toward magenta until the neutral reference looks neutral, then check that skin has not gone pink.
Using flash in a mixed scene works the same way, just on the flash side: gel it so it matches. A CTO gel on a 5500K flash brings it close to tungsten ambient, and a CTB gel brings it close to overcast daylight. Gel the flash rather than correcting for it, because the gel fixes the light itself and costs you about a stop and a bit.
Control contrast with a fill source
Contrast is usually the bigger exposure problem, not colour. A face lit from the side by a window or a lamp has a shadow side that no amount of white balance work will rescue.
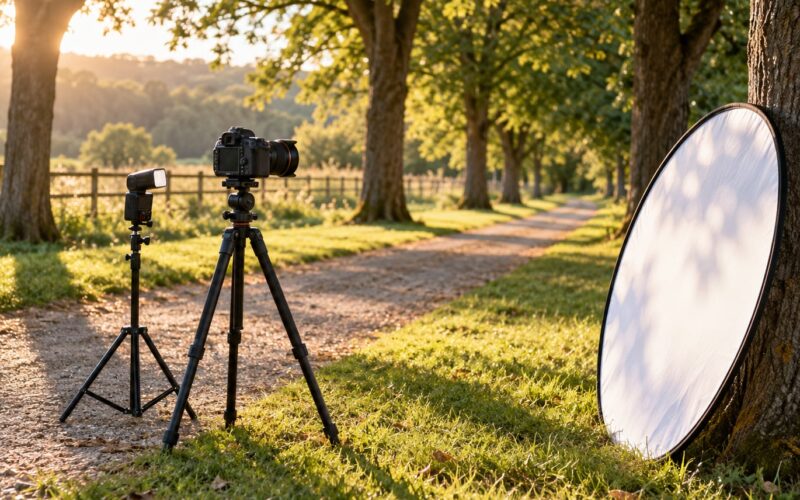
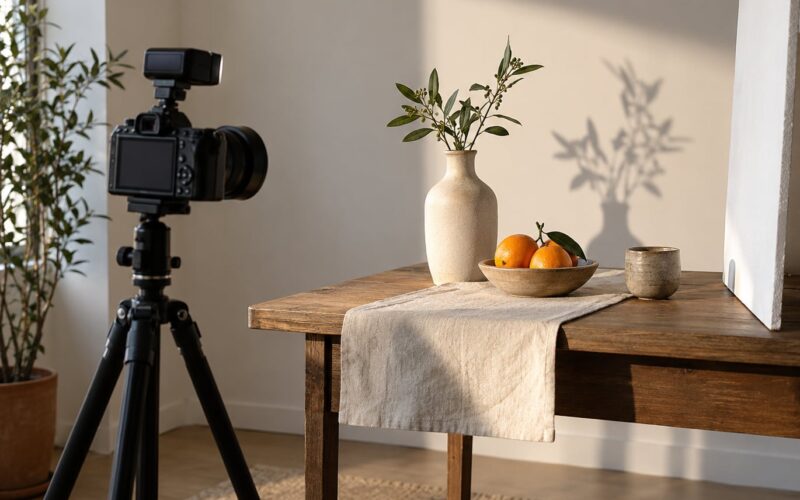
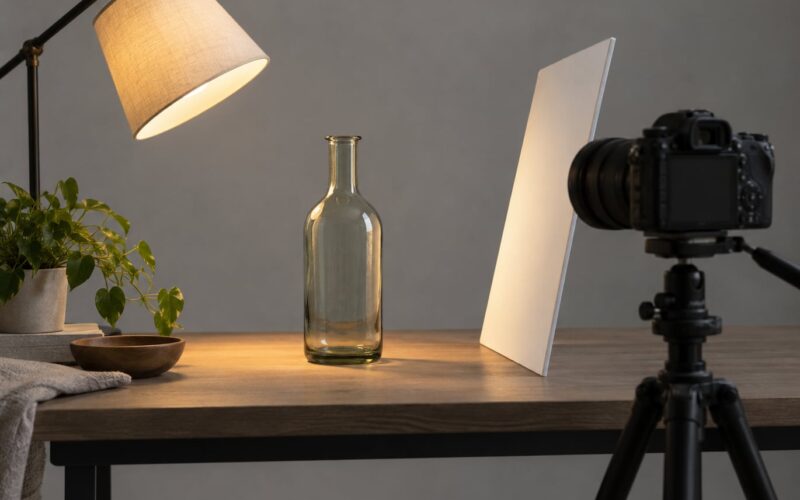
The cheapest fill is a reflector: a white card, a sheet of white foam board, or even a piece of car sunshade bounced into the shadow. Next cheapest is a wall or ceiling in the room that is already close to the colour of the light you want. Then a small dimmable LED panel placed close to a wall for indirect light, set to roughly the same brightness as the room rather than brighter.
Whatever you use, keep the fill close to the camera axis. Light from the front softens shadows without throwing new ones behind the subject, and it avoids adding a second colour temperature to a scene that already has two.
When you do use flash in an existing light, aim for the flash sitting one to two stops below the ambient level. That ratio reads as natural light with a little shaping on the face. Push it to three or four stops below for a darker, more dramatic look, and roughly equal for a flat documentary feel.
Shoot in RAW and make precise corrections
RAW is worth it here more than in almost any other situation, because a mixed-light JPEG has usually already made the colour decision for you and thrown away the raw data you would need to change it. If you have to shoot JPEG, set the white balance manually every time and never leave it on auto.
A workable editing order, in Lightroom or Capture One:
- Correct the exposure and set a sensible crop before touching colour.
- Drag temperature and tint together until a neutral in the frame reads neutral, then push the eyedropper onto that neutral so the correction is objective rather than a matter of opinion.
- Adjust saturation slightly, usually down a little, because a scene corrected from a strong cast often lands oversaturated.
- Correct regions separately. A window blown to a cool blue next to a warm interior needs a local correction, not a global slider move.
- Check skin and any wood or beige material. Over-cooling a room to kill the yellow can turn warm timber grey, so pull it back until the material looks like itself.
- Open the histogram and the RGB readout on a bright neutral patch. If one channel is clipping, you have clipped that channel and colour detail there is gone.
For a set of frames that must look consistent, choose your target once. Decide in advance whether the gallery is neutral, warm or cool, then match every frame to that target rather than correcting each photo to look right on its own. It is the single habit that stops a session drifting by the end of the afternoon.
Common Mistakes
Nearly every mixed-light problem comes down to one of these, and each has a quick fix. Use the symptom column to find your case.
| Symptom | Cause | Fix |
|---|---|---|
| Orange skin, blue window | White balance set for the daylight, face lit by household bulbs | Correct for the source hitting the face, not the window |
| Green walls and skin | Fluorescent tube or a cheap LED bulb | Use the tint slider toward magenta; temperature alone will not do it |
| Everything warm and flat, no detail in shadows | JPEG with a tungsten preset, then brightened in post | Shoot RAW and fix the exposure before the colour |
| One room warm, the next cool | Auto white balance deciding differently in each frame | Fix a target temperature and match every frame to it |
| Hard seam between two exposures | Bracketed frames white-balanced differently before merging | Match white balance first, then blend in 32-bit |
| Flash looks like a hot white spot | Ungelled flash and flash power above the ambient level | Gel the flash, drop power one to two stops below ambient |
| Nose shadow and hard cheek edge | Pop-up or bare on-camera flash fired straight ahead | Bounce it off a ceiling, or move it off-axis and raise it |
A few more that never make the table: trusting auto white balance on a scene with two sources, judging colour on the camera screen at full brightness rather than at a calibrated lower brightness, and leaving the gray card at home because the scene is quick. That last one is how a fast job becomes a retouching job.
There is also a false rule worth dismantling. You will read both that flash should never be used indoors and that flash should always be gelled and balanced into ambient light. Neither is true. Flash is the fastest way to make a dim mixed room look like a lit portrait, provided you match its colour and keep it a stop or two under the room.
And a creative note, because mixed light is not always a fault to be corrected. Warm lamp light against a cool blue window at dusk is one of the most recognisable looks in photography. Leave the white balance alone, or even push it further, and let the two temperatures stay visible.
Frequently Asked Questions
Can I use automatic white balance when photographing in mixed lighting?
Only when every source in the frame is close to the same colour temperature, which by definition means the scene is not mixed. Auto white balance averages its guess across the frame, so whichever source is brightest or most familiar wins, and your white balance shifts from shot to shot. Set it to a preset or a custom Kelvin value instead. Leave auto on only when you are shooting a quick sequence you do not need to match with anything else.
How do I fix an orange or blue color cast in a mixed-light photo?
Take a white balance reading from the source that lights your subject, not the brightest thing in frame. Shoot a gray card or put a neutral surface in the picture, then in post drag temperature and tint until that reference reads neutral, or use the eyedropper directly on it. For skin, keep it between red and yellow rather than pushing to a fully neutral grey. RAW files give you far more room here than JPEG.
Should I use flash when there is already window light or lamps?
Yes, if the room is dim enough that ISO or shutter speed is suffering. The flash only makes things worse when its colour and power do not match the room. Gel it, aim for one to two stops below the ambient level, bounce it off a ceiling or move it off-axis, and it reads as shaping rather than as a separate light source. In a bright room with plenty of window light, you rarely need it at all.
What is the best camera setting for mixed lighting indoors?
Shoot RAW and set white balance manually. Open the aperture as wide as the subject allows, keep shutter at 1/60 second or faster for a stationary person, and raise ISO to compensate rather than letting the shutter drag. For the faintest handheld work, 1 over your focal length is the floor. Use a tripod and a two-second timer when you need to go below that, and spot meter the subject rather than the whole room.
Can I photograph mixed lighting on a smartphone?
Yes, and the workflow is the same in outline. Use a third-party app with manual control, RAW or DNG capture and a separate white balance setting rather than the stock camera app. Lock exposure and white balance before you start so a whole sequence stays consistent, and tap a neutral surface to set white balance from it. Exposure bracketing in these apps lets you merge a bright window with a dim interior, provided you match the colour before merging.
Why do my highlights look overexposed when I brighten the shadows?
Because raising the shadows also raises whatever was already close to clipping. Open the histogram and the RGB readout and look at the brightest neutral area: if one channel is already pinned at 255, that channel has no colour data left and brightening the rest of the frame makes it look worse. Shoot a bracket instead, blend the frames in 32-bit, or move your subject away from the harsh contrast with a fill card or reflector.
Start with the light on the subject, not the light in the room. Name it, meter the subject, set white balance to match that source, shoot RAW, and put a neutral card in the first frame so you know what neutral meant. Everything after that is a couple of slider moves and a reflector held in the right place.