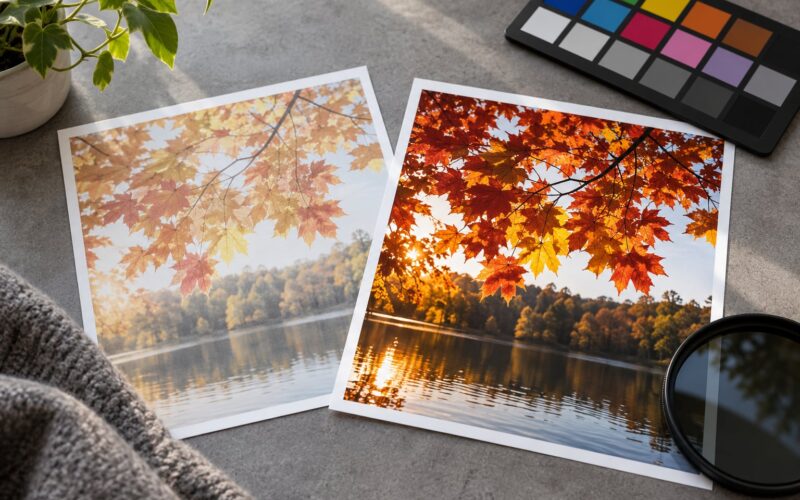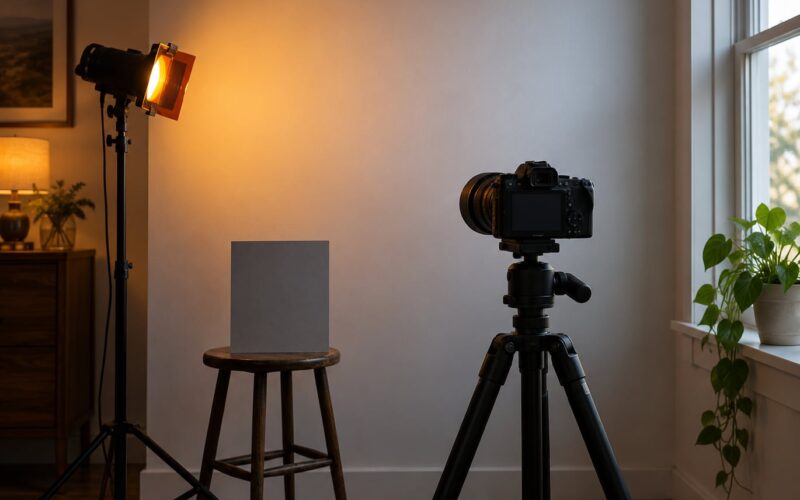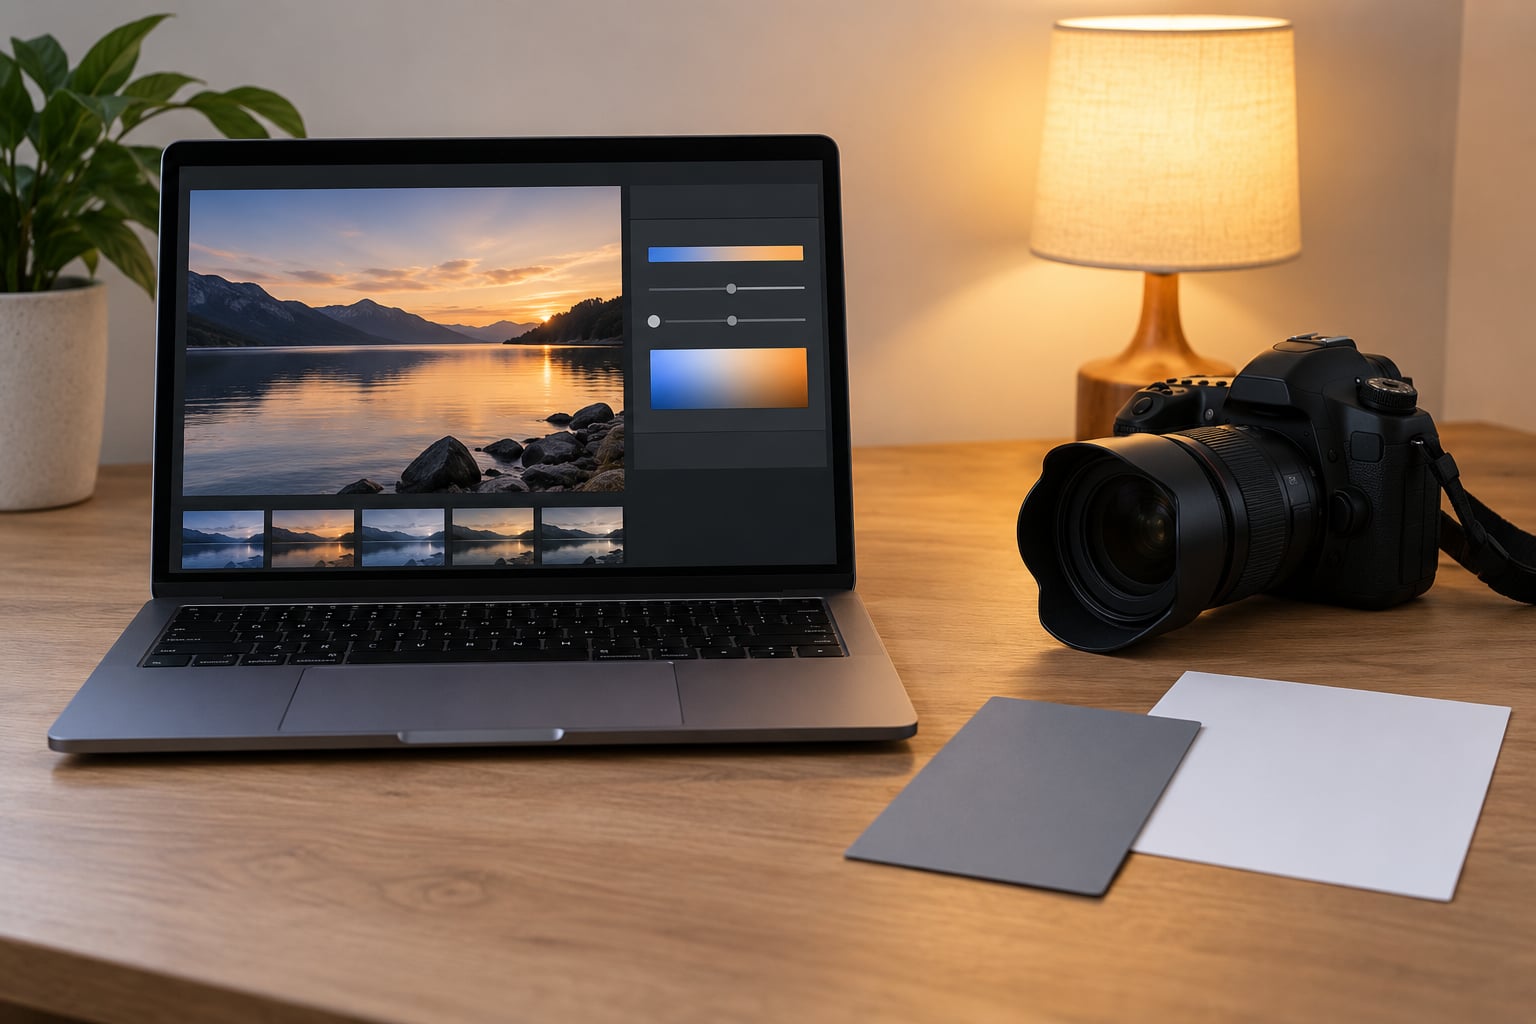
A color cast happens when the color of the light hitting your subject does not match the white balance your camera is set to, so every neutral surface in the frame picks up a tint. To fix color casts from indoor lights, set white balance from a neutral reference photographed under that same light, match the Kelvin value to the bulb, then make a small temperature and tint correction on the RAW file in post.
That is the whole method. The fiddly part is that most rooms do not have one light. A kitchen can have a warm bulb over the stove, a cool LED ceiling panel, and blue window light all hitting the same face at once. No single white balance setting satisfies all three, and that is why so many indoor photos look orange in the shadows and green on the walls.
There are three places to intervene: in the camera before the shot, at the light source itself, or in editing on a RAW file. In-camera is free and instant. At the source is the only fix that makes every photo from the session consistent. In post is the most flexible and the one you will actually use most, because it costs nothing and you can decide later.
This guide walks through all three in the order that wastes the least time, updated for 2026.
Table of Contents
- What You Need
- Step-by-Step
- 1. Identify the Type of Indoor Color Cast
- 2. Set a Reliable White Reference
- 3. Adjust White Balance Before Shooting
- 4. Correct the Cast in Photo Editing
- 5. Check the Result and Avoid Overcorrection
- Common Mistakes
- Frequently Asked Questions
- How do I make indoor lighting look natural?
- How do I fix a green color cast in my photos?
- What color temperature should I use indoors?
- Can you fix white balance in post?
- How do I white balance with mixed lighting?
- What is a gray card and how do I use it?
- Conclusion
What You Need
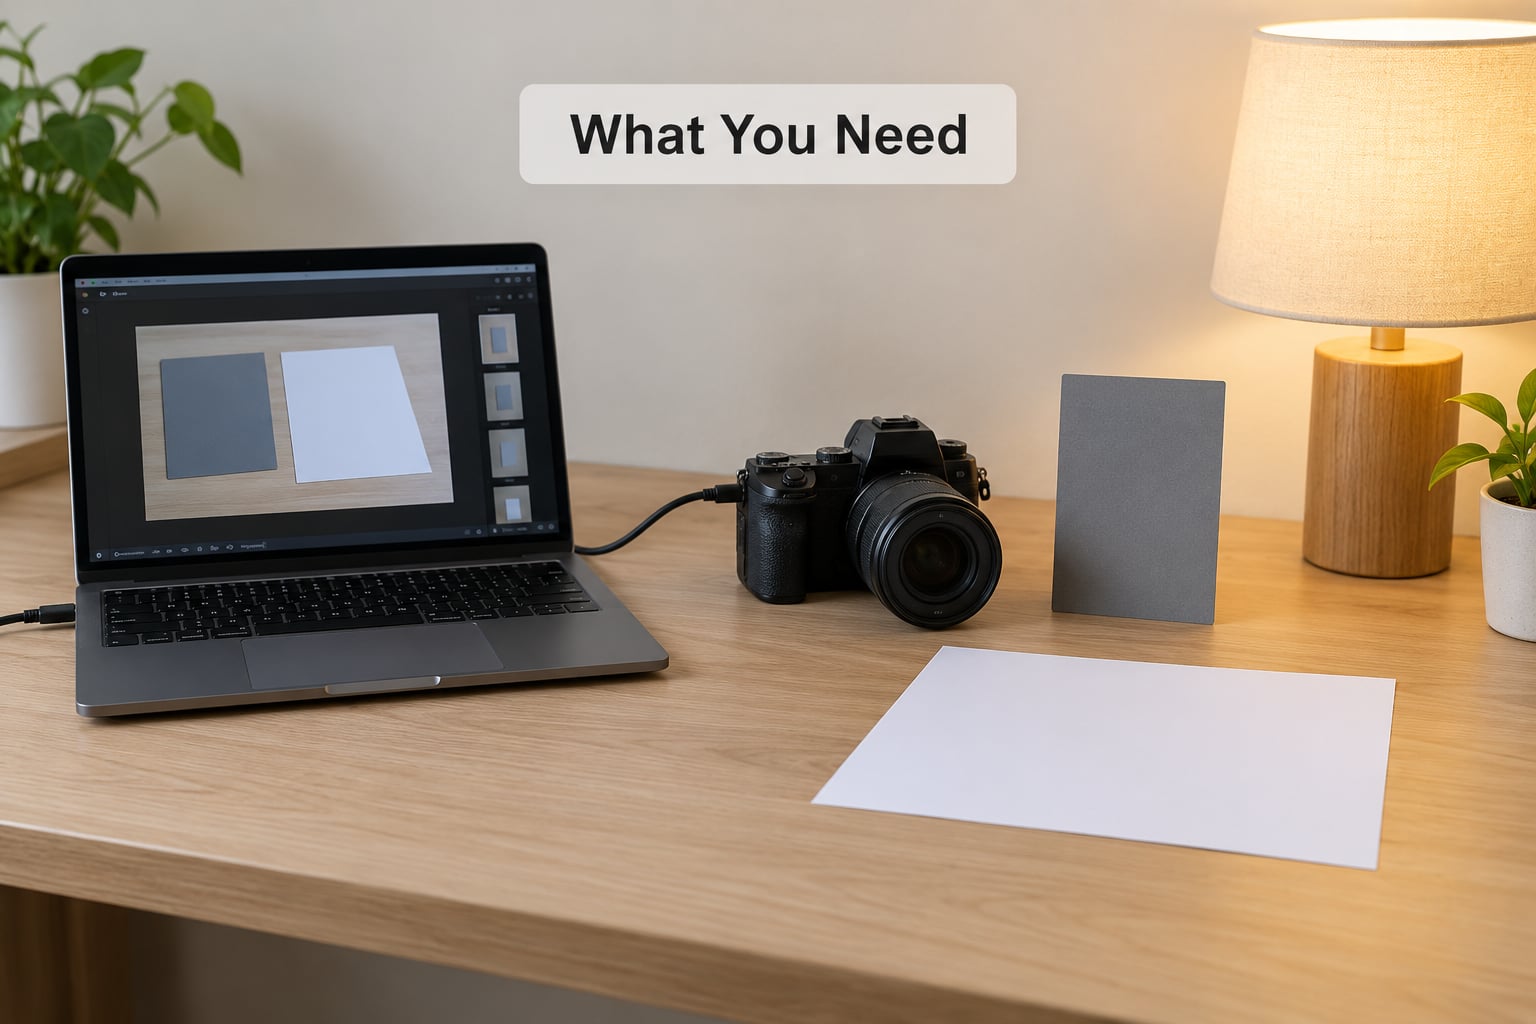
You need far less than most people assume. A reference card and a way to check the result gets you most of the way there.
- A camera with manual white balance. Every DSLR and mirrorless body has one. Look for WB, white balance, or color temperature in the shooting menu, or a dedicated WB button on a top plate.
- A gray card or white balance card. An 18 percent gray card gives the most repeatable result because the camera is built to expect that value. A plain sheet of white printer paper works in a pinch, as long as it is genuinely white and not yellowed.
- A color checker chart if you shoot skin for a living. The neutral strip on a ColorChecker is more accurate than a cheap card and also gives you swatches to check skin tone afterwards.
- A color temperature meter for rooms you shoot repeatedly. It reads correlated color temperature (CCT) in Kelvin and is the fastest way to know what you are dealing with before you pull the camera out.
- A color checker app or software that reads the frame and tells you the numeric correction instead of making you guess by eye.
- A photo editor with temperature and tint controls. Adobe Lightroom, Adobe Photoshop, Capture One and DaVinci Resolve all have them. This is where the actual correction happens for most people.
- A reasonably neutral surface to judge by. White walls, a sheet of copier paper, or a light gray shirt near your subject.
Skip the meter and the color checker if you are just fixing one photo. Do not skip the gray card, though, because it is the cheapest item on the list and the one that most reliably tells you the truth about a light source your eye has already adapted to.
Step-by-Step
1. Identify the Type of Indoor Color Cast
Identify the cast before you correct it, because the direction of the fix depends entirely on what is causing it. A warm cast and a green cast look like the same problem on screen and are not.
Start with what your eyes are telling you. After ten minutes in a room, your eyes adapt to the light and stop reporting the color accurately. That is why a room that looks obviously orange to a visitor can look perfectly normal to you while you are standing in it with the camera. If you want an honest read, step outside or into a neutral hallway for ten seconds and look back.
| Cast you see | Most likely cause | Fastest fix |
|---|---|---|
| Orange or yellow | Tungsten or incandescent bulbs, warm LEDs, candlelight, or a white balance set too low | Raise the Kelvin value, or select the Tungsten preset |
| Blue or cool | Shade, open window light, overcast daylight, or a Kelvin set too high | Lower the Kelvin value, or select the Shade or Daylight preset |
| Green | Fluorescent or cheap LED tubes, green wall or foliage bounce, AWB tricked by a dominant green subject | Push the tint axis toward magenta until the neutral reads gray |
| Magenta or pink | Auto white balance overcorrecting a green-heavy frame, or a heavy tint push already applied | Move the tint axis back toward green |
| Patchy, only on part of the subject | Mixed lighting, or one fixture switched to a different mode mid-session | Fix the fixture at the source with a gel, or correct locally in post |
Three causes account for nearly every indoor cast, and they need different responses. The first is the bulb itself, which you handle with white balance. The second is reflected color off a wall, ceiling or tabletop, which white balance can only partly rescue because the reflection is tinted differently from the direct light. The third is the camera or the editing workflow, which is usually a preset left on auto or a JPEG that has already baked the shift in.
There is a fourth cause worth naming because it wastes the most time: a modifier or diffuser adding its own tint. Diffusion fabric and softboxes can shift the apparent color of an LED rather than only softening it, so a fixture that looks correct bare can read off once you add diffusion. That is a fixture problem, not a camera problem.
How do you tell whether the cast is real and not just your monitor? Put a neutral gray patch or a white card into the frame beside your subject. If the card looks tinted in the file, the cast is real. If the card looks neutral and the rest of the frame still looks wrong, the problem is something else, often the display you are judging on.
2. Set a Reliable White Reference
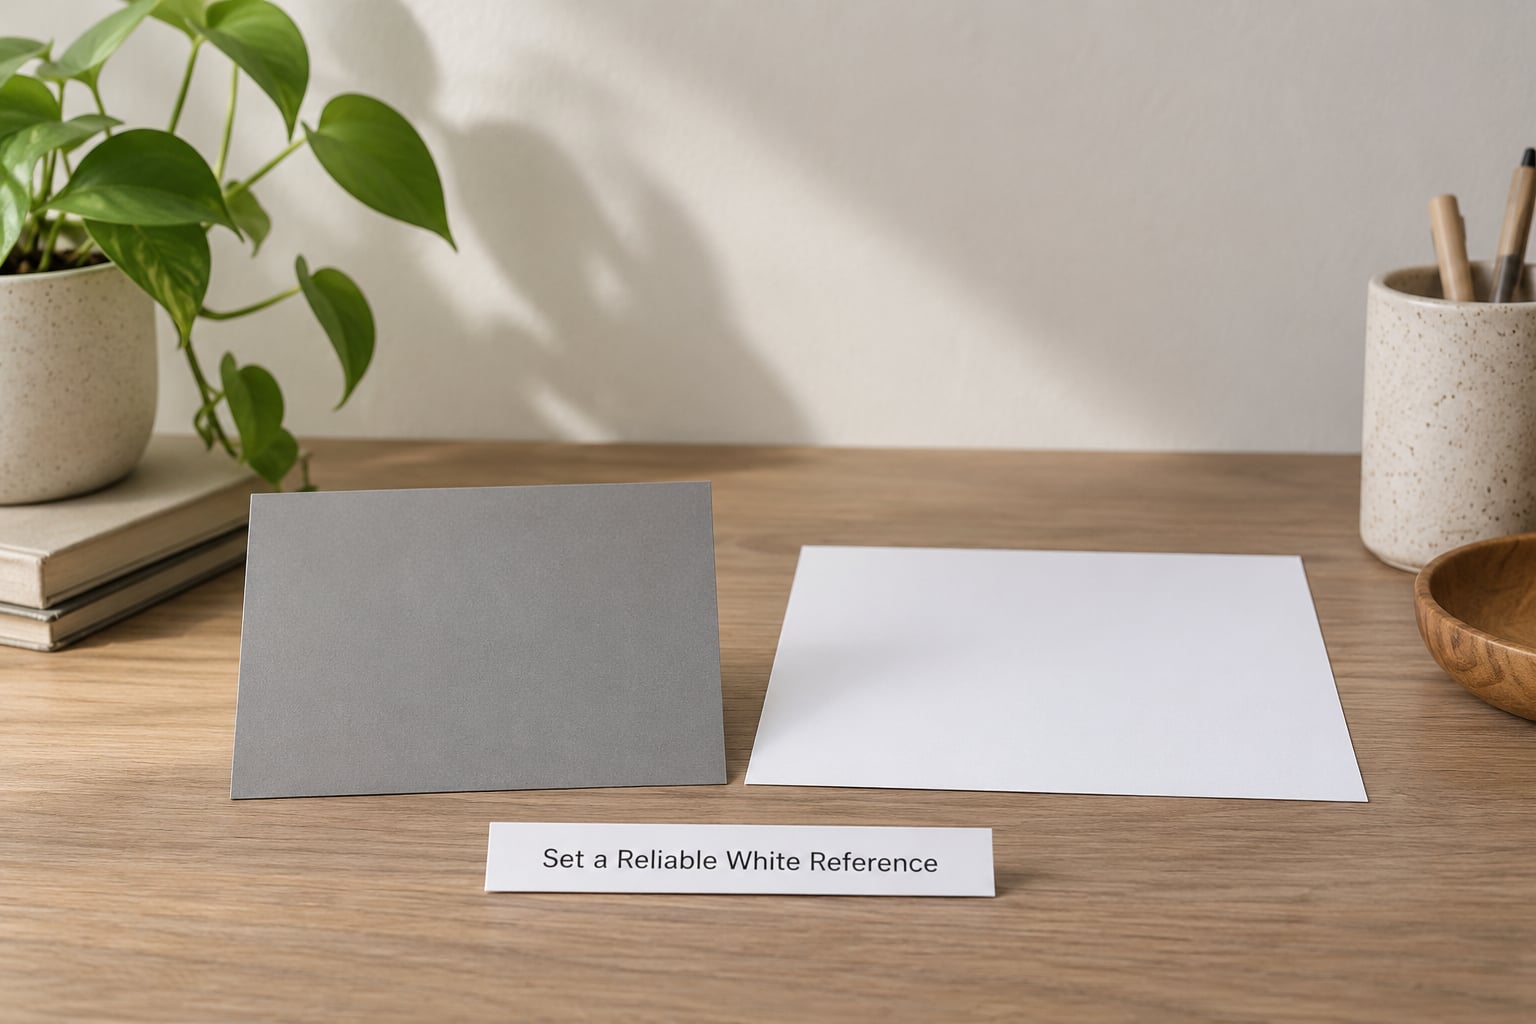
A white reference is a neutral object photographed in the same light as your subject, so the camera has something true to measure against. Fill the frame with the card, make sure it is in shadow rather than blown out by a bulb, and take the shot.
Placement matters more than card quality. Put the card where your subject’s lit side is, not next to a window or a fixture. If you expose for the card and it clips to pure white, you have thrown away the measurement. Underexpose by a third of a stop if you have to, and the reading still holds.
Then set custom white balance from that frame. On most cameras the path is WB, then enter the set custom option, then select the frame you just shot. Sony, Canon, Nikon, Fujifilm and Panasonic bodies all follow that same shape, with slightly different menu labels.
What to do when you have no reference available: use the nearest neutral you can find. A white shirt, a piece of paper, or even the underside of a white lampshade lit by the fixture in question will get you close. Then correct the small residual error in post, where you can measure it. Forum shooters shoot a card or chip chart at the top of an event for exactly this reason, so that they are not guessing at 7pm in a hall with twelve fixtures running.
If you work on multi-camera events, shoot the reference with every body, pick one as the master, and dial the others in until their casts match. That trick comes up again and again on event and church forums, where matching fixtures properly is rarely an option.
3. Adjust White Balance Before Shooting
Set the white balance mode based on whether the light will change during the shot, not based on which mode sounds most accurate. Daylight or Shade locks for consistent conditions. Tungsten or Fluorescent presets cover a narrow bulb type. Custom is the right answer whenever the light is unusual, and Auto is only safe when the frame has no dominant color.
Auto white balance fails in a predictable way: it looks at the whole frame and assumes the brightest large area is white. A portrait against green foliage indoors makes it add magenta, a frame full of warm wood makes it go blue, and two shots of the same room can come out differently, which ruins a gallery or a video sequence.
| Indoor light source | Typical Kelvin | Matching white balance |
|---|---|---|
| Candlelight | 1800-2000K | Custom or the warmest end of the Tungsten range |
| Household incandescent and halogen | 2700-3000K | Tungsten preset, around 2800-3200K |
| Warm white LED | 2700-3000K | Tungsten preset, or a custom reading from a card |
| Cool white LED | 4000-4500K | Custom; no preset covers this range well |
| Daylight through a window | 5000-5500K | Daylight preset, around 5200-5500K |
| Open shade or overcast sky | 6500-7500K | Shade preset, around 7000-7500K |
| Old fluorescent tubes | 3000-4200K, heavy green | Fluorescent preset plus a tint push toward magenta |
On the camera, the temperature axis runs from blue to yellow in Kelvin, and the tint axis runs from green to magenta. Temperature handles the obvious warm-versus-cool error. Tint is the one people forget: a fluorescent tube or a cheap LED can be exactly the right Kelvin and still render green, and only the tint axis fixes that.
Shoot RAW. Everything in this step becomes a starting guess once you are in post, and a RAW file keeps the neutral information intact so you can adjust white balance later without any quality loss. A JPEG locks the cast into the pixels, and the best you can do afterward is paint over it.
If you are not sure of the value, bracket it. Shoot the same frame at three Kelvin settings, maybe 3000K, 4000K and 5000K, then pick in post. It costs three extra frames and removes the guesswork entirely. Most shooters settle on a fixed value around 5500-5600K indoors as a starting point and adjust per scene, which at least gives you consistency.
4. Correct the Cast in Photo Editing
Correct the cast in post by setting white balance from a measured neutral in the frame, not by dragging sliders until it looks nice. Open the RAW file in your editor and use the white balance eyedropper on a patch of gray, white or known-neutral color.
In Lightroom and Adobe Camera Raw the path is the WB panel in the Basic group. Set Temp and Tint roughly by eye first, then hold Alt and click a neutral patch to have the eyedropper sample it. Shift-click lets you add a second sample to average several patches together, which is more reliable than one. Exposure and contrast do not affect the reading, so you can correct color before you touch either.
In Capture One, the same idea lives under the Color tool in the upper toolbar, where the Color Balance tab gives you a temperature slider and a tint slider with a link for the two axes. The Levels and Curves tool can add a curve on top if you need to pull a stubborn cast out of the shadows, which is where mixed lighting hides.
In Photoshop, open the RAW file through Camera Raw, or convert the layer to a Smart Object first so the adjustment stays editable. Then use Image, Adjustments, Curves and work on one channel at a time. A small move on the red or blue channel removes a cast that temperature alone cannot. For a finer, more surgical job, select the area with a quick selection or pen tool and apply Curves only to that selection, which is how you correct one off-color fixture without wrecking the rest of the room.
In DaVinci Resolve, the correction lives in the primaries wheels at the bottom of the color page. Lift, gamma and gain each have a temperature tint control, and you can right-click a node to add a qualifier that isolates a single part of the frame.
Once the white neutral reads neutral, check the rest of the image. If a wall was genuinely painted gray and now reads gray, you are done. If you need HSL or a selective color adjustment on top, you are correcting a reflection problem, so keep those adjustments small. The eye is very good at spotting over-cooked skin, and a neutral gray wall that has gone faintly cyan reads as a mistake even when most viewers cannot name why.
5. Check the Result and Avoid Overcorrection
Judge the result at normal viewing size, not zoomed to 100 percent. A cast you can clearly see on a 100 percent crop often disappears at the size the photo will actually be seen, and vice versa. Zoom in for detail, but make the final call from across the room.
Check three things in order. First, the neutral: a gray card, a white shirt, or a white wall should read as a neutral gray or white with no hint of a hue. Second, the skin: skin should be warm and slightly pink, not orange, not gray, and not green. Third, the second-most-common color in the frame: if your subject wears blue, it should look like blue clothing rather than a gray-blue smear.
Stop as soon as the cast is gone. A common failure is pushing tint until a green frame turns perfectly neutral gray, then continuing until it turns faintly magenta. If you are not sure whether you went too far, flip between the corrected version and the original with the key, or put them side by side. Overcorrection always shows first in skin, because skin is the one color people expect to fall exactly where it does.
One honest caveat: if your display is uncalibrated, you are judging against a moving target. Phone screens in particular are bright, glossy and pushed warm or cool by whatever the phone thinks the content is. If you make a correction and it looks wrong on the phone but right on the monitor, trust the monitor, and check the file on two devices before you decide the correction was bad.
Common Mistakes
Trusting auto white balance. AWB guesses from the frame contents, so a dominant green or orange area drags the whole image off. Lock WB to a Kelvin value or a custom reading instead. That single habit fixes most “my camera keeps changing colors between shots” complaints.
Using a reference shot under different light. A card photographed by the window is no use for a tungsten fixture two meters away. Match the reference to the light hitting your subject, at the subject’s position, or the reading will be wrong in a direction you cannot predict.
Cheap, dirty or sun-faded cards. The folklore says an 18 percent gray card is the only accurate reference, but that is not quite true. A faded gray card that reads 12 percent will pull every correction warm. Check a card against a known-good one once a year, or use a color checker app that verifies it.
Correcting only the background. Fixing the green wall while leaving the face orange gives you a frame where nothing quite matches. Correct to a neutral first, then re-evaluate the whole frame.
Pushing saturation instead of neutralizing. Boosting saturation to make a picture “pop” is not a white balance fix. It amplifies whatever cast is already there, so the corrected image looks worse. Neutralize first, then add saturation at the very end, and less than you think.
Applying one correction to every shot in the session. A gallery of frames from a room where someone switched the overhead light on halfway through will not match with one setting. Bracket, or set custom white balance from a reference each time the lighting changes.
Correcting exposure before color. It is instinct to fix the brightness first, but clipping a channel to pure white destroys the color information you need. Lower the exposure until the neutral patch is comfortably off the highlight, then set white balance.
Judging on an uncalibrated screen. If your monitor is off by 400K, every correction you make is off by 400K too. A cheap hardware calibrator and a gray card on the desk do more for your indoor color accuracy than any software setting.
Fighting a cast that should stay. A warm evening scene, a candle-lit dinner, or a cozy restaurant interior often looks better left warm. Once the neutrals are corrected, you can decide deliberately to put some warmth back, and that is a choice rather than a defect.
Frequently Asked Questions
How do I make indoor lighting look natural?
Shoot RAW, then set white balance from a neutral reference photographed under the same light. Use the custom white balance option with a gray card, or sample a neutral patch in post with the white balance eyedropper. Check skin afterwards and stop pulling the tint slider the moment the neutrals look right.
How do I fix a green color cast in my photos?
A green cast indoors usually comes from fluorescent tubes, cheap LED fixtures, or green reflected off a wall or plant. Set white balance from a gray card, then push the tint axis toward magenta until the card reads neutral gray. If the green only covers part of the frame, it is mixed lighting and needs fixing at the fixture.
What color temperature should I use indoors?
Match the Kelvin value to the bulb. Incandescent and warm white LEDs sit around 2700-3000K, cool white LEDs near 4000-4500K, window daylight near 5200-5500K, and open shade around 7000-7500K. Fluorescent tubes vary widely and usually need a tint correction as well as a Kelvin value.
Can you fix white balance in post?
Yes, on a RAW file. Every major editor has temperature and tint controls plus an eyedropper that samples a neutral patch in the frame. A JPEG cannot be fixed properly because the color shift is already baked into the pixels, which is why shooting RAW is the first step.
How do I white balance with mixed lighting?
There is no single value that satisfies every light in a mixed room, so pick the light that matters most to your subject, white balance for that one, and separate the rest. In post, correct the subject to neutral then fix the background locally with a mask or qualifier. At the source, gel or dim the fixtures that disagree.
What is a gray card and how do I use it?
A gray card is a card of known neutral reflectance, usually 18 percent, that gives the camera or your software a true reference color. Fill the frame with it in the same light as your subject, expose so it is not blown out, then use the frame to set custom white balance or as an eyedropper target in post.
Conclusion
Start with one action: put a gray card or a sheet of white paper where your subject’s light falls, photograph it, and set your white balance from that frame before you take anything else. Match the Kelvin value to the bulb on the table above, add a small tint correction for green, and do the rest in post on the RAW file. Make one small adjustment rather than five, check skin and neutrals at normal size, and stop when the cast is gone.