A RAW file is the unprocessed image data captured straight from a digital camera’s sensor, saved in a manufacturer-specific format that keeps everything the sensor recorded. Photographers shoot RAW because it preserves far more brightness and colour data than a JPEG, so highlights, shadows and white balance can be corrected after the shot rather than being decided in the camera. The cost is bigger files and an extra editing step.
The confusion for beginners is that a RAW file looks worse than the JPEG the camera made from it. That is expected: the JPEG is already finished, and the RAW is not. This guide explains what is actually inside the file, where the extra room comes from, and when the format is worth the trouble.
- RAW keeps more tonal data — typically 12 or 14 bits per colour instead of the 8 bits a JPEG holds.
- You decide the look later — white balance, contrast and colour stay adjustable in software.
- Mistakes are partly reversible — some blown highlights and deep shadows can be pulled back.
- The trade-offs are real — larger files, extra storage, and a culling and editing routine.
Table of Contents
- What Is a Raw File and Why Use It?
- What Is a Raw File?
- What Is a Raw file and why use it in photography?
- RAW Files vs. JPEGs
- How RAW Files Work in Your Camera
- How to Edit a RAW File
- Why Your RAW Looks Dull at First
- Why Photographers Hand Over JPEGs, Not RAW Files
- RAW File Formats and Camera Brands
- What RAW Files Are Best For
- RAW Files and File Size
- RAW Files for Beginners: What to Know Before Shooting
- Frequently Asked Questions
- What is a raw image file?
- How can I open a RAW file?
- Is a PNG a RAW file?
- When should I use RAW and when should I use JPEG?
- What are the disadvantages of RAW files?
- Should I shoot in RAW or JPEG as a beginner?
- Why don’t photographers give RAW files?
- Conclusion
What Is a Raw File and Why Use It?
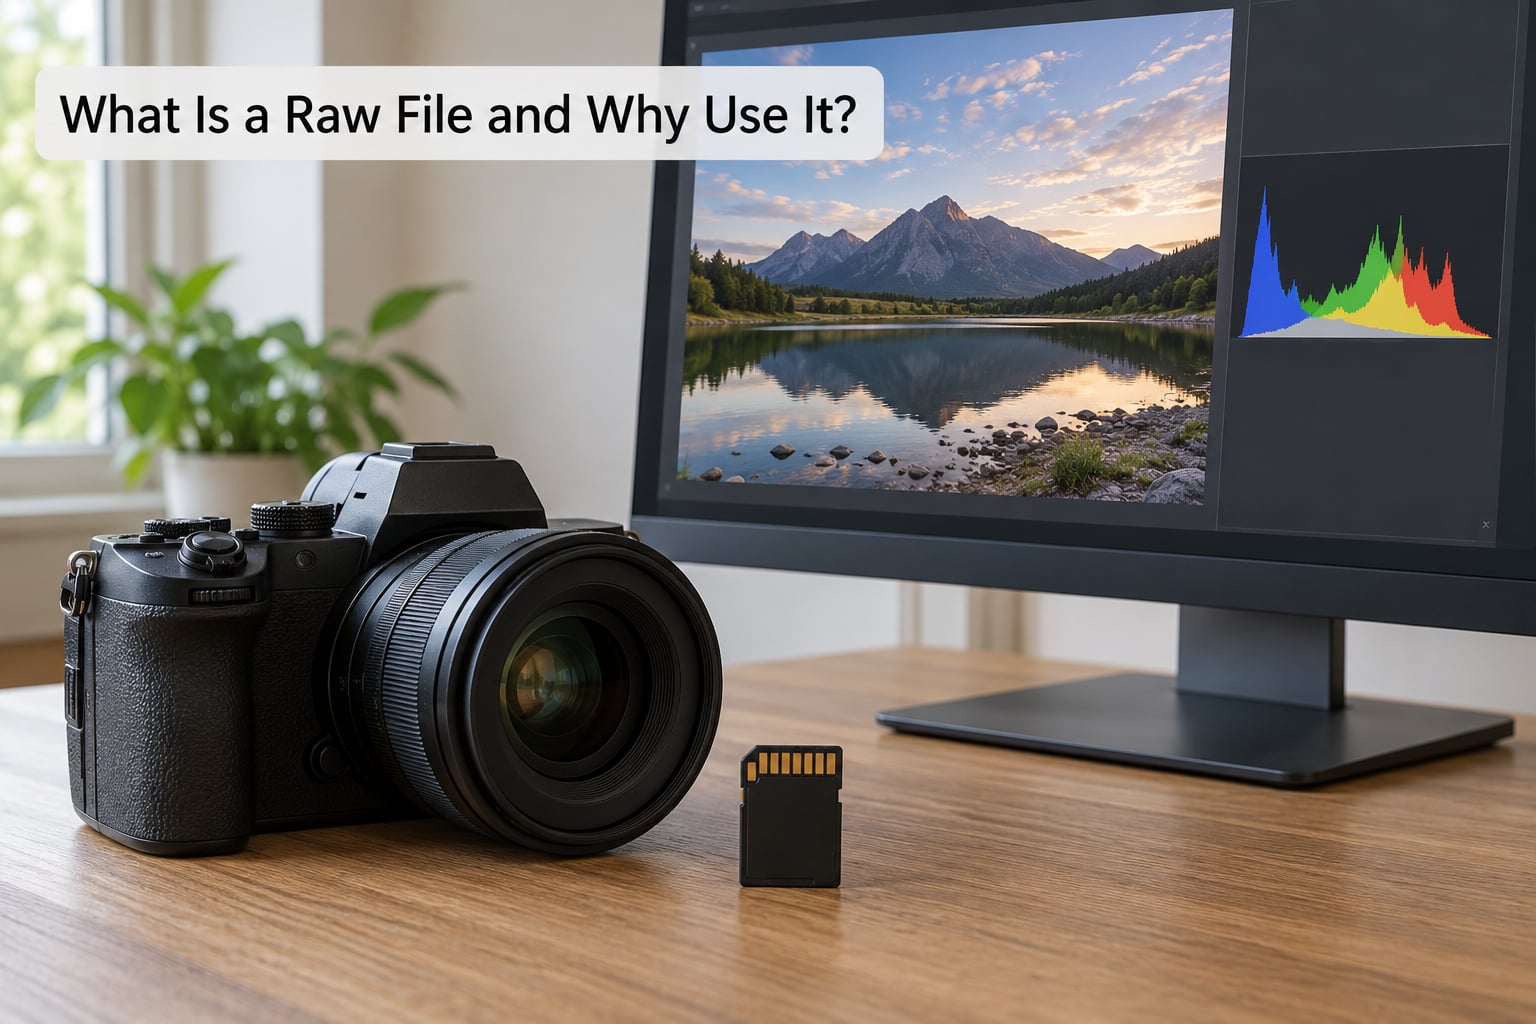
What Is a Raw File?
Every digital camera captures the same thing first: a grid of light measurements from the sensor, plus a block of metadata describing the settings. A JPEG file is that data after the camera has demosaiced it, applied a white balance, run its own sharpening and noise reduction, compressed the result and thrown most of the tonal range away to make the file small.
A RAW file keeps the measurement data instead. It is not a picture in the everyday sense — most computer programs cannot display it — and it is not an acronym. The word simply means the data is in its original recorded state.
Three things sit inside a RAW file: the mosaic image data, the metadata (EXIF information such as shutter speed, aperture, ISO and lens), and an embedded JPEG preview. That preview is why your computer’s file browser can show you a thumbnail, and why editing software opens with a recognisable image rather than a black rectangle.
What Is a Raw file and why use it in photography?
The practical answer is room to move. Here is where that room shows up in a finished photograph.
- Exposure recovery. Lift shadows or pull highlights back after the fact, because the tonal data is still there.
- White balance changes. Re-colour a shot shot under mixed lighting without the muddy cast a fixed setting baked in.
- Cleaner gradients. 12-bit RAW records around 4,096 brightness levels per channel versus 256 in an 8-bit JPEG, which is what causes sky banding and posterization in heavy edits.
- Wider colour latitude. More colour data means a grade or skin-tone adjustment that does not fall apart at the edges.
- Merging. Multiple RAW exposures can be stacked for HDR, panoramas or focus stacking, where JPEG files would have to match perfectly.
One limit is worth stating early: RAW cannot invent data that was never recorded. A highlight clipped to pure white is gone, and that is the single correction experienced photographers keep making to the idea that RAW fixes every exposure mistake.
RAW Files vs. JPEGs
Both formats come out of the same sensor. The difference is what happens next.
| Attribute | RAW file | JPEG file |
|---|---|---|
| Processing | Unprocessed sensor data; you develop it in software | Fully processed in the camera and ready to view |
| Bit depth | Usually 12-bit or 14-bit | 8-bit |
| File size per frame | Roughly 25 to 80 MB on modern bodies | Usually 3 to 10 MB |
| White balance | Changeable at any point | Baked in at the moment of capture |
| Highlight and shadow recovery | Substantial room, though clipped data stays lost | Very little room |
| Editing requirement | Needs RAW-capable software such as Lightroom or Capture One | Any image viewer, phone or browser |
| Sharing | Must be exported to JPEG or TIFF first | Sends straight to anyone |
| Best suited to | Prints, high-contrast scenes, paid and personal editing work | Volume shooting, quick delivery, everyday snapshots |
Read the file size row twice. It is the reason experienced shooters describe file size as the only real disadvantage left, and it is also the only one that has nothing to do with image quality.
How RAW Files Work in Your Camera
The sensor never produces a JPEG first. Light hits the sensor for the length of your exposure, the photosites are read, and only then does the camera’s processor decide what to write to the card. That is why changing settings like sharpening or picture style affects a JPEG preview but not the RAW data underneath it.
Because of that, the rear screen shows a rendered approximation. What you see is generated from the embedded preview, built with the camera’s own processing and your current settings. It is a reasonable guide to framing and exposure, not a promise about how the file will look once you develop it.
Shooting RAW plus JPEG records both from the same capture. Many people use it as insurance on important jobs, then delete the JPEGs after the edit. It is convenient, and it fills the card roughly ten times faster.
Buffer behaviour is worth knowing too. A RAW file takes longer to write than a compressed JPEG, so a burst of frames can fill the buffer and stall the viewfinder until the buffer clears. On fast cards this is rarely noticeable; on slow ones in low light it can feel like the camera has frozen.
How to Edit a RAW File
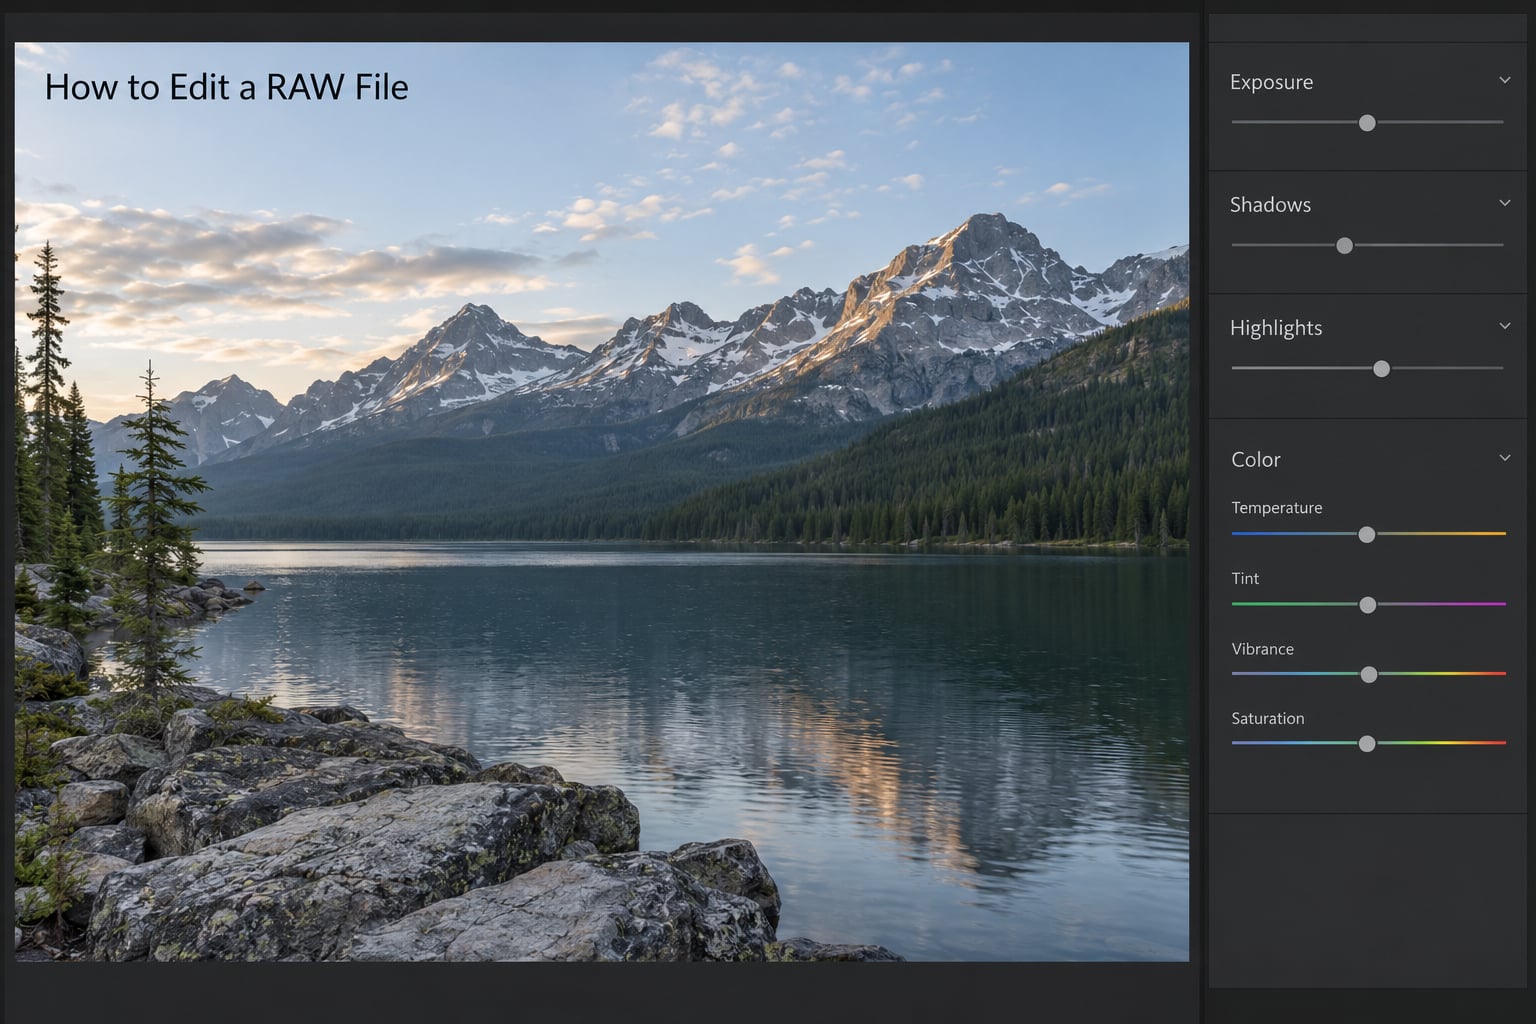
Editing a RAW file is non-destructive: the original data is never overwritten, and every change is a setting stored in a catalogue. Here is the sequence that works in almost any editor.
- Import and copy. Bring the files into the catalogue, and let the software copy them to your drive. Keep the cards formatted only after you have confirmed the backup.
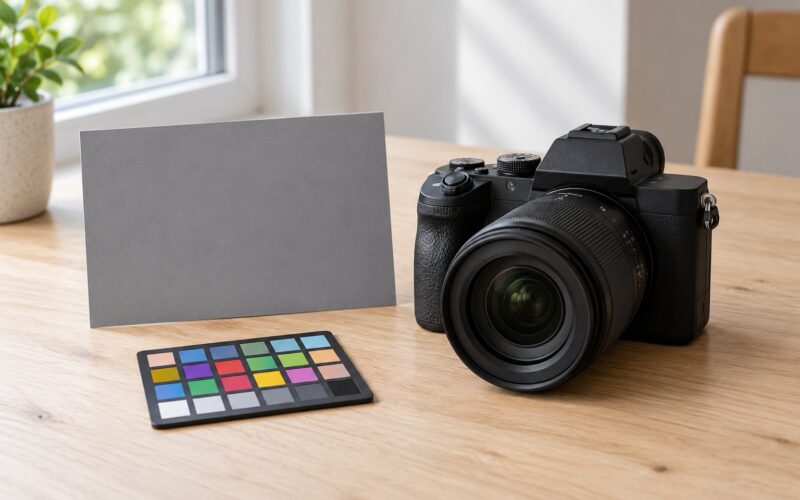
- Fix white balance first. Use the eyedropper on a neutral area such as a shirt or a wall, or set the temperature by eye. Doing this early keeps every later judgement of colour honest.
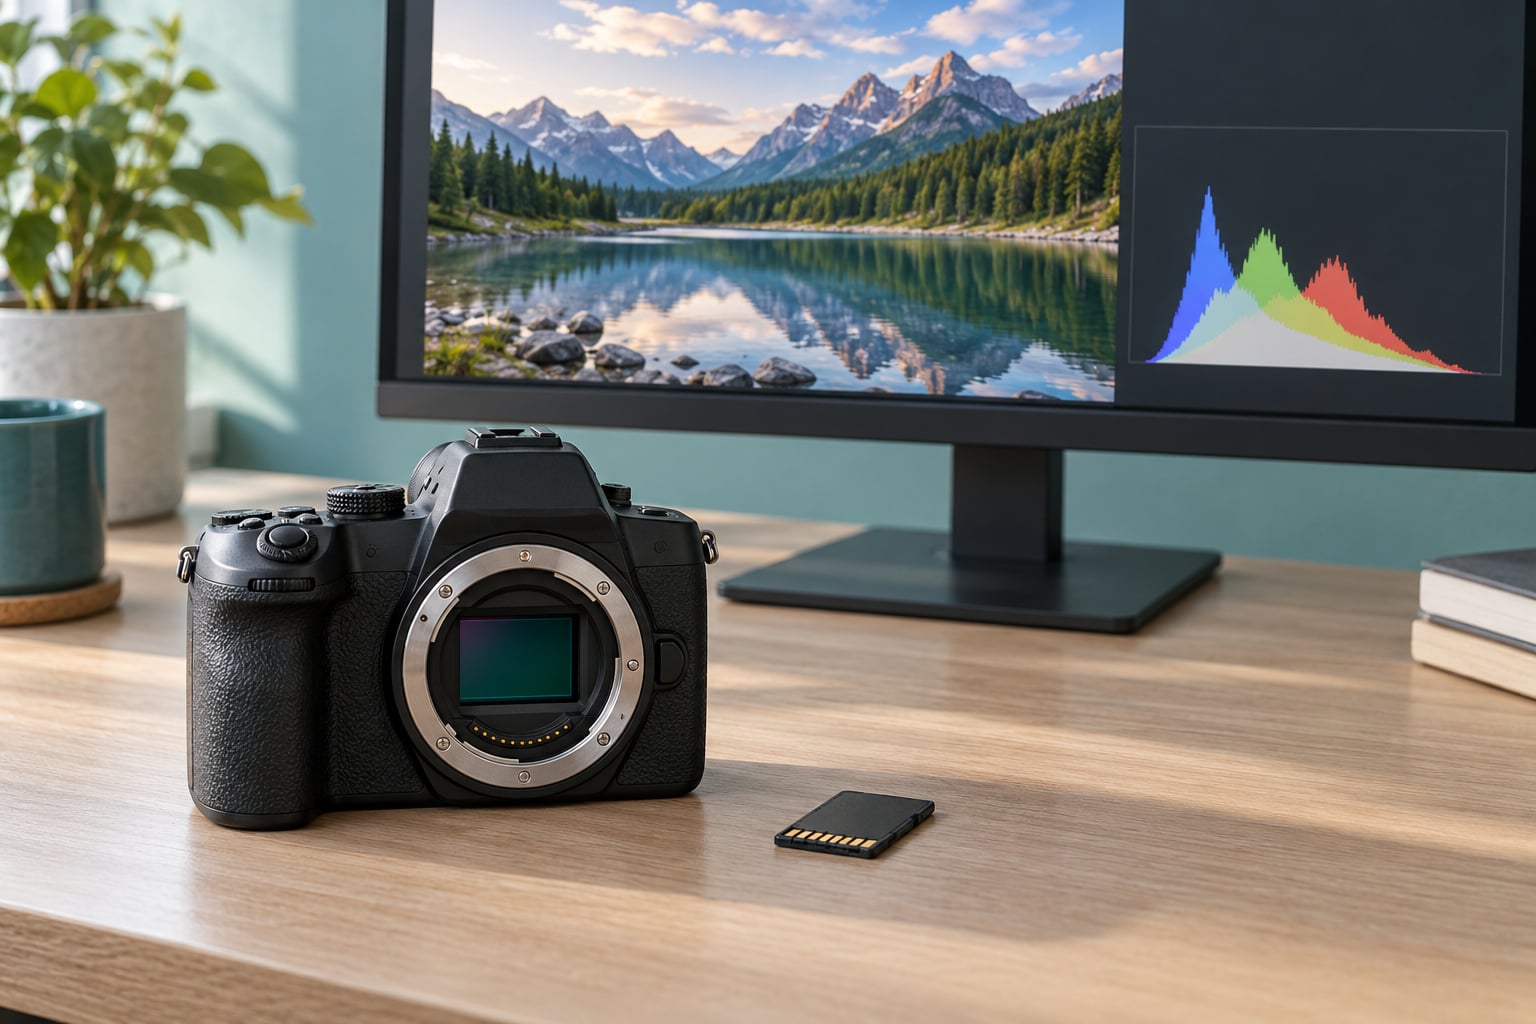
- Set exposure. Correct overall brightness, then shadows and highlights separately, and check the histogram for clipping at both ends.
- Work on colour. Adjust white balance, then tint, then saturation. Keep saturation last, after the tone is where you want it.
- Apply sharpening and noise reduction last. Both are applied to the export, not baked into the catalogue.
- Export. Save as sRGB JPEG for delivery, or 16-bit TIFF for large prints and further editing.
Why Your RAW Looks Dull at First
A RAW file with no development applied looks flat and low in contrast. That is not a defect. A RAW file stores brightness in a roughly linear form, whereas a display shows light shaped by a tone curve, so the unprocessed file simply does not look the way a screen renders light.
When a RAW looks worse than the JPEG, it is usually one of four things. The white balance was never set. Contrast was left at zero instead of being applied through the tone curve. A picture style was baked in and fights the developer’s settings. Or the person over-corrected after expecting a JPEG and pushed contrast until the shadows went black.
The fix is the same every time: white balance, exposure, tone curve, colour, sharpen. Follow that order and the dull look disappears within a minute.
Why Photographers Hand Over JPEGs, Not RAW Files
Almost nobody can open a RAW file without dedicated software, so a professional delivery normally includes exported JPEGs, sometimes with the RAW added for clients who work in Adobe products. That is a practical reason, not a claim that RAW is a lesser file.
RAW File Formats and Camera Brands
Each manufacturer wraps sensor data in its own format. The extension tells you and your software which decoder to use.
| Brand | Common RAW extensions |
|---|---|
| Canon | .CR2, .CR3 |
| Nikon | .NEF |
| Sony | .ARW |
| Fujifilm | .RAF |
| OM System and Olympus | .ORF |
| Panasonic and Leica | .RW2 |
| Pentax | .PEF |
| Adobe | .DNG (open format, used by some cameras and smartphone apps) |
| Phase One | .IIQ |
PNG is not a RAW file. It is a lossless compressed format that many editing programs can export to, which is a different thing entirely.
Compatibility is the practical catch. A brand-new body can introduce a new extension, and your editing software needs a recent enough version to read it. Before a paid job, open one test file from the new camera in the software you plan to use, and check the release notes if it refuses.
What RAW Files Are Best For
RAW earns its extra workflow in specific situations rather than universally. These are the ones where it consistently pays.
- High-contrast scenes — backlit portraits, midday sun, sunset silhouettes and interiors with bright windows.
- Prints larger than about A3 — extra tonal data survives the enlargement instead of breaking into blotches.
- Portraits with retouching — skin tones and eye colour can be adjusted without turning patchy.
- Wedding, event and commercial work — a mixed set with a few difficult frames needs the recovery room.
- Landscape and architecture — wide dynamic range, tripod work, and merges for panoramas.
JPEG is the sensible answer for family snapshots, birthdays, travel days when you want the pictures on a phone that evening, school or sports shoots with hundreds of frames to deliver, and any time you need files out of the card without a computer. Shooting RAW for a set you will never edit is extra work for no visible gain.
RAW Files and File Size
RAW files are large because they store a full set of measurements per photosite and skip compression. A 24-megapixel body typically writes 25 to 35 MB per frame, a 45-megapixel body around 50 to 60 MB, and a high-resolution medium-format file can pass 100 MB. A fine-quality JPEG from the same camera is usually 3 to 10 MB.
That maths is easy to do on the card before a shoot. On a 128 GB card, expect roughly 3,500 to 5,000 RAW frames, or far more JPEGs from the same card. Long exposures and reduced noise reduction can add a little; compressed RAW modes on some bodies subtract a lot.
The habit that matters more than the card count is the copy routine. After each shoot, copy to two separate drives, verify the file count matches, then format the card. A card format is the only backup that deletes everything.
RAW Files for Beginners: What to Know Before Shooting
A few things will make your first RAW months less frustrating.
- Set the image quality to RAW plus JPEG for your first few shoots. You get a safety net while you learn the editing routine.
- Watch the histogram, not the rear screen. Highlights in a RAW look recoverable; keep an eye on the clipping warning.
- Expect slower culling. Browsing RAW thumbnails is slower than JPEG, so budget time after events.
- Do not expect colour to match the camera. Your screen and your reader’s screen differ, so judge sharpness and exposure rather than saturation.
- Learn one editor properly before switching. The concepts are identical in all of them, so the second program takes an afternoon.
Four myths are worth dropping now. RAW is not an acronym. It does not add megapixels — the resolution is the sensor’s either way. It does not fix a highlight that was clipped at capture. And it is not automatically better; it is more capable, which only counts if you use the capability.
Frequently Asked Questions
What is a raw image file?
A RAW file is the unprocessed data recorded by a digital camera sensor, saved in a manufacturer-specific format. It holds the sensor measurements, the EXIF metadata and a small embedded JPEG preview. Because it skips the camera’s processing and compression, it keeps far more tonal and colour information than a JPEG, but it needs editing software to display.
How can I open a RAW file?
Open it in software that includes a decoder for your camera’s format. Adobe Lightroom, Adobe Camera Raw, Capture One, Affinity Photo, darktable and most phones’ built-in gallery apps can all read the common extensions. In Lightroom, choose File, Import and point it at the folder, then click a thumbnail and the Develop module opens the file with full adjustment controls.
Is a PNG a RAW file?
No. PNG is a lossless compressed image format used for finished graphics and exports, not a RAW file. A RAW file stores unprocessed sensor measurements in a manufacturer-specific container. You can export a developed RAW file to PNG for archiving or compositing, but a PNG contains no extra tonal headroom once it has been converted.
When should I use RAW and when should I use JPEG?
Use RAW for high-contrast scenes, large prints, retouching, paid work, weddings and landscapes, where recovering highlights or adjusting colour matters. Use JPEG for family snapshots, travel days, high-volume shoots and anything that has to be delivered the same day. If you rarely edit, a high-quality JPEG gives you almost the same finished result with far less work.
What are the disadvantages of RAW files?
The main drawbacks are file size, storage and transfer time, a longer culling and editing workflow, and the need for compatible software. Blown highlights clipped at capture stay lost in RAW too. File sizes of 25 to 80 MB per frame mean a wedding day can fill several cards, so a verified two-copy backup routine is essential rather than optional.
Should I shoot in RAW or JPEG as a beginner?
Shoot RAW plus JPEG for your first few months. The JPEG gives you a usable file immediately and a backup if a card corrupts, while the RAW lets you learn the editing workflow without pressure. Once you are comfortable setting white balance and a tone curve, RAW plus a large JPEG quality setting remains a sensible default for most people.
Why don’t photographers give RAW files?
Most recipients cannot open a RAW file without editing software, so delivering one alone is unhelpful. Photographers normally supply exported JPEGs sized for screen viewing or printing, and sometimes include the RAW file as a bonus for clients who work in Adobe products. It is a delivery-format decision rather than a judgement on file quality.
Conclusion
A RAW file is the sensor’s own record of what it saw, unprocessed and uncompressed, which is why use it is such a common answer from working photographers: more tonal room, adjustable white balance and recovery from exposure mistakes you did not notice at the time. Start with RAW plus JPEG, learn the four-step routine of white balance, exposure, tone curve and colour, and stop worrying that the file looks dull — that is simply what uncooked data looks like.
Keep JPEG for the easy days. Family snapshots, birthdays and same-day delivery do not need a workflow, and a good JPEG straight from the card is the right tool for that job.