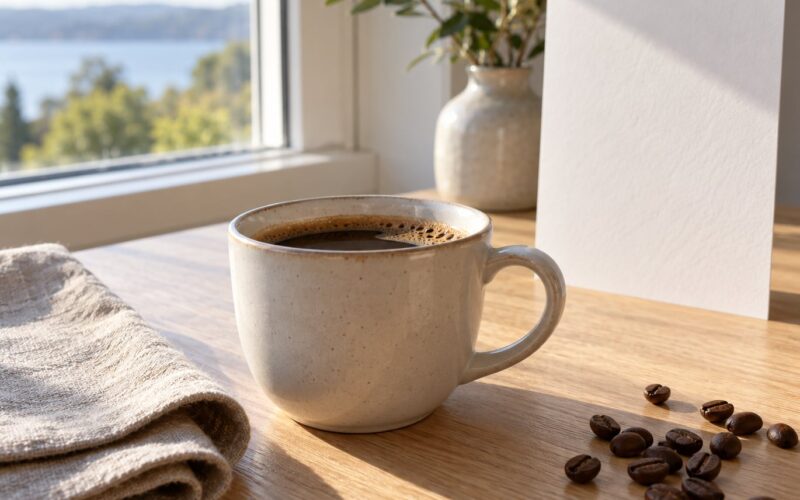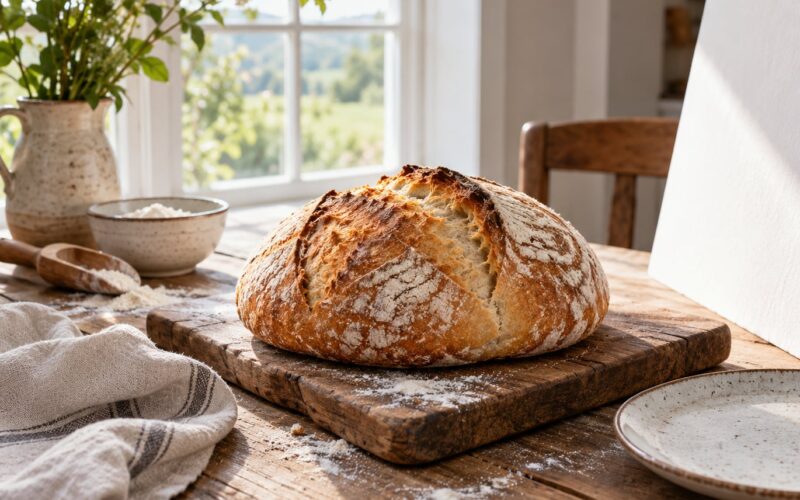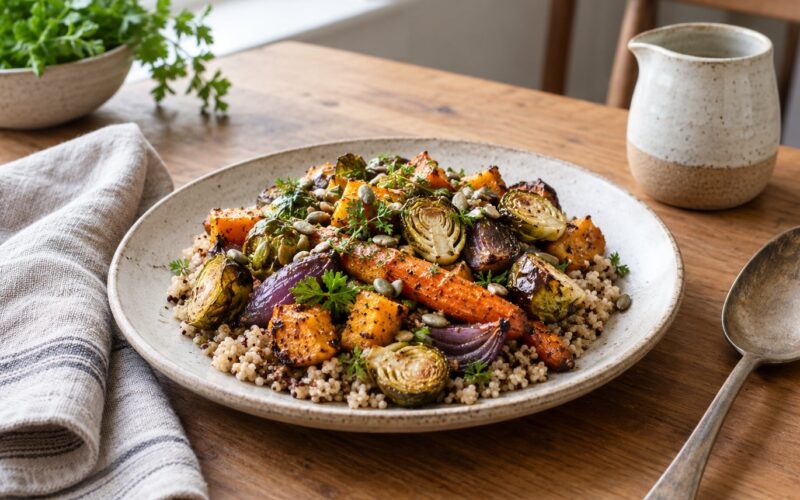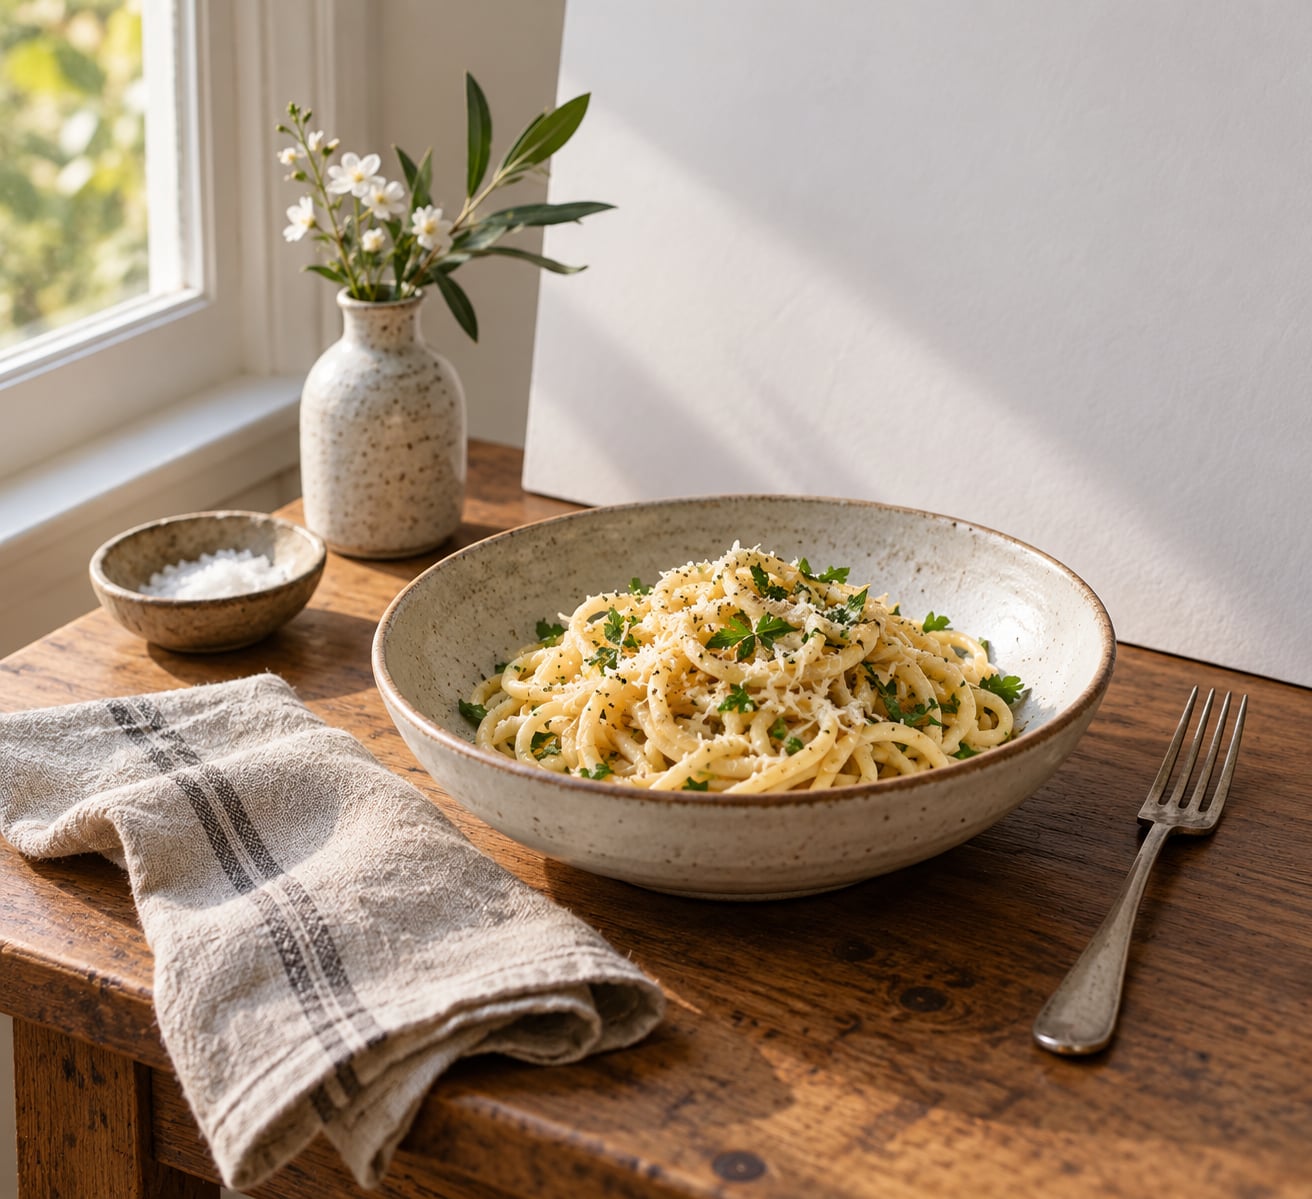
Styling a food photo on a small table comes down to three moves: pick one surface color and stay on it, keep props to what fits inside the frame, and shoot close enough that the table edges never appear. The setup takes about fifteen minutes once you have done it twice.
I shoot most of my food work on a table that is barely wider than the dish. It has not stopped me from producing a consistent series, and the constraint actually forces better decisions earlier. Instead of filling a surface and then wondering what to remove, you decide up front what belongs in the shot.
This guide walks through a full styling pass: what to gather, seven steps from clearing the surface to pressing the shutter, and the mistakes that waste time on compact setups. I am writing it for a home kitchen, a rented flat, or a café back corner where a full styling table simply does not exist.
Table of Contents
- What You Need
- Step-by-Step
- Step 1: Clear and Choose the Table Surface
- Step 2: Build a Simple Food Composition
- Step 3: Use Props That Support the Food
- Step 4: Style the Food for Appetite Appeal
- Step 5: Control Light and Shadows
- Step 6: Choose the Camera Position and Focus
- Step 7: Capture and Refine the Final Image
- Common Mistakes
- Frequently Asked Questions
- Do I need a full table to take good food photos?
- What is the best background for food photography at home?
- Can I style a food photo with just a smartphone?
- How do I make a small table look less cramped in a photo?
- What props can I use that I already own?
- How do I keep a food photography style consistent across a whole series?
- Conclusion
What You Need
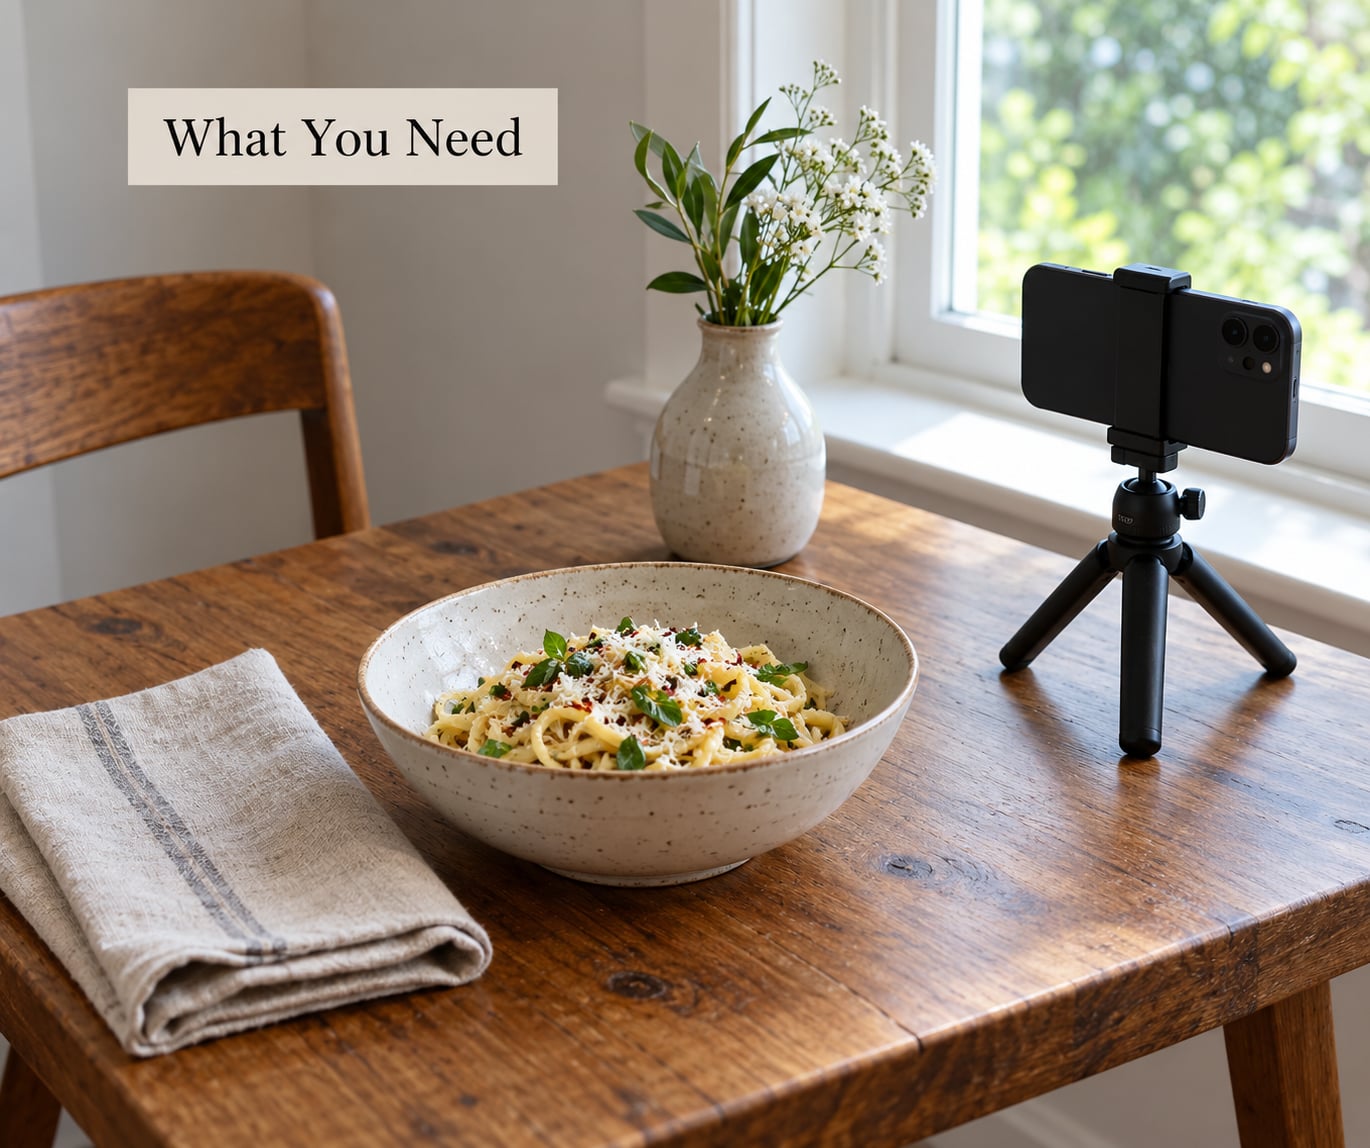
A compact setup needs a short kit, not a large one. Everything below fits in a single drawer or a slim cupboard, which matters more than usual when your styling station is the size of a cabinet.
- A surface you can clear. A 60 by 90 cm table, a foldable TV tray, or a large cutting board set across the kitchen counter. Wipe it down and remove everything that is not in the shot.
- A backdrop. Two foam board sheets around 30 by 60 cm, propped or taped behind the food so the surface continues past the edge of your frame.
- Two or three dishes. One hero plate or bowl roughly 20 to 25 cm across, one small side bowl, and one small cup or glass. Small dishware is an advantage here, not a compromise.
- Three props, not ten. One linen napkin, one piece of flatware, and one small vessel such as a salt cellar, a bud vase or an empty jar.
- Hand tools. Chopsticks or bamboo skewers for plating, a small ziptop bag for drizzling sauce, and a cotton or muslin cloth for draping.
- Light. A window and one white foam board or sheet of card to bounce fill back into the shadows.
- A camera. A phone on a stack of books or a mini tripod works. With a camera, a short focal length around 24 to 35 mm equivalent keeps the dish from distorting at close range.
Notice what is missing. No light boxes, no color cards, no reflector clamp. Those tools solve problems you will not have on a table this size, and every one of them competes for the same few square inches of frame.
Step-by-Step
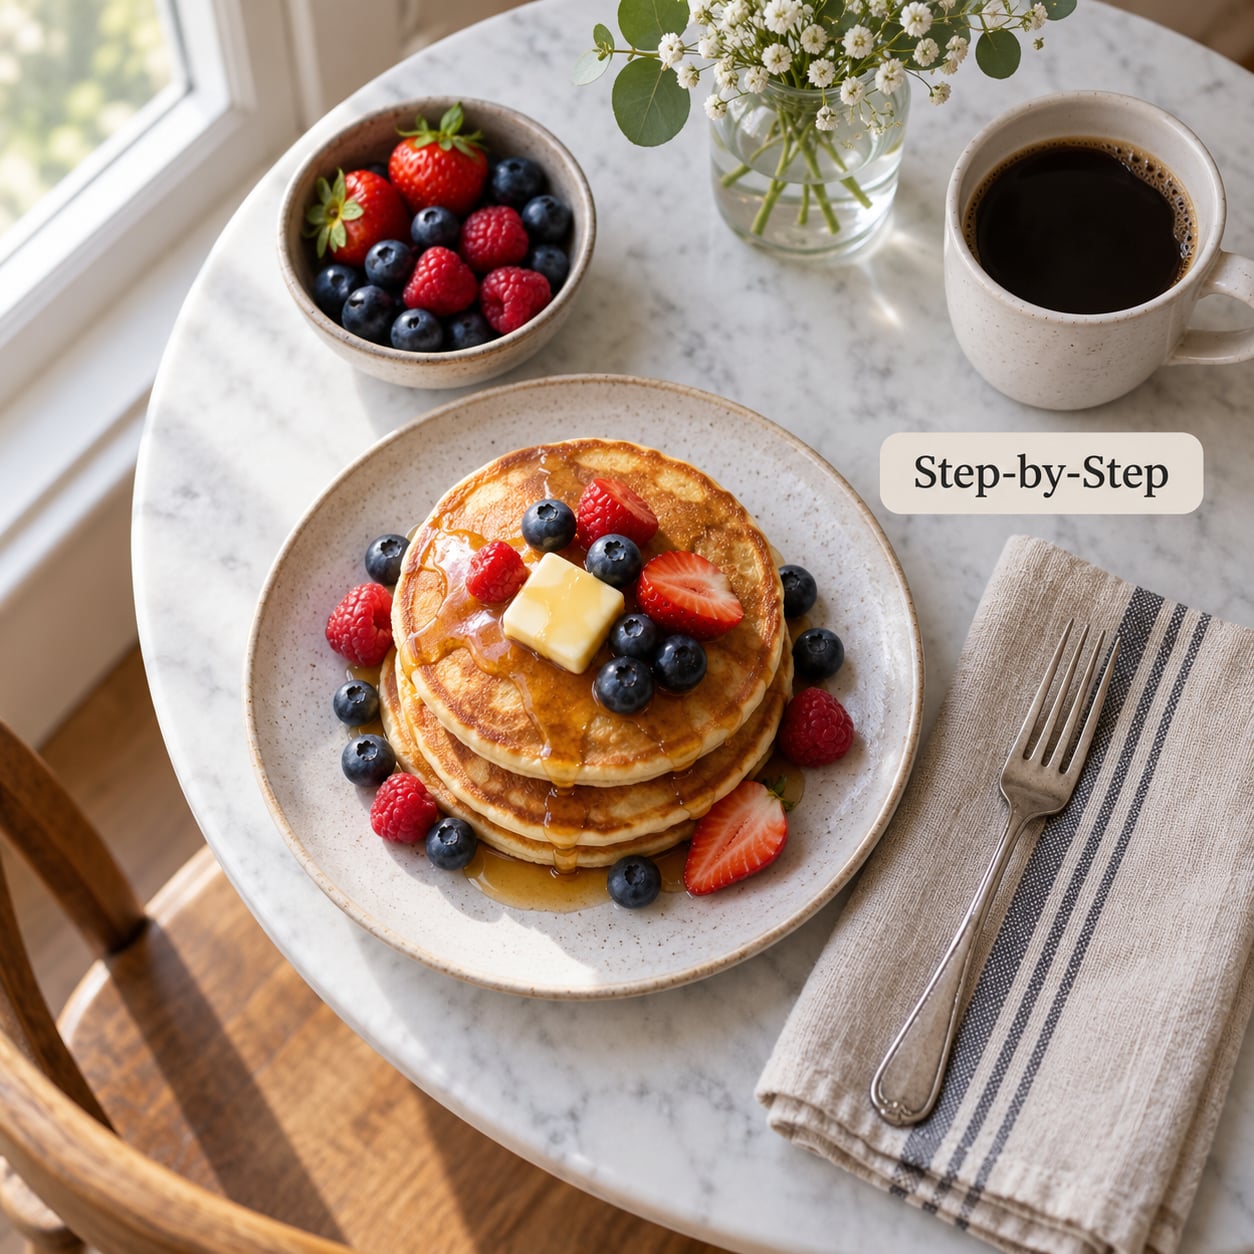
Here is the sequence I use, in order. Each step has a quick check, so you can tell whether it worked before you pick up the camera.
Step 1: Clear and Choose the Table Surface
Measure the dish first, then measure the table. If your plate is 25 cm wide, you want at least 35 cm of clear surface, which is only enough for a tight overhead frame. Anything less and you will be cropping edges out of the image later.
Give the surface one color. Wood grain, a printed tablecloth and a patterned placemat each compete with the food. If the table is busy, lay a plain sheet of paper, a linen cloth or a single placemat over it and let that become the background.
Prop the foam board behind the dish and let it rise above the frame. It costs nothing, hides whatever is on the counter behind it, and makes a two-foot surface look much larger.
Check: the visible surface in the shot is one flat color, and the physical edge of the table is nowhere near the frame.
Step 2: Build a Simple Food Composition
Place the hero dish slightly off-center rather than dead in the middle. Roughly a third in from one side and slightly toward the camera reads as a deliberate composition and leaves room for a supporting element.
Run the napkin diagonally under one corner of the plate so a triangle of fabric shows. Rest the flatware on the napkin rather than parallel to the frame edge, because a diagonal leads the eye into the dish.
Fill about 70 percent of the frame. Leave one area quiet so the viewer has somewhere to rest, which is what negative space does for a small setup: it keeps a tight composition from reading as clutter.
Check: no object touches another object at more than two points, and you can name every item in the frame in one breath.
Step 3: Use Props That Support the Food
Pick props by color before you pick them by usefulness. Look at the hero dish, find its dominant color, then add one prop in a complementary color from the color wheel. A green dish with warm wood tones or a tomato-red plate against muted blue both read clearly even in a small frame.
Skip patterns that fight with the food. A fine check or a busy floral print pulls attention away from the plate at thumbnail size, which is exactly the size most people will see your image.
Texture matters more than quantity on a tight surface. A folded linen napkin, a rough ceramic bowl and a smooth glass give you three surfaces to look at, which is plenty of variation for a frame this size.
Check: you can see one warm and one cool note in the palette, and nothing in the frame has a pattern competing with the dish.
Step 4: Style the Food for Appetite Appeal
Build height before you worry about detail. Food that sits flat in a bowl photographs as a flat circle, so stack the hero ingredient, angle a slice, lean a wedge against the side or tip a few pieces upright against each other.
Add sauce with purpose. A ziptop bag with one corner snipped works as a piping bag for a controlled drizzle, and a spoon back helps you place a clean pool of oil or cream rather than a smear.
Keep crumbs honest. A few scattered crumbs tell the viewer someone was about to eat this. A polished empty plate tells them nobody has touched it yet.
Use the food itself as a styling element. Ingredients scattered around the board, a halved fruit at the edge of the frame and a spill of flour on the surface all fill space honestly, because they belong to the dish.
Check: the food is still food. No glycerin on the citrus, no motor oil for a dark glaze, no glue holding a garnish in place.
Step 5: Control Light and Shadows
Put the table near a window and turn the dish about 45 degrees to it. Side light at that angle gives you shape and shadow without the hard edge of light straight overhead.
Soften it when the light is strong. Hang a sheer curtain or a white sheet between the window and the table, or move the table back a foot and a half so the falloff does the work for you.
Bounce fill with the white foam board on the shadow side of the dish. One bounce card usually takes the black hole out of a soup bowl and lifts the whole frame, and it takes seconds to place.
Use one light color. A cool window plus a warm overhead bulb gives you two color temperatures in one frame, and the food picks up whichever one lands hardest on it.
Check: shadows fall in one direction only, and there are no specular hot spots on the glaze or the sauce.
Step 6: Choose the Camera Position and Focus
Overhead flat lay shows the composition best and hides table edges best, which is why it suits a small table. Stand so the camera is truly vertical, use a timer or a two-second delay, and check that the lens is parallel to the surface or the frame will look like a keystone.
The 45-degree angle is the most forgiving choice on a small table. It gives depth, shows the side of the dish and hides the far edge of the surface.
Eye level works for tall subjects: a stack of pancakes, a layered cake, a glass with ice. Skip it for flat plates, because you will see mostly rim.
Stay close and use a short focal length. On a small table you have to move in, and a wide lens lets you fill the frame without distorting the dish the way a phone in portrait mode can.
Focus on the front third of the hero dish, not the backdrop. On a phone, tap the dish to focus and step back one step so the blur softens naturally instead of turning the background into a smear.
Check: the near edge of the food is sharp and the far edge falls away gently.
Step 7: Capture and Refine the Final Image
Shoot a short series, not a single frame, and change one thing each time. Move half a step left, then raise the camera 10 degrees, then add the napkin. Small controlled variations give you choices at review time instead of one shot to live with.
Use a timer every time. A two-second delay removes camera shake, which is the most common reason a small-table photo looks soft even when the light is right.
Fix the basics in editing and stop there. Correct exposure, set white balance to the dish rather than the background, add a little contrast and finish with sharpening. Heavy saturation, fake blur and heavy vignettes are the fastest way to make food look artificial.
Check: the file reads correctly at thumbnail size on a phone before you spend time on a full-size version.
Common Mistakes
Nearly every weak small-table photo comes from one of seven fixable habits. Here is what goes wrong and what to change instead.
Filling the whole surface. A small table tempts you to use every inch, and the frame turns noisy. Take one prop away, then look again. Removing something almost always improves the shot.
Mixing light colors. Window light, a ceiling bulb and a phone screen in the same frame produce food that looks slightly off in a way people notice without naming. Shoot with one source and turn off the rest.
Letting the table edge into the frame. A visible edge tells the viewer how small your surface is. Move closer, raise the backdrop, or crop in post so the surface runs past the frame on all sides.
Shooting straight down at everything. Flat plates photographed fully overhead lose all their texture. Drop to 45 degrees for anything with height or layers, and reserve the overhead for flat lays of several small items.
Focusing on the background. On a compact setup the dish is only inches from the lens, so the error is easy to make. Focus on the near third of the food and stop down enough to keep the rest readable.
Over-styling the plate. Multiple sauces, an edible flower and a dusting of powder can turn a simple dish into a still life nobody wants to eat. One strong garnish beats three weak ones.
Changing the set every shot. If you are building a series, a shifting surface color and a moving light position destroy consistency. Fix one background, one light direction and one dish scale, then swap only the food.
A few habits carry the rest of the work. Photograph your setup from above on your phone before you shoot properly, because the layout problem is obvious from that view. Wipe the plate rim and the flatware, since fingerprints and smudges show more than any lighting mistake. And assemble the plate last, right before the shutter, so the food looks fresh rather than posed.
Frequently Asked Questions
Do I need a full table to take good food photos?
No. A surface about twice the width of your hero dish is enough, which on many kitchen counters or a foldable tray is 60 by 90 cm. The constraint comes from the frame, not the table: if you can fill the frame with the dish plus two or three props and no edge shows, the setup is big enough. A propped foam board behind the food makes the surface read even larger.
What is the best background for food photography at home?
One plain, matte surface with no pattern and low reflectivity. Painted foam board, a sheet of butcher paper, a plain linen cloth or a single placemat all work, and a roll of marble-pattern contact paper is a cheap option if you want some texture. Avoid glossy surfaces, which reflect your window or light source as a bright patch, and avoid anything with a print that competes with the dish.
Can I style a food photo with just a smartphone?
Yes, and most compact setups are built this way. Use the rear camera, tap the dish to lock focus and exposure, and step back one step so the background blur looks natural. Shoot with a two-second timer or a countdown to avoid shake, and keep the lens clean. Editing is simple: fix exposure, set white balance on the food and add light contrast.
How do I make a small table look less cramped in a photo?
Move closer and crop tighter so the surface continues past every frame edge, and raise a backdrop behind the dish so there is no visible horizon. Leave about 30 percent of the frame empty rather than filling it, because open space is what makes a tight composition look calm. Removing one prop usually does more than any lighting change.
What props can I use that I already own?
Linen or cotton napkins, everyday flatware, wooden spoons, small bowls, mugs, jars, a cutting board, a linen cloth and whatever loose ingredients the dish uses. A paint palette, a baking tray and a strip of leftover timber all make credible stands. The rule is to pick three, match them to the dish color, and keep everything matte.
How do I keep a food photography style consistent across a whole series?
Fix the variable elements and change only the food. Keep the same surface, the same backdrop, the same light direction and the same dish size and camera position, and shoot at the same time of day so the window light matches. Save your camera settings as one profile or preset group, and reuse the same three props so the series reads as one set.
Conclusion
Clear the surface, prop a backdrop, place one dish off-center, add a napkin and a single prop, then shoot at 45 degrees from close range with one light source. That sequence covers most small-table food photos, and it takes the fifteen minutes it takes to do it well.