You can shoot a polished photograph with nothing more than one household lamp, a subject and a camera, and the whole look is decided by where you put that lamp. Learning how to photograph with one lamp is mostly a lesson in distance, angle and shadow, and it teaches you more about light than adding three more sources ever would.
The honest version: a table lamp produces relatively hard light, usually runs warm, and throws an obvious shadow. Work with those traits instead of fighting them, and you can get portraits, product shots and still lifes that hold up. A long-running thread on r/AskPhotography, where people turn up with nothing but a desk lamp, is full of exactly this advice, and it keeps circling back to the same point — the blocker is where you place the light, not what you own.
This guide walks through the setup in five steps, then covers the mistakes that trip up beginners and the handful of questions that come up every time.
Table of Contents
- What You Need
- Step-by-Step: How to Photograph with One Lamp
- 1. Choose a Subject and Background
- 2. Set Up the Lamp
- 3. Position the Camera and Reflector
- 4. Set Exposure and Focus: How to Photograph with One Lamp in Manual Mode
- 5. Make Final Adjustments
- Not Just Portraits
- Common Mistakes
- Frequently Asked Questions
- Can you take good photos with one lamp?
- Where should I place a single light for portraits?
- How far should the lamp be from my subject?
- How do I make a single lamp look softer?
- What colour temperature is a desk lamp, and how do I fix the orange cast?
- What equipment do you actually need for portrait photography at home?
What You Need
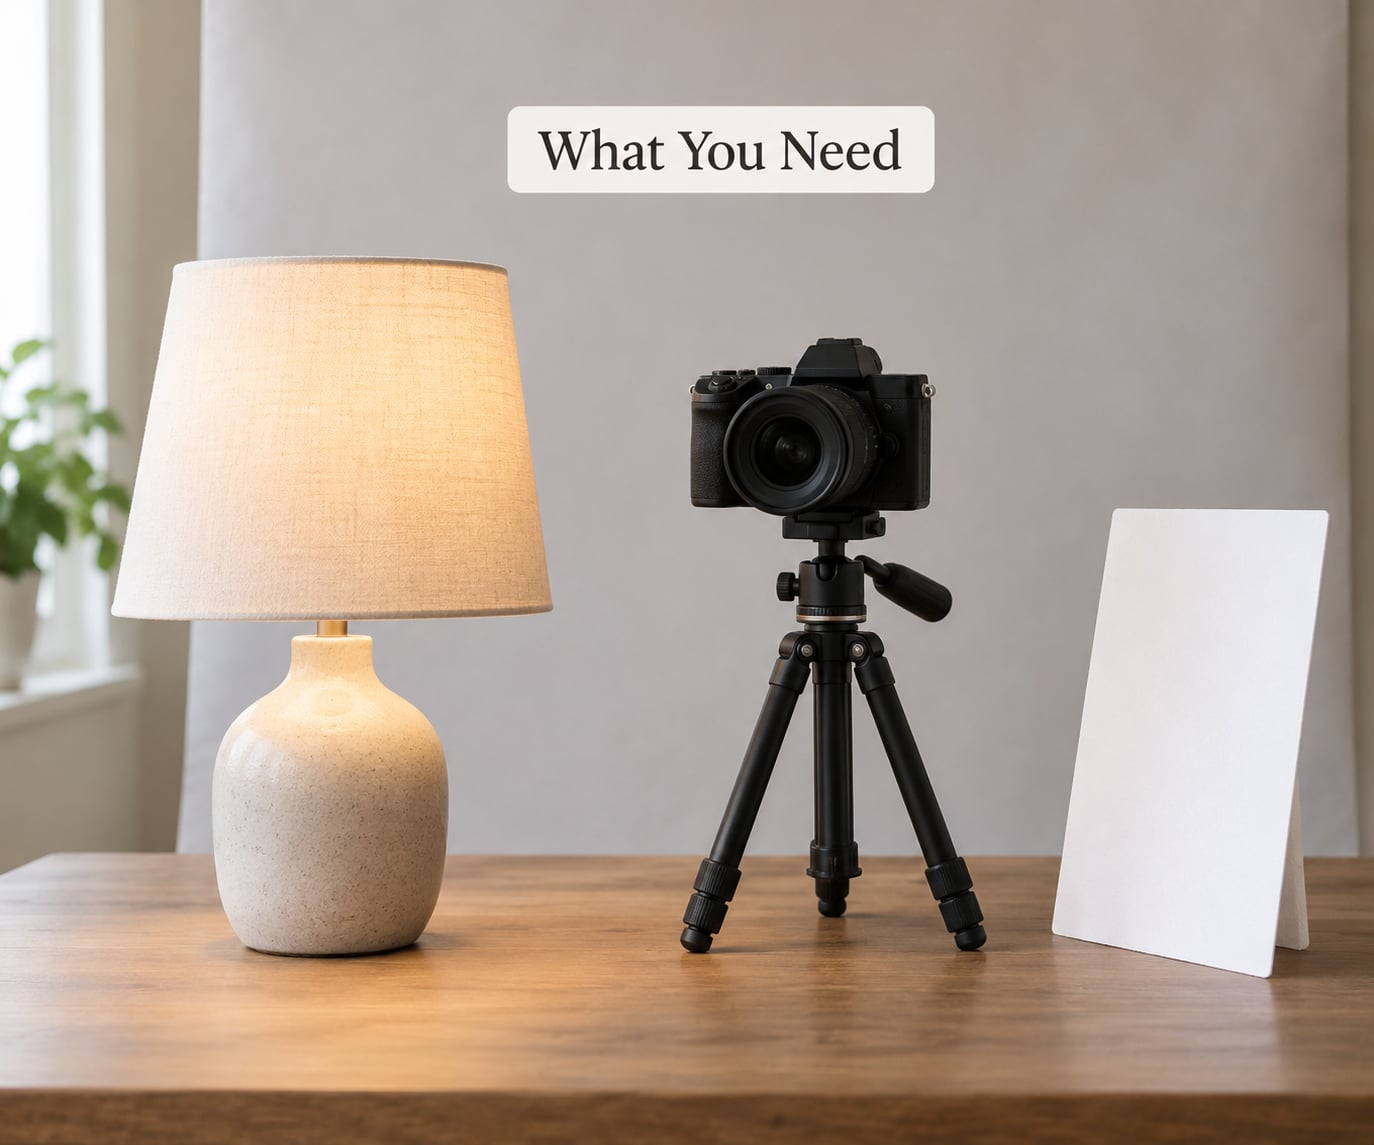
The core kit is small. One lamp with an adjustable head, a subject, a plain background, a camera you already own, and something plain and pale to bounce light back with. That last item matters more than most beginners expect.
A camera on a tripod or a stack of books is useful because it stops you fiddling with focus while you move the light around. A phone works fine for the first pass, especially since most phones let you lock exposure and white balance on a bright patch.
For the reflector, pick whatever is pale and matte: a sheet of white foam board, a piece of white poster card, a clean white bedsheet on a chair, or even a sheet of kitchen baking paper taped to a stiff backing. Silver foil on card is brighter and more directional, which suits a face that needs a stronger lift without adding a second lamp.
A diffuser is the other home-made piece. Baking paper, two layers of tissue, a frosted shower curtain or a thin white bedsheet held across the lamp opening all work. Nothing here is specialist kit, and that is the point — the differences between these setups are far smaller than the difference between shooting in shade and shooting under a bulb.
One safety note, because these are domestic appliances. Halogen bulbs get hot enough to scorch fabric and skin, so keep paper and cloth off the shade and let the bulb cool before you change it. Route cables along the back of the furniture so nobody catches a foot on them, and never block a vent. If you use a high-wattage bulb, add a second lamp of lower output rather than swapping up on one fixture.
Step-by-Step: How to Photograph with One Lamp
1. Choose a Subject and Background
Shape and texture decide how hard the shadows will look. A rounded bottle against a plain wall gives you one clean shadow to manage; a plate of pasta on a patterned tablecloth gives you dozens of small shadows you will spend the whole shoot fighting.
Background distance changes the picture more than most people expect. Push the subject half a metre or so in front of the wall and the light falls off between them, so the background sits darker and the subject separates. Bring the subject right up against the wall and that gradient collapses — the hotspot from the lamp lands on the backdrop as a bright blotch behind the head.
Keep the first background plain. A sheet of paper, a painted wall or a plain bedsheet on a door is plenty. Colour in the background will bounce onto the subject too, so a pale grey wall is the safest starting point before you move on to deliberately coloured ones.
2. Set Up the Lamp
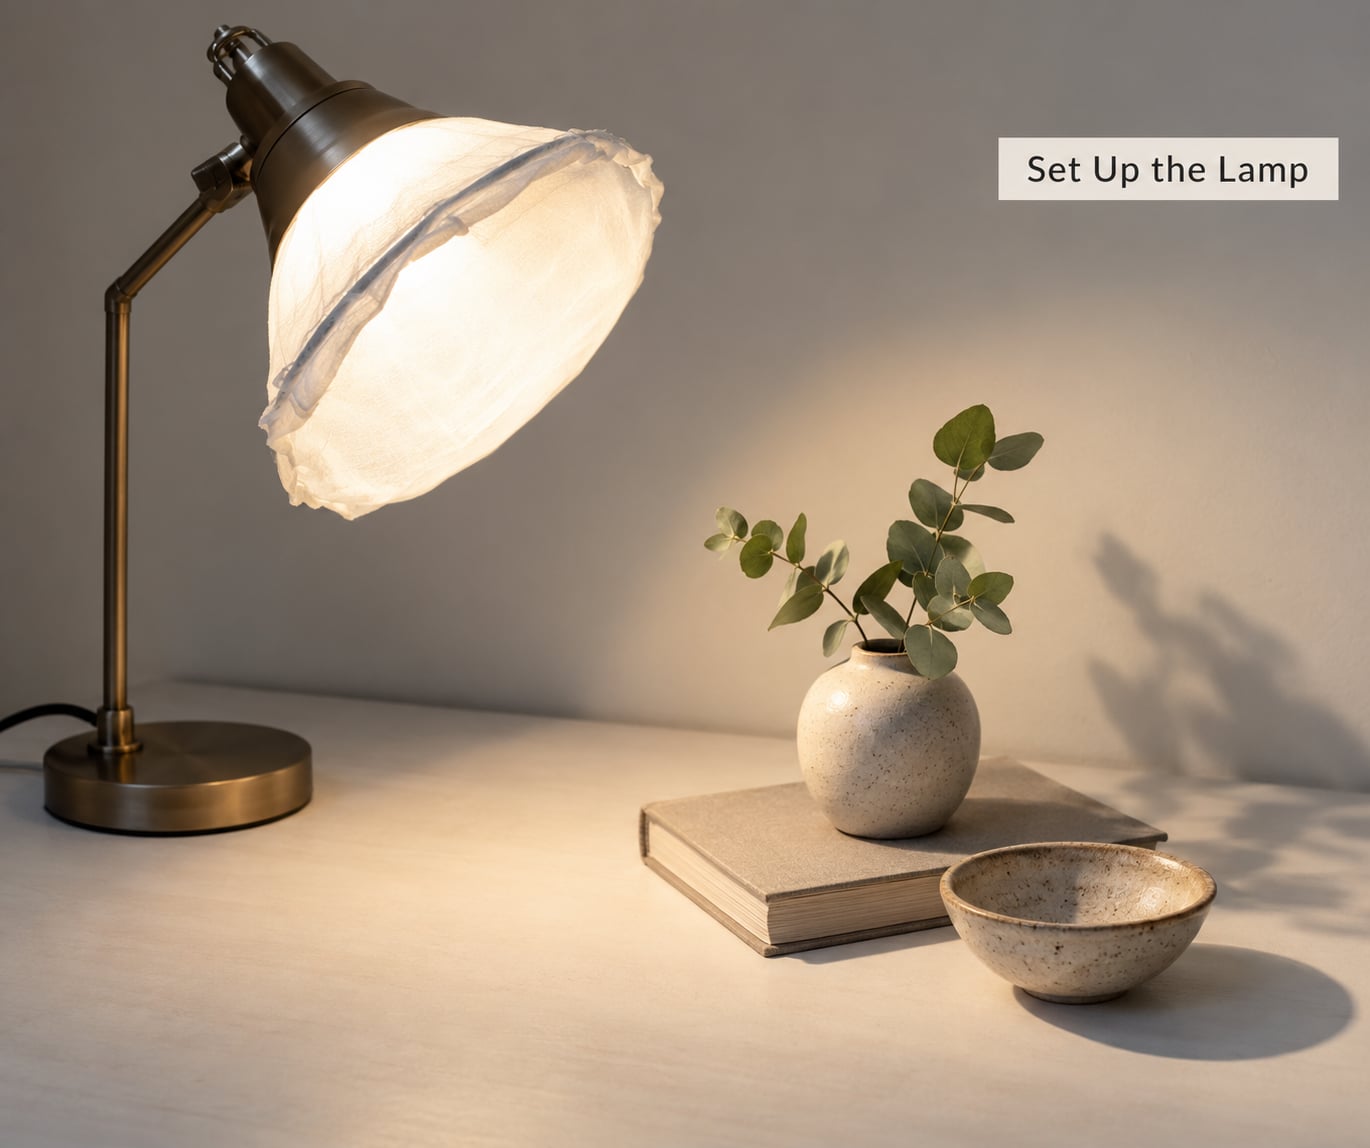
Height first. Aim the lamp slightly above the level of your subject’s eyes and tilt it down. Light coming from above shapes the face and casts the shadow under the chin downwards, where a viewer reads it as slimming. Light coming from below does the opposite, which is why uplighting reads as strange unless you want that.
Angle next. Put the lamp about 45 degrees to one side of the camera axis rather than directly behind it. Straight-on light flattens everything, while 45 degrees keeps one side of the face modelled and the other in shadow. That asymmetry is what makes a face look photographed instead of scanned.
Distance is the dial most beginners miss. Light intensity follows the inverse square law, so moving the lamp twice as far away cuts the light to roughly a quarter and softens the shadow edges. Start about a metre away for a head-and-shoulders portrait, then move it closer or further and watch the shadow edge tighten or loosen. Closer means a faster shutter speed or wider aperture, because the exposure changes as you move.
Now decide whether you want hard or soft light. A bare bulb is a small source, which produces hard light with crisp shadow edges. Cover the opening of the shade with baking paper, tissue or a thin bedsheet and the source effectively becomes larger, which softens the shadow every bit as much. You cannot turn a desk lamp into a softbox, but you can get most of the way there with two minutes of taping.
3. Position the Camera and Reflector
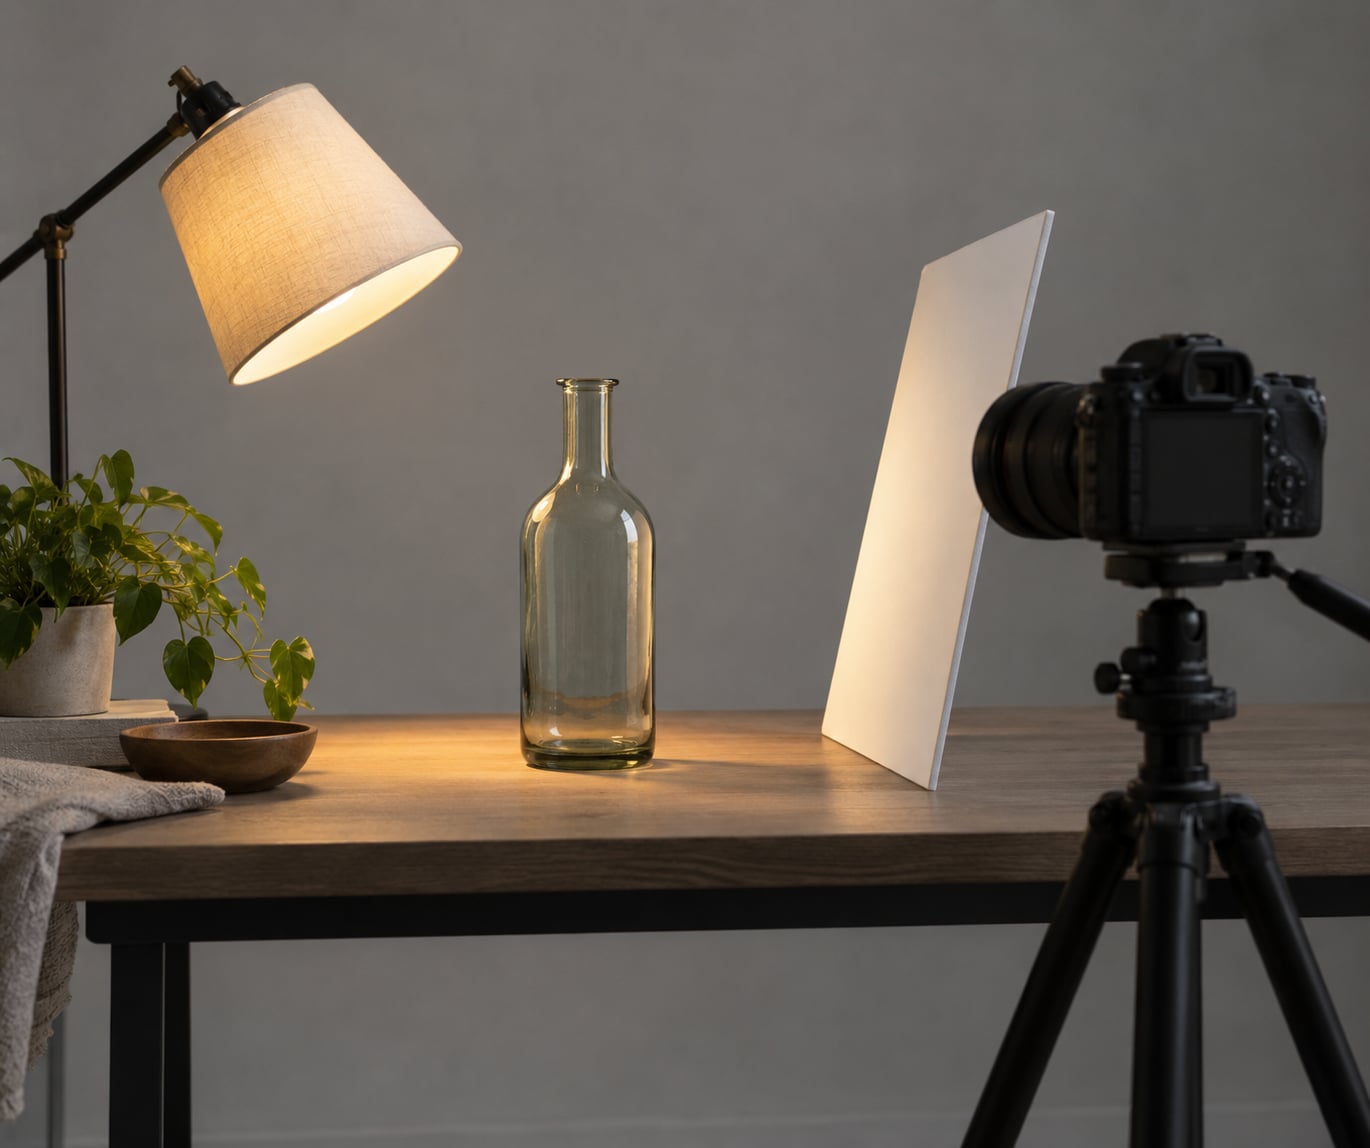
Working out how to photograph with one lamp comes down to three things and their order relative to each other: where the light sits, where the camera sits, and where the board sits. Get that triangle right and everything else is small corrections.
Put the camera slightly off to the side of the lamp rather than directly in line with it. A small offset — 10 to 20 degrees — keeps the brightest part of the lamp out of the frame and lets the shadow fall to one side instead of sitting square behind the subject.
Turn off every other light in the room before you start. A ceiling light or a television adds flat fill from a direction you did not choose, which washes out the shadow you spent five minutes setting up. Curtains and a closed door help more than people expect.
Now use the reflector to fill the shadow side. Place the white card opposite the lamp, close in, and angled so the light bouncing back hits the darker half of the subject. Move it closer and the fill gets stronger; move it away and the shadow deepens. That control is your entire lighting ratio, and it is why one lamp plus one board can look like a two-light setup.
If the reflector creeps into the frame, put it slightly below the camera axis so its reflection falls out of the lens. Getting a white sleeve or bright card reflected straight into the lens is the most common complaint in single-light self-portrait threads, and it is easier to prevent with position than to fix afterwards.
4. Set Exposure and Focus: How to Photograph with One Lamp in Manual Mode
Start in manual so the settings do not drift while you move the light. Turn the dial until the histogram sits just under the right-hand edge with no clipping, and keep the lamp fixed while you judge it.
A practical starting point for a head-and-shoulders portrait: aperture wide enough to blur the background, shutter speed at or above 1/125s so movement stays sharp, and ISO whatever it takes to get there. On a modern camera that might be f/2.8, 1/160s and ISO 800. A phone at 1x will usually want closer to 1/60s with the subject still rather than moving.
Use exposure compensation rather than aperture if you want to change overall brightness, because widening the aperture shifts both the brightness and the depth of field. Bulbs and pale walls are deceptively bright, so check the histogram often — clipped highlights in a shade or a white shirt will not come back in editing.
| Subject | Aperture | Shutter speed | ISO | Focus |
|---|---|---|---|---|
| Head and shoulders, still subject | f/2.8 to f/4 | 1/125s or faster | 400 to 1600 | Single point on the eye |
| Product on a table, still | f/8 to f/11 | 1/60s with a timer or remote | 100 to 400 | Single point on the front face |
| Food, three-quarter light | f/4 to f/5.6 | 1/100s or faster | 200 to 800 | Single point on the front edge |
| Artwork or a print on the wall | f/5.6 | 1/60s or faster | 100 to 400 | Manual focus on the surface |
| Silhouette against a wall | f/8 | 1/125s or faster | 100 to 400 | Single point on the outline |
For a silhouette, meter for the background rather than the subject. Aim the lamp past the subject at the wall, expose to keep the wall bright, and the subject falls into shadow on its own.
If your subject moves, raise the shutter speed and let the ISO take the strain rather than opening the lens and losing sharpness.
5. Make Final Adjustments
Fix the colour first. Most household bulbs sit around 2700K, which is much warmer than daylight, and leaving the camera on a daylight setting gives you orange skin tones. Set the white balance to the bulb’s own temperature — on a phone, tap the lamp itself and lock it — or shoot RAW and correct it later from a grey card or a white piece of paper in the shot.
Then look at the background brightness. If there is a hotspot behind the subject, move the lamp further from the wall or move the subject further from it. If the background is too bright and competing, bring the subject closer to the wall and let the light fall off.
Small lamp moves do most of the work here. Slide the lamp ten centimetres to one side and the shadow edge shifts noticeably. Raise it and the shadow under the chin shortens. These adjustments take seconds and beat any editing trick for deciding how a frame reads.
Not Just Portraits
The same setup handles most things on a table. For products and crafts, bring the lamp lower and closer so the falloff across the object shapes it, and use a tripod with a delay or remote so nothing shakes during the exposure. For artwork, put the lamp at a shallow angle to the surface so you can see any texture in raking light, and hang the piece far enough from the wall that you get an even gradient rather than a hot centre.
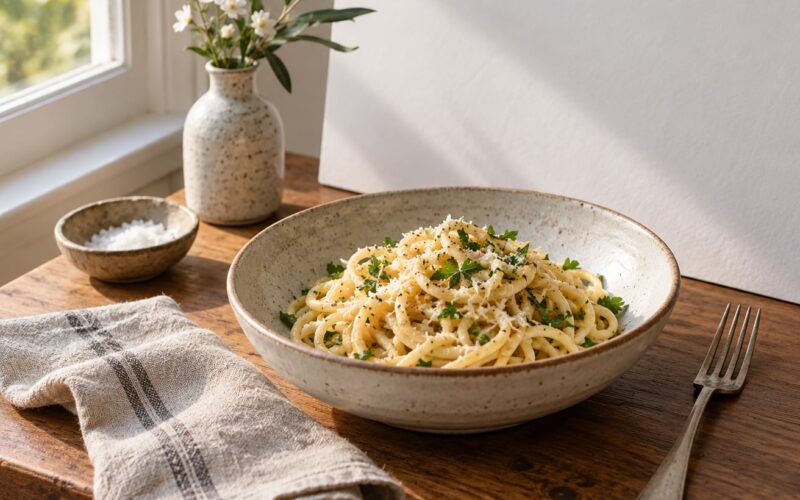
For food, place the lamp behind and to one side of the dish at about 45 degrees. That puts a highlight on the surface and lets steam and gloss do some of the work.
Common Mistakes
Mistake 1: shooting with the room lights on. Overhead ambient light fills the shadow your lamp created and flattens the frame. Turn everything else off, close the curtains, and shoot in the evening if you have to.
Mistake 2: putting the lamp dead centre behind the camera. Front light kills texture and shadow, and pale walls and skin both come out flat. Move it 45 degrees to one side and up slightly above eye level.
Mistake 3: trusting the bulb’s brightness instead of the histogram. Bulbs vary a lot and your camera’s metering will be fooled by a pale wall. Check the histogram and make sure the brightest parts of the shade and any white background are not clipping.
Mistake 4: leaving a harsh shadow with no fill. A single source with nothing opposite it gives you a hard edge that looks like a mistake. A white card on the shadow side, close in, fixes it in ten seconds.
Mistake 5: forgetting the inverse square law. Moving the lamp twice as far away quarters the light, so your old settings will look dark. Re-check the histogram after every big move.
Mistake 6: not white balancing a warm bulb. Orange skin and dull greens are the usual result of leaving a 2700K bulb on a daylight setting. Set the white balance to the light, always.
Mistake 7: letting the lamp into frame. A visible shade in the corner of a portrait is a hard thing to remove later. Move the camera a few degrees and check the frame before every shot.
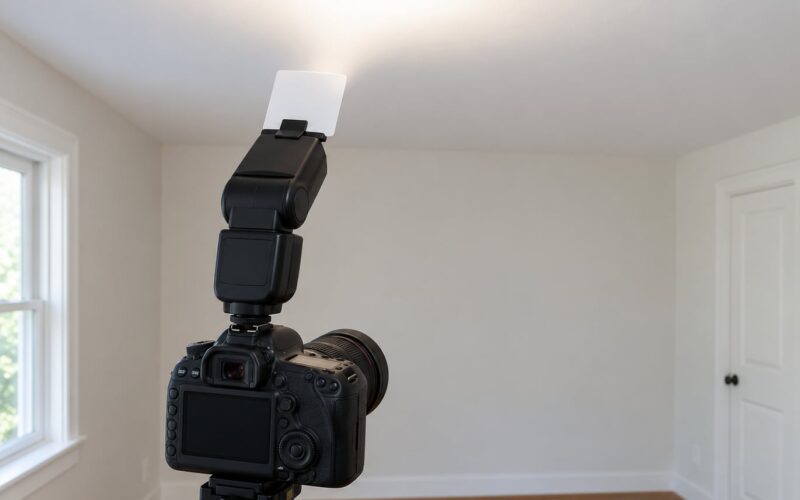
A few extras worth carrying into any shoot. Turn the lamp around the subject rather than only to one side to keep the same brightness on both sides of the frame. For a warmer or cooler result, cover the bulb with a single layer of white tissue or a cool blue gel, and note that a spot bulb gives you a tighter pool of light than a flood, which suits a single subject but falls off fast on a wall. For something you cannot soften, bounce it — point the lamp at a white wall or ceiling and light the subject with the reflection, which is the largest, softest source you can get for nothing.
Frequently Asked Questions
Can you take good photos with one lamp?
Yes, provided you treat it as a shaping tool rather than a light you have to work around. One lamp gives you direction, contrast and shadow, which is most of what makes a portrait look considered. The limits are real: a bare bulb is hard and usually warm, so plan on a diffuser and a white balance adjustment.
Where should I place a single light for portraits?
Put it about 45 degrees to one side of the camera and slightly above eye level, aimed down. That gives you modelling on one side of the face and shadow on the other. Move it higher and more forward for flatter, friendlier light; push it further round to the side for a more dramatic, moodier result.
How far should the lamp be from my subject?
About a metre for a head-and-shoulders portrait, then adjust by eye. Light intensity follows the inverse square law, so moving the lamp twice as far away cuts the light to roughly a quarter and softens the shadow edge. Move it in half a metre for more contrast, and re-check the histogram every time you move it.
How do I make a single lamp look softer?
Make the source bigger. Tape baking paper, two layers of tissue or a thin white bedsheet across the lamp opening and the shadow edges soften noticeably. Bouncing the lamp off a white wall or ceiling gives an even larger, softer source, though you lose some brightness. None of this matches a softbox, and you do not need it to.
What colour temperature is a desk lamp, and how do I fix the orange cast?
Most household bulbs sit around 2700K, well below daylight, which is why skin goes orange when the camera is set for daylight. Set the white balance to the bulb rather than the sun, either in the menu or by pointing the camera at the lamp and locking it. Shooting RAW gives you the most room to correct it afterwards.
What equipment do you actually need for portrait photography at home?
One light source with an adjustable head, a subject, a plain background, something to stand the camera on, and a pale card for fill. A tripod, a kitchen-cupboard diffuser and a piece of white foam board cover almost everything else. Clothespins, books or a shelf clamp will hold a lamp higher than the subject if you want light from above.
Start with one subject, one plain wall and the lamp at 45 degrees and just above eye level. Set the white balance to the bulb, kill the room lights, and put a white card on the shadow side. Then move the lamp ten centimetres at a time and watch what changes — that habit is the whole skill, and it transfers straight to every other light you ever use. Get comfortable with how to photograph with one lamp and nothing else in your kit needs explaining.