Most spring blooms give you three to seven good days, so the photograph is decided before you lift the camera. Scout the plant, arrive at the right hour, and work fast with a narrow aperture and a shutter speed quick enough to beat the breeze. Ten focused minutes at the right moment beats an hour of fiddling with a bloom that has already started to brown.
This guide covers how to photograph spring blooms before they fade: how to read bloom stages, which light to work in, the settings to start from, and what to do with the petals on day five. Nothing here needs a dedicated macro lens.
Five things decide the result, and they matter in this order:
- Timing. Arrive within 48 hours of the first fully open bloom on a plant.
- Light. Soft directional light, or hard sun used deliberately for backlight.
- Stability and speed. 1/250s or faster, and a way to brace the camera.
- Background. Check what is behind the flower before you frame anything.
- Recovery. A short edit that lifts shadows without faking colour.
Table of Contents
- What You Need
- Step-by-Step
- How to Photograph Spring Blooms Before They Fade by Choosing the Right Time
- How to Photograph Spring Blooms Before They Fade by Preparing the Camera
- How to Photograph Spring Blooms Before They Fade with Careful Composition
- How to Photograph Spring Blooms Before They Fade with Light and Weather
- How to Photograph Spring Blooms Before They Fade in the Edit
- Common Mistakes
- Frequently Asked Questions
- What is the best time of day to photograph spring blooms?
- How do I photograph flowers in bright sunlight without losing their color?
- Should I focus on the flower center or use autofocus on the whole blossom?
- How can I take sharp photos of spring flowers when it is windy?
- Can I photograph spring blooms with a phone instead of a camera?
- Is it safe to move or touch flowers while arranging a photograph?
- Conclusion
What You Need
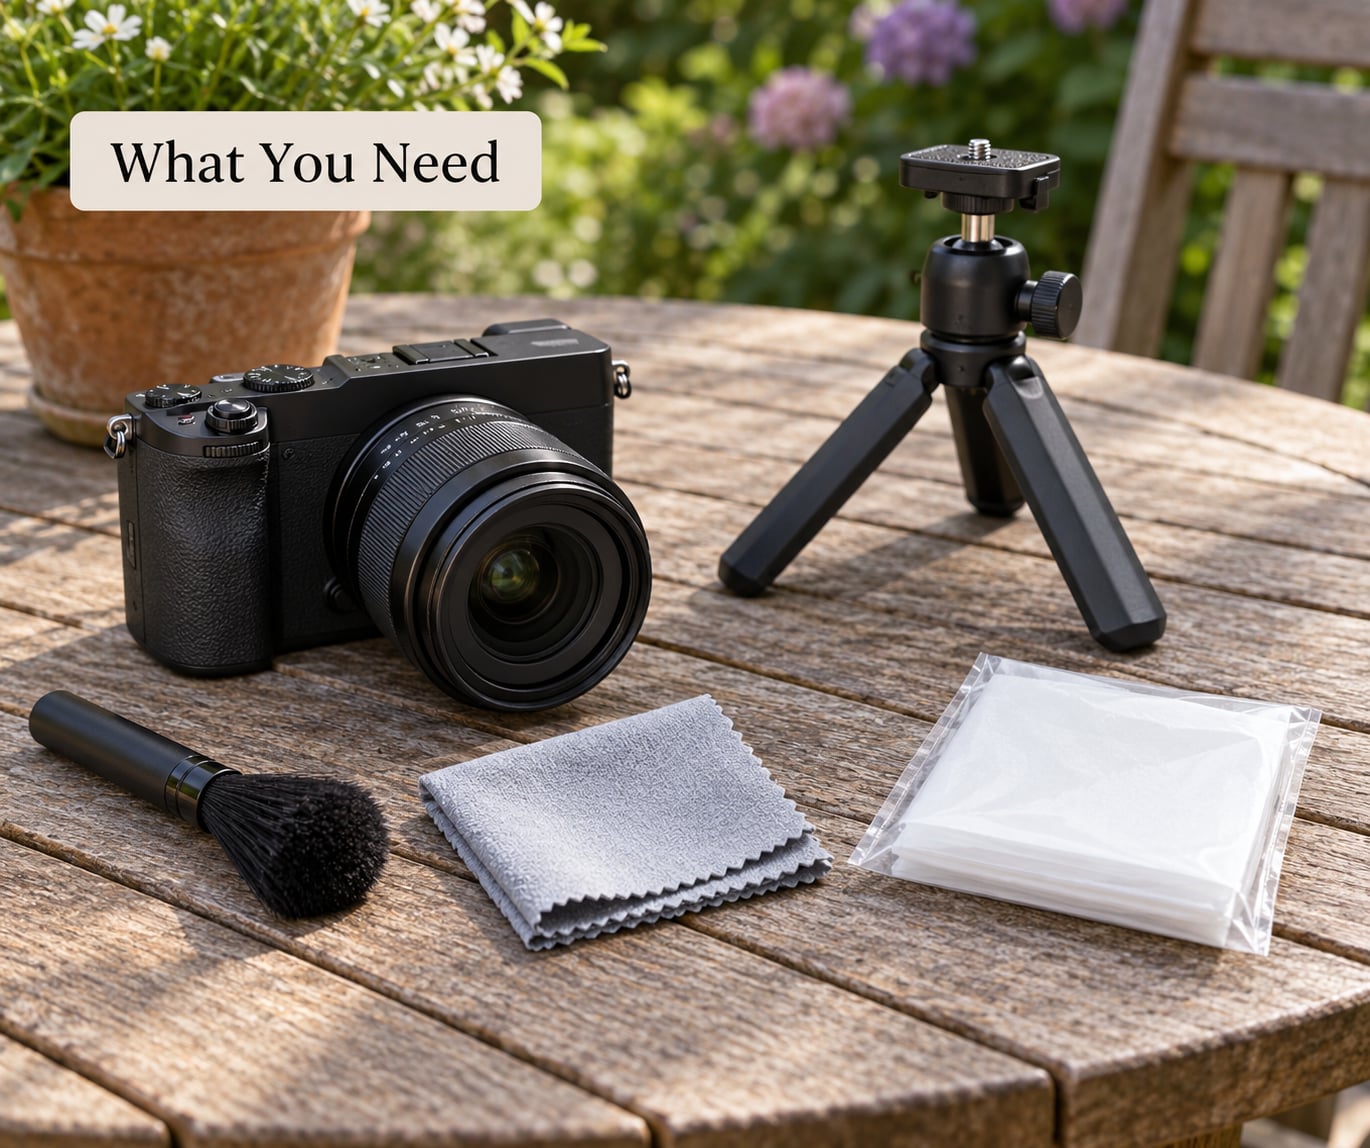
Start with whatever camera you already own. A mirrorless body or a DSLR with a kit zoom handles most spring work, because most subjects sit 30 cm to a metre away rather than pressed against the sensor. A rear-hinged or swivelling screen is worth far more to a flower shooter than an extra zoom, since half of spring photography happens at ground level with the lens pointed upward.
Getting closer takes one of three routes, and you only need the first:
- Close-focus lens. A macro lens at 90mm to 105mm is the easy route. It focuses quickly, holds a working distance, and needs no adapters.
- Close-up filter or diopter. A screw-on close-up diopter is a low-cost way to turn a normal lens into a close-focus one. You lose infinity focus, so shoot by moving in and out until the subject is sharp.
- Extension tube. Fits between body and lens, costs little, cuts maximum aperture by about a stop. Useful only if you are already comfortable with exposure maths.
For support, a small tabletop tripod is enough. A beanbag or a folded jacket on a low wall works just as well, and so does looping your camera strap around a branch and pulling the viewfinder against your chest to steady the body.
Pack three small items: a soft brush for dust and pollen, a microfiber cloth, and something to cover the camera in a shower. A fold-over translucent bag or a shower cap over the rear of the body keeps rain off the viewfinder and off the sensor when you change lenses. Bring a spare battery too, because cold mornings and long screen use drain them faster than you would expect.
Step-by-Step
How to Photograph Spring Blooms Before They Fade by Choosing the Right Time
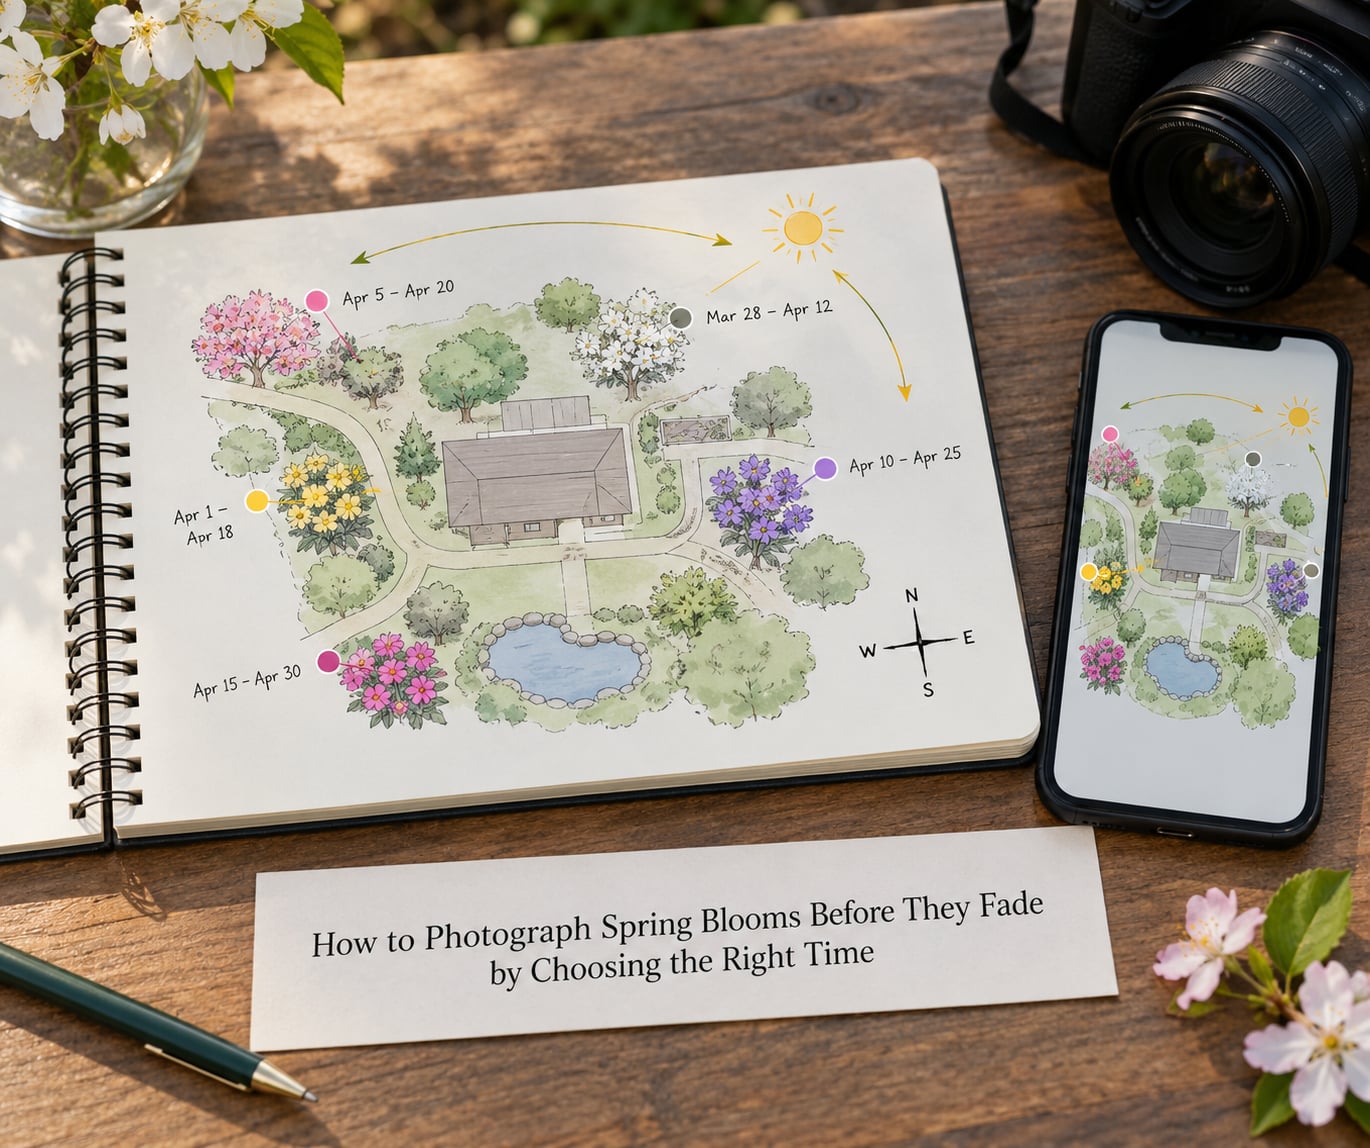
The single biggest cause of missed spring photographs is bad scheduling, and the fix is scouting. Walk the site every second day for a week before you plan the real shoot. Note which plant opened its first fully open flower, and which are still tight buds. A plant with one open bloom among buds is three to five days from peak, so that is your date.
Peak for most species is short. Once a flower is fully open it holds that state for only a few days, then the petals loosen, take on brown at the edges, and drop. Daffodils and tulips can hang on longer in cool weather, and go fast in a warm spell. Wind and rain shorten every window further, so treat a forecast of heavy rain as a countdown, not a delay.
| Common spring bloom | Typical peak window | Days from full open to petals dropping | Note |
|---|---|---|---|
| Daffodil | Mid-March to late April | 7 to 12 days | Holds longest in cool, still weather |
| Cherry blossom | Late March to mid-April | 5 to 7 days | Petals brown at the edges before they fall |
| Magnolia | Late March through April | 7 to 10 days | Woody stems make low angles easy |
| Tulip | Mid-April to early May | 7 to 10 days | Goes fast if a warm spell arrives |
| Columbine | April to June | 10 to 14 days | Long window, so less urgent |
| Peony | Early to late May | 5 to 7 days | Very short at full open, huge while opening |
| Lupine | May into June | 10 to 14 days | Stems move in wind, so work fast |
These windows shift with latitude and with the season, so treat them as a starting point rather than a calendar. A local wildflower or gardening group is often the fastest way to get accurate dates for your area, and park rangers know the current stage of things in the woods.
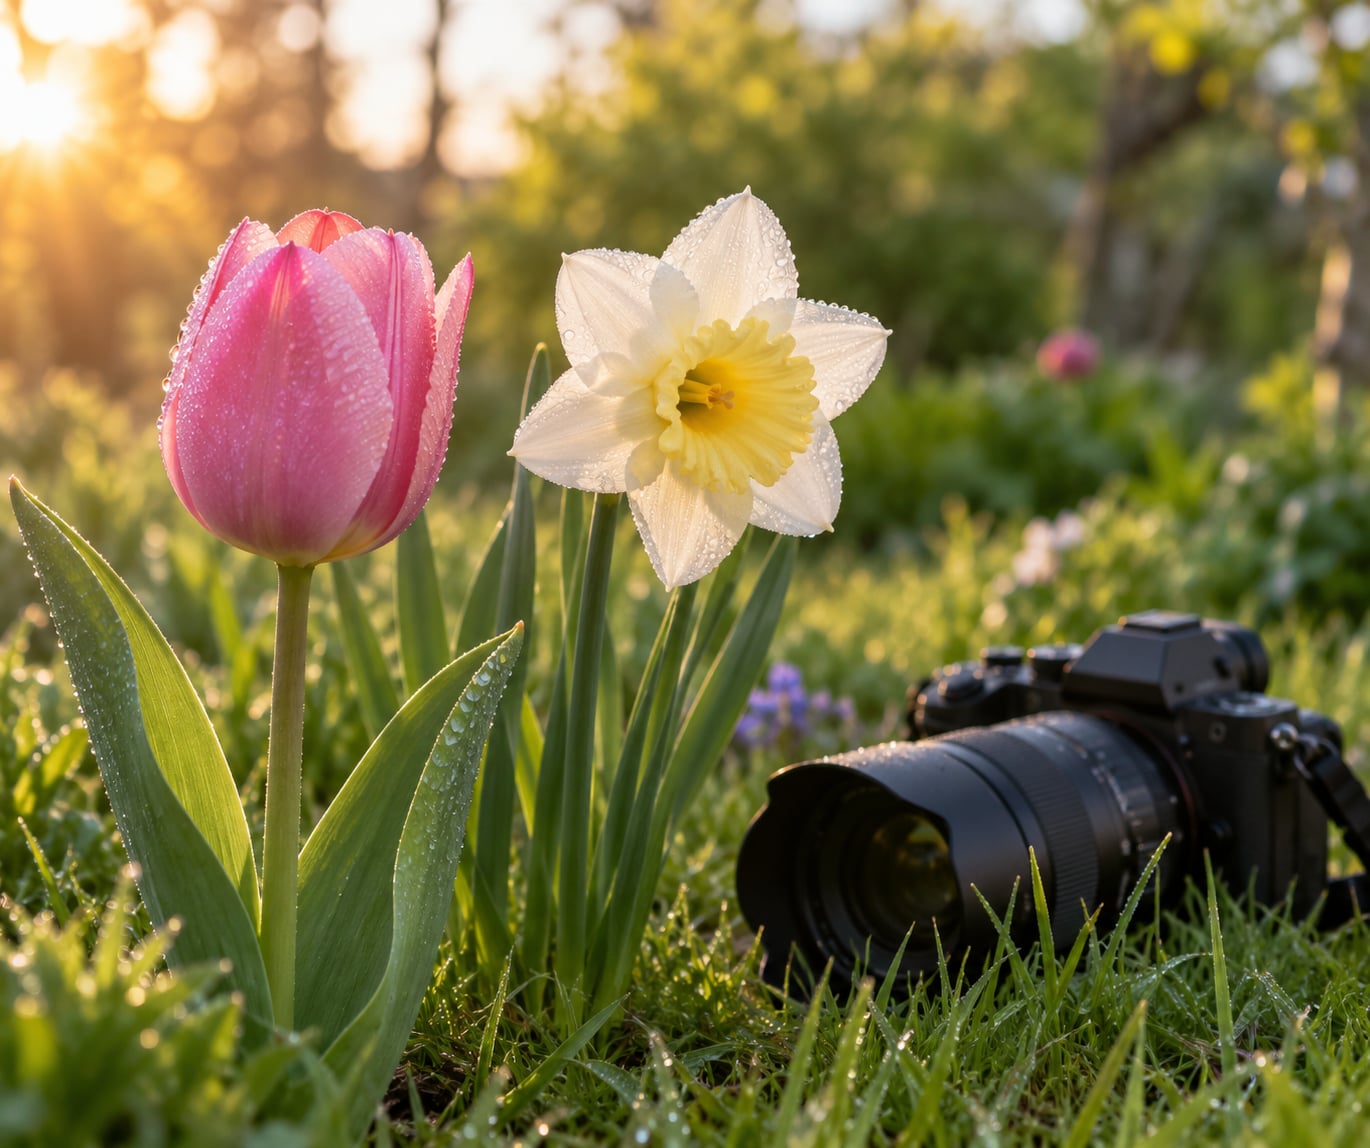
Then pick the hour. Early morning gives you still air, dew on petals, and low directional light before the beds heat up. The last hour and a half of light gives you warm backlight and long shadows, and it is the better window for translucent petals. An overcast day is not a wasted day; flat cloud acts as a giant softbox and is the easiest light to expose white petals in.
How to Photograph Spring Blooms Before They Fade by Preparing the Camera
Set the camera up before you walk to the plant, not while kneeling in the mud. Clean the front element, put the lens in manual or aperture-priority with a single-point focus area, switch on focus peaking or manual magnification if your camera has it, and set white balance to daylight rather than auto. Auto white balance drifts when you frame a green background, and you end up correcting it later anyway.
Start near f/8 and 1/500s at ISO 200, then adjust from there. Narrower apertures give more depth of field so the whole bloom is sharp, but they need more light and more time, and time is what you do not have when a petal is dropping.
| Subject | Aperture | Shutter speed | ISO | Focus | Support |
|---|---|---|---|---|---|
| Single bloom, still air | f/5.6 to f/8 | 1/250s | 100 to 400 | Single point on a petal edge | Optional |
| Single bloom, breeze | f/5.6 | 1/1000s | 400 to 800 | Single point, then shoot bursts | Optional |
| Whole plant or tree in flower | f/8 to f/11 | 1/125s | 100 to 400 | Manual or single-shot AF | Tripod strongly advised |
| Backlit translucent petals | f/4 to f/5.6 | 1/500s | 200 to 800 | Focus on the silhouette edge | Optional |
| Overhead, flower on ground | f/8 | 1/250s | 100 to 400 | Manual, live view zoom | Brace elbows or use a tripod |
Expose for the brightest part of the flower. Petals, especially white and pale pink ones, will clip to featureless white long before the rest of the frame is bright. If the camera has highlight warnings, use them, and dial in a little negative exposure compensation. You can always recover the shadows later; you cannot recover petal texture that blew out.
For wind, autofocus hunting is the other half of the problem. Place a single focus point on a high-contrast edge, use single-servo autofocus rather than continuous, and take short bursts rather than single frames. If your camera will not lock on, switch to manual focus, zoom in on the subject to set it, then step back without touching the focus ring.
How to Photograph Spring Blooms Before They Fade with Careful Composition
Decide what the photograph is about before you frame it. A tight macro filling the frame with a single bloom and its stamens is a different picture from a plant in context, and mixing the two in one frame usually gets you neither. Make that choice on the walk in, not after twenty wasted frames.
Work the angles. Low and looking up puts the sky behind the flower and gives clean separation, especially for trees. Eye level shows the plant as a gardener would see it. Straight down from above gives a flat, graphic look that works well on a single bloom or a small group, and it is the easiest angle to stabilise. A rear screen is what makes the low and overhead positions practical rather than a yoga exercise.
Then cut the clutter. Look behind the subject before you press the shutter, and move yourself rather than the flower. Weeds, bare twigs, half-eaten petals and other flowers at the same distance are what make a sharp frame look weak. Step sideways until the background goes dark, or step closer until it goes completely smooth.
Use negative space deliberately. A single bloom on the left third with empty blurred space to the right works because the eye has somewhere to travel. It also means you can crop later without losing the subject.
White and pale petals are the hardest thing to expose, since they sit at the top of the brightness range and the camera tends to render them grey. Compensate by lowering exposure until the petal detail returns, and shoot RAW so you have room to bring the colour back. For a bright red or deep purple flower, do the opposite and let the highlights sit just under clipping.
Take more frames than feels reasonable. Petals move, light shifts, and a breeze catches one shot out of six. Capture at least three viewpoints of the same bloom while it lasts.
How to Photograph Spring Blooms Before They Fade with Light and Weather
Soft light is the safest light for spring flowers, and the way to get it is to look at the weather, not the clock. Thin cloud, mist after rain, and open shade under a hedge or a bare tree all give you even light that holds detail in the petals. Bright sun at midday does the opposite: it burns the highlights, throws hard shadows across the bloom, and makes the colour look washed out.
Hard sun is still usable if you use it on purpose. Put the sun behind the flower, just off to one side, and the petals light up from behind. Thin petals and fine stamens glow at the edges, dew drops turn into small lenses, and you get a rim of light around the shape. Expose for the background and the flower goes to a silhouette; expose for the flower and you keep colour and glow. Shoot both, and decide later. Watch for flare and stray light, and shade the front element with your hand.
A circular polarising filter helps in two specific ways here. It darkens blue sky behind a flower, and it cuts the surface reflection off a waxy leaf or a wet petal so colour underneath shows. It also costs a stop or more of light, so it works best in bright conditions and not at dawn.
Wind is usually the real enemy. Beyond raising the shutter speed, brace the camera properly: elbows in, camera strap wrapped around a trunk or railing, back against a wall, or the whole camera resting on a beanbag. A remote release or the two-second timer removes the shake of pressing the button. A reflector or your own white shirt held out of frame fills the shadow side of a bloom without a flash.
Rain and dew are gifts, not cancellations. Cover the camera when you are not shooting, shoot under shelter between showers, and keep a cloth in your pocket. Cold snaps stiffen petals and slow the opening, so a morning after a frost often gives you crisper shapes and better colour than a warm day.
Do not damage the subject for a frame. Most flowers will not survive being bent, pinched, or held, and a stem broken for one picture is a stem you cannot photograph again. Move the camera, or ask the garden owner before touching anything.
How to Photograph Spring Blooms Before They Fade in the Edit
Do a quick, honest edit on the same evening, while you still remember which frame you liked. A simple sequence takes ten minutes and fixes most of what goes wrong outdoors.
Start with white balance. Set it from the image rather than leaving it automatic, because a green background drags a lot of shots green. Correct the cast before anything else, since every later adjustment depends on it.
Recover what you can from the highlights. In RAW, pull the highlight slider down until petal texture appears rather than a flat white shape. Then lift the shadows in the lower part of the frame only, using a mask or a soft brush, because a whole-image shadow lift brings up noise and flattens contrast.
Add contrast and texture gently. Spring flowers are about detail, so clarity and texture on the subject recover the veining, pollen and stamens that haze or compression smoothed away. Apply it to the flower, not the sky. Selective saturation on the bloom is fine, but push it lightly, because oversaturated petals look like plastic.
Deal with the background last. Darken it a little and desaturate it slightly so it stops competing, and consider a gentle vignette on tight macros. If the frame is cluttered rather than blurred, a tighter crop is the better fix; a dark, heavy crop looks artificial and everyone notices it.
Keep a straight version of any frame you edit heavily. Sometimes the untouched shot, with a slightly softer bloom and honest light, is the one worth printing.
Common Mistakes
Shooting at midday in full sun. Petals clip, shadows fall across the bloom, and colour looks pale. Fix: move to open shade, or go to the first or last hour of light. If the only daylight you have is harsh, use it for backlight and expose for the petals.
Letting autofocus hunt. The camera scans the frame, finds no contrast on a petal against a busy background, and you get a soft shot or none at all. Fix: set a single focus point on a high-contrast edge such as a petal rim, use single-servo autofocus, and take short bursts.
Stopping at 1/60s in a breeze. A stem that looked still in the viewfinder moves a millimetre in the gap between looking and pressing. Fix: 1/500s or faster for a single bloom, and brace the body. If the light does not allow it, raise ISO before you lower the shutter speed.
Leaving the tripod behind. Fading blooms often sit in awkward places, on the ground or against a fence, where handheld work is slow and blurred. Fix: a small tripod that fits in a coat pocket. It also makes focus stacking possible later.
Checking the background last. The frame is technically perfect and the background is a bin, a path, or three half-dead blooms. Fix: check what is behind the subject before you focus, and move your feet rather than the plant.
Waiting for a bloom to get better. A tight bud opening is worth photographing now as well as at full open, and it is often better in low light. Fix: shoot the stages as they come, and come back the next day to see how the same flower changed.
A useful last habit: the moment you arrive, take ten frames of the best-looking bloom before you do anything else. That gives you a guaranteed set in the bank, and then you can experiment with light and angles for as long as the flower lasts.
Frequently Asked Questions
What is the best time of day to photograph spring blooms?
The first hour after sunrise is usually the strongest window: the air is still, dew is on the petals, and the light is low and directional. The last hour and a half before sunset is second best, giving warm backlight and translucent petals. An overcast morning is easier than either, since flat cloud acts as a giant softbox and holds detail in white petals. Avoid the middle of the day.
How do I photograph flowers in bright sunlight without losing their color?
Shoot in bright sun only when you want it. Backlight the flower with the sun behind it, expose for the petals, and shade the front element from flare. For a front-lit flower, wait for a cloud to pass or step into open shade, and set white balance to daylight instead of auto. Bright conditions also suit a circular polarising filter, which cuts glare off waxy leaves and wet petals and darkens the sky behind.
Should I focus on the flower center or use autofocus on the whole blossom?
Focus on a single high-contrast point, usually a petal edge or the cluster of stamens at the centre, rather than letting the camera choose across the whole blossom. Use single-servo autofocus with a single focus point and take short bursts. If the camera keeps hunting, switch to manual focus, zoom in to set it, then step back without touching the focus ring. To get an entire bloom sharp, stop down to f/11 and focus stack several frames.
How can I take sharp photos of spring flowers when it is windy?
Raise the shutter speed to 1/500s or faster and raise ISO to match, since a blurred frame cannot be fixed later. Brace the camera by wrapping the strap around a branch and pulling the viewfinder to your chest, or rest the body on a beanbag or your knees. Use a remote release or the two-second timer so pressing the button does not move the camera. Shoot bursts, because a still frame appears every few seconds.
Can I photograph spring blooms with a phone instead of a camera?
Yes, and a phone is often quicker. Tap the flower on screen to set focus and exposure, then pull exposure down slightly if the petals look washed out. Use the 2x or 3x lens rather than the ultra-wide one, which distorts the bloom. Move closer and use portrait mode for background blur, though check the edges of the flower afterwards. Shoot in RAW or Pro mode if your phone offers it, and take several frames per shot.
Is it safe to move or touch flowers while arranging a photograph?
Generally, no. Most spring blooms last days, not hours, and bending or breaking a stem ends your chance of photographing it again. Move your own position instead: step left, right, lower, or higher until the background is clean and the light works. If you want to arrange a cutting indoors, cut it properly and keep it in water, and always ask a garden owner or park ranger before touching a plant on their land.
Conclusion
Scout the location, check how open the bloom is, and get to it with the camera already set to roughly f/8, 1/500s, ISO 200, single-point focus. Take ten safe frames of the best flower first, then work the angles and the light. When you get home, fix the white balance and pull back the highlights, and leave the colour honest.