If you have ever wondered why do my flash photos look harsh, the reason is size and position, not settings. A bare flash is a tiny, extremely bright light source pointed straight at your subject, and the smaller that source is relative to your subject, the sharper and darker its shadows. The fix is rarely a new camera or new settings. It is a bigger, softer, angled light.
That answer sounds obvious once you hear it, but most people spend months dialing in exposure dials wondering why the picture still looks wrong. The problem usually isn’t brightness or the settings copied from someone else’s camera. It’s geometry.
Table of Contents
- What Makes Flash Photos Look Harsh?
- How Direct Flash Creates Hard Shadows and Flat Light
- Why Bright Backgrounds and Reflective Surfaces Make It Worse
- How to Tell Whether the Flash or the Room Is the Problem
- Simple Camera Settings for Softer Flash
- How to Bounce Flash for Softer Shadows
- How to Use Distance to Make Flash Look Softer
- Which Modifiers and Alternatives Can Soften Flash?
- Why Do My Flash Photos Look Harsh Even With a Modifier?
- How to Fix Harsh Flash in Photo Editing
- A Quick Checklist for Natural-Looking Flash Photos
- Frequently Asked Questions
- Why does flash create dark shadows under the eyes and nose?
- Is lowering the flash output enough to make photos look softer?
- Why does bounced flash sometimes look yellow or green?
- Can I make direct flash look softer without buying an accessory?
- Why do white walls and mirrors cause flash hotspots?
- Can photo editing remove shadows created by a bare flash?
- Conclusion
What Makes Flash Photos Look Harsh?
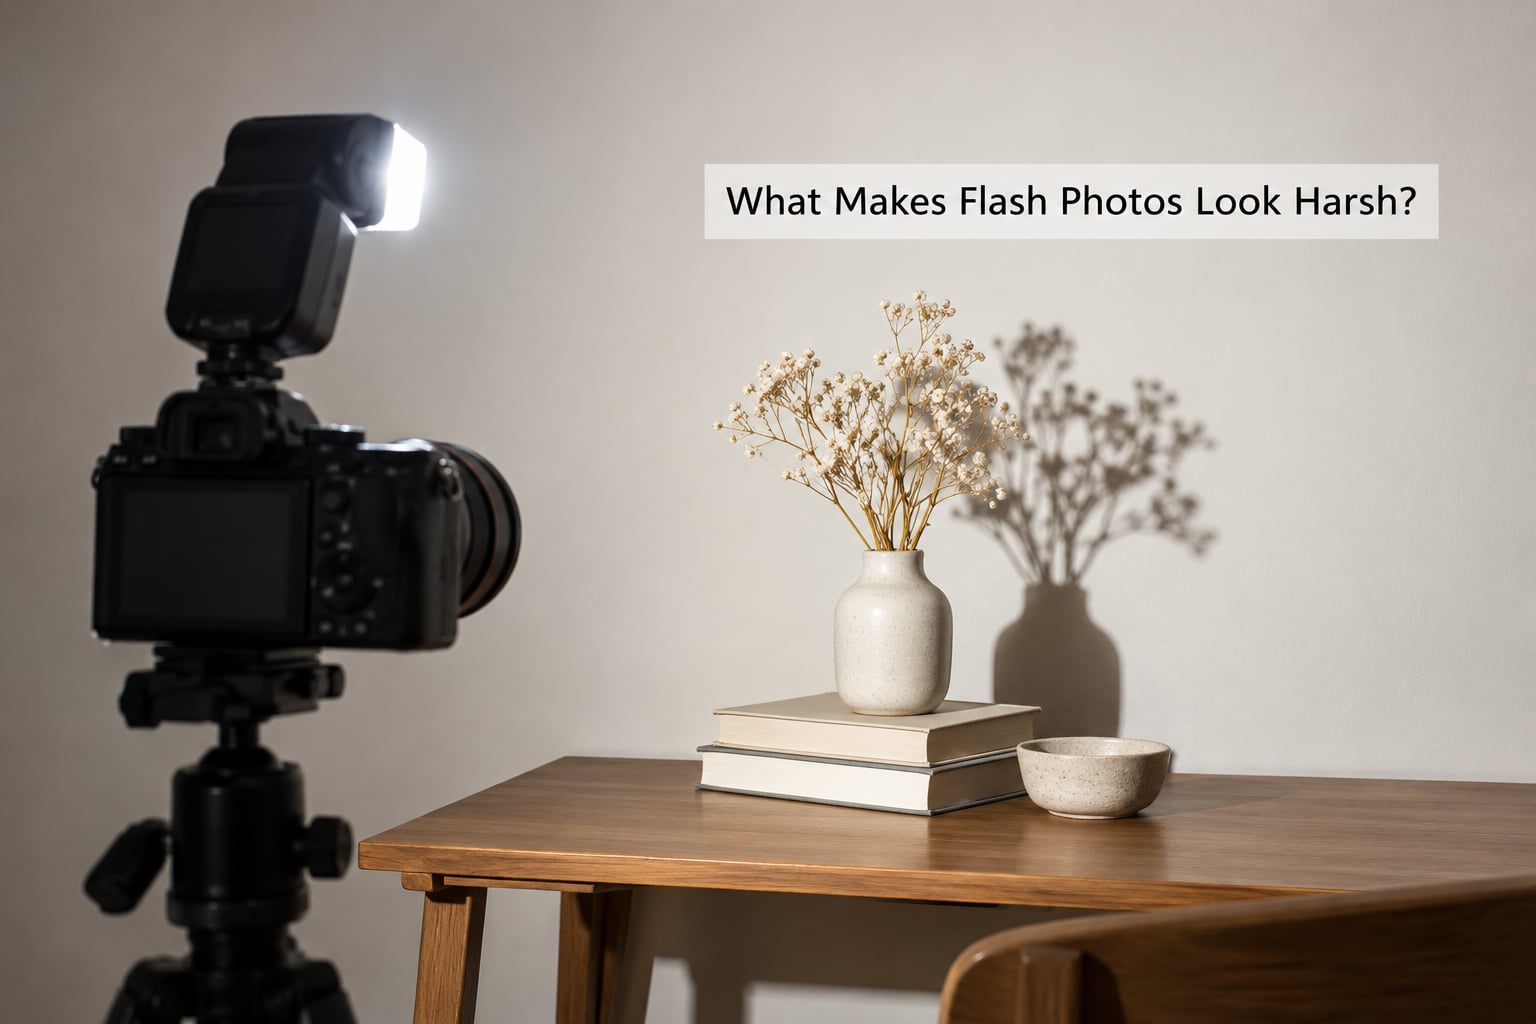
Harsh flash happens when a small, concentrated light source hits the subject head-on from close range. The light is so concentrated and so brief that shadows arrive with hard edges, highlights blow out immediately, and skin texture turns into every pore and wrinkle. Harsh light means a small light source, straight-on placement, high contrast between lit and unlit areas, and little room for detail in the shadows.
Four things cause it over and over:
- The source is too small. A pop-up flash head or a bare speedlight covers maybe two fingers held at arm’s length. Everything about the resulting light is built around that tiny size.
- The light is too close to the lens axis. Flash mounted on the camera hits the face from the same direction your eyes do, so every shadow falls directly behind the feature that casts it.
- Nothing fills what the flash leaves dark. Turn the key light off and the shadow side vanishes. Flash alone with no ambient contribution is pure high-contrast light.
- The room sends light straight back. A pale wall behind the subject, a mirror on the left, a shiny ceiling, all of it bounces and doubles the effect.
Notice that none of those are camera settings. They are all decisions about size, position and surroundings.
How Direct Flash Creates Hard Shadows and Flat Light
Picture light as water spraying from a nozzle. Hold the nozzle far away from a wall and the spray lands in a tight, sharply outlined spot. Move it close to the wall and the spray spreads out, and the edge of the wet patch fades gradually from bright to nothing. Shadow edges behave exactly the same way.
A small light is made up of many tiny point sources. Each one casts its own shadow of your nose, your chin, your hand. Because those points sit in slightly different places, their shadows land slightly out of register, which is what gives a soft shadow its gradient from dark to light. A big source, like a softbox or a white ceiling, sends its points from a wide area, so those individual shadows overlap and blend into a smooth transition.
Flash has a second problem that shadow physics alone don’t explain: it lasts about a thousandth of a second. That’s long enough to travel to a wall 10 feet away, but far too short for the eye’s adaptation to kick in. In daylight, your pupils open and your brain builds a balanced view of the room. Under flash, the camera freezes a single instant of full intensity, so the brightest and darkest things in the frame land at the same moment and both go to the extremes.
Then there is the frontal angle. Mount a light near the lens and it rakes straight across the front of the face from the front, which flattens it. Every feature receives light from its own direction, so the nose has no shadow to define it, the cheekbones don’t read as cheekbones, and skin texture disappears into a smooth, wide mask. This is the “why do I look so bad in flash photos” complaint that shows up constantly on photography forums. Hard light exaggerates texture, soft light hides it, and a light from the camera position does both at once.
Why Bright Backgrounds and Reflective Surfaces Make It Worse
Flash is bright enough that nearby surfaces act like a second light source of their own. A white wall behind the subject bounces light back onto the back of the head and shoulders, producing bright rims that look like an error but are really just physics. A polished ceiling does the same from above, which is why ceiling shots in gyms, hotel ballrooms and wedding venues so often give people shiny foreheads and dark eyes.
Mirrors, chrome, glossy paint, glass, and even pale skin all reflect some light straight back toward the lens. Those reflections clip to white before the rest of the frame has finished rendering, so you lose the detail that would have made the picture look intentional.
It gets worse as rooms get smaller. A bathroom at 6 by 8 feet gives a flash almost no room to spread out before it hits something reflective. A photographer moving a portrait subject toward a neutral, mid-grey backdrop two or three feet behind them will see a bigger improvement in softness than almost any settings change.
How to Tell Whether the Flash or the Room Is the Problem
Run this in order. It takes about ten minutes and tells you which lever to pull.
Step one: turn the flash off entirely. Shoot with ambient light only. If the picture still looks harsh, the room is the problem, not the flash. Windows, overhead fluorescents and open shade are all producing hard light of their own.
Step two: check where the shadows land. Shadows directly behind the subject, pointing away from the camera, mean the light is on the camera axis. Shadows thrown off to one side mean the light is already off-axis, and the problem is size rather than angle.
Step three: measure the shadow edge. Take one frame, then move the flash 12 inches farther from the subject and take another. If the shadow edge softens noticeably, you have a size and distance issue and the fix is cheap.
Step four: look at the background. If a bright wall sits behind the subject and edges of the subject glow, step the subject forward or angle the camera so the wall isn’t directly behind them.
Step five: check the exposure, not the light. Look at the histogram. Clipped whites with visible detail-free patches on skin or white shirts is an exposure problem. Detailed shadows that simply transition too fast to a hard edge is a light quality problem. Plenty of images have both.
That last distinction matters more than people expect. Harshness from light quality is a shape problem, and editing can’t fix shapes. Brightness that clips is a tone problem, and editing fixes it well.
Simple Camera Settings for Softer Flash
Settings control how bright the picture is. They do not change the size of the light. Setting a lower flash output on a bare speedlight produces a correctly exposed version of the same harsh light, just with less of it blown out.
That said, a few settings make a real difference to how the flash reads.
- Start in manual flash power. Set the flash to manual at a power level such as 1/16 or 1/8 and adjust from there. In TTL, the camera changes flash output every frame, so two shots of the same scene can come out with different contrast.
- Open up the aperture. Wider apertures on the camera don’t soften shadows, but they let you lower flash power, and a lower-powered flash means the room’s ambient light can be closer in brightness to it. Ambient plus flash is a softer look than flash alone.
- Keep ISO low. ISO 100 to 400 gives cleaner files, and clean files survive editing. High ISO noise makes people compensate by pushing highlights down, which flattens the very contrast you were trying to fix.
- Stay under your camera’s sync speed. Most cameras sync near 1/200 second, some at 1/250. Above that, you get partial flash on part of the frame, a dark band across part of the image.
- Shoot RAW. A clipped white highlight is gone in a JPEG. In RAW it is still recoverable.
Here is a safe starting point for a beginner shooting an indoor portrait with a speedlight:
| Setting | Starting point | Why |
|---|---|---|
| Flash mode | Manual, 1/8 power | Consistent output, easy to reason about |
| Aperture | f/4 | Enough light, decent depth of field |
| ISO | 100 or 200 | Clean files, room for editing |
| Shutter speed | 1/160 second | Below sync, still freezes movement |
| Flash position | 45 degrees, 3 feet from subject | Off-axis, closer than feels natural |
| Ambient exposure | About one stop under flash | Keeps the background readable |
One stop under the flash is a good rule of thumb. It puts ambient light just below the flash on the face, which softens the transition between the lit and unlit side and keeps the background from going pure black.
How to Bounce Flash for Softer Shadows
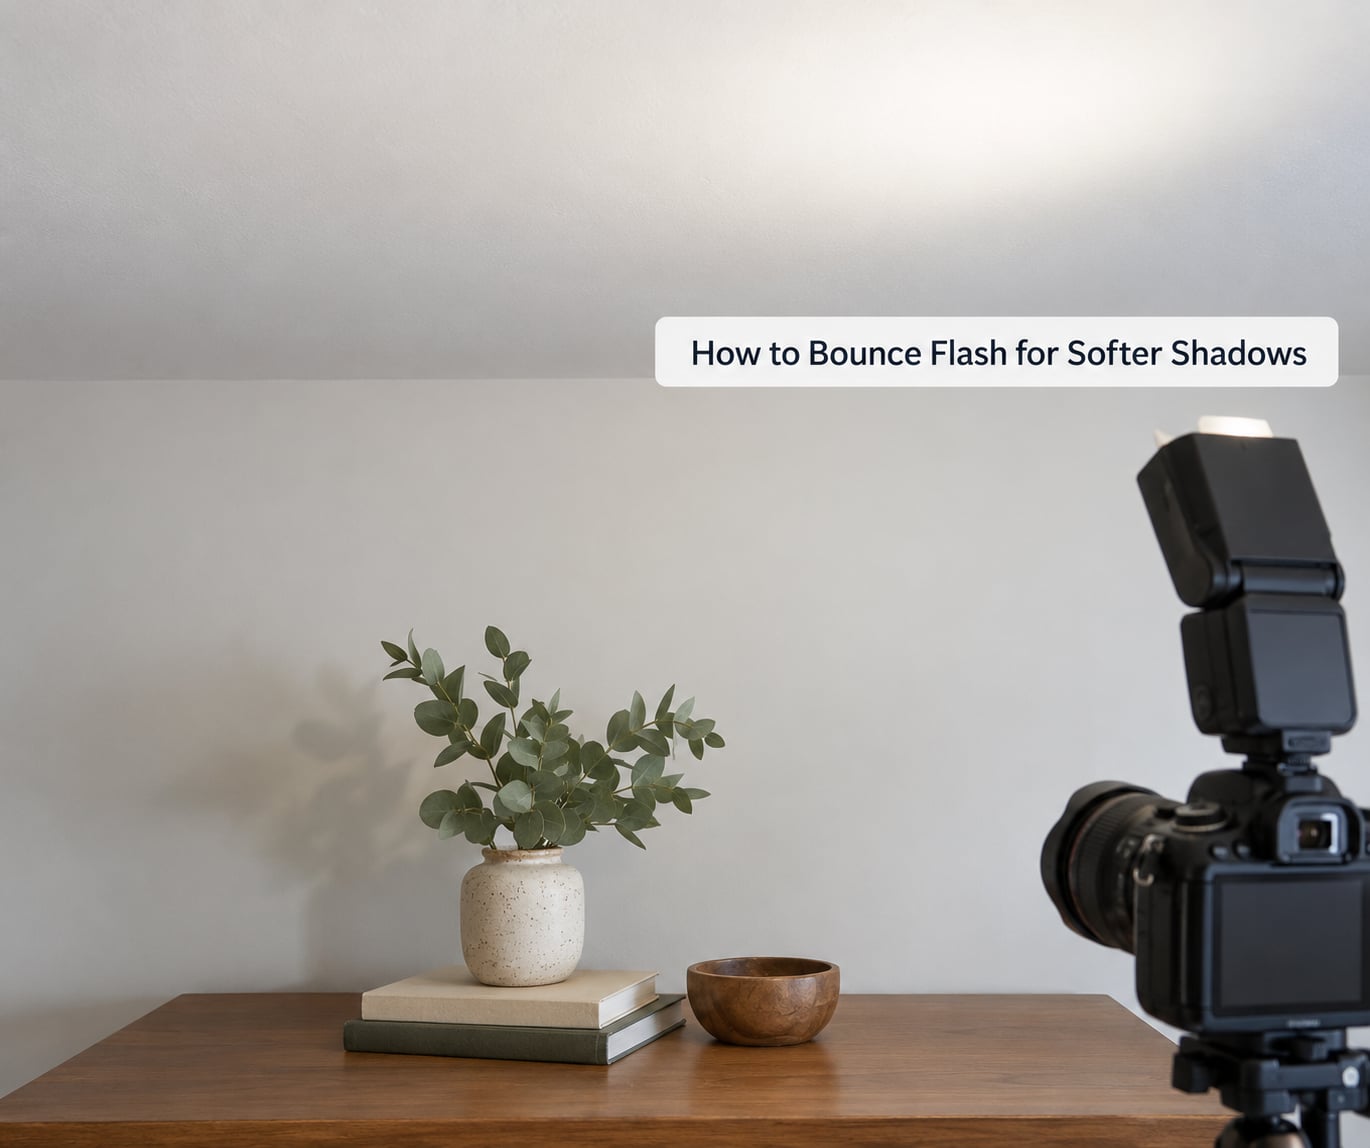
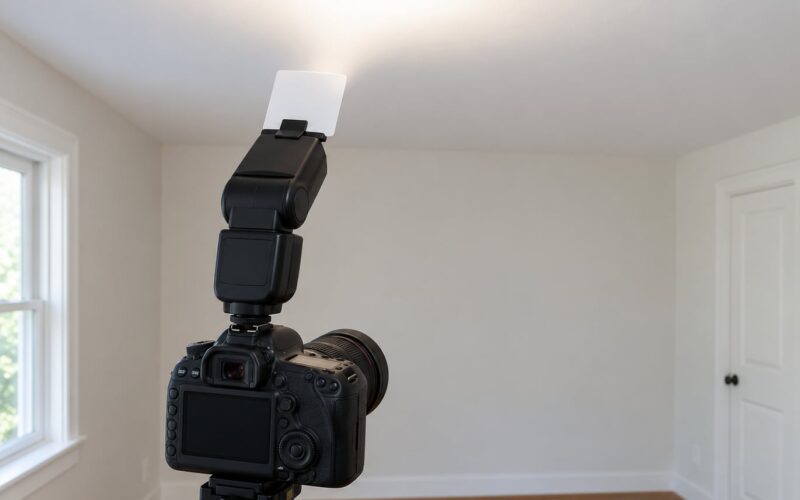
Bouncing means aiming the flash at a ceiling or a wall and letting that surface become the actual light source. A ceiling is often 8 feet by 10 feet, which is an enormous source compared to the two-inch head of a speedlight. Beginners on photography forums consistently report this as the biggest single jump in quality from the photos they took before and after.
For a pop-up flash, tilt the head up until it points at the ceiling directly above and slightly behind the subject. Most cameras need roughly a 45 to 90 degree tilt for the head to clear the lens and reach the ceiling. Take a test shot and check the shadow under the chin: when it’s gone, you’re close.
Three things to watch for:
- Colour casts. A ceiling with any paint tint or texture reflects that tint back. That’s why bounced flash sometimes looks yellow or green. Neutral white ceilings look clean; anything else, correct the white balance on one frame before shooting the set.
- Ceiling shadows. If the flash is tilted too far forward, the ceiling itself casts a shadow of the subject’s head onto the wall behind. Move the subject away from the back wall or tilt the flash further back.
- Lost power. Light hitting the ceiling loses roughly half its strength by the time it scatters down. Set the flash power first, then close the aperture until the background reads correctly.
Side walls work too. A flash aimed at a bare white wall to the subject’s left, with the subject about three feet from that wall, produces a wide, gradual falloff across the face that no accessory matches.
How to Use Distance to Make Flash Look Softer
This is the part that confuses people most, because moving the flash farther away makes it weaker yet softer at the same time.
Light intensity follows the inverse square law: double the distance from the subject and you get a quarter of the light. Start with a flash one foot from your subject, move it to two feet and the exposure drops by two stops. Move to four feet and it drops by another two. Power and softness are linked, which is why the classic beginner instruction is to move the flash closer, not farther.
Move it closer and the source becomes large relative to your subject. That ratio, not the physical size of the flash head, is what sets shadow softness. A small softbox two feet from a face produces very soft light. The same softbox eight feet away is effectively a bare flash again.
There are two other reasons to move the light out.
The first is control. With the flash on the camera, shadows hide behind the subject where you can’t see them. Move it to the side and the shadow appears on the background where you can place it deliberately, or push it out of frame entirely by choosing a wide enough angle.
The second is falloff. The inverse square law means the background behind your subject gets noticeably darker than the subject does. That dark background is doing real work: it separates your subject from everything else in the frame and makes the flash picture look deliberate rather than like a snapshot with a lamp in it.
A common beginner trap is doing the opposite. Moving the flash far away to get everything evenly lit also flattens the picture and reintroduces hard light. Distance and softness pull in opposite directions once you pass about four feet.
Which Modifiers and Alternatives Can Soften Flash?
A modifier is anything that makes the light look bigger before it reaches your subject. Ranked by how much they help:
| Option | What it does | Tradeoff |
|---|---|---|
| Bounce off ceiling or wall | Turns a small source into a room-sized one | Needs a light, neutral surface; costs power |
| Umbrella | Adds a 3 to 5 foot surface; shoots through or into it | Spills light everywhere and needs a stand |
| Softbox | Controlled, directional, very even falloff | Largest and least portable option |
| Diffuser panel or scrim | Stretches the flash across a panel 2 to 3 feet wide | Low cost, less even than a softbox |
| Bounce card or foam board | Not a softener; fills the shadow side with reflected light | Free, and the fix most beginners skip |
| Window light | Enormous source, no equipment | Only on a bright overcast day or open shade |
| Turn the flash off | Removes the harshness entirely | Needs ambient light to be bright enough |
A diffuser is the one people ask about most, and it’s worth being precise about what it does. A diffuser panel between the flash and the subject enlarges the apparent source, but it scatters light in every direction. You get softer light and you lose about two stops of efficiency, plus you’ll fight spill. A softbox does the same job while keeping the light on one side.
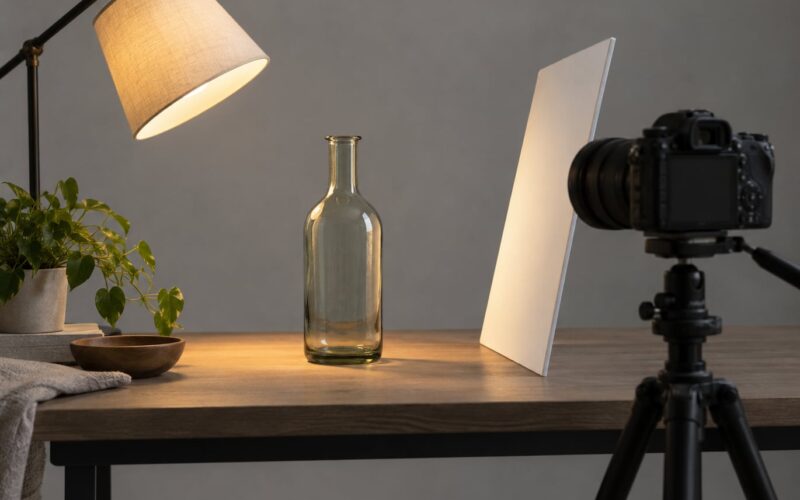
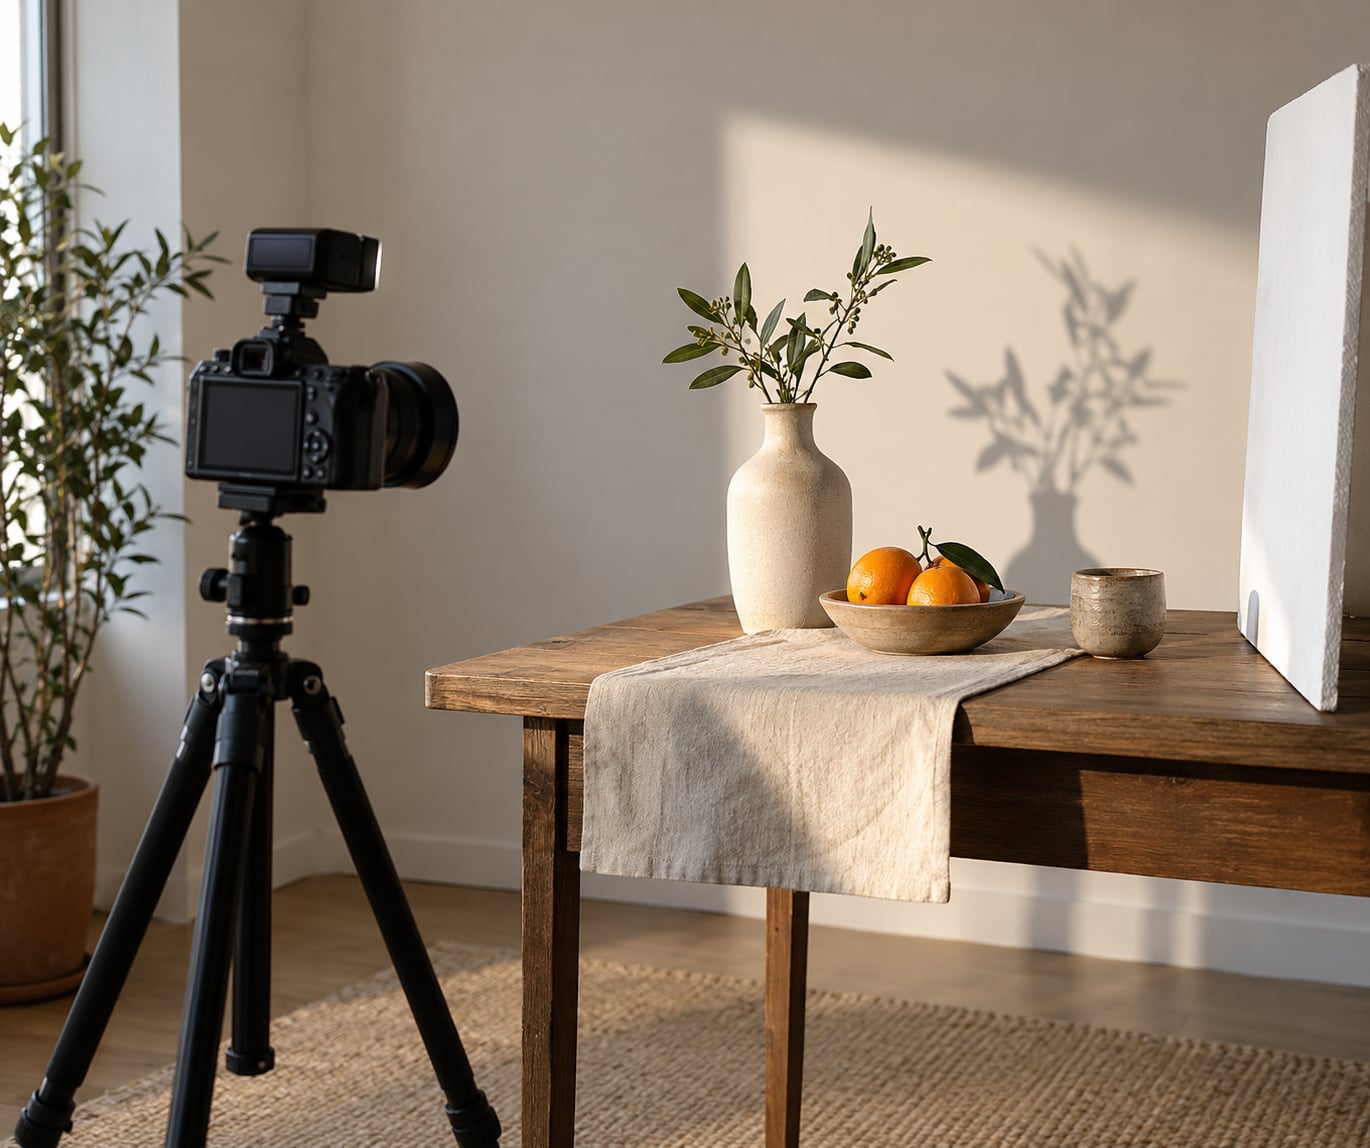
If you only own one accessory, make it the cheap one first. A white piece of foam board on a chair 2 feet from the subject’s shadow side, angled back at them, does more for a harsh portrait than any diffuser, because it fills the black areas that make flash look unkind.
Why Do My Flash Photos Look Harsh Even With a Modifier?
If the softening isn’t showing up, it’s almost always one of four things.
The modifier is too small for the distance. A 12-inch softbox on a stand five feet away has an apparent size similar to a bare flash at two feet. Same modifier, same softness. Move in.
The subject is against a wall. No modifier can help when the wall is only eight inches behind the head. Every bit of shadow the modifier would have softened lands on that wall at full contrast instead.
You’re shooting through a diffuser that isn’t spreading enough. Cheap clear plastic domes on a speedlight make the light slightly softer and noticeably dimmer. Most people read the dimmer result as worse and blame the modifier.
The flash is still on the camera axis. A modifier aimed forward through the middle of the lens keeps every shadow hidden directly behind the face. Rotation doesn’t soften what’s hidden; it just moves where the shadows land.
How to Fix Harsh Flash in Photo Editing
Editing fixes brightness problems well and shadow shape problems badly. Work in this order so each step gets a clean base.
- Set exposure and white balance first. Get the overall brightness right before touching anything else. In Lightroom, the Highlights slider is the first one to move: pull it down until skin and white shirts hold detail.
- Reduce the global contrast. Drop the Whites and lift the Blacks slightly so the darkest shadows aren’t pure zero. Widening the tonal range at both ends is what stops a picture reading as harsh.
- Add texture carefully. In masking, apply Texture or Clarity to a low opacity around 15 to 25 percent. Full strength amplifies exactly the pore and wrinkle detail that hard light already made too visible.
- Mask the flash-lit areas. Select the subject’s face with a radial or brush mask and drop its contrast and texture independently of the background. This is the step that actually reads as retouching rather than global filter.
- Fix the colour of bounced light. Paint white balance corrections by hand on areas the flash picked up a ceiling tint from. A sample eyedropper on skin is quicker than trying to move the global slider.
What editing cannot do: soften a hard shadow edge. A dark shape next to a bright shape will still be a dark shape with a crisp border after every slider in Lightroom. If the shadow shape is wrong, go back to the room and move the light.
A Quick Checklist for Natural-Looking Flash Photos
Run through this before every indoor flash shoot, in this order.
- Make the source bigger. Bounce it, put it through an umbrella, or get a subject closer to the source than the source is large.
- Move the light off the camera axis. Forty-five degrees to the side and slightly above eye level is the single most useful starting position.
- Put space behind the subject. Three feet of neutral background instead of a wall an inch away.
- Lower the flash output. Aim for one stop over ambient, then fill the rest with a white card.
- Check for reflective surfaces. Mirrors, glass, glossy paint, wet floors and polished ceilings all send light back at your subject.
- Expose for the brightest lit area. Watch the histogram for clipping on skin and white fabric before anything else.
- Set ambient exposure about a stop under the flash. A visible, slightly dim background reads far more natural than a black one.
- Edit highlights and contrast last. And keep texture work low enough that you’re smoothing, not sharpening.
Four of those eight cost nothing. The most common reason people never fix their flash photos is that they’re looking for a settings fix when the answer has been in the room the whole time.
Frequently Asked Questions
Why does flash create dark shadows under the eyes and nose?
A flash mounted near the lens throws light from the same direction as your viewpoint, so the small shadows the nose, brow and cheekbones normally cast are hidden behind those features. Moving the flash 45 degrees to the side and slightly above eye level sends those shadows off to one side, where they read as shape rather than as dark patches. A white card opposite the light fills what remains.
Is lowering the flash output enough to make photos look softer?
No. Lowering output stops skin and shirts from clipping, which helps a lot, but the shadow edges stay exactly as hard because the light source is unchanged. Softness comes from the apparent size of the source relative to your subject: bounce it, diffuse it, or move it closer. Lower the power anyway, though, because it lets ambient light balance the flash.
Why does bounced flash sometimes look yellow or green?
The flash is taking on the colour of whatever it bounced off. A white ceiling that is really warm white, a beige paint, or a textured surface will tint everything it lights. Take one frame, set white balance using the skin tone as reference, and shoot the rest of the set at that setting. If the ceiling is strongly coloured, bounce off a wall or a white card instead.
Can I make direct flash look softer without buying an accessory?
Yes, and most beginners never need more. Tilt the flash up at a plain white ceiling, aim it at a bare white wall and place the subject three feet from it, or turn the flash off entirely and shoot near a window or on an overcast day. A white foam board on the dark side fills shadows for nothing. Move the flash close to the subject as well; that alone changes the ratio of source size to subject.
Why do white walls and mirrors cause flash hotspots?
Flash is bright and fast, and pale surfaces send a large share of that light straight back. A white wall behind a subject creates bright edges around the head and shoulders, and a mirror or glossy surface reflects the flash as a hot white patch that clips before the rest of the frame finishes rendering. Step the subject several feet away from pale surfaces and watch the histogram for clipping.
Can photo editing remove shadows created by a bare flash?
Editing can soften the way a shadow looks, but it cannot change its shape. Lowering highlights and lifting blacks will make the contrast between the lit and unlit side gentler, and masking the subject lets you reduce texture on skin. But a hard-edged shadow stays a hard-edged shadow after every slider. Change the position and size of the light in the room instead.
Conclusion
If you want to know why do my flash photos look harsh, the answer is that you have been pointing a very small light very close to the lens at a very close range. Turn off bare direct flash first, and bounce that flash toward a plain white ceiling or an empty wall.
Then reduce its output by a stop or two, move it off the camera axis to about 45 degrees, put a few feet of neutral background behind your subject, and shoot again. Save the editing sliders for the highlights afterward. Most of the improvement comes from the first three changes, and none of them cost money.