To photograph baked goods well you need one large soft light source at about 45 degrees to the subject, an angle that suits the shape of the bake, and simple styling that supports it rather than competes. A window, a white card and a neutral surface are enough for most home shots, and a phone handles the whole process if you set it up deliberately.
Baked goods are awkward to photograph because they are brown, often flat, sometimes glossy, and they start losing their edges within minutes of leaving the oven. Fixing that is about control, not expense: where the light comes from, which way the camera faces, and how much food you put in frame. Get those three right and even a tray of brown cookies reads as appetising.
Here is the process I use, from pulling a bake out of the oven to exporting a final set.
Table of Contents
- What You Need
- Step-by-Step: How to Photograph Baked Goods
- Step 1: Prepare and Cool the Baked Goods
- Step 2: Set Up Soft Side Lighting
- Step 3: Choose Camera Settings for Photographing Baked Goods Close Up
- Step 4: Style the Scene for Texture
- Step 5: Shoot a Finished Set
- Common Mistakes
- Frequently Asked Questions
- What is the best natural light setup for photographing baked goods?
- Can I take good food photos with a smartphone?
- Do I need a tripod when photographing baked goods at home?
- How do I photograph several baked goods without sacrificing consistency?
- How do I photograph glossy glazes and syrups without reflections?
- Conclusion
What You Need
The honest answer is a camera, a light, something to put the food on, and a surface behind it. Everything else is refinement. Most of it can come from a drawer at home before you buy anything at all.
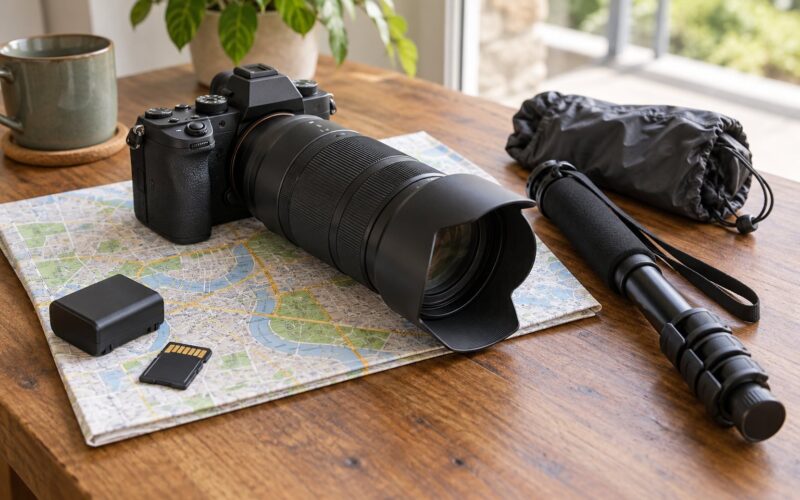
- A camera or phone. Any phone from the last few years shoots food well. A mirrorless or DSLR camera gives you control over aperture and white balance, which matters when you shoot several bakes at different times of day.
- A large light source. A window is the standard choice. South- or west-facing windows give the strongest light in the afternoon.
- A diffuser. A sheer white curtain, a roll of parchment paper pinned to a frame, or a window shade raised halfway all soften the hard edges of direct sun.
- A reflector card. A sheet of white foam board or a piece of white card propped opposite the window fills in shadows without adding a second light source.
- A neutral surface and backdrop. A light wood board, slate, marble-look tile, or a sheet of seamless paper. Matte beats glossy every time.
- A small turntable or a thick book on a lazy Susan, so you can rotate the plate without picking it up.
- Parchment paper for lining, plus a few props: a linen napkin, a plain ceramic plate, a small knife, a fork, a scattering bowl of crumbs you can pinch from a plate later.
Cheap substitutes work better than expensive gear. A white bedsheet over a chair makes a large diffuser. A paperback held upright makes a reflector. Foil is too shiny for a reflector, but the dull side of aluminium foil bounced from below can lift a shadowed crust.
Step-by-Step: How to Photograph Baked Goods
Step 1: Prepare and Cool the Baked Goods
Photograph a bake once it is safe and comfortable to handle, and never before the surface stops steaming. Steam is invisible to the camera, so what you actually capture is a wet, glossy crust that has not finished setting.
Cooling improves surface definition. As a loaf or cake cools, the crust firms up and small cracks and blisters become visible, which is exactly the texture that makes a bake appealing in a photo. For layer cakes, cooling also settles the layers so a slice or a straight-on shot stays level.
Handle delicate toppings with a light touch. Glaze drips, spun sugar and piped frosting all hold their shape better when they are cool and firm. Before you style, reserve a few crumbs and a little extra glaze on a small plate so you can touch the scene up after each shot instead of rebuilding it.
You will know it is ready when the room stops smelling of hot sugar and the surface no longer looks wet in the light.
Step 2: Set Up Soft Side Lighting
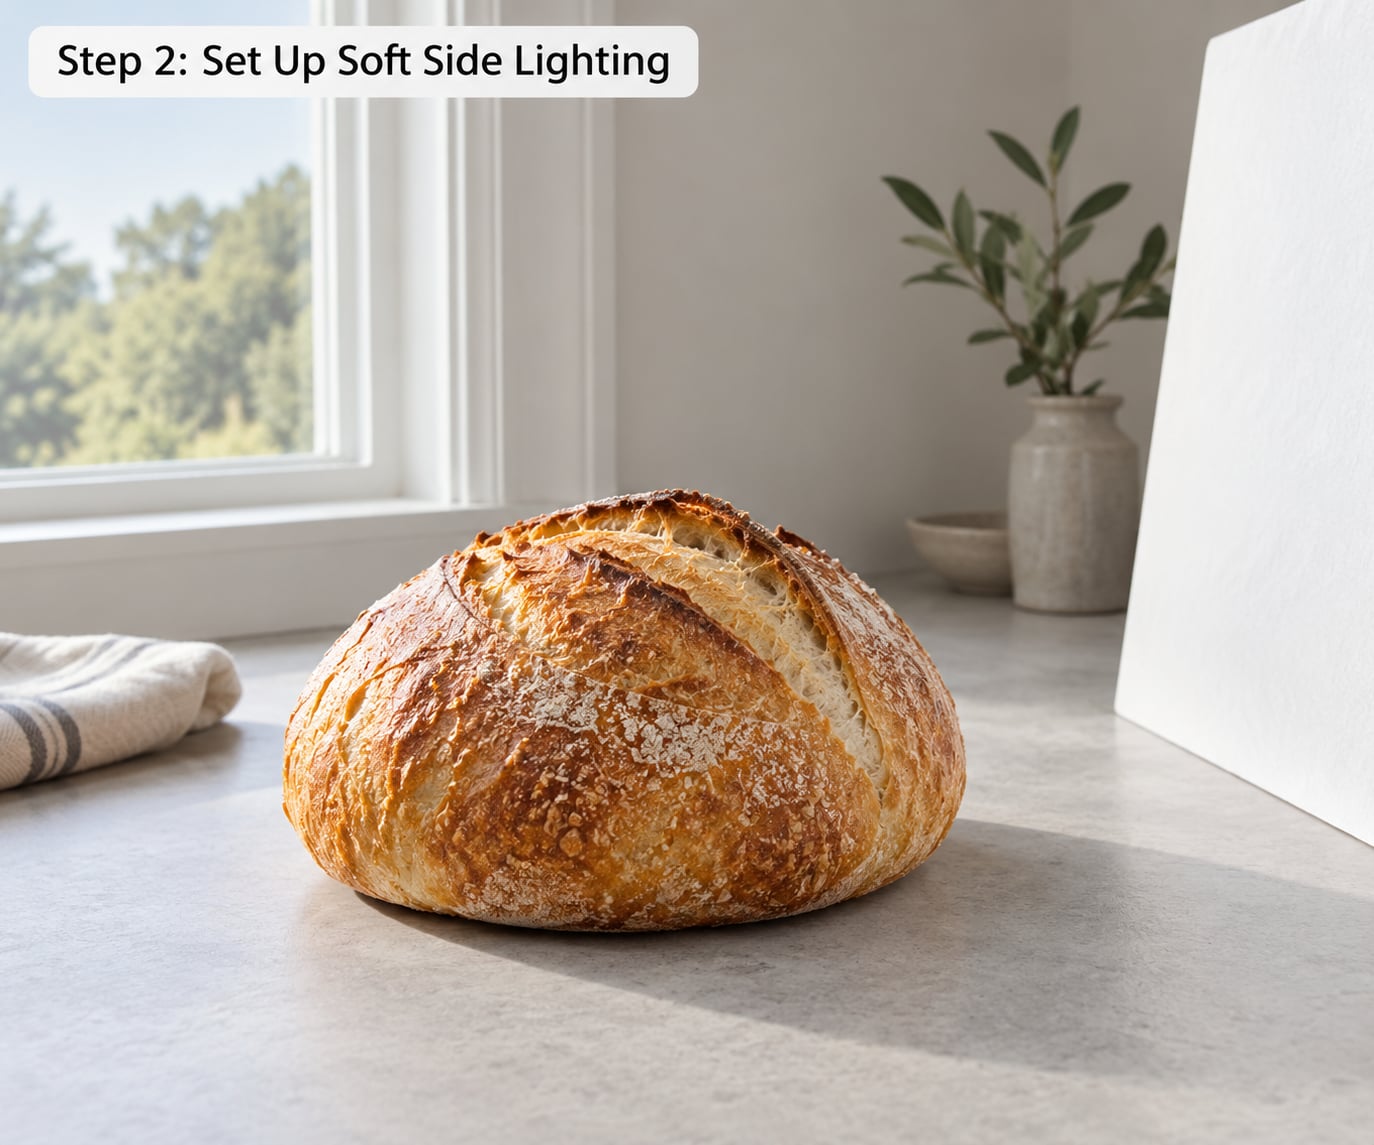
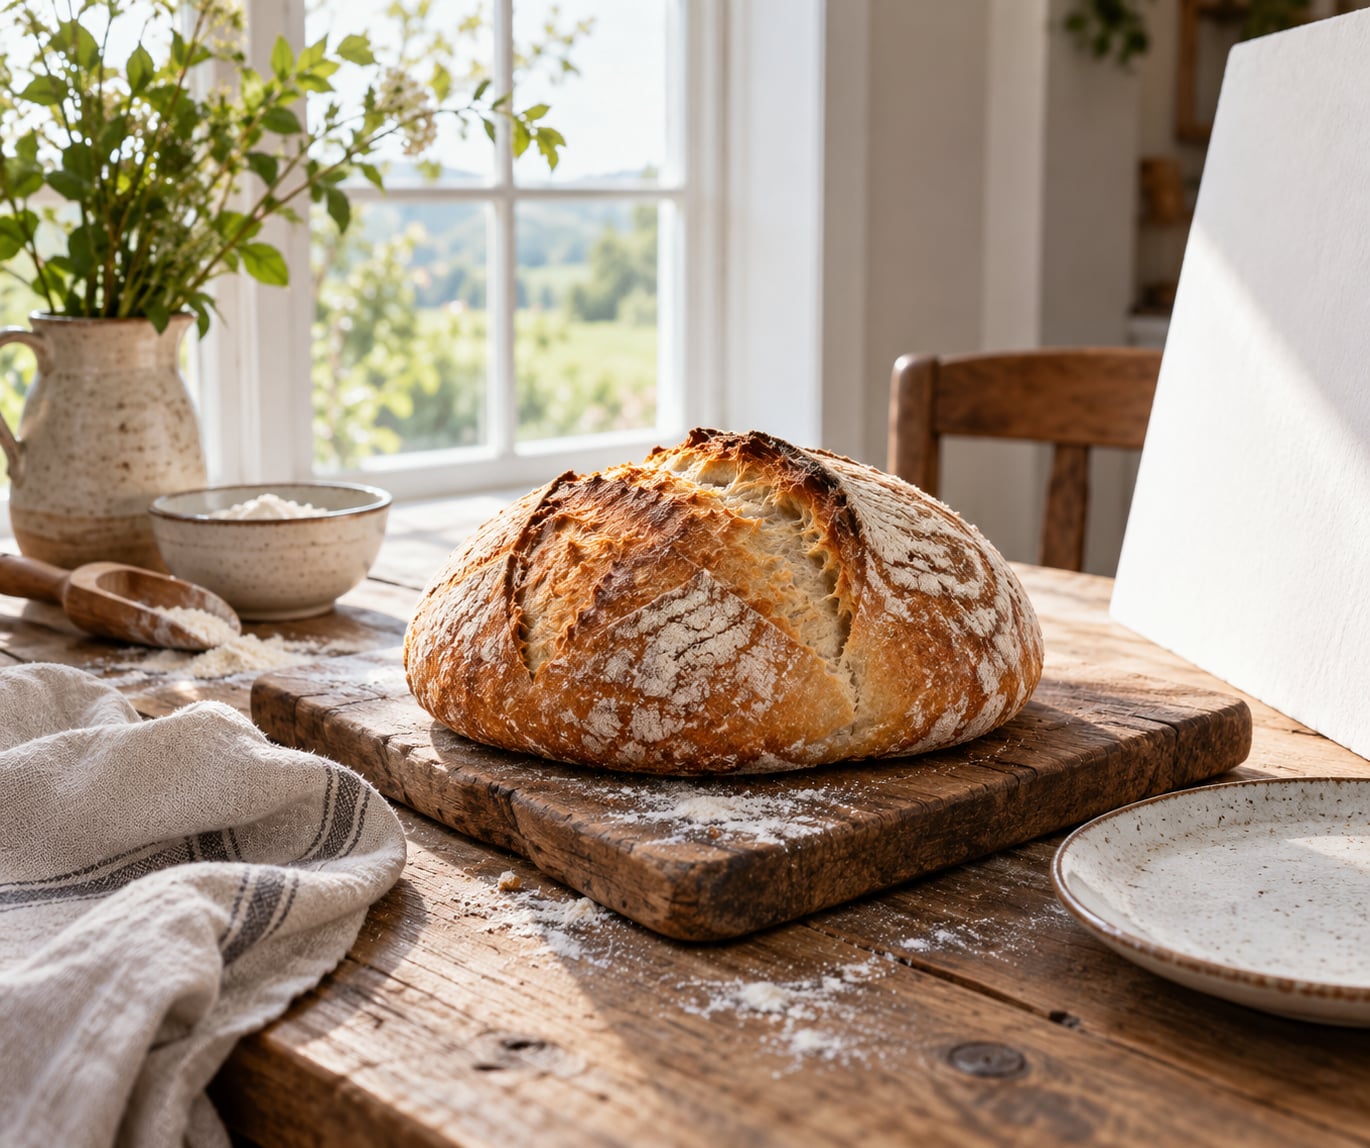
Put the baked good beside a large window, not in front of it. Light coming from roughly 45 degrees to one side of the subject rakes across the surface and reveals texture, while light straight on flattens everything into a silhouette of its own colour.
To soften the light, hang a sheer curtain, tape parchment paper over the window, or simply shoot in open shade with the sun behind a building. Then place the white card opposite the window, angled toward the food, and let it fill the shadow side so the detail there stays readable.
Turn off every other light in the room first. Ceiling lights add a second colour and a second shadow direction, and they are the usual reason a well-lit kitchen scene still looks flat and slightly green.
You will know the light is right when the shadow side of the bake is a few steps darker than the lit side rather than black, and when you cannot see a hard-edged window shape reflected in a glossy glaze. Use the same side of the window every session so a series of bake photos looks like it came from one place.
Step 3: Choose Camera Settings for Photographing Baked Goods Close Up
Start at ISO 100 or 200, an aperture around f/4 to f/5.6, and a shutter speed the camera picks for you. On a phone, use exposure control or lock exposure after tapping the subject so the brightness does not jump when you move the camera.
Aperture is the setting that changes the look most. At f/2.8 the front and back of the bake blur out and only a narrow slice is sharp. Around f/4 or f/5.6 you keep the front edge and the crumb detail readable while the background still softens. Stop down further and everything from the crumb to the backdrop goes flat.
Watch the histogram, not the screen. A window scene is easy to overexpose because the camera meters for the bright glass. If the highlights pile up on the right, dial exposure down until the crust keeps its colour.
Set white balance to a fixed daylight setting near 5500K rather than auto. Auto white balance drifts between shots when you move from window to kitchen, and a batch of bakes shot at different colour temperatures looks nothing like a set.
On a phone, skip Portrait mode. It fakes shallow depth of field by blurring around the edges, and it regularly clips the edge of a round cookie or the top of a cupcake. Clean the lens with a shirt hem before you start, and use digital zoom only as a last resort, because it throws away detail.
Step 4: Style the Scene for Texture
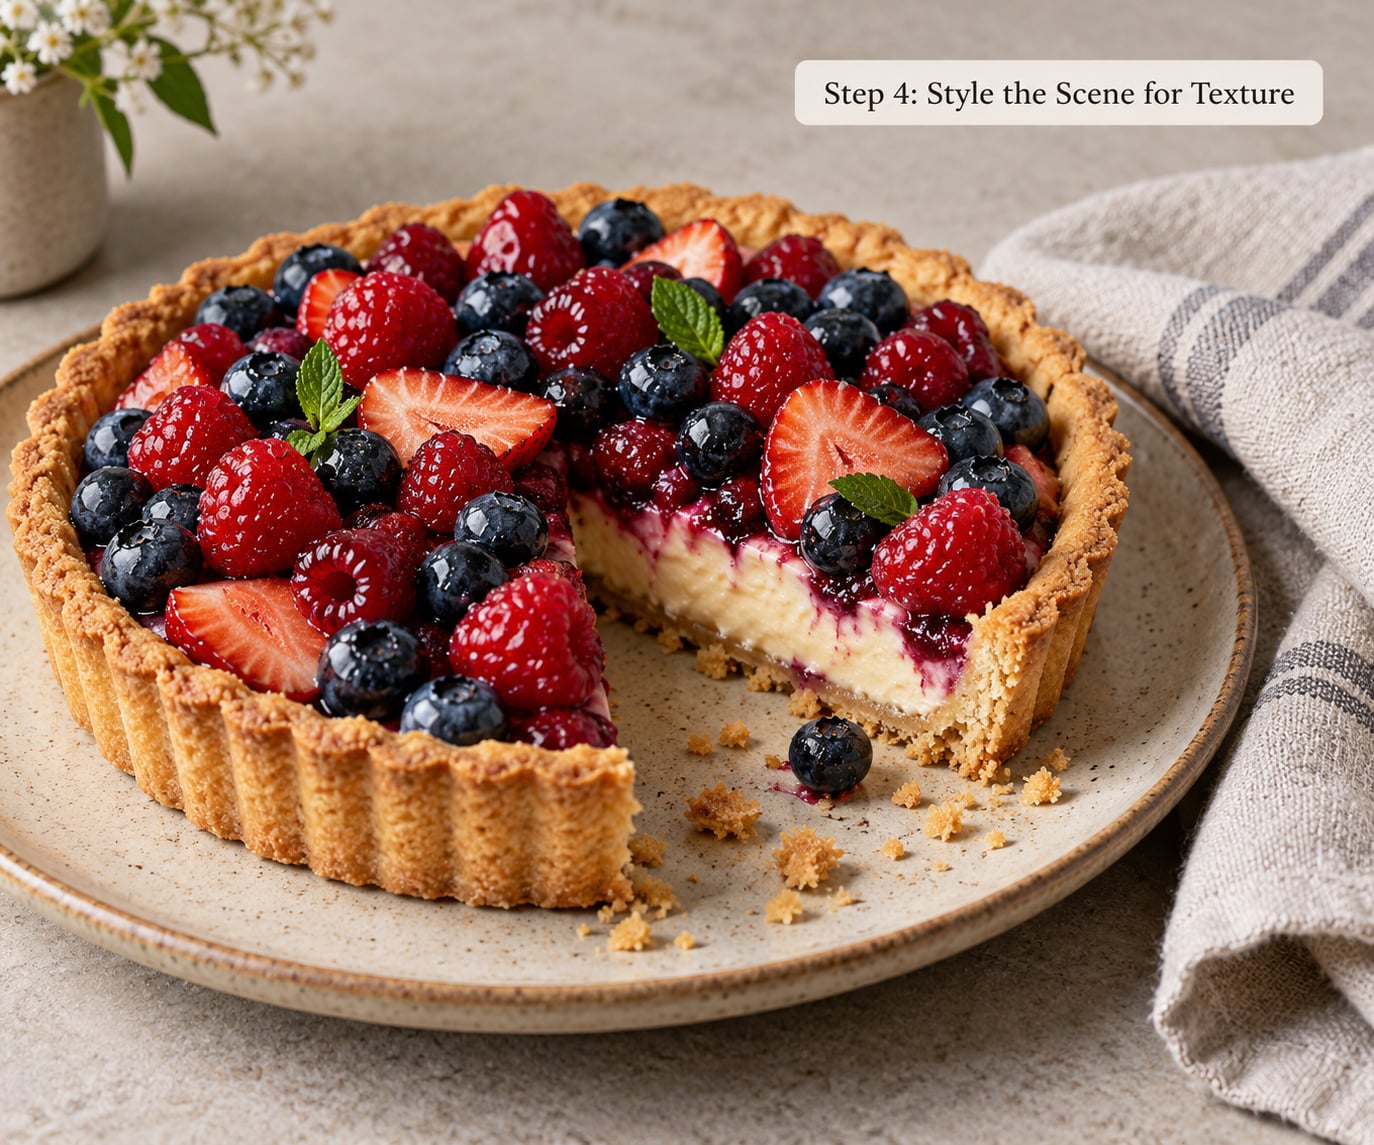
Styling exists to tell the reader how the bake feels to eat. A sliced loaf shows the crumb, a broken cookie shows the interior, a pour of cream or glaze shows richness. Restraint matters more than arrangement, because a scene that looks built rather than served reads as fake.
For cookies, build a small stack with a wooden skewer through the centre to hold it steady, then shoot it from a low, straight-on angle so the stack reads as height. From directly above, a stack looks like one cookie.
For everything else, pick one of four compositions:
- Top-down for sheet-pan bars, flat cookies and anything cut into squares. It shows pattern and quantity.
- Three-quarter at roughly 45 degrees for layer cakes, tarts and pies. It shows both the top decoration and the side height.
- Low, straight-on for loaves, whoopie pies and stacked cookies. It emphasises the silhouette.
- Close crop for texture shots of crumbs, salt flakes, glaze running down a side, or flaky pastry layers.
Use negative space on purpose. Leaving a third of the frame as empty surface or backdrop gives a busy bake room to breathe and makes the composition look intentional. Props should sit at different depths and never overlap the food you are selling.
Because most bakes are brown, give the frame one colour that is not. A single blue or green napkin, a red plate, or a scatter of fresh berries cuts through the brown and makes everything around it look richer.
Step 5: Shoot a Finished Set
Shoot one hero image first: the widest, most representative view with the styling you want. Lock the camera position, take a test shot, check the background for crumbs and smudges, then move on to details.
From there, change only one variable at a time. Rotate the turntable a few degrees and shoot again. Move closer and shoot again. Move the reflector and shoot again. A finished set is usually one hero, two or three tighter details, and one wider context shot that shows the surface and props.
Between frames, check four things: the background is clean, the highlights on the glaze are not clipped, the crumbs are deliberate rather than accidental, and the colour still matches the first shot. Only change the food when something is genuinely wrong, because every adjustment costs you time and a fresh look.
If you shoot for a food blog, a market stall or a cottage food business, add one shot of the bake packed in its box or bag. It answers the practical question behind every food photo, which is whether people want to buy it.
Common Mistakes
Nearly every disappointing baked-goods photo comes from one of a handful of problems, and each has a quick fix.
- Harsh light straight from above. A ceiling light or bare overhead window throws hard shadows under every crumb and glaze blob. Move the food to the floor beside the window and turn the ceiling light off.
- Glaze that looks greasy. This is almost always flash or a bare overhead light. Kill both, and set the light at 45 degrees so the gloss reads as a highlight rather than a white blob.
- Everything sharp from front to back. You stopped down too far, or a phone computed a scene mode. Open the aperture to around f/4 and let the background fall away.
- Yellow or green photos. Auto white balance mixed room light with window light. Set a fixed daylight value near 5500K and shoot everything in the same place.
- A crowded frame. Too many props, too many colours. Cut the props in half, keep one accent colour, and give the food empty surface around it.
- Over-styling. If a fork is there only because it looks nice, remove it. Props earn their place by adding scale or pointing at texture.
- Blurry edges. Too close with the phone, too slow a shutter speed, or a hand touching the table. Move back a few inches, steady the phone on something solid, and do not touch the surface during the shot.
- Stray crumbs everywhere. Sweep the surface before the first shot, then pinch a few crumbs back in by hand. A dozen crumbs in a neat trail reads as styling; scattered debris reads as a rushed setup.
For consistency across a whole batch, keep the same window, the same reflector position, the same surface and the same settings, and change only the food. Consistency comes from repetition of setup, not from talent.
Frequently Asked Questions
What is the best natural light setup for photographing baked goods?
Place the bake beside a large window rather than in front of it, so light falls on it at about 45 degrees from one side. Diffuse that light with a sheer curtain or parchment if the sun is direct, and put a white card opposite the window to lift the shadow side. Turn off ceiling lights, shoot from the same side each time, and check that no hard window shape appears in glossy glaze.
Can I take good food photos with a smartphone?
Yes, and most home bakes never need more. Clean the lens, tap the subject to focus, then lock exposure so brightness does not shift as you move. Skip Portrait mode because it blurs the edges of round bakes, avoid digital zoom, and set a fixed daylight white balance if your phone allows it. Put the phone on a stack of books and shoot with the two-second timer.
Do I need a tripod when photographing baked goods at home?
Not always, but it helps more than most gear. A tripod keeps the framing identical across a series of shots and lets you use a slower shutter speed without camera shake. Without one, rest the camera against a stack of books or a mug, or use the two-second timer on your phone. If your hands are covered in flour, drape a thin plastic bag over the camera before you set it down.
How do I photograph several baked goods without sacrificing consistency?
Keep everything except the food fixed: same window, same side, same reflector position, same surface, same settings, same lens and distance. Style each bake with the same rules, one accent colour and a similar amount of negative space. Photograph them back to back in one session rather than across several days, because window light changes through the day.
How do I photograph glossy glazes and syrups without reflections?
Never use flash, and avoid overhead lights, because both create a flat white highlight across the whole glaze. Place the light at 45 degrees to one side so the shine falls into a small highlight and the rest of the surface stays readable. A polarizing filter on a camera cuts most glare; on a phone, tilt the plate slightly and change the angle before you reach for editing tools.
Conclusion
Start with the simplest possible action tonight: take one cooled bake out, put it on a neutral board beside a window, hold a white card opposite the light, and take a single three-quarter test shot. Look at where the shadows fall and how much of the crumb texture you can actually see.
Reliable food photos come from controlled light and restrained styling rather than elaborate equipment. Learn how to photograph baked goods with that one setup, then practise it until the results are boringly repeatable. Everything else, props, backdrops and lenses, adds to a picture that already works.