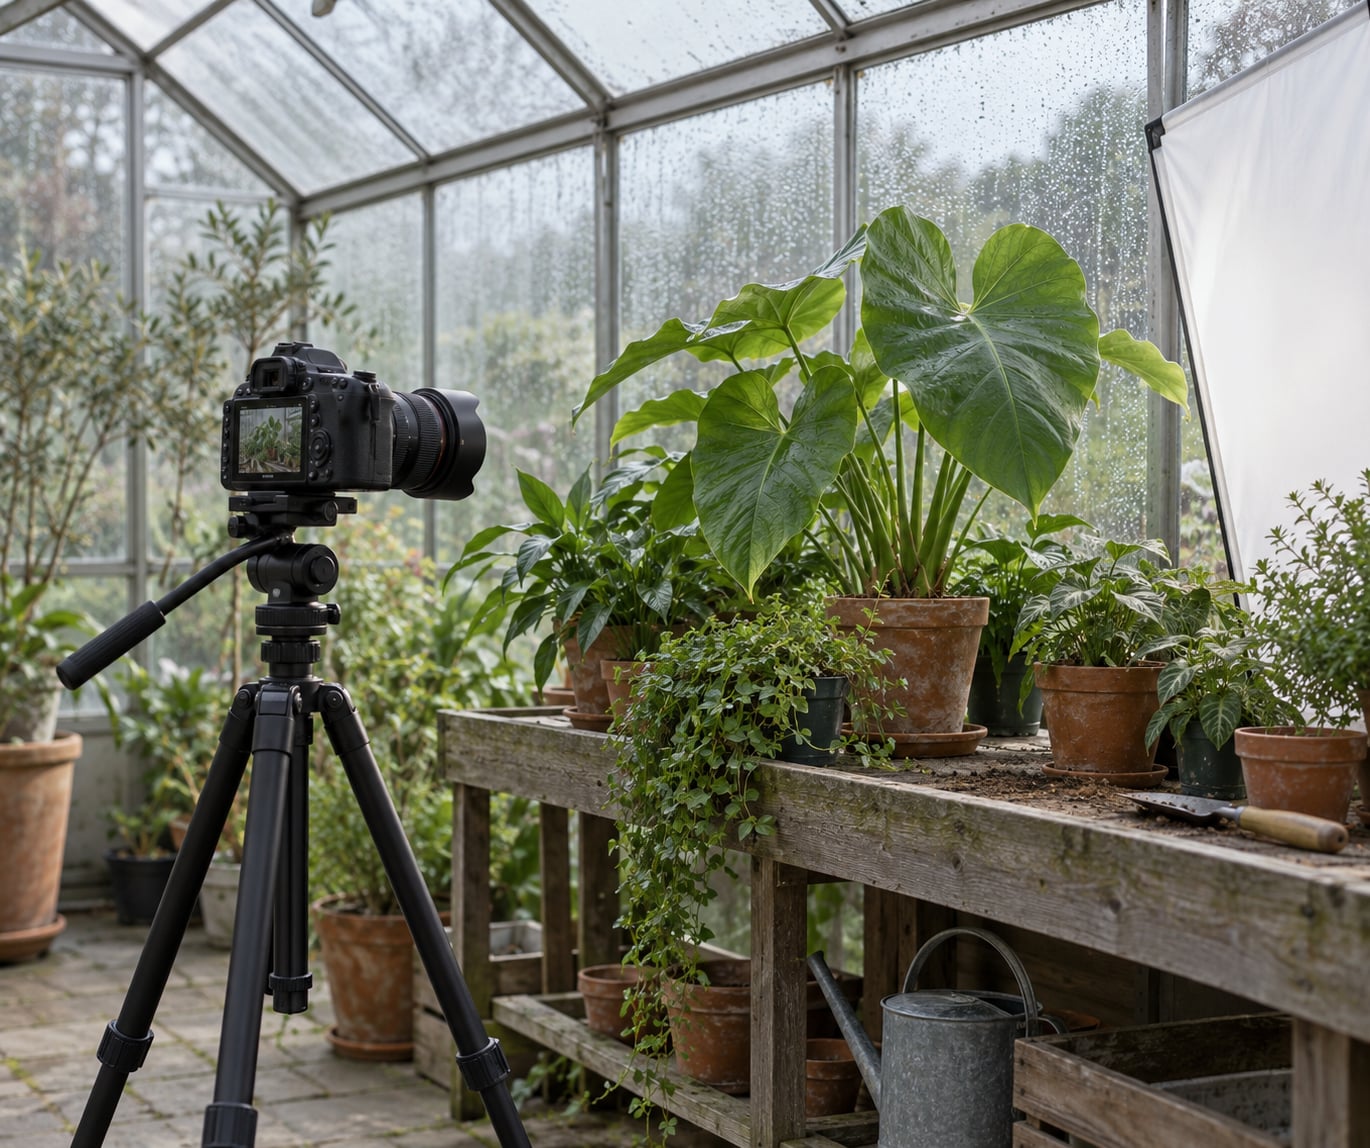
A greenhouse is a giant built-in softbox. Daylight passes through glazing from every direction, so plants sit in soft wraparound light with almost no hard shadows, and the same glass hands you three problems: it bounces your own reflection back, tints everything green, and traps humidity that fogs your lens within minutes. Knowing how to photograph in a greenhouse is mostly about solving those three, not about buying a better camera.
The work is forgiving for a beginner. Levels sit roughly in the range a phone camera picks up fine, so you can learn the light and the angles before you worry about lenses. Allow about 15 minutes to set up and acclimatise your gear when you arrive, and treat the first session as practice rather than a shoot you have to get right. This guide covers the routine I use, updated for 2026.
Before the full walkthrough, here is the short version:
- Arrive with your gear sealed in a plastic bag and let it warm up before you open it, so condensation forms on the bag instead of your lens.
- Check the glass first. Wipe the pane you are shooting through with a microfibre cloth and look for algae, dust and old tape marks.
- Scout reflections by crouching and standing at several heights, then place the camera so the glass reflects a dark corner rather than the bright doorway.
- Shoot with the light behind or beside your subject, never into it, and turn your body to the side when a pane keeps catching you.
- Set a custom white balance from a neutral grey card or plain white pot, then leave it locked for the whole session.
- Start near f/5.6, 1/125 second, ISO 400 and single-point autofocus, then adjust from the histogram.
- Use flash only as a subtle fill at about minus one and a half stops through glass or plastic, never bare.
- Back up every few minutes and inspect the frame at full size before you walk on.
Table of Contents
- How to Photograph in a Greenhouse: What You Need
- Step-by-Step: How to Photograph in a Greenhouse
- 1. Inspect the Glass and Choose Your Shooting Position
- 2. Use Diffused Light and Control Reflections
- 3. Establish Camera Settings That Protect Detail
- 4. Choose a Subject and Compose Cleanly
- 5. Focus on the Detail That Matters
- 6. Take Test Shots and Refine the Frame
- 7. Review and Edit Without Losing the Atmosphere
- Common Mistakes and Quick Fixes
- Frequently Asked Questions
- Can I take good photos in a greenhouse without flash?
- How do I prevent reflections when photographing through greenhouse glass?
- What camera settings work best for plants in a bright greenhouse?
- Should I photograph plants with condensation on the glass?
- How do I keep plant colors from turning yellow or blue?
- What is the easiest way to photograph small seedlings and large leaves?
- Conclusion: Start With Clean Glass and Diffused Light
How to Photograph in a Greenhouse: What You Need
The gear list for greenhouse photography is short, and most of it protects rather than improves the shot.
- A camera you already own. Any interchangeable lens camera or a good phone works. What matters far more than resolution is whether you can shoot RAW and lock white balance.
- A short focal length for aisles, a macro lens for details. A 24 to 70mm zoom handles the cramped walkways that make wider lenses useless indoors. A 90mm or 100mm macro gives you working distance on a single bloom without disturbing the plant.
- Two microfibre cloths. One cleans glass, the other cleans your front element. Keeping them separate stops grit from being dragged across the lens.
- A sealed bag or zip bag. Put the camera inside when you move from cold air into the humid greenhouse, then leave it closed for 10 to 15 minutes.
- A small tripod. Aisles are often 60cm wide. A tabletop or short travel tripod with a ball head lets you work at low plant height without dropping the camera into a tray of compost.
- A circular polarizer, optional. It cuts glare on waxy leaves and on glass, though it costs you light and it works poorly on polycarbonate panels.
- Spare batteries and a silica gel pack. Warm damp air drains batteries faster than cold does, and a sealed body bag keeps humidity off your gear between shots.
Settings come down to three variables: how bright the spot is, whether the plant moves in a draught from an open vent, and how close you are working. Start wide and stop down as you get closer.
Step-by-Step: How to Photograph in a Greenhouse
1. Inspect the Glass and Choose Your Shooting Position
Greenhouse glass is never clean. Look for a film of algae along the lower panes, dust on the upper ones, water stains, and shadows cast by glazing bars that chop your subject into stripes. Wipe the exact pane you plan to shoot through, then check the background glass too, because the pane behind your subject will show up as a ghost in the shot.
Move around before you swap lenses. Crouching changes the reflection angle more than any other single move, and stepping half a metre sideways often removes a bright doorway reflection entirely. Where you stand matters more than what you shoot through here.
2. Use Diffused Light and Control Reflections
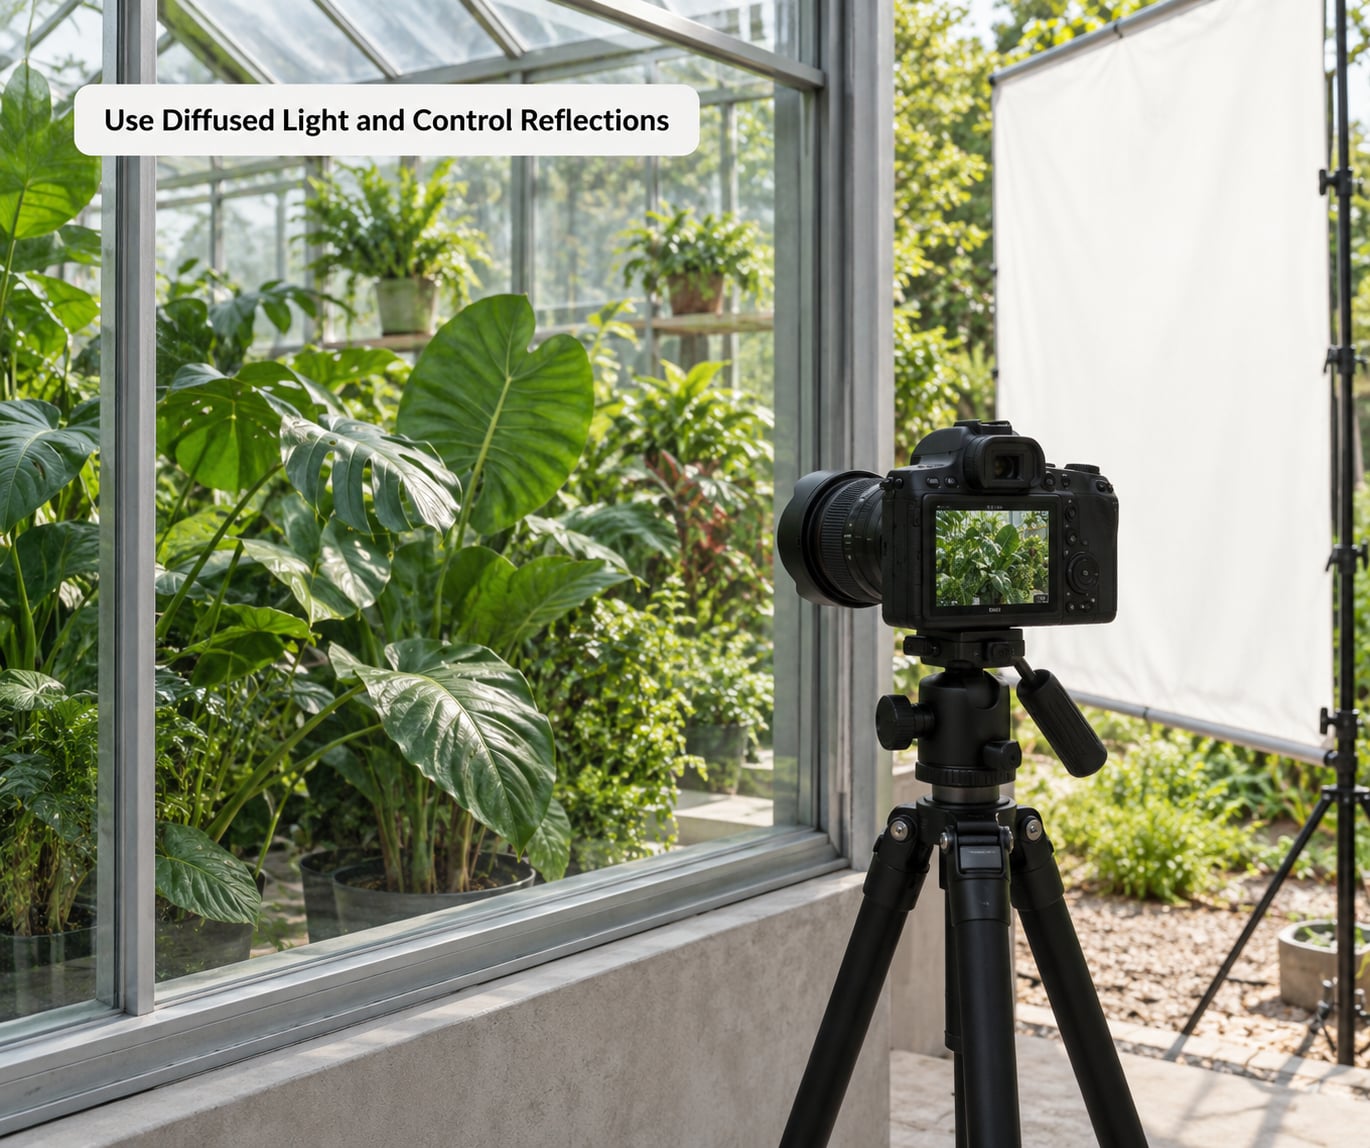
Overcast daylight is the best light you will get. Cloud acts as a huge source, so the glazing softens it again and you get very little shadow. On a clear day, the same structure creates hot spots under the ridge where sunlight concentrates, so look for shaded aisles away from the glass roof.
Three habits kill most reflections. First, keep the camera close to the pane at a slight angle rather than square to it. Second, wear something dark and matte, because bright clothing bounces straight back. Third, shoot from a position where the glass reflects a dim corner instead of the entrance.
A polarizer handles the last of it, at a cost of roughly two stops of light. It has almost no effect on polycarbonate, so on a twin-wall plastic greenhouse you are relying entirely on angle. Skip the flash. Direct flash turns leaves into white spots and fires a hard reflection straight back into the lens, and a bare speedlight indoors is worse than no light at all.
3. Establish Camera Settings That Protect Detail
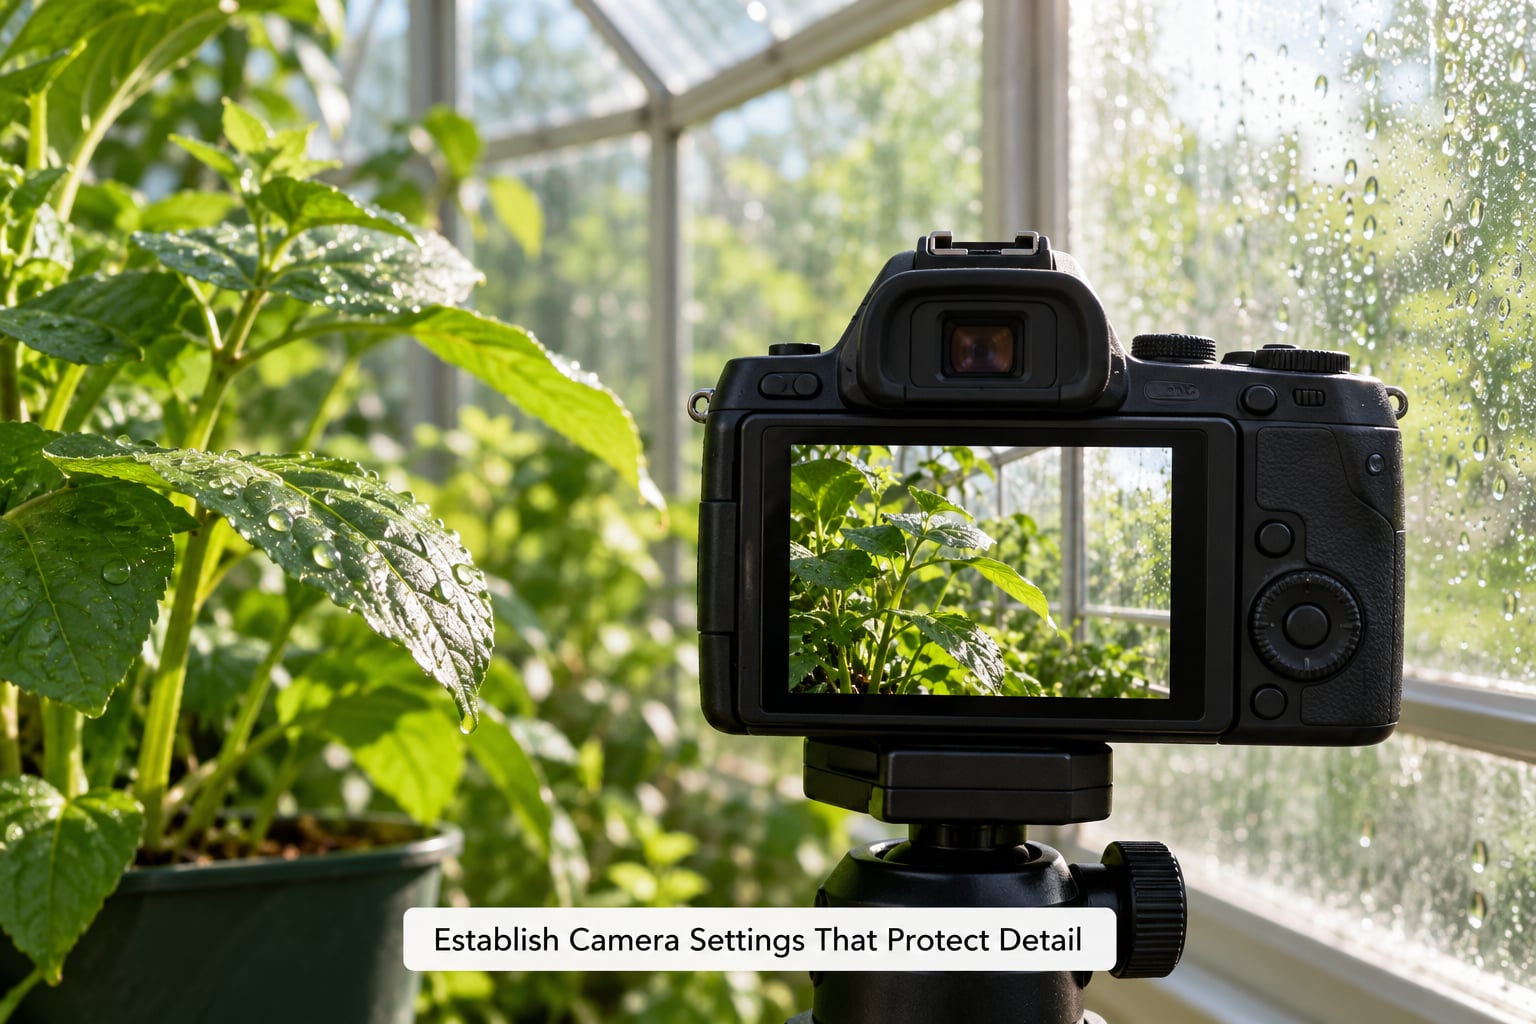
Use this as a starting point and adjust from the histogram, not the screen brightness. Bright leaves and white panes are the two things that clip first.
| Situation | Aperture | Shutter | ISO | Focus |
|---|---|---|---|---|
| Wide scene, camera steady | f/5.6 | 1/60 s | 400 | Single point AF |
| Single plant, handheld | f/2.8 to f/4 | 1/125 s | 800 | Single point AF |
| Macro detail on tripod | f/8 to f/11 | 1/4 s with timer | 200 | Manual or focus peaking |
| Vent open, foliage moving | f/4 | 1/250 s | 1600 | Continuous AF |
Check the histogram after every shot and look for spikes piled against the right edge. Those are clipped leaves and sky through the roof, and no amount of editing brings texture back. Dial in negative exposure compensation, often minus one third to minus two thirds, and shoot a test.
For white balance, glass blocks red and blue light and passes green, so unfiltered results skew green or yellow. Photograph a grey card or a plain white plastic pot under the exact light you are using, set a custom white balance from it, and lock it. Shoot RAW regardless, so you can correct later.
4. Choose a Subject and Compose Cleanly
A greenhouse is visually noisy: staging benches, irrigation pipe, hanging labels, dead leaves. Pick one lead plant, get close, and let everything behind it fall soft. A single bloom at f/2.8 does more for the shot than a wide view of the whole house.
Then vary the scale. Take the wide first, with the roof lines and glazing bars as structure. Follow it with the mid shot of a bench, then the close detail: leaf veining, seed heads, water on a petal. Leading lines from the ridge of the roof or a pipe run across the frame pull the eye straight to your subject.
Include a little environmental detail so the viewer knows where they are. One deliberately included glimpse of a potting bench or a fogged pane tells the story that a single bloom cannot.
5. Focus on the Detail That Matters
Single-point autofocus beats every automatic mode in a greenhouse. Automatic modes hunt when they hit the busy background of overlapping leaves, and they hunt more because the layers reflect light in overlapping directions.
For stems, work at f/5.6 or wider and focus on the front edge of the leaf or petal. For a whole plant in focus, stop down to f/11, brace the tripod and use a two second timer. For the deepest detail, focus stack: shoot a bracket of frames by nudging focus back in small steps, then blend them in software. Anywhere from 8 to 20 frames covers a 10cm deep subject at macro distance.
Turn on focus peaking if your camera offers it. The highlighted edges tell you instantly whether the front leaf or the back one is sharp, which is far quicker than zooming into every file.
6. Take Test Shots and Refine the Frame
Open a test shot at full size on the back of the camera. Look for three things: whether the focus landed on the part you meant, whether the brightest leaf or pane is pure white, and whether there is a bright edge of bench or hose intruding at the border.
Make small corrections rather than big ones. Shift half a step in exposure, rotate two degrees, and step sideways to clear a distracting edge. Rebuilding a badly composed frame in editing almost never works, and re-shooting takes five seconds.
Work in short blocks. Photograph one plant fully, then move on, because humidity and reflections change constantly as doors open, vents swing and clouds pass.
7. Review and Edit Without Losing the Atmosphere
Keep the edit restrained. Set white balance first, using the grey card or a neutral pot in the frame, then pull down highlights on the glass, add a little contrast, and finish with modest sharpening on the subject only.
If you need to remove a remaining green or yellow cast, shift the temperature slightly and add a touch of magenta in the tint control. A small selective saturation boost on the leaves, plus a gentle curve that lifts the midtones, brings greens back without making the frame look pushed.
Crop to remove glass edges and stray labels, and stop there. The humidity, the soft light and the slightly hazy depth are the atmosphere of the place, and heavy clarity or dehaze throws away the thing that made you go inside.
Common Mistakes and Quick Fixes
Your reflection is in the glass. Move sideways or crouch until the pane reflects a dark corner. Keep clothing matte and dark, and angle the lens so it does not sit square to the glass.
The glass is dirty or wet. Wipe it with a microfibre cloth before every set of shots, and check the pane behind your subject for algae film that reads as haze.
Everything looks green or yellow. Shoot RAW, set a custom white balance from a grey card, and correct the tint in small steps rather than cranking one slider.
Your lens fogged up. Seal the camera in a bag before entering, let it warm up 10 to 15 minutes, and carry the bag with you for the trip back into cool air. Wiping a fogged front element only smears it.
Leaves are blown out. Check the histogram and apply negative exposure compensation, usually minus one third to minus two thirds. Shoot into shaded areas under the ridge instead of the bright glazing.
The image looks flat. Add contrast and a gentle S-curve rather than reaching for clarity. If the light truly is flat, move the subject into a bright patch and meter for it.
The background is busy. Use a wider aperture and get physically closer, or reposition so the subject sits against a dark shadow rather than against other leaves.
Flash made it worse. Bare flash gives hard specular highlights and a glare on the glass. Use it only as fill at low power, or bounce it off a white wall or card.
Everything is sharp and dull. You are stopping down too far. Open to f/2.8 or f/4 for one subject and let the greenhouse behind it melt away.
A few habits carry most of the weight: shoot RAW, lock the white balance, check the histogram, and take one test frame before committing to a whole plant. Those four steps prevent almost every disappointing shot.
Frequently Asked Questions
Can I take good photos in a greenhouse without flash?
Yes, and you should try it first. Glazing diffuses sunlight into soft, even light with few hard shadows, which is far kinder to plant detail than direct sun. Overcast days and shaded aisles give the best results. Add a reflector or a white card near the subject if shadows go too heavy, and save flash for filling a deep canopy where the light does not reach.
How do I prevent reflections when photographing through greenhouse glass?
Angle rather than press flat against the pane, then move your body until the glass reflects a dark corner instead of the entrance. Keep clothing dark and matte, and stay close to the glass to reduce the amount of it you see. A circular polarizer helps on glass but does little on polycarbonate, and it costs you light, so adjust exposure if you use one.
What camera settings work best for plants in a bright greenhouse?
Start near f/5.6, 1/125 second, ISO 400 and single-point autofocus for a handheld plant shot. Use f/2.8 to f/4 when you want a soft background, and f/8 to f/11 on a tripod for deep detail. Shoot RAW, set a custom white balance from a grey card, and apply negative exposure compensation if leaves or panes clip on the histogram.
Should I photograph plants with condensation on the glass?
Only when the droplets are the subject. A fogged pane in the background is fine and adds atmosphere, but water between the lens and the plants will soften everything and scatter highlights. Keep the front element clear, wipe the outer glass if droplets break up your subject, and otherwise leave condensation alone as part of the scene.
How do I keep plant colors from turning yellow or blue?
Glass filters out some red and blue light, so unfiltered images skew green or yellow, and shade under benches skew blue. Shoot RAW, then set white balance from a grey card or plain white pot lit the same way as your subject. If you are correcting afterwards, shift temperature gently and add a small amount of magenta in the tint control, checking against a neutral area.
What is the easiest way to photograph small seedlings and large leaves?
Treat them as two different subjects. For tiny seedlings, use a longer lens or a macro lens so you can stay outside the tray without leaning over it, shoot at f/8 with a tripod and a timer, and try focus stacking if depth matters. For large leaves, get low and close, open the aperture to f/2.8 or f/4, and include a dew or water droplet for scale.
Conclusion: Start With Clean Glass and Diffused Light
Do three things the moment you walk in. Check the glass and wipe the pane you intend to shoot through. Move your position until the reflection of you and your camera is gone. Then take one test exposure and read the histogram before you worry about composition.
Everything else in greenhouse photography follows from those three: diffused light gives you soft, flattering conditions, reflections and colour cast get handled by angle and white balance, and humidity gets handled by keeping your gear sealed until it has acclimatised. Once those are right, the plants are easy.