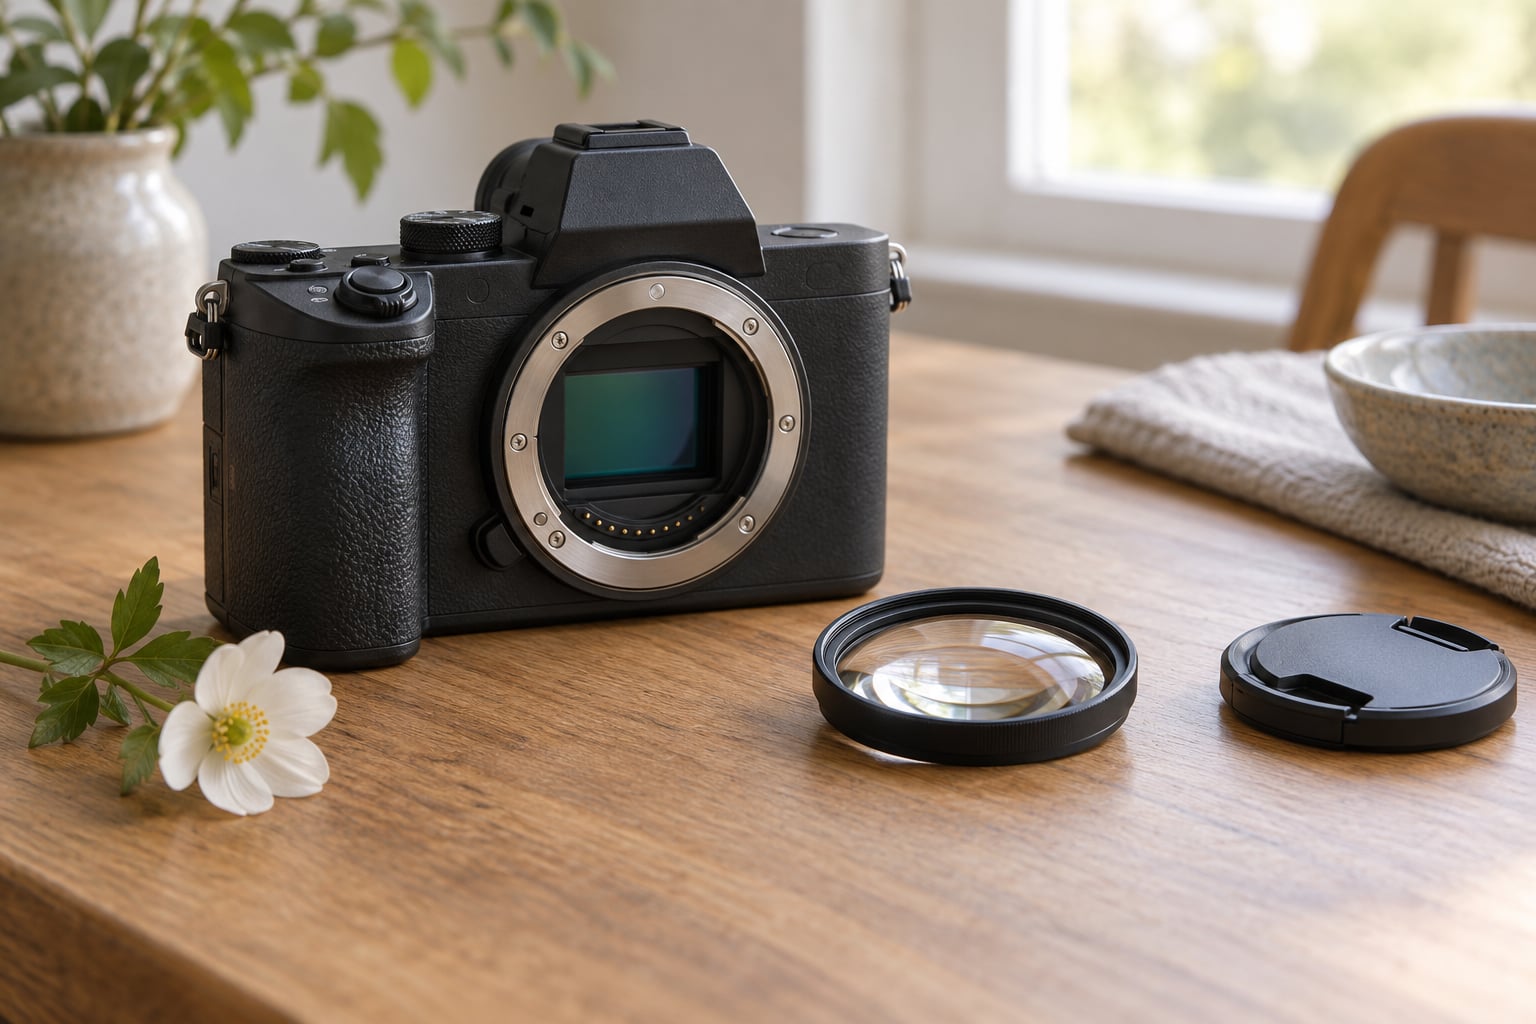
Learning how to use a close-up diopter takes about ten minutes and costs you nothing but the filter itself. A close-up diopter is a screw-on lens with positive magnifying power that screws onto the front filter thread of almost any lens, shortening its minimum focusing distance so small subjects fill the frame without cropping. The whole process is simple: mount it, turn the focusing ring until it stops, lean in until your subject is sharp, and shoot.
Most people who try one give up too early, though, usually because the diopter is too weak for their lens or because they shoot wide open in poor light. Both are fixable, and this guide covers the fixes in the order you will hit them.
Table of Contents
- What You Need
- Step-by-Step
- 1. Check That Your Camera Can Use a Close-Up Diopter
- 2. Mount the Diopter and Set the Lens
- 3. Find the Closest Focus Distance
- 4. Compose and Focus on a Small Subject
- 5. Choose Settings for a Sharper Result
- 6. Test the Setup and Make Adjustments
- Common Mistakes
- Focusing Too Quickly
- Expecting a Weak Diopter to Do a Strong One’s Job
- Shooting Wide Open
- Leaving the Diopter Mounted for a Landscape
- Forcing a Mismatched Filter
- Frequently Asked Questions
- Can a close-up diopter replace a macro lens?
- How close can a camera focus with a close-up diopter?
- Do close-up diopters work with mirrorless cameras?
- What is the difference between a single-element and double-element close-up diopter?
- Should I use autofocus when shooting with a close-up diopter?
- What subjects photograph best with a close-up diopter?
- Conclusion
What You Need
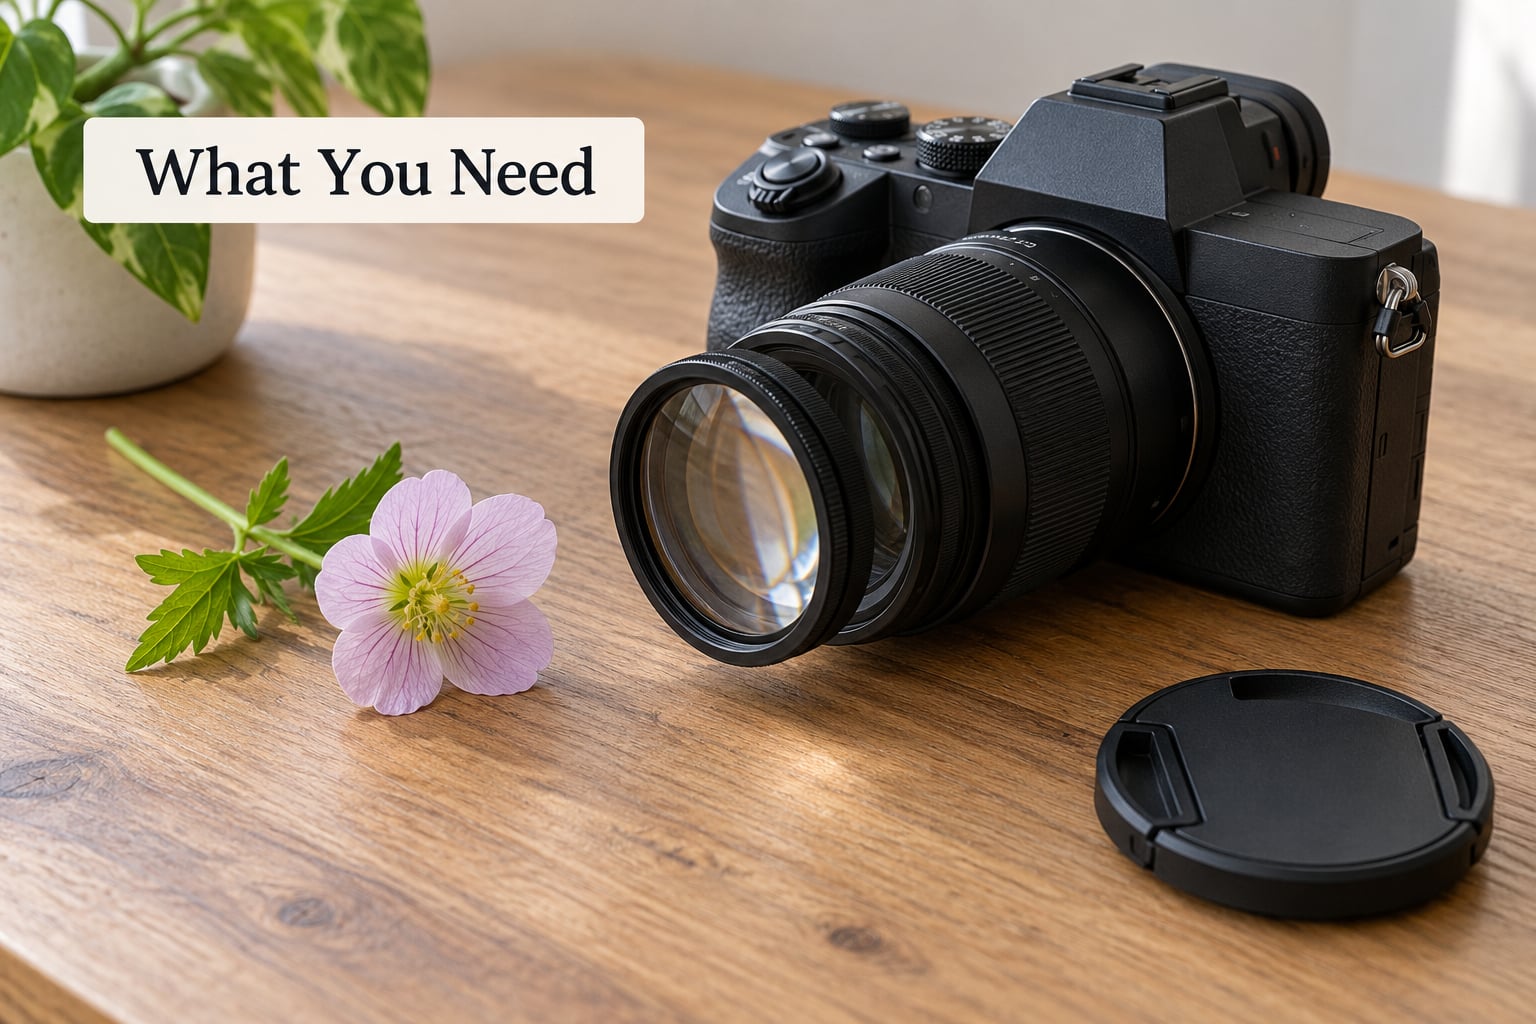
A close-up diopter, also sold as a close-up filter or close-up lens, adds optical power between the subject and the front element of your lens. It behaves like a magnifying glass held in front of the camera. Roughly speaking, +1 diopter adds about one lens’s worth of extra focusing range, so even a mild +2 noticeably changes what you can photograph.
Three things have to line up before you start:
- A lens with a filter thread. Almost every DSLR and mirrorless lens has one, printed on the front ring or the barrel as a diameter such as 58mm or 67mm. Some very wide or fisheye lenses do not, and those are out.
- The matching thread size. A 58mm diopter will not screw onto a 62mm lens, and forcing it damages both threads. Check the number on the front of the lens before you buy anything.
- A subject that holds still. Flowers, coins, fabric, dried leaves, insects on bark. Wind is the biggest enemy of close-up work, more than any optical limitation.
Settings are simple too. Manual focus, aperture around f/8, ISO 100 to 400, a tripod or solid surface, and a two-second timer. You can refine all of that later; getting the geometry right matters far more.
Step-by-Step
Here is the workflow I use when I mount one in the field. Six steps, and the whole thing takes a few minutes once you have done it twice.
1. Check That Your Camera Can Use a Close-Up Diopter
Nearly any lens with a filter thread will accept one, from a 50mm prime to a 200mm telephoto. The limit that catches people is not mechanical, it is optical: with a diopter mounted, your lens can no longer focus to infinity. Once the positive power is in the optical path, the far end of the focusing range is cut off, so anything distant turns to blur until you take the filter off again.
That is a fair trade when you are photographing a bee on a dandelion. It is a bad trade when you want to shoot a landscape in the same outing, which is why the diopter lives in a small pocket until you are close to something small.
Longer focal lengths also behave much better than short ones. A +10 on a 50mm lens only reaches roughly half magnification, while the same filter on a 200mm lens gets you to about half magnification with a far larger subject in frame. Mount the strongest filter your lens can use, and a telephoto gives you more than a wide lens does.
2. Mount the Diopter and Set the Lens
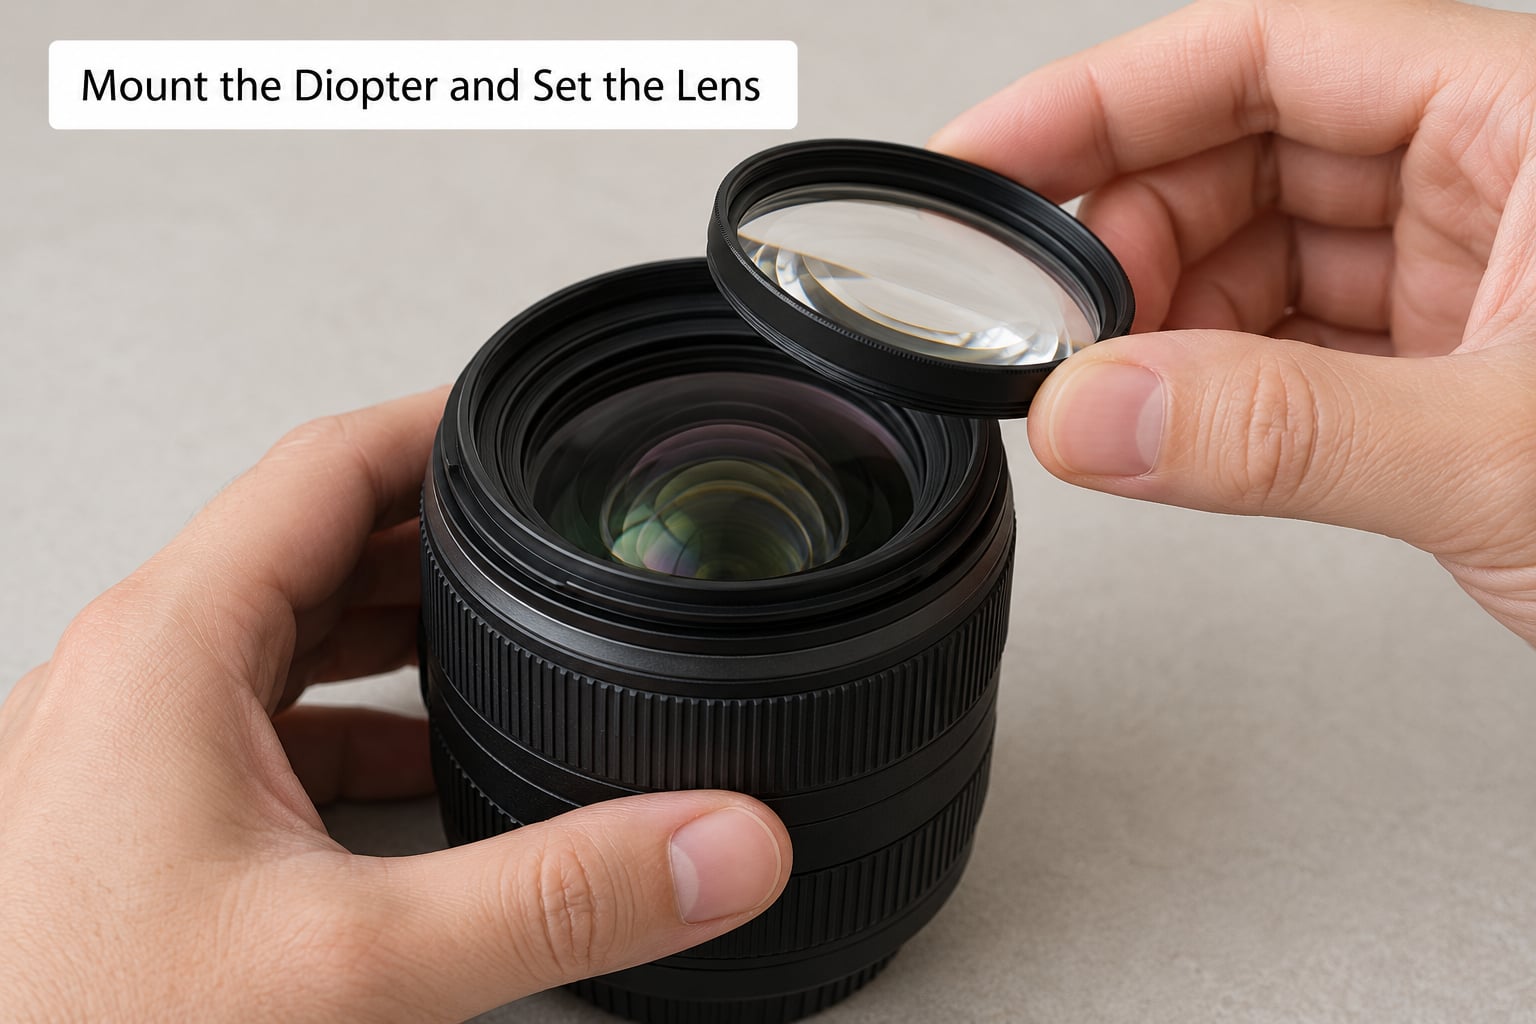
Clean both threads first. A dry cloth on the filter thread and the front of the lens prevents grit from scratching the coating as you thread the filter on, and it keeps the two faces from gripping each other.
Screw the diopter onto the lens until it seats, no more force than it takes to make it firm. Hand-tight is enough. Do not use a wrench, and do not thread it on backwards, which is the single most common way people damage a new diopter.
Now choose your focal length. If you have a zoom, start in the middle of its range, around 100mm equivalent, because framing a small subject is much easier there. If you have a prime, use whatever you have; just get closer to the subject than you normally would and let the diopter do the work.
Switch to manual focus or single-servo autofocus. Manual is more predictable at these distances because the depth of field is measured in millimetres, and continuous autofocus will hunt badly once you get close.
3. Find the Closest Focus Distance
This is the step that trips people up. Rotate the focusing ring toward the subject until it reaches the mechanical stop, and stop there. That is your closest focus distance. Turning past it does nothing except stress the barrel and eventually strip the gear.
With the diopter on, that closest position lands much nearer than normal. A +2 on a 70-200mm can pull minimum focus down to about half a metre, and everything beyond roughly a metre goes soft because it falls outside the shifted focus range. That shallow usable band is not a defect; it is exactly what lets small subjects get large in frame.
Note the distance you settled on, then check your lens’s focus distance scale or depth-of-field marks. A printed scale only approximates through a viewfinder, so treat it as a starting point rather than a promise.
4. Compose and Focus on a Small Subject
Lean in slowly, keeping the camera square to the subject, and watch the image or live view until the part you care about is sharp. Your nose, breath and the flex of your arms all move the camera, so rest your elbows against something or lie down on the ground for the final approach. At close range a millimetre of movement is a visible change in focus.
Set focus on the surface that matters. For a flower, the front petals. For skin, the cheekbone. Focusing on the middle of a subject and hoping the whole thing looks sharp is how people end up disappointed by depth of field.
If your camera has a magnification or pixel-peep view, use it for the last nudge. Then check the corners of the frame. Strong diopters soften the edges most, and a subject centred in a soft frame still looks wrong even when the centre is crisp.
5. Choose Settings for a Sharper Result
Start at manual focus, f/8, ISO 100, and the lowest shutter speed your tripod can hold still. Close-up work needs light, and f/8 on a tripod buys you enough depth of field to have the subject sharp front to back.
Shoot in good light whenever you can. Overcast daylight and open shade give you softer contrast and no camera shake, which matters more than any filter choice. In bright sun, dial down the ISO and use the sun as your fill.
If you must handhold, go the other way: open up to f/4 or f/2.8, raise the ISO until the shutter speed is fast enough to freeze your movement, and enable image stabilisation if your lens or body has it. Stabilisation helps a lot at macro distances, where small shakes that would go unnoticed at normal focal lengths ruin the frame.
Use a two-second timer or a remote release for every frame. Pressing the shutter moves the camera, and at 20cm from the subject the movement is far larger than you would expect.
6. Test the Setup and Make Adjustments
Take one frame, then zoom in on it and look at a hundred percent. Judge four things: whether the focal point is sharp, how thin the depth of field is, whether the frame is square, and whether the background is distracting.
If the subject is soft all over, you moved between focusing and the shot. Brace and shoot again. If only the edges are soft, stop down a third of a stop, up to f/11, and try once more. If you cannot get the whole subject sharp, move closer and accept less depth of field rather than reaching for a weaker diopter, which makes everything smaller.
Make one frame at each diopter strength you own before you commit. Different filters plus different focal lengths produce completely different working distances, and knowing how each one behaves is faster than guessing in the field.
Common Mistakes
Almost every disappointing close-up shot traces back to one of five things.
Focusing Too Quickly
Rushing the last few millimetres is the most common error by a wide margin. Move in small steps and check focus at every one. If your subject is only centimetres away, the difference between sharp and soft is smaller than you can feel.
Expecting a Weak Diopter to Do a Strong One’s Job
A +2 on a 50mm lens will not get you a filling frame. Diopter strength and focal length have to be matched, and the pairing determines your working distance. Buy a stronger filter or, better, mount it on a longer lens.
Shooting Wide Open
The strongest aberrations in a close-up diopter show up at wide apertures: purple fringing around high-contrast edges and softness that spreads from the corners inward. Stopping down to f/8 or f/11 costs you light and costs the aberrations most of their bite.
Leaving the Diopter Mounted for a Landscape
You cannot focus to infinity with it on, so distant scenes turn to mush. Take the filter off for anything wide. It takes five seconds and avoids a wasted afternoon.
Forcing a Mismatched Filter
If it will not thread on smoothly, it is the wrong size. Stop, check the number on the lens, and buy the matching thread size. Stacked filters also belong in this category: two diopters add together optically, the stronger one goes on the lens first, and stacking more than two makes the softness unworkable.
Frequently Asked Questions
Can a close-up diopter replace a macro lens?
Not completely, but it covers a lot of ground for very little money. A diopter gets a normal or telephoto lens close enough for flowers, coins and textures without changing lenses. A true macro lens focuses to life size from much further away, focuses faster, and stays sharp at the edges. If you shoot small subjects weekly, a macro lens is the better long-term buy. If you shoot them occasionally, a diopter is the sensible start.
How close can a camera focus with a close-up diopter?
Much closer than the lens allows on its own, and the number depends on both the diopter strength and the focal length. A mild +2 on a 70-200mm can pull minimum focus down to roughly half a metre, and a +10 gets into single-digit centimetres from a short lens. Longer focal lengths reach the same magnification with a weaker filter. Whatever the combination, only a narrow band around the subject stays in focus.
Do close-up diopters work with mirrorless cameras?
Yes, as long as the lens has a filter thread, and almost every mirrorless lens does. The diopter is purely mechanical and electronic systems do not care. The same limitations apply: no focus to infinity, softer edges than the lens alone, and better results on longer focal lengths. Autofocus keeps working on most bodies, though manual focus is more reliable at these distances.
What is the difference between a single-element and double-element close-up diopter?
A single-element diopter is one piece of glass, usually ground from a fixed prescription, and it is cheap and noticeably soft with colour fringing. A double-element, or achromatic, diopter uses two elements in a group to correct the main colour error, so it holds up much better stopped down. Multi-element models such as the Canon 500D or the Raynox DCR-250 are the ones people recommend if you care about the file quality.
Should I use autofocus when shooting with a close-up diopter?
It works on most cameras, but manual focus is the safer default at close range. Depth of field becomes so thin that the depth-of-field sensor or contrast detection can land slightly in front of your subject and give you a soft frame. Single-servo autofocus with a manual focus override is a good compromise: let the camera find the plane, then fine-tune by hand while magnification is on screen.
What subjects photograph best with a close-up diopter?
Anything small, solid and still: flower heads and buds, seed heads, tree bark, coins, stamps, fabric weave, dried leaves and anything with texture. Small subjects on stable surfaces are the easiest. Insects are harder because they move and you are shooting at a longer shutter speed. Avoid anything that bends in the wind or melts in direct sun, because those subjects will not hold still long enough for the light you need.
Conclusion
Start with one diopter in your existing lens, mounted at its closest focus distance in good light, f/8, ISO 100, manual focus, timer on. Take one test frame, check it at full size, and adjust from there. If you want more magnification, the next step is a stronger filter or a longer lens, not a different technique. Once that first sharp frame exists, everything else is just practice.