To photograph a farmers market well, arrive 30 to 45 minutes before the stalls open, walk the whole site once to find where the light falls, then work a short list: one wide shot of the crowd, a few produce close-ups, and a candid frame with a vendor or shopper. Ask before you photograph anyone you can identify clearly, and leave the flash in the bag. Most of the work is preparation, not gear.
A market is a hard place to photograph well. The light changes every few minutes as clouds pass, awnings throw colour onto everything beneath them, and the good moments are gone while you are still adjusting a dial. That is also what makes it fun.
One rule settles most of the awkwardness: if a person is doing something private, or could be embarrassed by your photo, ask first. A polite “mind if I take a picture?” takes two seconds and almost always gets a yes.
Table of Contents
- What You Need
- Step-by-Step
- The 7-step shooting sequence
- How to Photograph a Farmers Market in Changing Light
- How to Photograph a Farmers Market for Colour and Texture
- How to Photograph People at a Farmers Market Responsibly
- Common Mistakes
- Frequently Asked Questions
- What camera settings work best for photographing a farmers market?
- Is a smartphone enough for farmers market photography?
- What is the best time of day to photograph a farmers market?
- How can I take natural candid photos of shoppers and vendors?
- Should I ask permission before photographing people at a farmers market?
- Conclusion
What You Need
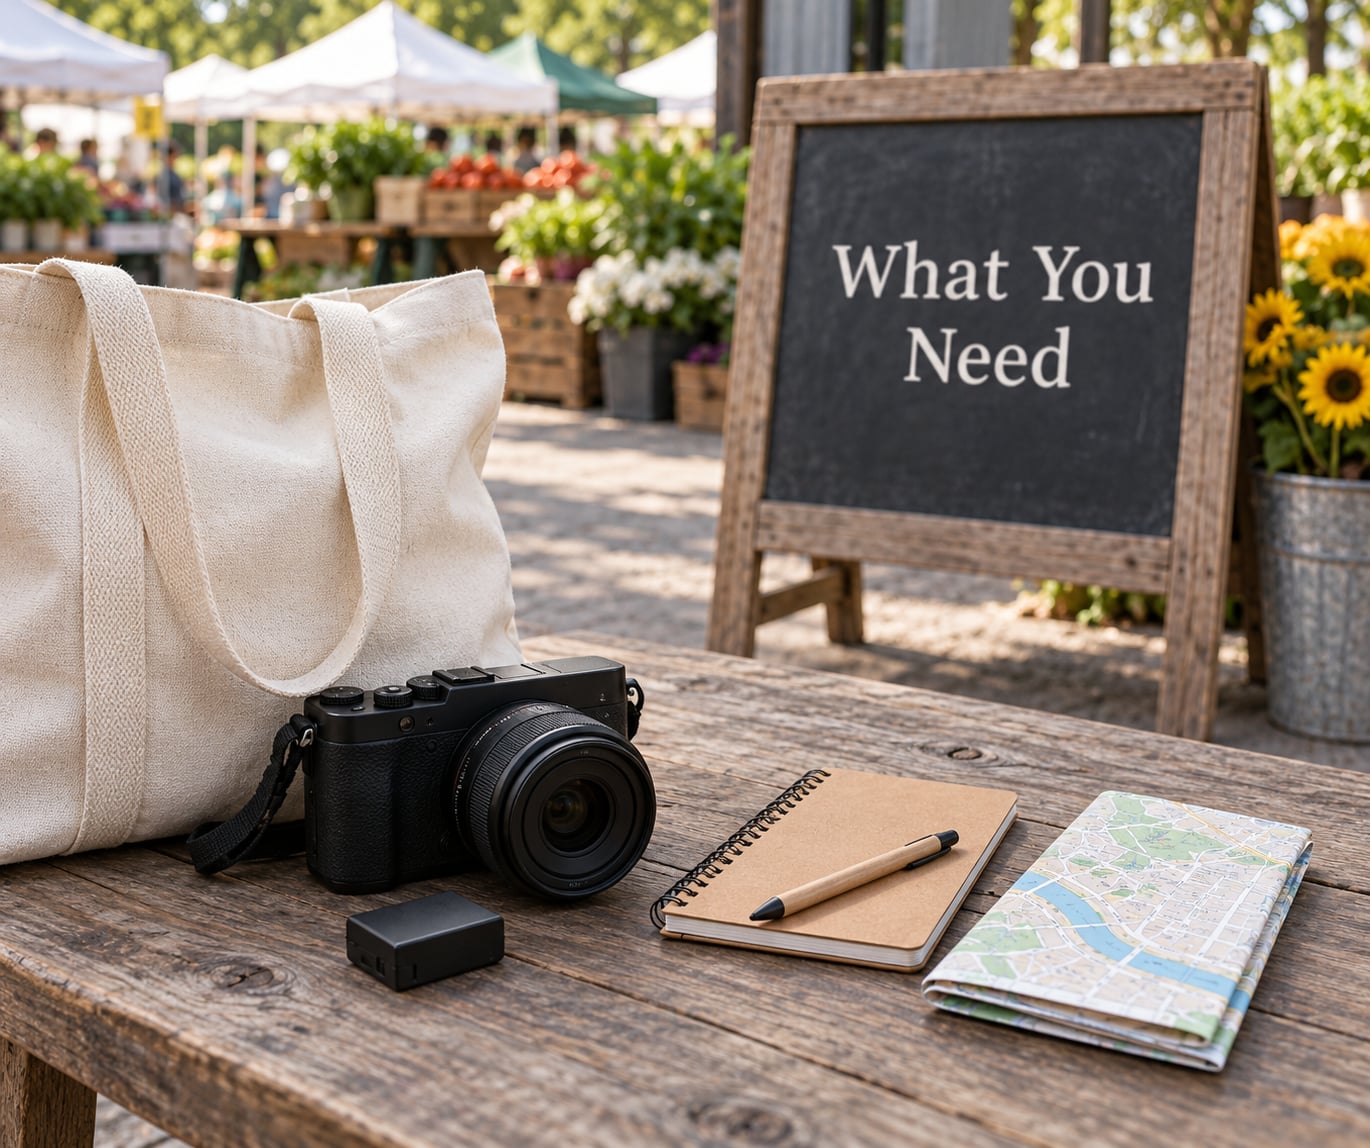
Bring less than you think. A market trip punishes weight, because you carry it for two hours while walking on gravel, and you mostly shoot one-handed in changing light.
- A camera or phone. Any interchangeable camera with a 35mm or 50mm equivalent lens handles the job. A phone does everything the camera does here, more slowly.
- A second battery and a spare card. Cold mornings and constant screen-checking drain both faster than you expect.
- No flash. Direct flash on produce looks flat and on people looks harsh. Available light is the whole point.
- A lens cloth. Market dust and handling smear a front element fast, and every extra stop of light matters in shade.
- Small notes and change. Buy something. A photographer who is also a customer gets relaxed faces and better access to the good angles behind the stall.
- The market layout. A screenshot of the site map or a note on where the covered hall and the open stalls sit saves you a lot of walking.
If you own a polarising filter, bring it. It darkens wet leaves and wooden crates and cuts glare off plastic packaging, and it costs nothing to leave it in the bag when it is not helping.
Skim the rules before you go. Many markets run their own photography policy, and some restrict commercial work or tripods inside a covered hall. Checking the market website the night before takes a minute.
Step-by-Step
The 7-step shooting sequence
This is the sequence I use. Keep it in your head as a loop and you will always have something to shoot.
- Arrive before opening. Empty aisles mean clean frames, soft low sun, and vendors who are setting up rather than serving. Ten minutes here is worth an hour later.
- Walk the site once. Note where the sun hits, where the awnings are, and which stalls sit in open shade. Pick two or three good spots rather than drifting.
- Shoot the wide establishing frame first. One shot down the main aisle with people in it tells the viewer where they are. Do this early, before the crowd thickens.
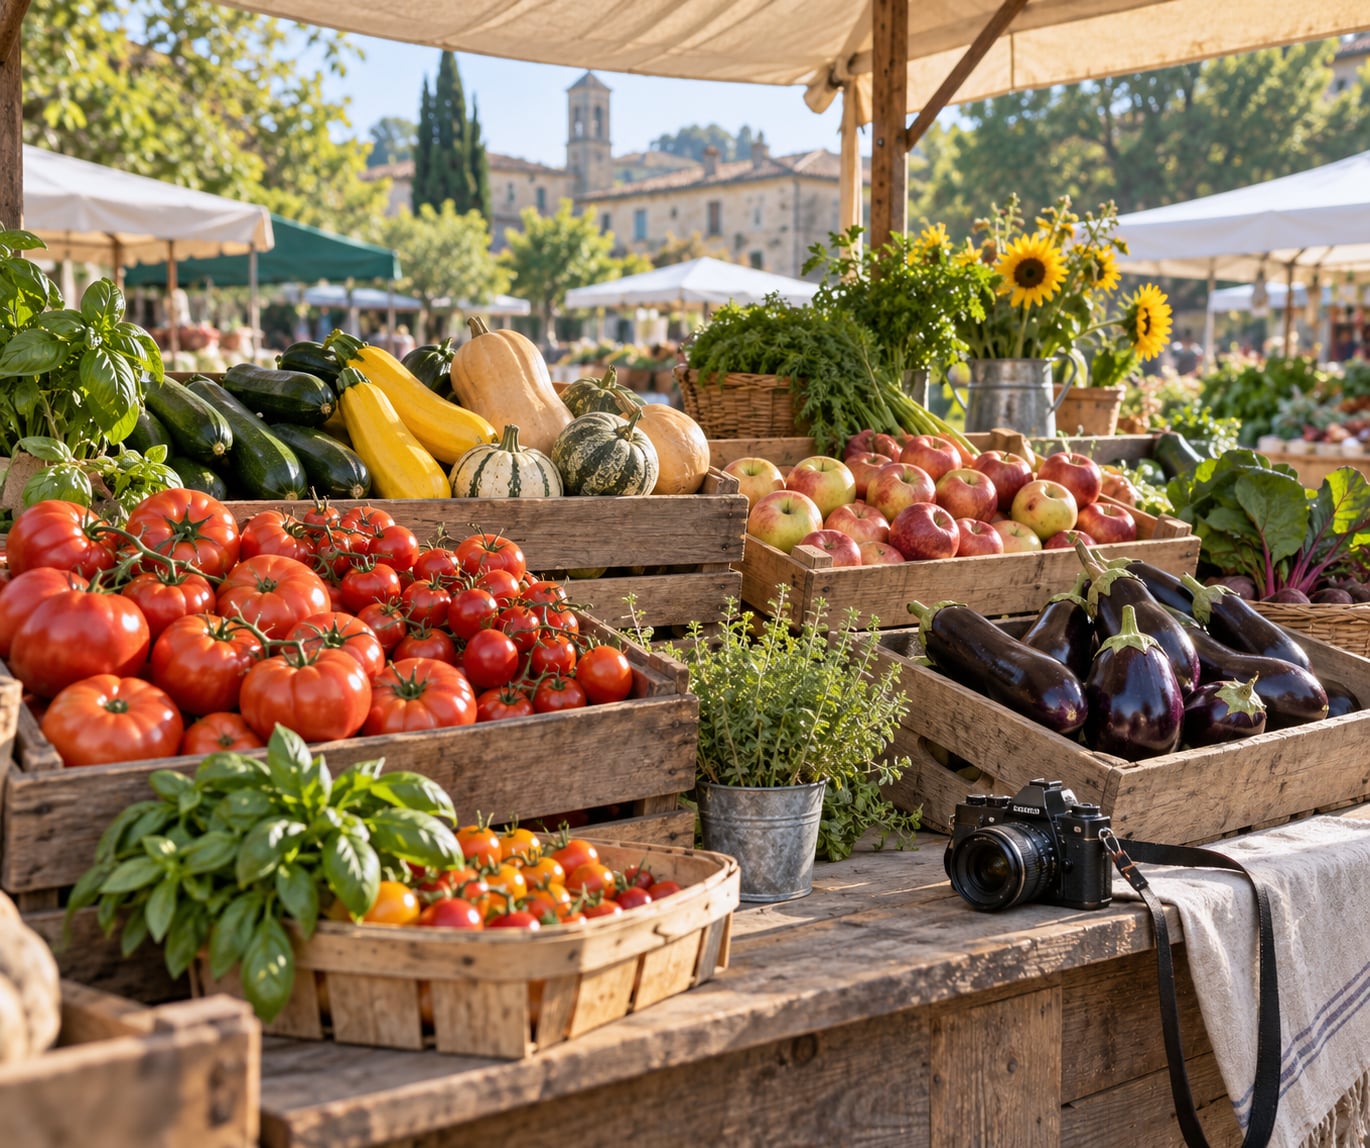
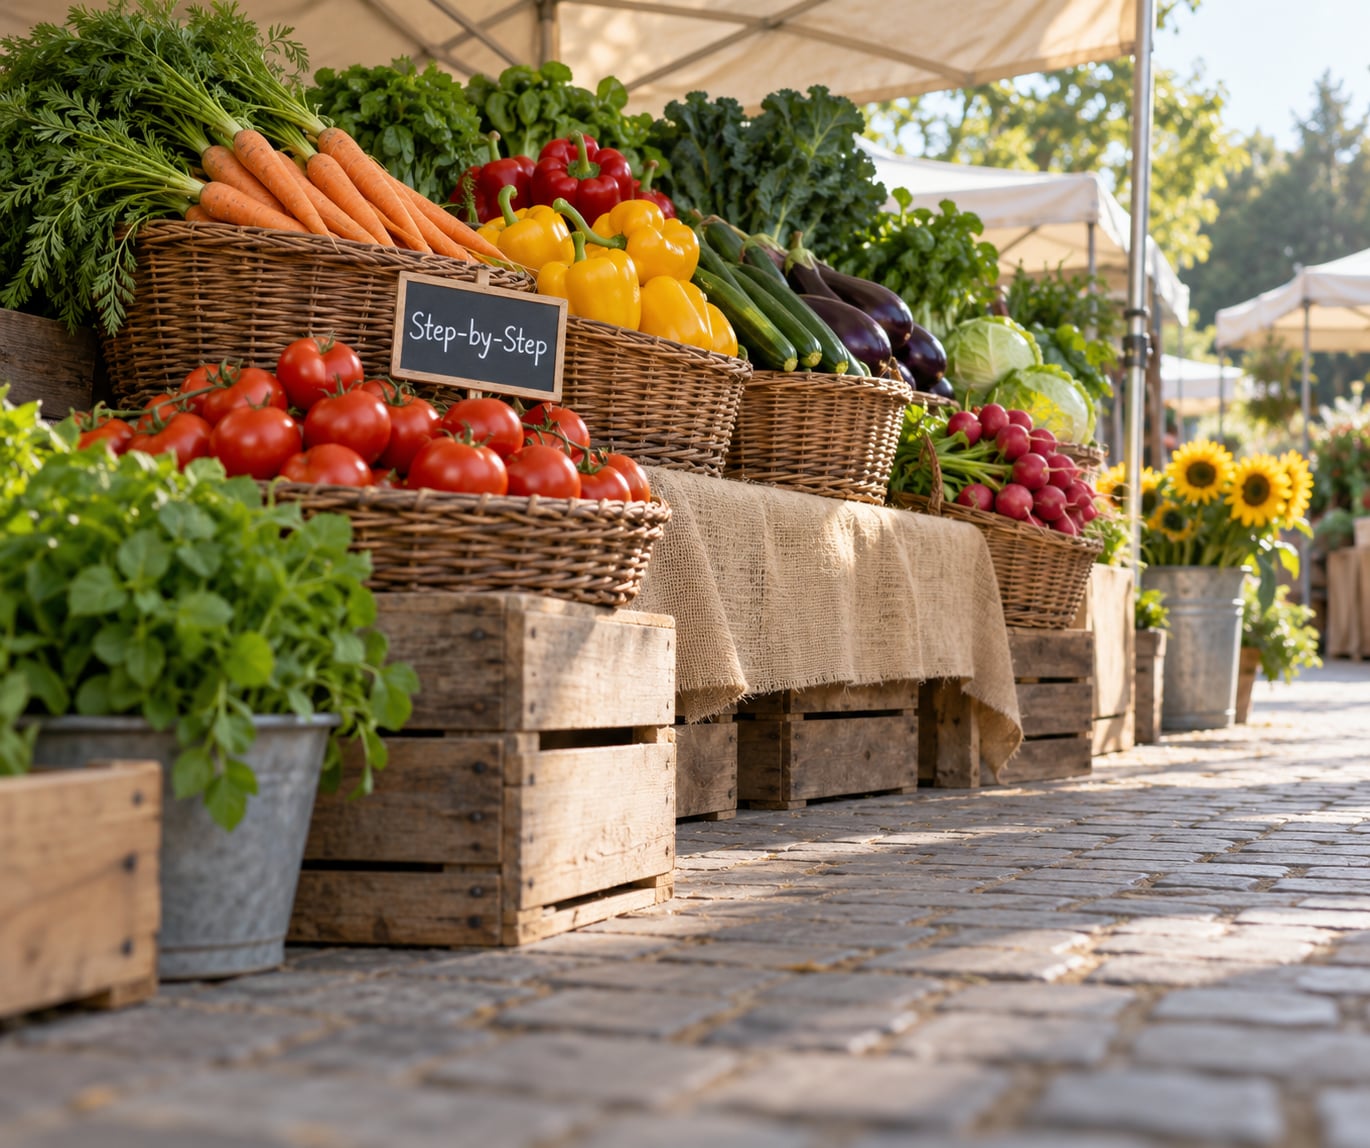
- Work the produce close to the lens. Fill the frame. Get low, get near, and include texture, not just a row of tomatoes in the middle distance.
- Ask, then shoot people. Start with vendors, who are used to it and often have great hands and great setups. Shoppers second.
- Change position before you change settings. Walking three steps sideways usually fixes a bad frame faster than any dial.
- Keep shooting after the obvious shot. The interaction, the weighing, the kid reaching for a peach. That is the frame you cannot plan.
How to Photograph a Farmers Market in Changing Light
Markets mix four lighting conditions within a single aisle, and your settings need to move with them. Here is a starting point for each on a full-frame camera with a 50mm lens; any modern camera or phone will do something similar automatically.
| Condition | Shutter speed | Aperture | ISO | Notes |
|---|---|---|---|---|
| Bright sun on produce | 1/500s | f/4 | ISO 100 | Watch the highlights on shiny skins, they blow out fast |
| Open shade under a tree | 1/250s | f/2.8 | ISO 400 | Check for green colour cast from foliage above |
| Under a fabric awning | 1/125s | f/2.8 | ISO 800 | Awnings tint everything; set white balance manually |
| Covered market hall | 1/125s | f/2 | ISO 1600 | Noise is unavoidable, shoot at the ISO limit rather than reshooting blurred |
| Overcast or light rain | 1/250s | f/2.8 | ISO 400 | The softest light of the day, and the best for glossy vegetables |
Two adjustments matter more than the rest. First, watch your shutter speed with people: anything handheld below about 1/125s and moving shoppers will blur. Second, when awnings make everything look muddy, set your white balance to the awning rather than auto, or shoot RAW and correct it later.
Golden hour is the other end of the scale. The first hour after opening and the last half hour before closing give you long shadows and warm side light on crates and faces. Low sun rakes across produce in a way that makes texture read.
How to Photograph a Farmers Market for Colour and Texture
Ordinary market scenes become good photographs through three things you can practise anywhere: colour pairing, repeated shapes, and reflections.
Colour pairing means looking for the complement. Deep green leaves against orange peppers, purple aubergines next to yellow onions, red tomatoes under a blue awning. Look down the stall rather than at one item and you will find these pairings for free.
Repeated shapes are usually crates, baskets, jars and rows of jars on a shelf. Stand square to the front of a stall and the row becomes a grid. Tilt slightly and it becomes depth. Both are worth a frame.
Reflections hide in plain sight: a wet paving slab after rain, a polished car roof at the edge of the car park, the glaze on a pie tin. Overcast days are the best chance at these, and they are worth going out for.
For texture, put the lens nearly touching the subject. A crust, a waxy lemon skin, the flake of a fish, the weave of a hessian sack. Fill the frame and use the widest aperture your camera still focuses accurately at that distance, so the background falls away.
When you frame produce, look at the edges. A hand, a price card half out of frame and a trailing plastic crate are the three things that undo an otherwise good still life.
How to Photograph People at a Farmers Market Responsibly
Photography in public is generally allowed, and using an image is a separate question with real rules attached. The practical version is shorter than the legal one.
Expectation of privacy is the test. If a reasonable person would expect to be left alone in that spot, ask. That includes people changing clothes, queuing at a portable toilet, sitting alone looking at their phone, and workers on a break. It does not include a vendor arranging a display in full view of a crowd.
Do ask vendors before shooting their stall, and expect a small number to say no. Some are private, some are protecting a recipe or a stall design, some simply do not want their photo attached to a business they are about to leave. Move on without argument. It takes one refusal and the whole market is awkward.
For candids that do not look staged, give people something to do. Ask a vendor to weigh a bag, hand them the change, and then step back and let them work. A person concentrating on a task forgets the camera within about ten seconds, and you have a real expression instead of a posed smile.
Keep your distance respectful and use a moderate aperture so the frame reads as a moment rather than a surveillance shot. If you are shooting a person, tell them what you are doing at the moment you start, not afterwards.
Two things to avoid entirely. Do not photograph children without a parent saying yes. And if you want to sell the pictures, print them on a blog, or use them commercially, check what the market’s own rules say and treat a recognizable face as something you need a release for, not something you simply own.
Photographing with a phone instead of a camera changes very little. Use the widest lens, tap to set exposure on the brightest part of the scene, and hold with two hands. Avoid the ultra-wide and the digital zoom. Most phones handle ISO 800 in daylight without complaint, which covers open shade.
Common Mistakes
These are the errors I see most, and each has a fix you can apply on the spot.
- Shooting in harsh midday light. Deep shadows and blown highlights with no texture in either. Turn around and find shade, or come back an hour before closing when the light goes long and warm.
- Using one focal length for the whole morning. Zoom wide for the aisle and crowd, then get as close as you can for the produce. The distance is the change people notice least and it improves frames most.
- Filling the frame with clutter. Bags, signs, parked cars behind the stall. Move your position ten degrees and check the background before pressing the shutter.
- Ignoring the background. Every frame has a horizon behind it, and usually it is a rubbish bin or a tangle of cables. Lower the camera or step until the background is calm.
- Letting the shutter speed drop in shade. Blurry frames are wasted frames. Raise ISO rather than dropping below 1/125s with people in shot. Noise can be corrected in editing; motion blur cannot.
- Leaving the flash on. It flattens food, makes people look grey, and marks you out instantly. Turn it off and find the light instead.
- Leaving your gear unattended. Crowded markets have pickpockets, and cameras draw attention. Keep the camera on your front hip, zipped, and never leave a spare lens on a table.
- Over-processing in the edit. Heavy filters make food look synthetic and people look strange. Fix exposure and white balance, lift the shadows a little, and stop.
Two final habits that pay off. Look for patterns and colour every time you raise the camera, and shoot a variety: three close-ups, three environmental portraits, and three wides before you leave any stall. Variety, not volume, is what makes a set worth looking at.
Frequently Asked Questions
What camera settings work best for photographing a farmers market?
Start at 1/250s, f/2.8 and ISO 400 in open shade, and push ISO to 800 or 1600 under a covered hall rather than letting the shutter speed drop. Keep the shutter at 1/125s or faster whenever people are in the frame. Bright sun wants 1/500s at f/4 and ISO 100. Set white balance manually under fabric awnings, which tint everything, and check highlights on glossy produce.
Is a smartphone enough for farmers market photography?
Yes, for almost everything. Modern phones handle ISO 800 in daylight, give you a usable wide lens, and focus quickly enough for candids if you tap the screen first. Use the main camera rather than the ultra-wide or the digital zoom, hold it with two hands, tap the brightest part of the frame to set exposure, and shoot slightly more frames than you think you need.
What is the best time of day to photograph a farmers market?
The first 45 minutes after opening and the last half hour before closing are the sweet spots. Low sun gives long shadows, warm side light and texture on crates and faces, and thin crowds keep frames clean. Midday is the hardest light of the day. If that is your only option, work the shaded side of the aisles and the covered stalls rather than open sun.
How can I take natural candid photos of shoppers and vendors?
Give people a task instead of asking them to pose. Buy something from a vendor, hand over the coins, then step back and let them work. A person concentrating on a job forgets the camera within about ten seconds. Stay a polite distance back, use a moderate aperture so the frame reads as a moment, and say what you are doing as you start rather than explaining afterwards.
Should I ask permission before photographing people at a farmers market?
Ask whenever a person is doing something private or could be embarrassed by the photo. Expectation of privacy is the test: a vendor arranging a display in public rarely needs a question, but someone sitting alone on a break does. Vendors are also used to being asked, so a quick polite request usually works. If someone declines, move on without arguing.
Conclusion
Knowing how to photograph a farmers market comes down to a short loop: arrive early, walk the site, pick two or three spots, work the produce close to the lens, and ask before you shoot anyone you can identify. Keep the shutter fast, leave the flash behind you, and change position before you change a setting.
On your next visit, start with three frames. One wide shot down the aisle to set the place, a produce close-up that fills the frame, and one candid interaction where you asked first. Keep an eye on how the light shifts as you work, and you will come home with a set rather than a memory card full of almosts.