Photograph through glass without reflections by putting the lens as close to the pane as you can and keeping it square to the surface, then turning off every light that sits behind you. Add a clean microfiber cloth on both surfaces and a dark top, and most of the glare disappears. The whole thing takes about two minutes once you know the order.
Glass is a mirror first and a window second. It bounces a slice of every ray that hits it back along the mirrored path, so anything bright on your side of the pane lands in the picture as a ghost. Positioning beats gear here, and once you learn to look at the angle first, you stop blaming the lens.
Table of Contents
- What You Need
- Step-by-Step: How to Photograph Through Glass Without Reflections
- 1. Clean Both the Glass and Camera Lens
- 2. Turn Off or Minimize Indoor Lights
- 3. Position the Camera Close and Perpendicular
- 4. Wear Dark Clothes and Block Stray Light
- 5. Adjust Exposure, Focus and Polarization
- Common Mistakes to Avoid
- How to Fix Reflections That Remain
- Frequently Asked Questions
- How do I take a picture through a window without seeing my reflection?
- Does a polarizing filter remove all reflections when photographing through glass?
- How close should the camera be to the glass?
- Why does photographing through glass look blurry?
- Can I photograph a phone or museum display through protective glass?
- Conclusion
What You Need
None of this is expensive, and the first two items do most of the work.
- A clean camera lens. Front element smudges scatter light and read as haze nobody can explain.
- A clean glass surface. Fingerprints, dust, rain streaks and cleaning spray haze all look like reflections.
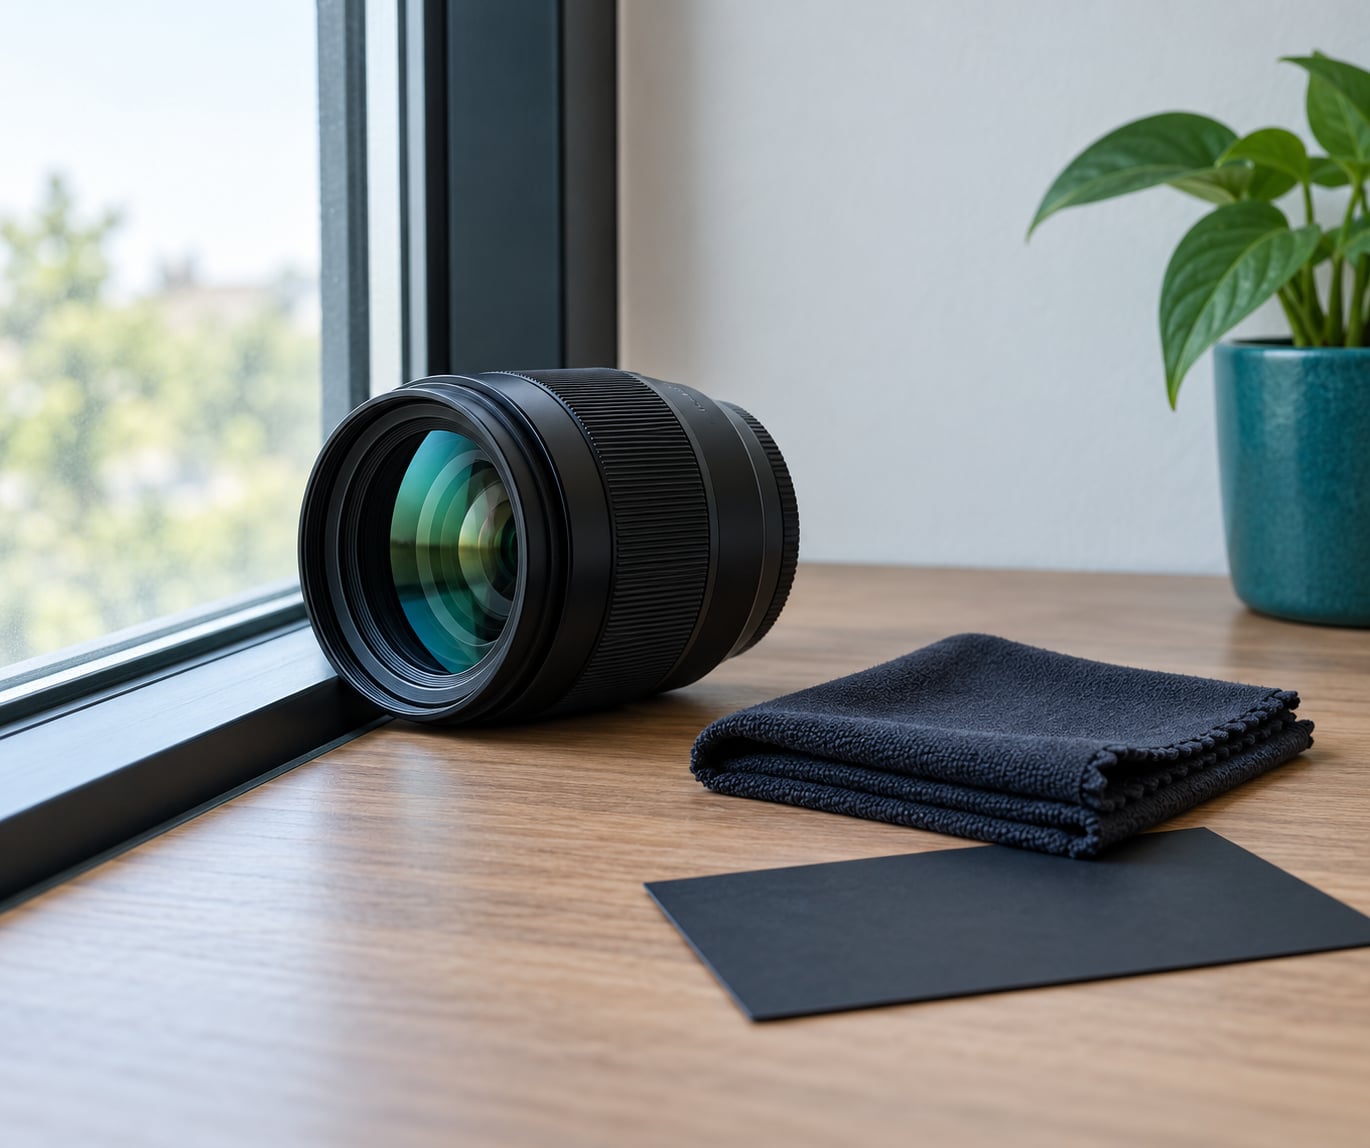
- A soft lens cloth or microfiber towel. One for the outer pane, one for the lens. Keep them separate so you do not drag grit onto the front element.
- Dark, matte clothing. A white shirt and a pale face show up in glass faster than you would expect.
- Optionally a rubber lens hood or a black card. A silicone hood you can press flat against the pane blocks stray light from the sides. A piece of matte black card does the same job for nothing.
These items reduce the problem, they do not replace careful positioning. A hood pressed against dirty glass still produces a smudged mess with your silhouette floating in it.
Step-by-Step: How to Photograph Through Glass Without Reflections
1. Clean Both the Glass and Camera Lens
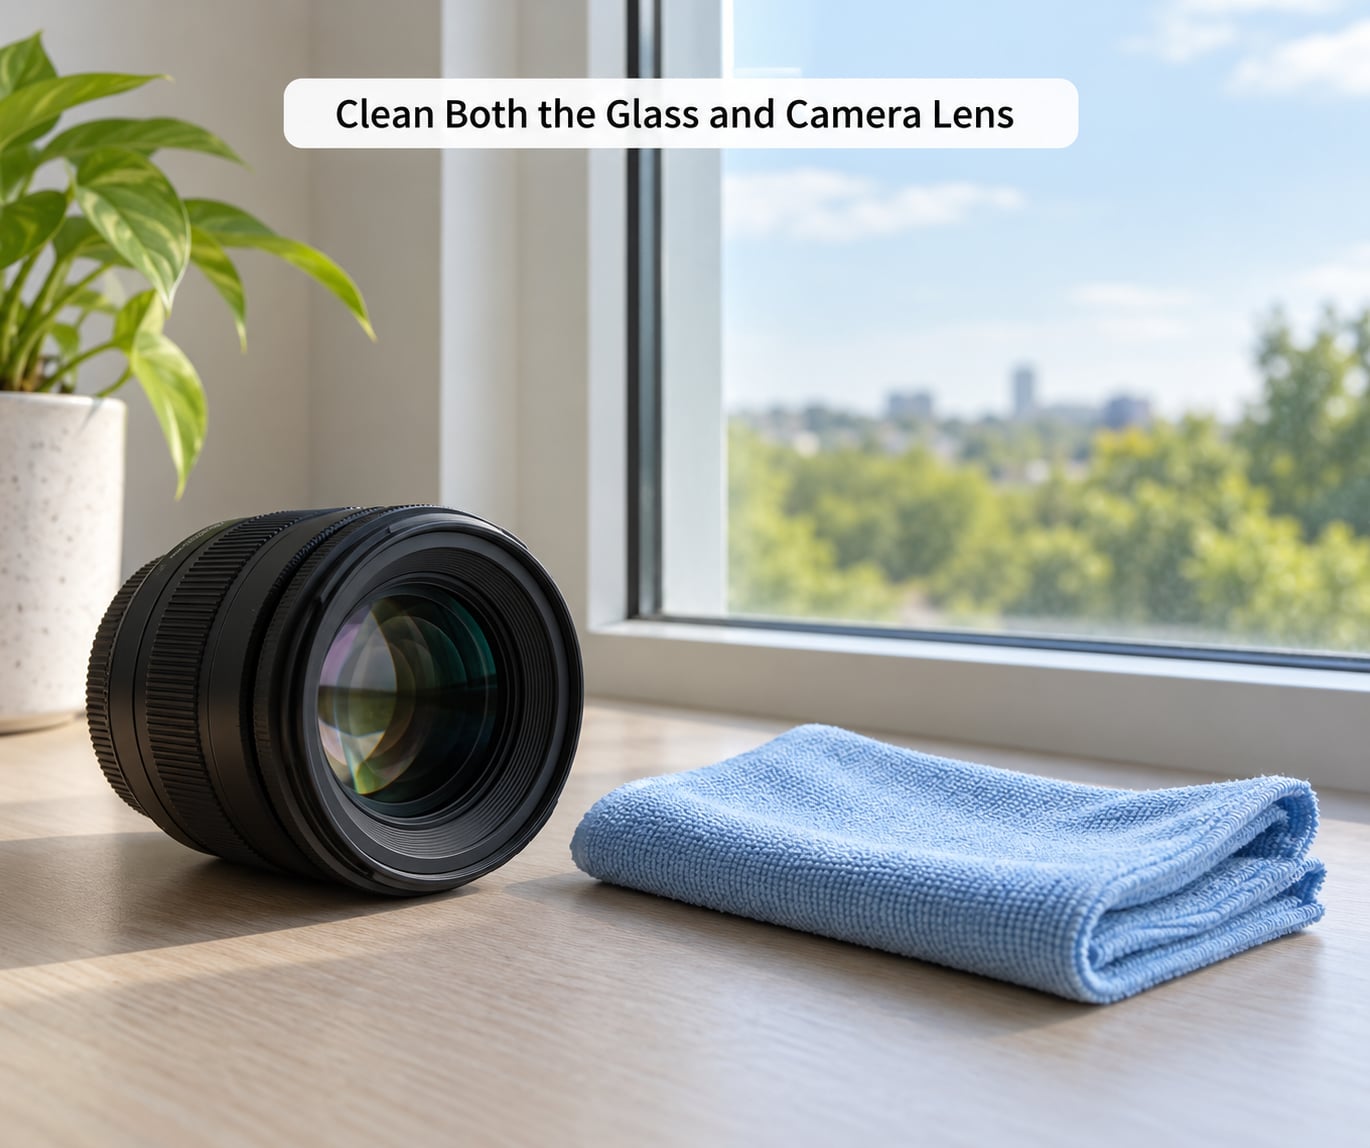
Fingerprints, dust, moisture and dried spray residue all scatter light across the pane, and the result looks exactly like a reflection you cannot get rid of. Before anything else, wipe the outer pane with a microfiber cloth and a little glass cleaner sprayed onto the cloth, never onto the glass. Then clean the front element of the lens.
How do you know it worked? Take one frame, then move the camera a few centimetres and take another. If the milky veil moves with the light instead of the camera, the veil is on the glass. If it stays locked to the subject, it is haze inside the shot.
2. Turn Off or Minimize Indoor Lights
Every lamp behind you is a mirror waiting to happen. Switch off ceiling lights, lamps and screens, and close curtains or blinds so the room behind you goes dark rather than merely dim. On a bright day this takes seconds and it removes more reflections than any filter.
Check the result by looking at the pane with your eyes where the camera will be. If you can see a bright shape, your camera will too. Shoot when the outside is brighter than the inside if you can control the timing, because the darker side always shows less.
3. Position the Camera Close and Perpendicular
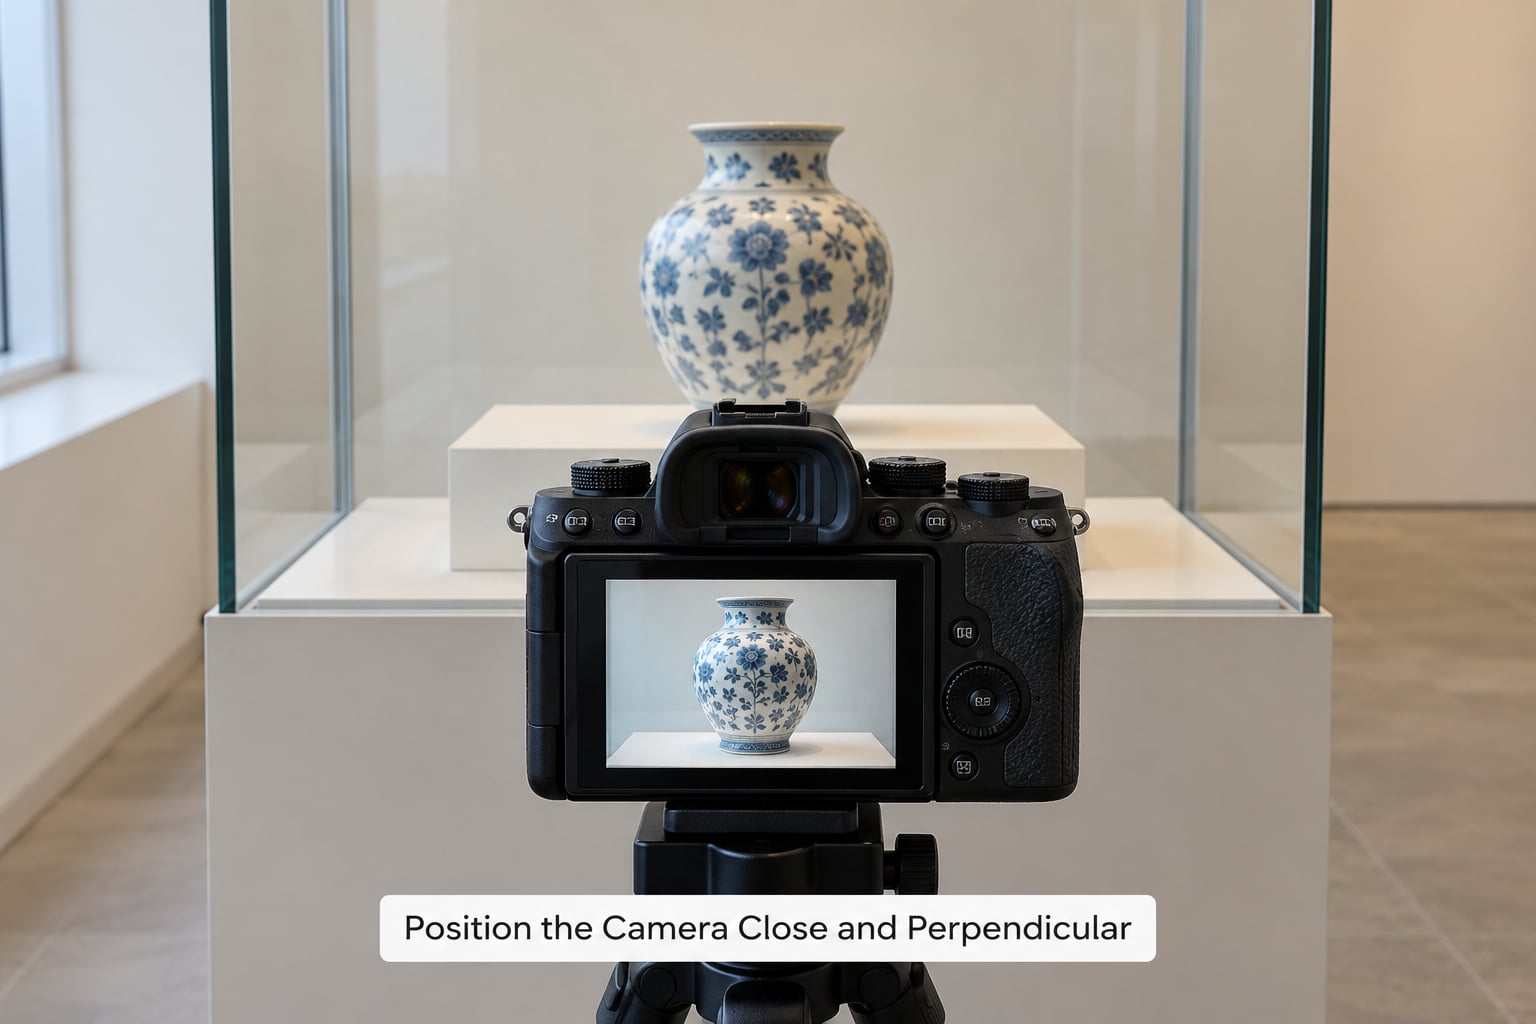
This is the technique that actually solves the problem. Light bouncing off glass leaves at the same angle it arrived, so when your lens sits directly in front of the subject the reflected light sails off past the frame instead of back into it. Move in until the front element almost touches the glass, then look through the viewfinder or at the screen and adjust until the subject is dead center.
Check it by taking a test frame. A shadow or halo around the edge of the frame usually means the lens is not square yet. If a faint outline of your own head appears, tilt or slide a few millimetres and take another.
You will need the viewfinder on an interchangeable-lens camera, because tilting it away from the glass puts the reflection right back. On a fixed-screen body, use the screen at a slight angle to the sensor and accept a small amount of correction in the viewfinder or rear-screen preview.
4. Wear Dark Clothes and Block Stray Light
A white shirt, a pale face, glasses frames and a phone in your hand all read clearly in a pane. Wear a dark matte top and keep your body as far to the side of the frame as the composition allows. In a room where you cannot change clothes, hold a black card or jacket between you and the glass.
Block light coming from the side too. A rubber lens hood pressed flat against the pane, or two black cards held in a shallow tent around the front of the lens, keeps stray light off the glass at grazing angles where reflections are strongest. Test it by taking a frame with and without the flag and comparing the edges.
5. Adjust Exposure, Focus and Polarization
Meter for the scene behind the glass, not the reflection. If the histogram shows bright spikes along one edge you have not removed, drop exposure by a third of a stop and take another frame. Slightly underexposed glass shots look natural; a blown reflection looks like a mistake.
Focus on the subject, and if the camera hunts every time it hits glass, switch to single autofocus point on the subject or use manual focus. Autofocus loves high-contrast edges like a window frame, and it will happily lock onto the reflection instead.
A circular polarizing filter reduces reflected light when you rotate it to the right angle, but it is not magic. It has least effect on wide-angle lenses where the polarizing angle varies across the frame, it cannot remove reflections from tinted or laminated glass, and on some digital screens it darkens the picture or shifts colour. Take one frame with the filter rotated and one without before you commit.
Common Mistakes to Avoid
- Shooting from an angle to avoid a glare spot. You do not need to. Going square and getting closer kills more reflection than any sideways shift.
- Shooting through dirty glass. Smears get blamed on the camera. Clean first, always.
- Leaving the room lights on behind you. This is the number one cause of a camera or person appearing in glass.
- Letting autofocus lock onto the reflection. Use a single point or manual focus on the subject.
- Wearing light-coloured clothing near the pane. Your shirt is a light source the glass can see.
- Expecting a polarizing filter to fix everything. It helps at the right angle and on the right glass. Everywhere else it is a coin flip.
- Rushing the setup. Each change to position, light or clothing needs a test frame, not a guess.
How to Fix Reflections That Remain
Work through this in order rather than changing three things at once. Clean the outer pane and the lens again, then kill nearby light sources, then move closer, then change the angle by a few millimetres, then hold a black card to cut light off the glass side, and finally compare exposure settings.
Sometimes the reflection is not yours. A second pane with its own coating, a mirrored display back, or an object behind the subject that is genuinely bright can bounce light on its own. Tell them apart by taking a frame from a few steps back: if the reflection stays put relative to the object behind the glass while your own outline disappears, the subject is the source and only lighting changes will help.
Frequently Asked Questions
How do I take a picture through a window without seeing my reflection?
Put the lens close to the glass and square to it, switch off any lights behind you, and wear something dark. If the reflection persists, shade the glass with a black card or a rubber lens hood pressed flat against the pane. That combination removes most window reflections without any extra equipment.
Does a polarizing filter remove all reflections when photographing through glass?
No. A circular polarizing filter cuts reflected light only when you rotate it to the right angle, and it does almost nothing on wide-angle lenses where the polarizing angle changes across the frame. It also cannot remove reflections from tinted or laminated panes, and on some screens it darkens or shifts the colour. Treat it as a helpful extra, not a fix.
How close should the camera be to the glass?
As close as you can get without touching it, with the lens square to the surface. Light that reflects off glass leaves at the same angle it arrived, so a lens sitting directly in front of the subject pushes that reflected light out of the frame entirely. A few centimetres is usually enough to remove a reflection that a foot of distance made obvious.
Why does photographing through glass look blurry?
Usually the focus landed on the reflection rather than the subject, or the light was too low and the camera slowed its shutter. Try single-point autofocus aimed at the subject, clean both surfaces, and brighten the room behind you if you can. Glass that is thick, wavy or double-glazed also bends light enough to soften detail at the edges of the frame.
Can I photograph a phone or museum display through protective glass?
Yes, and the method is the same: get close, keep the lens square, dim the room and hold something dark between you and the pane. Museum cases are often laminated or coated, so a polarizing filter helps less than you would expect. On a phone screen, tap the display to lock exposure and focus, then step back slightly if glare appears in the frame edges.
Conclusion
Start with the two-minute version: clean the pane and the lens, switch off the lights behind you, then put the lens close and square to the glass. That order solves most window and display shots before you touch a single setting.
If something is still left over, work outward from there. Get closer, change the angle by millimetres, slide a black card between you and the glass, and try a polarizing filter last. Photographing through glass without reflections is a light and position problem, and it responds to a few careful centimetres far better than to new gear.