How to photograph fireworks with any camera: put it on a tripod, switch off image stabilisation, focus manually to infinity, set ISO 100 and f/8, and hold the shutter open for two to four seconds. That baseline takes about fifteen minutes to dial in, and you do it before the first shell launches, because a burst happens once and does not wait for you.
New Year’s Eve, 4th of July, Diwali and Canada Day displays follow the same physics. The sky is nearly black, the subject is a two-second flash of light, and your camera cannot react in time. Everything depends on decisions you make once and then repeat for the whole show.
Table of Contents
- What You Need
- Camera Settings for Fireworks at a Glance
- Step-by-Step: How to Photograph Fireworks in Nine Steps
- Step 1: Choose a Safe Location and Composition
- Step 2: Set Up the Camera and Focus
- Step 3: Use the Right Camera Settings
- How to Photograph Fireworks With an iPhone or Smartphone
- Step 4: Prepare for a Long Exposure
- Step 5: Anticipate the Burst and Release the Shutter
- Step 6: Capture Colour Without Losing Detail
- Step 7: Create Foreground and Background Contrast
- Step 8: Shoot a Short Burst of Frames
- Step 9: Review, Protect, and Back Up Your Images
- Common Mistakes and How to Fix Them
- Photography Safety at a Firework Display
- Frequently Asked Questions
- What settings should I use to photograph fireworks?
- What is the best shutter speed to use when photographing fireworks?
- How can I take good photos of fireworks with my iPhone?
- What is the best camera lens to use for taking fireworks?
- Why are my fireworks photos blurry?
- Do I need a tripod to photograph fireworks?
- Conclusion
What You Need
A tripod is the only piece of gear worth buying for this. Everything else you probably already own, and nothing on this list is expensive.
- Tripod: any stable one, with a ball head so you can aim the camera and leave it. Short, spread-out legs beat tall, thin ones.
- Remote release or the 2-second self-timer: touching the shutter with your finger shakes the camera enough to soften every trail. A wired remote or a two-second timer costs nothing.
- Spare batteries: cold air and long exposures both drain them fast. Keep spares in a coat pocket, not in the bag.
- Wide-angle lens if you have one: anything in the 14-35mm range gives you room to frame without chasing bursts. A kit zoom is fine.
- Lens cloth: smoke is wet and sticky, and it settles on the front element more than you expect.
- A bag that closes: dust, drizzle and smoke residue all hurt more than low ISO helps.
Leave any filter off the front of the lens. A UV or polariser costs you a stop or two of light, which is exactly what you cannot spare in a dark sky.
Camera Settings for Fireworks at a Glance
These are the values to start from. Everything after that is a small correction based on what your first frames look like.
| Setting | DSLR or mirrorless | Smartphone |
|---|---|---|
| Mode | Manual, or Bulb for timed exposures | Night Mode or the longest exposure the app allows |
| ISO | 100 (or 50 if your body has it) | Lowest the phone offers, ideally 50-125 |
| Aperture | f/8 to start, then f/11 or f/16 if colours blow white | Fixed on most phones, so compensate with exposure |
| Shutter speed | 2-4 seconds for one burst | 2-3 seconds in Night Mode |
| Focus | Manual, set to the actual distance of the launch site | Tap on the burst zone and hold |
| Image stabilisation | Off (Canon IS, Nikon VR, Sony OSS) | Not applicable |
| White balance | Daylight or manual, not auto | Tap the sun icon to lock it |
| Format | RAW if the card allows | RAW or ProRAW on Pro models |
Step-by-Step: How to Photograph Fireworks in Nine Steps
Step 1: Choose a Safe Location and Composition
Arrive at least an hour early and pick a spot with a clear line of sight to the launch site, then check where the wind is coming from. Smoke drifts, and a display downwind of you will fill your frame with grey haze within twenty minutes.
Stay well back from the launch zone and follow whatever local rules apply to public displays, parks and shorelines. Keep the tripod legs out of walkways, and if the ground is soft or wet, put the bag under the centre column so it does not sink and tilt mid-shot.
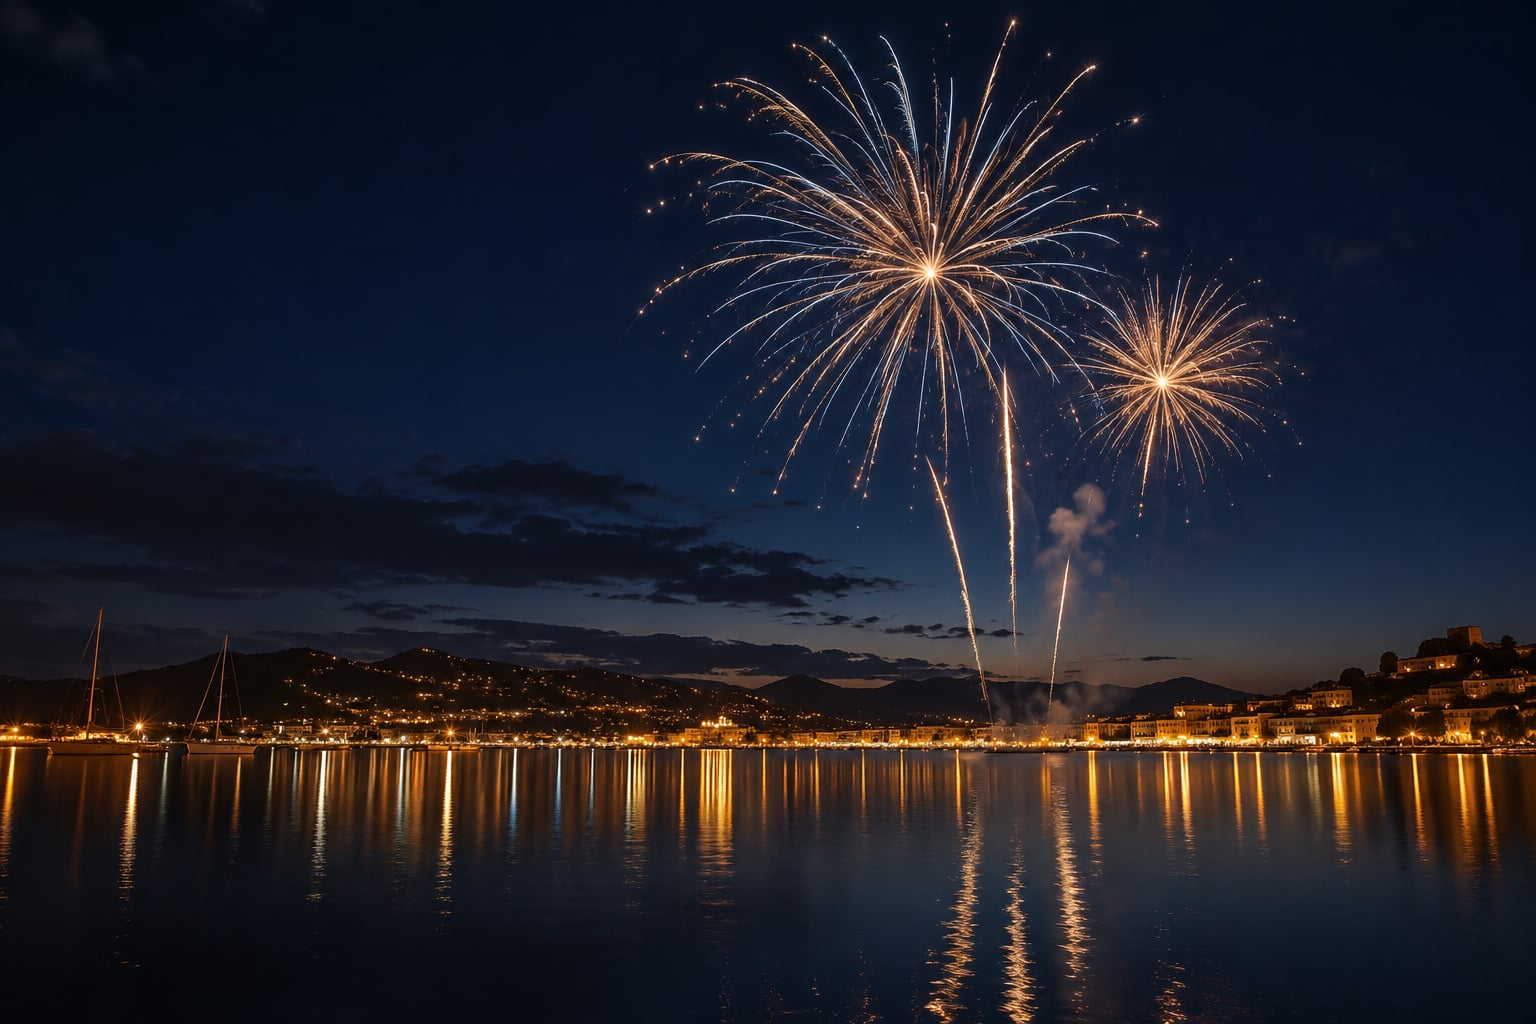
Frame something besides the fireworks. A bridge, a skyline, a tree line or a stretch of water gives the burst scale, and fireworks alone in a black frame look like a stain. Water is the strongest option because the reflection doubles the show.
Step 2: Set Up the Camera and Focus
Mount the camera, switch it to manual focus, and turn image stabilisation off. This is the single biggest cause of soft tripod frames: some cameras hunt for a stabilisation mode on a tripod and nudge the sensor slightly, which blurs a two-second exposure.
Autofocus will hunt and fail in the dark, so skip it. Turn on live view, point at the brightest thing near the launch area, or simply focus to the far distance using the lens’s infinity mark. If bursts are close enough that true infinity makes them fuzzy, pre-focus a little in front of the display instead.
Do the focus before you need it. Focus hunting at the moment a shell cracks is how frames end up empty.
Step 3: Use the Right Camera Settings
Set ISO 100, f/8 and a shutter speed of two to four seconds in manual mode. Open up to f/5.6 if the frames come out too dim, and stop down to f/11 or f/16 when the colours blow out to white.
That correction loop resolves most of the conflicting advice online. Start at f/8 and move one stop at a time based on the first frames, rather than trusting a rule that somebody swears by.
Keep the white balance on daylight or a fixed manual value. Auto white balance reacts to each burst and gives you a different colour cast on every frame of the same shell, and sodium street lighting nearby will push everything orange.
How to Photograph Fireworks With an iPhone or Smartphone
Phones cannot do Bulb mode with manual focus, so the approach is different: you control the exposure length through Night Mode and you stabilise the phone against something solid rather than holding it.
- Prop the phone against a railing, a wall or a folded jacket. A small tripod with a phone clamp helps, but leaning beats shaking.
- Open Night Mode and let it settle for two or three seconds before shooting.
- Tap on the sky where the bursts will appear, then drag the sun icon down to darken the exposure. Phones brighten the night scene far more than a camera does, so most people forget to pull it down.
- Use a Live Photo held down on the shutter for a longer burst, or a third-party app with manual ISO, focus and shutter controls.
- On Pro models, switch on RAW or ProRAW so you have something to recover in editing.
Expect the phone to lose the faint trails that a camera holds. It will still give you a usable shot of a big shell, which is the whole point.
Step 4: Prepare for a Long Exposure
Set the shutter to a fixed two, three or four seconds rather than Bulb when you are starting out. A timed exposure ends on its own, so a stray finger cannot leave the sensor open through three bursts and wash the sky to grey.
Bulb mode keeps the shutter open only while you hold the release, which gives exact control once you are comfortable. If you go past about ten seconds, cover the lens with your hand or the lens cap between bursts. That gap is what keeps a long exposure from turning into a white frame.
Turn off long-exposure noise reduction if your camera has it. Some models add a second dark exposure of the same length after the shot, doubling the wait and burning battery.
Step 5: Anticipate the Burst and Release the Shutter
Watch the launch trail, not the sky. A rising streak means the shell is on its way up and the break comes roughly a second later at the top. Press the release just before you expect the break, so the shutter is already open when the light appears.
Frame generously. If a burst happens outside your frame, no amount of luck in the editing will bring it back.
Step 6: Capture Colour Without Losing Detail
A blown highlight has no detail left in it. Pulling exposure back in software recovers colour on the edge of a burst, but a core that clipped to pure white stays white, so stopping down early matters more than recovering later.
Check the histogram or the highlights warning after a few frames and adjust the aperture before the big finale, not during it. Shoot RAW, which gives you far more room to bring saturated reds and greens back than a JPEG does.
Step 7: Create Foreground and Background Contrast
Dark shapes make the light readable. A silhouetted roofline, a pier railing or a row of trees along the bottom third of the frame gives the burst something to sit against.
Water reflections work the same way and add a second, softer copy of every burst. Reflections cost you half your light, so open the aperture a stop if the frame goes too dark.
If you want people in the shot, light them separately rather than hoping the burst does it. A small flash or a phone light pointed at a group a few seconds before the shells go up gives you warm foreground faces against a cold blue sky.
Step 8: Shoot a Short Burst of Frames
There is no second chance, so shoot in short sequences. Four or five frames at two seconds each covers the gap between shells and gives you a chance at every break.
Do not run the camera flat out for the whole show. Batteries in cold air last a fraction of what you expect, and a camera that dies during the finale costs you the shots you came for. Watch the battery level, and shoot your longest sequences in the first half of the display when the air is warmer.
Once you trust the timing, long exposures of eight to fifteen seconds can stack several bursts into one frame. Cover the lens between shells and it works, but it is a second-best technique, not the place to start.
Step 9: Review, Protect, and Back Up Your Images
Before the display ends, zoom in on a few frames at full size. If the bursts are soft, the cause is nearly always image stabilisation left on or a tripod that shifted. Both are fixable in the first minute of the next show.
Wipe the front element with the lens cloth. Smoke leaves an oily film that catches flare from street lighting and ruins later frames even if the first ones looked clean.
Copy the RAW files to a second drive or phone before you edit anything, once you are home. A card failure after a night like this is a genuinely painful lesson.
Common Mistakes and How to Fix Them
| What went wrong | Why | Fix |
|---|---|---|
| Blurry trails on a tripod | Image stabilisation still on, or the shutter was touched | Turn off Canon IS, Nikon VR and Sony OSS, and use a remote or the two-second timer |
| Fireworks blown out to a white blob | Too much light for the aperture | Stop down to f/11 or f/16, or shorten the exposure to two seconds |
| Frame too dark | Shutter closed before the burst | Open the shutter earlier, and open up one stop to f/5.6 |
| Near bursts look soft, far ones look sharp | Pre-focused at true infinity | Pre-focus a little in front of the launch area |
| Grey haze over the whole frame | Smoke drifting across the view | Move upwind, or raise your vantage point above the smoke layer |
| Odd colour casts, orange or blue skies | Auto white balance reacting to each burst | Fix white balance on daylight or a manual value |
| Bright spots at the edge of the frame | Lens flare from street lighting or the moon | Remove filters, clean the front element, move the tripod slightly |
| Camera dies partway through | Cold air and long exposures draining batteries | Keep spares warm in a pocket and switch off long-exposure noise reduction |
Photography Safety at a Firework Display
Stand well outside the launch zone and behind any barrier, and never position yourself where a shell falls or where a rogue ember can land. Smoke is unpleasant to breathe and it coats gear, so keep your face out of the drift when the wind is behind the display.
Tripods in a crowd trip people. Have a companion stand beside the setup and ask passers-by to watch the legs, which is the practical fix experienced shooters use every season.
Sparklers burn for around two seconds and stay hot far longer than that. Keep them away from children and clothing, and never put a lit one in a pocket.
Frequently Asked Questions
What settings should I use to photograph fireworks?
Start in manual mode at ISO 100, f/8, and a two to four second shutter speed, with the lens focused manually to the distance of the launch site. Turn off image stabilisation, set white balance to daylight, and shoot RAW if your card allows it. Check the first few frames: stop down to f/11 or f/16 if colours blow out white, or open to f/5.6 if the frame is too dark.
What is the best shutter speed to use when photographing fireworks?
Two to four seconds captures one clean burst with the trail still forming. Six to ten seconds gives you comet-style trails and, if you cover the lens between shells, part of a second burst. Ten to thirty seconds stacks several shells into one frame and suits a static tripod with no people moving through it. Longer exposures need the lens cap trick to stop the sky washing out.
How can I take good photos of fireworks with my iPhone?
Lean the phone against something solid or use a clamp tripod, open Night Mode, and wait for it to settle. Tap on the sky where bursts will appear, then drag the exposure sun icon down, because phones brighten night scenes far too much. Holding the shutter with Live Photo on extends the exposure, and RAW on Pro models gives you more to recover later.
What is the best camera lens to use for taking fireworks?
A wide-angle lens in the 14-35mm range is the most reliable choice, because the burst fills the frame wherever it breaks and you do not have to track it. A 70-200mm gives you tighter detail and bigger bursts in the frame, but tracking a shell with a telephoto while the camera sits on a tripod is genuinely hard. A 24-70mm or 28-300mm zoom covers both ends in one lens.
Why are my fireworks photos blurry?
In most cases it is image stabilisation. Canon IS, Nikon VR and Sony OSS are designed to compensate for handheld movement, and on a tripod the camera can hunt for a mode and shift the sensor slightly, softening a multi-second exposure. Turn stabilisation off, trigger with a remote release or the two-second self-timer, and check the tripod legs are not sinking into soft ground.
Do I need a tripod to photograph fireworks?
For any exposure longer than about a quarter of a second, yes. Handheld shooting forces a fast shutter speed, and a fast shutter needs a wide aperture and a high ISO, which together produce noise, no trails and a mostly black sky. A tripod is also the only way to shoot longer exposures that stack several bursts in one frame. Bean bags against a wall work in a pinch, but they limit where you can point.
Conclusion
Arrive an hour early, stand upwind of the smoke with a clear view and something in the foreground, mount the tripod, turn off image stabilisation and focus manually. Then dial in ISO 100 at f/8 with a three-second exposure, take a few test frames of whatever light is around you, and adjust the aperture one stop at a time.
Once the first shell goes up, you are not making decisions any more. You are pressing the button and trusting the setup you built an hour earlier, which is exactly how it should feel.