If you want to know how to photograph city lights at night, it comes down to four things: the camera on a tripod, manual focus, a wide aperture, and an exposure that protects the brightest signs. Lock those in first and the rest is choosing where to stand and how long to leave the shutter open.
The whole process takes about 20 minutes per setup once you have done it a few times, and the difficulty is lower than it sounds. Beginners mostly lose frames to one of two things: a camera that moves a fraction of a millimetre during a long exposure, or a highlight in a neon sign that clips to pure white and can never be recovered.
Here is the workflow I use, in the order that actually saves time on location.
Table of Contents
- What You Need
- How to Photograph City Lights at Night Step by Step
- 1. Scout a Location and Identify the Lights
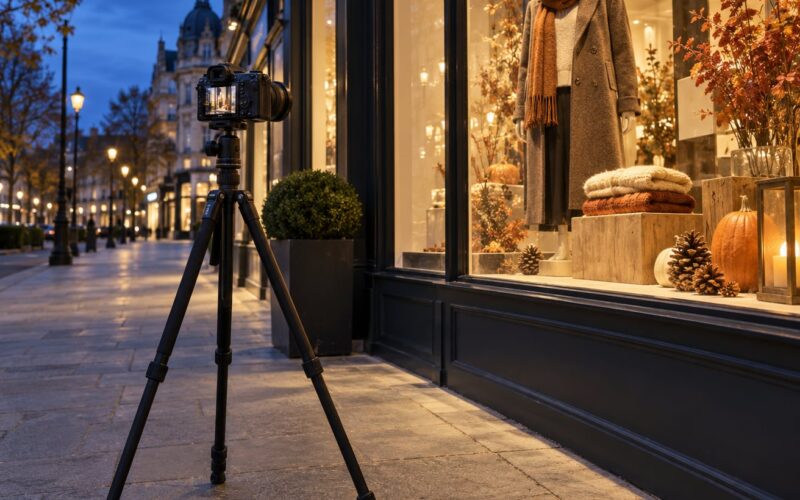
- 2. Stabilize the Camera on a Tripod
- 3. Set Focus Manually
- 4. Balance Aperture, ISO, and Shutter Speed
- 5. Control White Balance and Color
- 6. Make Test Shots and Refine the Composition
- 7. Capture Light Trails and Review the Results
- Common Mistakes
- Frequently Asked Questions
- What are the best camera settings for photographing city lights at night?
- Can I photograph city lights at night with a smartphone?
- How do I create light trails with traffic at night?
- How do I keep the camera sharp during a long exposure?
- How do I photograph reflections of city lights in wet pavement?
- Why do my night city photographs look overexposed?
- Conclusion
What You Need
A tripod is the only genuinely non-negotiable item. Everything else has a workaround, but hand-holding a two-second exposure at ISO 1600 gives you soft, grainy frames every time.
- Camera with manual control. Any DSLR or mirrorless body works. Phones work too, with a little more compromise on focus and ISO.
- Fast wide-angle lens. Something around 16-35mm equivalent. Wide angles gather more light per millimetre of shutter time, which means shorter exposures and less shake.
- Stable tripod with a ball head. A ball head makes framing a long shot ten times faster than a pan handle. Carbon fibre legs are lighter to carry up stairs.
- Two-second timer or remote release. Touching the shutter button shakes the camera. The self-timer is on every camera ever made, so start there.
- Spare batteries. Cold air and constant LCD use drain them faster than you expect, and a dead battery halfway across a bridge ruins the evening.
- Small flashlight. Used as a focus assist light, not as flash.
Optional extras: a star filter for the classic starburst on bright point lights, a rain cover or zip bag if the forecast is wet, and a remote app with live view so you can stay low and out of the way on a crowded pavement.
How to Photograph City Lights at Night Step by Step
This seven-stage process takes you from an empty street to a folder of finished frames, and each stage has one job to get right before you move on.
1. Scout a Location and Identify the Lights
Find the light before you find the tripod. Walk the location first and note three things: where the brightest fixed lights sit, where traffic flows past on a regular rhythm, and whether there is a reflective or wet surface in the frame.
Fixed lights are your anchor, traffic is your motion, and reflections double both. A single good anchor light positioned a third of the way across the frame does more for a composition than a dozen scattered highlights.
On a bridge or a busy corner, pick your shooting position with safety in mind. Stay out of the cycle lane, behind a barrier or on a pavement where you are not in anybody’s headlights. Standing in the road for a cleaner shot is never worth it, and it is the one mistake that gets photographers genuinely hurt.
2. Stabilize the Camera on a Tripod
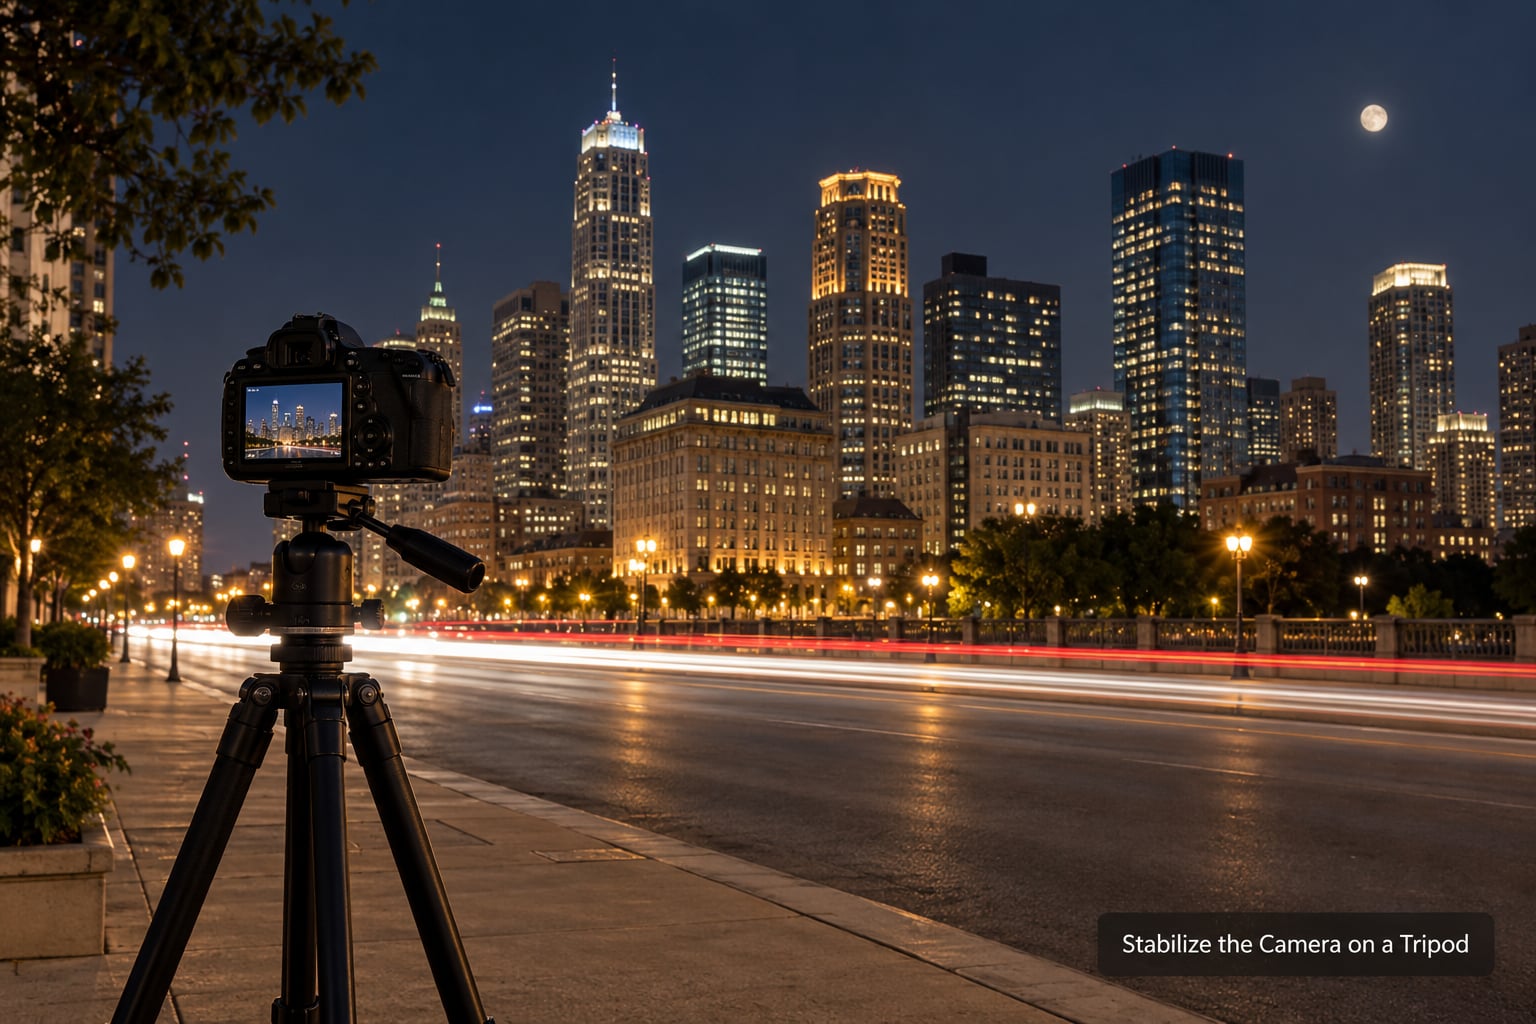
Set up the tripod first, then attach the camera. Legs spread to just outside shoulder width, centre column up, and hang your bag from the centre hook so wind has less to grab.
Turn image stabilization off when the camera is locked down on a tripod. Stabilization is tuned to correct for movement of the sensor, and on some bodies it fights the tripod and adds a slight blur to long frames. Leave it on for handheld shots.
Frame the shot before you touch any settings. Push the camera down on the tripod with two fingers to feel for play in the legs, then release. Any wobble you can feel here will show up as smeared highlights in a ten-second exposure.
3. Set Focus Manually
Focus manually every time. Autofocus hunts in the dark on anything with a few bright points and a lot of black in between, and a failed AF lock costs you more time than manual focus ever does.
Two approaches work reliably. Zoom in on a distant fixed light in live view, focus until the point is as small and sharp as you can make it, and set that distance. Or switch to manual focus, turn the lens to infinity, and fine-tune from there if you have something specific in the frame.
The flashlight trick helps in scenes with no bright point to focus on. Shine it directly at your subject from roughly where the camera sits, then switch to autofocus and let it lock, then flip to manual. The focus distance stays valid once the light is off.
If a person is standing in your shot, they will not hold still for ten seconds. Either ask them to stand still and accept some blur, or time the exposure for a moment when they are not there.
4. Balance Aperture, ISO, and Shutter Speed
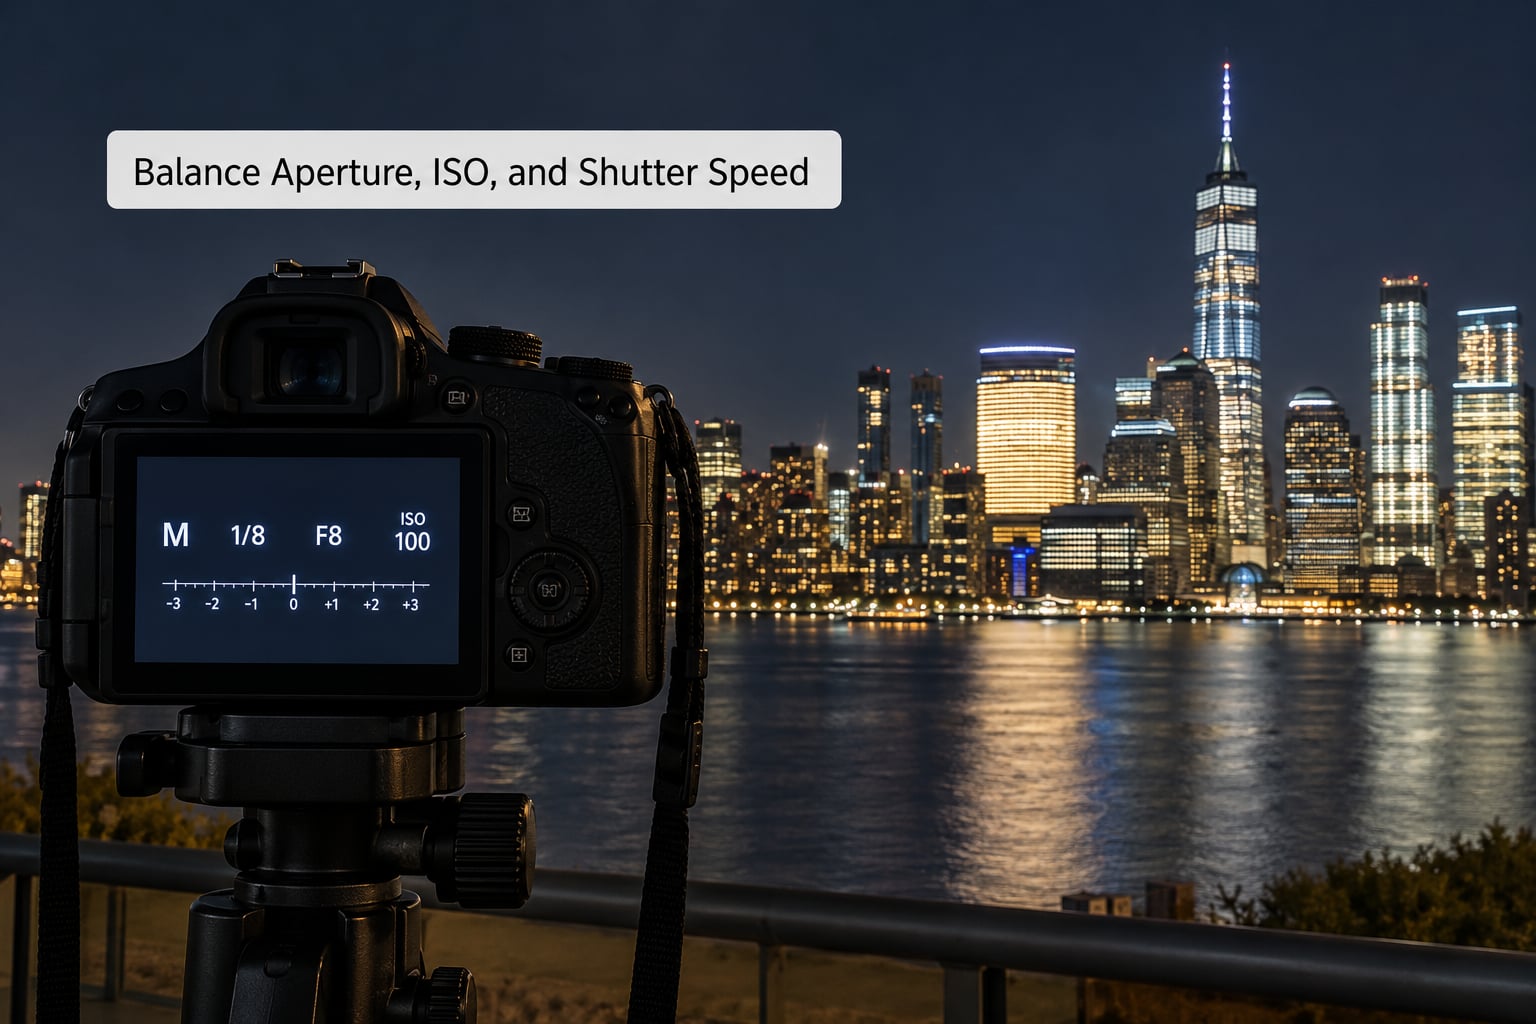
Start at the widest aperture your lens offers, f/2.8 or f/4, and set ISO low, around 100 to 400. Wide apertures gather more light per unit of shutter time, so you need less of each, and that is what keeps shake and noise down.
Then choose a shutter speed and see what the frame tells you. The table below is where I usually start for the three common situations.
| Subject | Aperture | ISO | Shutter speed | Goal |
|---|---|---|---|---|
| Skyline with traffic trails | f/8 to f/11 | 100 to 400 | 5 to 20 seconds | Starbursts and clean trails |
| Illuminated architecture, static | f/5.6 | 200 to 800 | 1 to 4 seconds | Sharp detail, low noise |
| Street scene, handheld | f/1.8 | 1600 to 6400 | 1/60 to 1/125 | Some grain, no tripod |
| Neon sign or single light | f/2 | 400 | 2 to 8 seconds | Bokeh, light painting |
Underexpose slightly, by -1 or -2 EV, and watch the histogram. Night scenes trick the meter because dark areas dominate the frame, so the camera over-brightens to compensate, and a neon sign goes from orange to flat white with no detail left. Dial exposure compensation down until the highlights stop touching the right edge of the histogram.
The tradeoff is shadow detail. Every stop you give up to protect a sign is a stop less detail in the dark buildings behind it. If you need both, bracket: one frame at your base exposure, one at -2 EV, and blend them later.
On the ISO ceiling, most modern full-frame bodies hold a usable image somewhere between ISO 1600 and ISO 6400, where grain starts reading as texture rather than damage. Crop-sensor cameras usually top out lower. The honest test is to shoot the same frame at several ISOs, zoom to 100 percent, and pick the highest one where the shadow detail still looks like detail.
5. Control White Balance and Color
Shoot RAW and leave white balance on auto, then correct in editing. If you are still working out how to photograph city lights at night, this is the habit worth building first, because RAW records the color data without the heavy processing your camera applies and a mixed-lighting city scene is fixable in a way a JPEG is not.
What you see through the viewfinder is misleading. Many cameras render neon in a hot magenta that the file does not contain, so judge brightness and focus from the screen, not the colors.
If you shoot JPEG instead, set white balance manually rather than auto. Daylight or shade around 4000 to 5500K keeps the frame close to neutral without the camera chasing the scene around. Tungsten at roughly 2800 to 3200K goes warmer and suits brick, sodium streetlights and restaurant windows.
Mixed lighting is the hard case: a cool LED wall next to an orange sodium lamp. Pick the light that dominates the subject, expose for it, and accept the rest as contrast. Trying to neutralise every source at once gives you a grey, lifeless frame.
6. Make Test Shots and Refine the Composition
Take one short test frame before committing to a long exposure. Set the timer, use ISO 1600 and a 1/15 second, and check four things: is it sharp, are the highlights clipped, is the framing right, and are there distractions at the edges.
This trick comes up constantly in night photography forums. Raise ISO for a fast test frame, lower it for the final exposure, and you get your answer in two seconds instead of two minutes.
While you are there, remove what is not helping. A bin bag in the corner, a lit window that competes with your subject, a lamp post cutting a face in half. Night frames are easy to crop, so leave a little room at the edges.
On a phone, use the native night mode, tap the screen to set exposure on the brightest light, and hold the phone still against a wall or a bag rather than your hand. Phones stack several frames into one image, so any movement between them creates ghosting instead of cleaner noise. Hold still and the results are genuinely usable.
7. Capture Light Trails and Review the Results
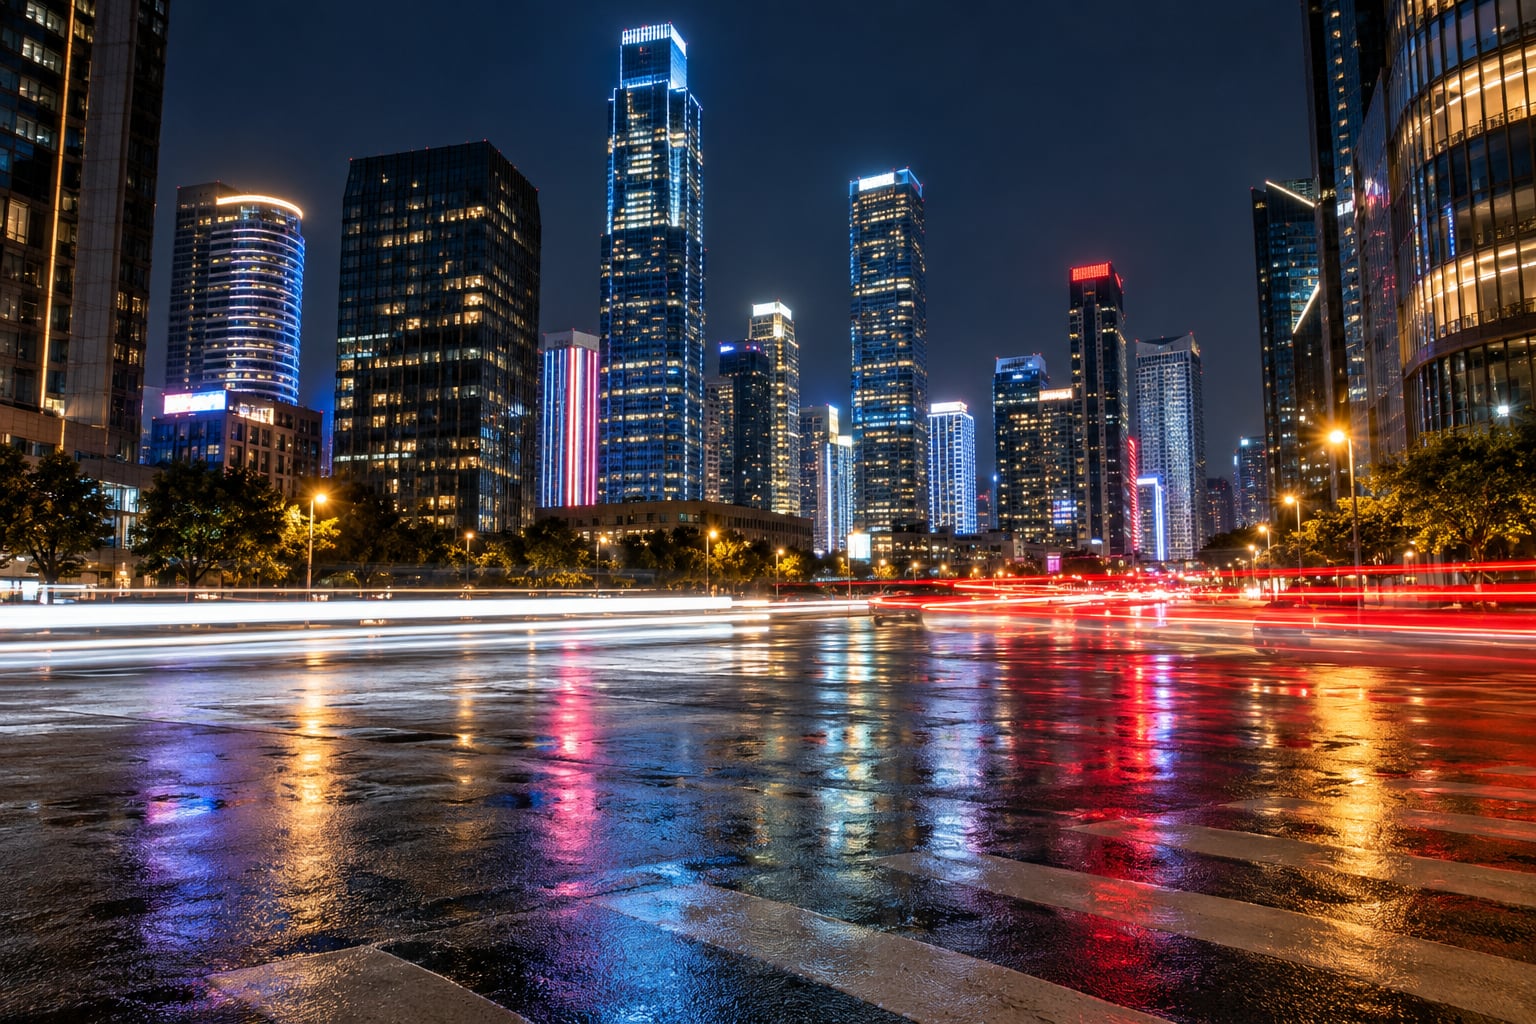
Light trails come from the shutter being open while vehicles move across the frame. Park the camera at an angle to the road so traffic crosses it rather than moving straight at the lens, and a 5 to 20 second exposure will draw red and white streaks behind your static architecture.
Release the shutter at a moment when the cars in frame are spaced apart, not bunched. Then wait roughly ten seconds for the next group and fire again. Repeat until you have what you need, and keep the tripod exactly where it was.
When you review, work through each frame in this order: zoom to 100 percent and check the anchor light for softness, look at the histogram for clipping, look for ghosted shapes if anything moved during a stacked exposure, and finally judge the composition as a whole.
Adjusting in this order saves time, because a soft frame is wasted regardless of how well it is framed.
Common Mistakes
- The camera drifts during the exposure. Usually tripod legs that are too narrow, or a breeze. Widen the stance, hang a weight from the hook, and shelter the camera with your body.
- Autofocus hunts in the dark. Switch to manual focus, zoom in live view on a fixed light, and set the distance once.
- Blown neon signs. Apply -1 to -2 EV and watch the histogram rather than the brightness of the rear screen.
- ISO pushed far too high. If the file looks rough at 100 percent, halve the ISO and double the shutter speed instead.
- Unwanted traffic trails. Stop down to f/11 or f/16 to lengthen the exposure, or raise the shutter speed and raise ISO to compensate.
- Focus set too near. At f/2 the depth of field is centimetres deep at typical distances. Stop down unless you specifically want a soft background.
Frequently Asked Questions
What are the best camera settings for photographing city lights at night?
Start with the widest aperture your lens offers, usually f/2.8 to f/4, ISO 100 to 400, and a shutter speed of 5 to 20 seconds on a tripod. Apply minus one or minus two EV to protect bright signs, and check the histogram rather than the brightness of the rear screen.
Can I photograph city lights at night with a smartphone?
Yes. Use the native night mode, tap to set exposure on the brightest light in the frame, and hold the phone against a wall or a bag rather than your hand. Phones combine several frames into one image, so movement between them shows up as ghosting instead of cleaner noise.
How do I create light trails with traffic at night?
Position the camera so vehicles cross the frame rather than driving straight at it, set a shutter speed of 5 to 20 seconds, and fire the shot when the cars are spaced out. Wait for the next group and repeat from the same tripod position without touching anything.
How do I keep the camera sharp during a long exposure?
Use a tripod with legs spread just outside shoulder width, turn image stabilization off when the camera is locked down, and hang a bag from the centre hook to steady it in wind. Fire with the two-second self-timer so you never touch the camera during the exposure.
How do I photograph reflections of city lights in wet pavement?
Get low, close to the ground, and angle the camera so the reflections fill the lower half of the frame. Stop down to f/8 or f/11 to keep both the lights and their reflections sharp, and shoot a few seconds after traffic passes so puddles settle.
Why do my night city photographs look overexposed?
Your camera meter is fooled by dark areas and brightens the whole frame to compensate, so neon signs clip to flat white. Dial in minus one or minus two EV, watch the histogram to keep highlights off the right edge, and shoot RAW so you can recover detail later.
Conclusion
The sequence that works every time is short: choose a safe viewpoint with an anchor light and a traffic flow, stabilize the tripod and turn off stabilization, set focus manually, open the aperture and pick a shutter speed, dial in negative exposure compensation, take one fast test frame, then commit to the long exposure.
If you are starting tonight, make it one shot rather than a session. Pick a viewpoint, lock focus, mount the camera, and take a single test exposure before you increase the shutter speed. Most of the learning happens between that first frame and the twenty-first, and the setup order is what makes the difference visible.