Dust on a camera sensor shows up as a dark blob in every frame, and once you can see it at f/11 you cannot get rid of it in software at full quality. Cleaning the sensor yourself is safe when you work in stages: confirm the spot really is on the sensor, check your camera manual, blow the loose dust off first, and only then use a swab and sensor-safe fluid.
Most people who are nervous about the process are worried about the wrong thing. A speck of dust cannot scratch the sensor glass, because a speck is softer than the glass it lands on. What actually causes damage is contact from something harder, like a cotton bud, a fingernail, or a swab dragged across the surface while carrying grit.
The whole job takes about fifteen minutes and needs no special room beyond a clear table. Work indoors, away from open windows and pets, and keep the whole sequence slow.
Table of Contents
- What You Need
- Step-by-Step
- 1. Confirm That You Need to Clean the Sensor
- 2. Work in a Safe Environment
- 3. Remove the Lens and Access the Sensor
- 4. Clean the Sensor Gently
- 5. Reassemble the Camera and Check the Result
- Common Mistakes
- Frequently Asked Questions
- Can you clean your camera sensor yourself?
- Can dust damage a camera sensor?
- What can I use to clean a camera sensor?
- Is it okay to clean a camera sensor with alcohol?
- Can I use a Q-tip to clean a camera sensor?
- How much does it cost to have a camera sensor cleaned?
- Conclusion
What You Need
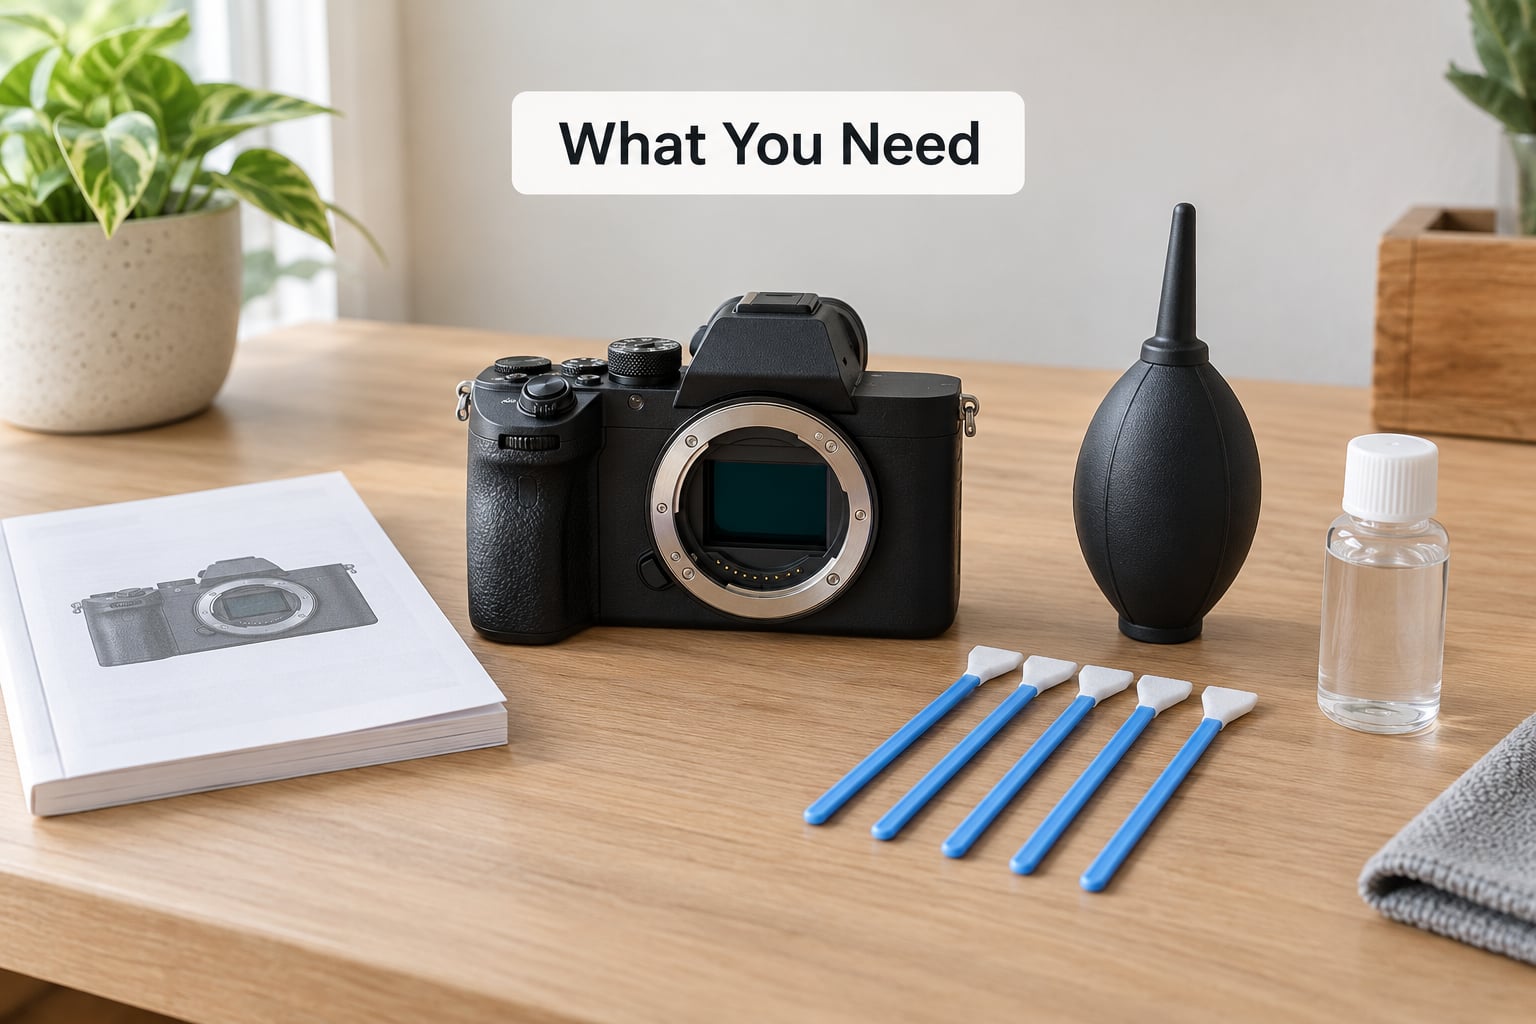
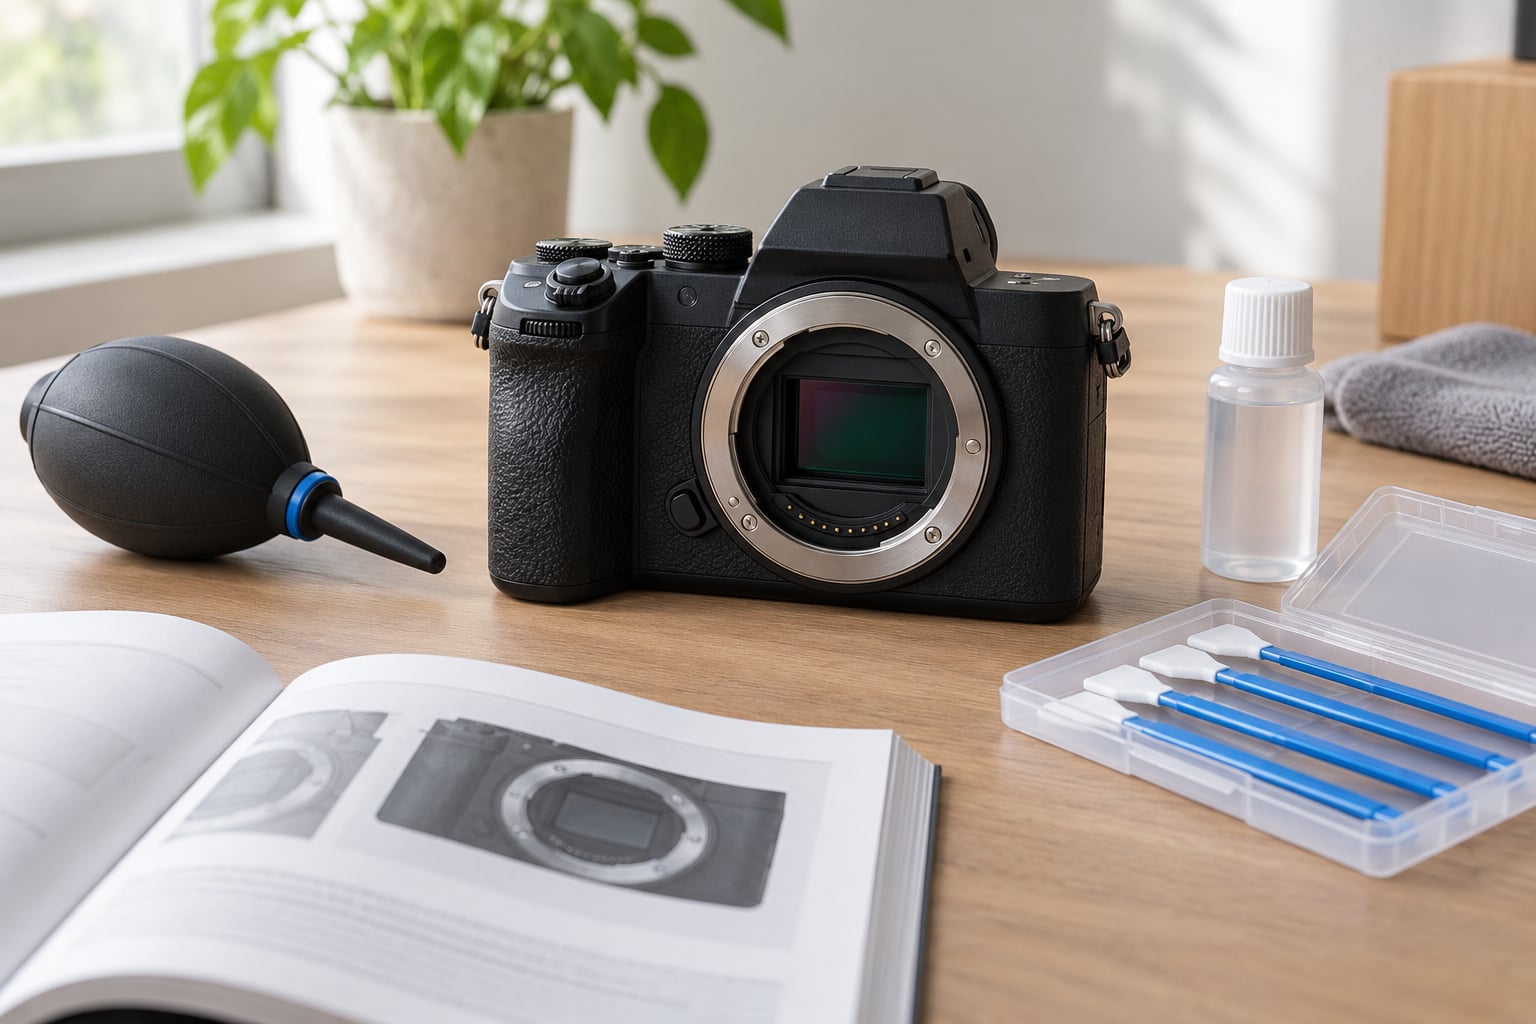
The required kit is small: a hand blower, sensor swabs sized to your sensor format, and sensor-cleaning fluid. Everything else is optional and some common household items are actively dangerous near an exposed sensor.
| Tool | What it does | Safe on a sensor? |
|---|---|---|
| Hand blower (rocket type) | Dislodges loose dust without contact | Yes, this is the first pass |
| Sensor swabs, correct size | Removes stubborn specks with fluid | Yes, in gentle swipes only |
| Sensor cleaning fluid | Loosens oily residue on the swab tip | Yes, if labelled for sensors |
| Sensor loupe | Magnifies the sensor so you can see specks | Yes, use it to check instead of guessing |
| Microfibre cloth | Cleans the lens and body exterior | Never bring it near an open sensor |
| Compressed air can | Pushes dust with propellant | No, it can drive grit into the chamber |
| Cotton bud (Q-tip) | Reaches into things | No, fibres shed and the stick is rigid |
| Household glass cleaner | Cuts grease on windows | No, ammonia and additives damage coatings |
Swab size is the detail almost every guide skips. Swabs are made in widths that match sensor formats, and a swab wider than your sensor can drag grit along the edge of the filter glass on its way across. Buy the size that matches the glass, not the size that comes in the cheapest bundle.
| Sensor format | Swab size to buy |
|---|---|
| Micro Four Thirds | Small, roughly the width of the sensor |
| APS-C | Medium, matched to the smaller rectangle |
| Full frame | Large, matched to the 36 by 24 mm sensor |
| Medium format | Extra large, follow the maker’s specification |
Two more checks before you start. Read the cleaning section of your camera manual, because every brand exposes the sensor differently and some restrict what they recommend. And switch off in-camera cleaning such as dust reduction on long exposures, since that moves the sensor around underneath you.
Step-by-Step
1. Confirm That You Need to Clean the Sensor
Dust on the sensor stays in the same place in every frame; dirt on the lens shifts with focus and changes when you move the camera slightly. That is the fastest way to tell them apart. Zoom to full size on a bright, flat background such as a white wall or open sky, and if the spot stays pinned while the frame moves, it is on the sensor.
Shoot a test frame at f/11 in aperture priority, point at the white wall, and review the file at full size before touching anything. If there is nothing there, you have saved yourself a cleaning. Your camera may also have a built-in cleaning routine that shakes the sensor; running it once is the least invasive option available to you.
2. Work in a Safe Environment
Pick a table in a room with the window shut and no draught. Dust that is floating in the air when you open the body will land straight on the glass, which undoes the whole job in seconds.
Lay out your tools before you remove the lens, charge the battery fully, and put the camera on a stable surface with the lens mount facing slightly downward so loose particles fall away instead of settling. Keep the room lit enough that you can see the sensor through the open chamber.
3. Remove the Lens and Access the Sensor
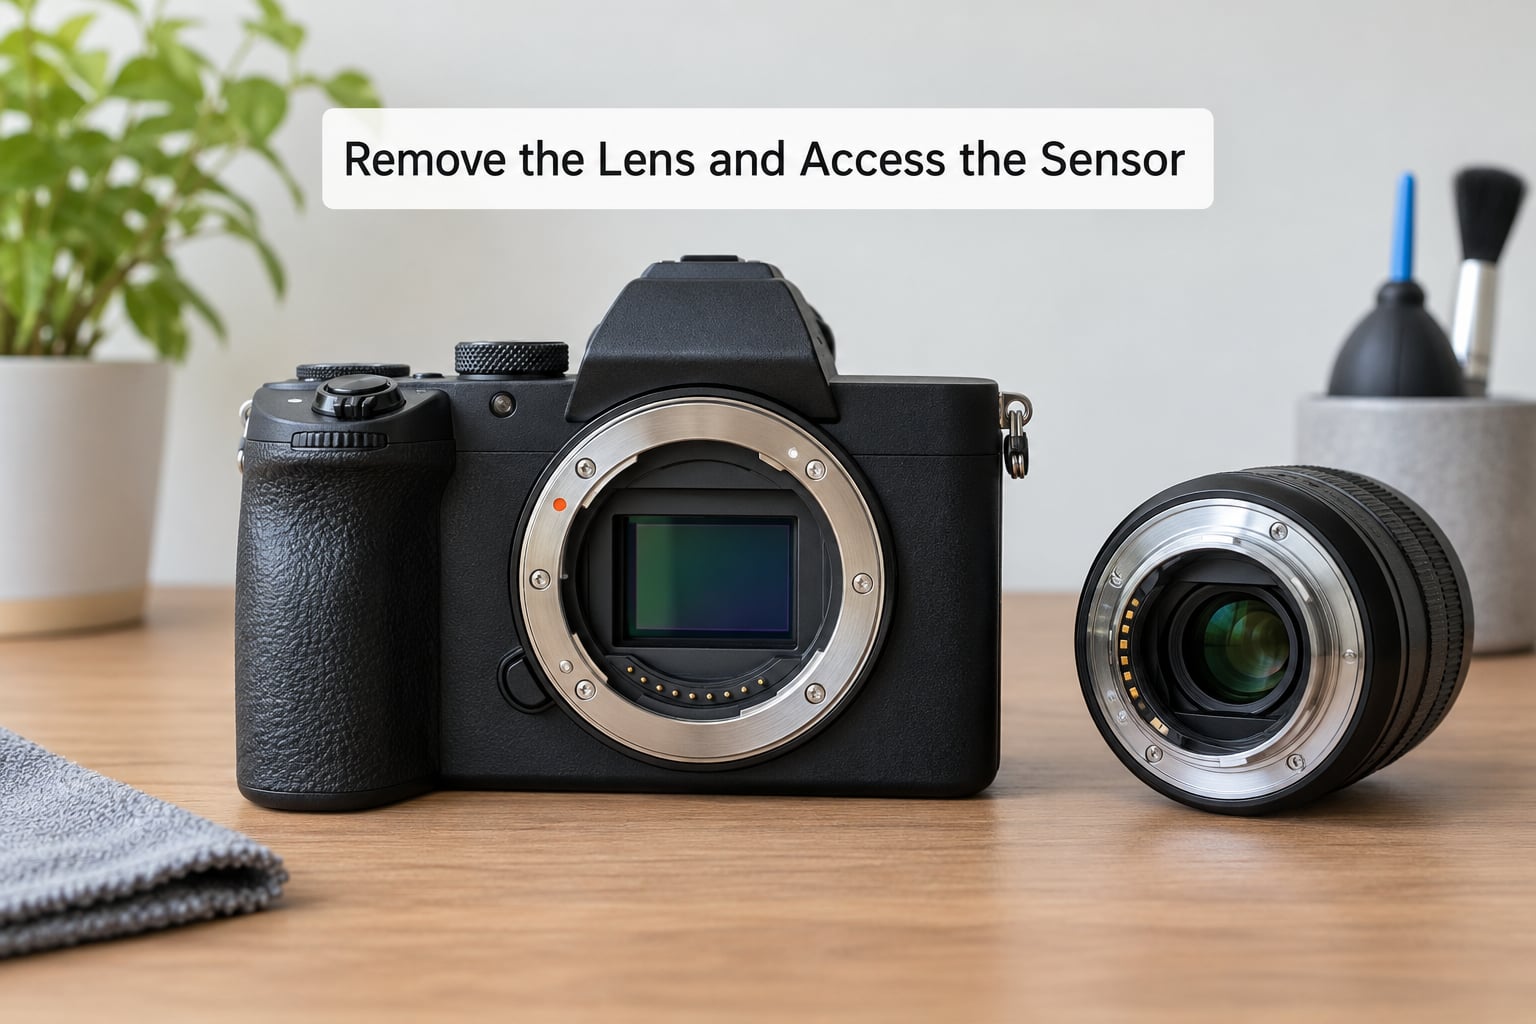
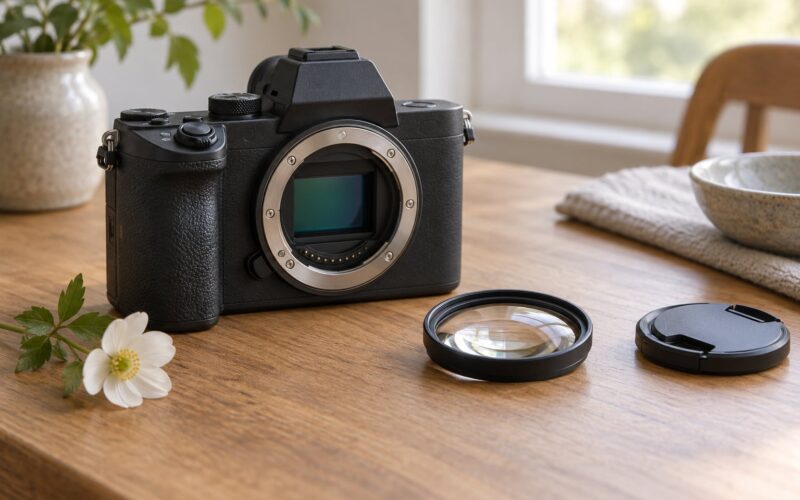
Switch the camera off, remove the lens with the release button, and cap both the lens and the body mount so nothing airborne gets in while the chamber is open. Hold the camera over a clean surface rather than pointing the mount at the floor of a carpet.
On a mirrorless body, put it into sensor cleaning mode or open the sensor with the shutter held back. On a DSLR, use mirror lock-up or live view so the mirror lifts and stays up. Menu names differ, so look under cleaning, sensor or maintenance settings: Canon bodies put it under wrench and screwdriver icons, Nikon under the setup menu with a cleaning option, Sony under the setup menu, Fujifilm under sensor cleaning in the setup menu, and Panasonic under sensor cleaning in the menu. Firmware menus get renamed, so treat these as starting points and read your manual.
If the mechanism resists, stop. Forcing a mirror or a shutter is how cameras actually get damaged, and nothing you need to do requires force.
4. Clean the Sensor Gently
Start dry. With the mount facing down, squeeze the hand blower in short bursts and let the air escape between them so you do not blow your own breath onto the glass. Most loose dust leaves at this stage, which is why experienced shooters stop here more often than not.
For specks that remain, dampen a sensor swab with a few drops of sensor-cleaning fluid. Moisten the tip, not the shaft, and check for an even sheen with no pooling or dripping. Lightly touch the swab to the edge of the sensor and draw it straight across in one smooth movement, then discard it.
Never scrub, never go back over the same area with the same swab, and never press hard. If it does not lift on the first pass, use a fresh swab rather than repeating. Isopropyl alcohol above 90 percent is generally acceptable on bare sensor glass and is what most sensor fluids are built around, but keep it away from coated filter elements and screens.
A cotton bud is the wrong tool here. Its fibres shed and stay on the glass, and the rigid stick gives you no control, so a single bump scratches or cracks. If dust appeared without any lens change and is large or fixed-looking, stop and have it inspected rather than swabbing, because that pattern suggests something inside the body rather than ordinary airborne dust.
5. Reassemble the Camera and Check the Result
Put the lens back on, power the camera up and let it run its start-up routine. On a DSLR, confirm the mirror has fully returned down before you mount the camera on anything, since a mirror left in the up position can damage the viewfinder or the body.
Shoot several test frames at f/11 against a plain bright background and review them at full size. Judge the result at the aperture you actually shoot at: specks that only appear at f/16 or f/22 do not affect a landscape shot at f/8, and chasing a perfectly clean surface is not a realistic goal. If a stubborn spot survives two or three fresh swabs, it needs a professional clean rather than more attempts from you.
Common Mistakes
Almost every camera I have seen come back from a first cleaning attempt had at least one of these problems. Each has a simple fix.
- Using compressed air. The propellant itself can condense near the sensor and the blast drives dust deeper into the chamber. Use a hand-operated blower instead.
- Using cotton buds. Loose fibres and a rigid stick make scratching more likely. Replace them with sensor swabs sized to your format.
- Opening the body without reading the manual. The access procedure and the menu path vary by brand. Check the manual first, every time, including on a second-hand camera.
- Reaching for household glass cleaner. Ammonia and additives can haze coatings permanently. Only use fluid sold for sensors, or high-concentration isopropyl alcohol on bare glass.
- Cleaning with a flat battery. A shutter closing mid-swab bends or breaks the swab tip against the sensor. Charge fully before you start.
- Touching the sensor or working in the open air. Fingers carry oils that need a wet clean to remove. Keep the sensor untouched and work indoors.
- Scrubbing the same spot. Repetition moves grit across the glass. One pass, then a fresh swab, then reassess.
- Cleaning when nothing is there. If the mark moves with focus or shifts with the camera, it is on the lens or the body, not the sensor.
Two habits keep the sensor cleaner between sessions. Change lenses over a clean surface rather than in the open, and cap both mounts immediately. Avoid flipping the camera face-down onto a dusty table or a car seat, and give the body a light exterior clean before a trip so dust never migrates inward from the mount.
Frequently Asked Questions
Can you clean your camera sensor yourself?
Yes, most photographers clean their own sensor, and the risk is lower than most people fear. Dust itself cannot scratch the glass. The real dangers are hard contact and liquid, so start with a hand blower on loose specks and only move to swabs and sensor fluid when dry cleaning leaves something behind. Read your manual first, since access procedures differ by brand.
Can dust damage a camera sensor?
Ordinary dust is an optical problem, not a physical one. It darkens pixels and shows up in every frame, but it cannot scratch the sensor because dust is softer than the surface it lands on. Physical damage comes from contact with something harder, or from liquid getting where it should not be. So dust alone means cleaning, while a smear, scratch or persistent artefact can point to a bigger fault.
What can I use to clean a camera sensor?
A hand-operated blower is the first and often only tool you need. For stubborn specks, use sensor swabs matched to your sensor format, lightly moistened with fluid sold for sensor cleaning. A loupe helps you confirm a result instead of guessing. Compressed air, cotton buds, household glass cleaner, microfibre cloths and your breath all have no place near an exposed sensor.
Is it okay to clean a camera sensor with alcohol?
High-concentration isopropyl alcohol, usually 90 percent or above, is the base of most sensor cleaning fluids and is considered safe on bare sensor glass. Keep it off coated filter elements, screens and viewfinders, and never apply it with a cotton bud. Use it only to dampen a proper sensor swab, in a single pass, with no pressure.
Can I use a Q-tip to clean a camera sensor?
No. Cotton buds shed fibres that stay on the glass, and the rigid stick gives you no control, so one accidental bump can scratch or chip the filter. They are also the wrong shape for a rectangular sensor. Buy sensor swabs in the size that matches your format, dampen the tip with sensor fluid, and use one pass per swab before discarding it.
How much does it cost to have a camera sensor cleaned?
Professional cleaning varies by body, sensor size and how long you leave it, so ask your camera’s authorised service centre for a current quote rather than relying on an old figure. It is worth doing when a fixed artefact survives two or three fresh swabs, when dirt appeared with no lens change, or when the chamber has been exposed to moisture or sand. Turnaround is typically several days to a couple of weeks.
Conclusion
The safest way to clean a camera sensor is to prove you need to, then use the least invasive method that works. Confirm the spot stays put at full size against a plain white background, check your camera manual for the correct access procedure, and begin with the blower indoors on a clean surface with a full battery.
Move to sensor swabs and fluid only if dry cleaning leaves a speck behind, keep the swab size matched to your sensor format, and use one gentle pass with a fresh swab each time. If dirt shows up with no lens change, or a spot survives a few careful attempts, send it to an authorised service centre rather than pushing your luck.