Cropping a photo does not degrade the pixels it keeps. It removes rows and columns from the edges and leaves everything inside the frame untouched, so if you crop photos without losing quality by starting from the best original, working non-destructively and exporting sensibly, the result stays as sharp as the area you kept. The softness people associate with cropping almost always comes from somewhere else: enlarging the crop past its native size, a source file that was already small or heavily compressed, motion blur that a tight crop makes obvious, or saving the same JPEG over and over until artifacts stack up. This guide walks through the whole workflow, updated for 2026, with exact steps for Photoshop, Lightroom, GIMP, free online tools and phones.
The whole thing takes about five minutes once you know what you are doing. Most of the effort goes into one decision made before you touch the crop box: what is the crop for?
Table of Contents
- What You Need Before You Start
- Step-by-Step: How to Crop Photos Without Losing Quality
- Open the Original Image and Duplicate It
- Choose the Right Aspect Ratio: How to Crop Without Losing Sharpness
- Position the Crop Without Cutting Off Important Details
- Use Straighten, Angle, and Detail Carefully
- Check the Crop at 100% and Export the Right Size
- Common Mistakes and How to Fix Them
- Cropping far too tight
- Enlarging a small crop to fill a slot
- Exporting repeatedly from a compressed file
- Over-sharpening after an upscale
- Stretching instead of cropping
- Ignoring the final viewing size
- Working from a screenshot or a chat download
- How to Crop Without Losing Quality in Photoshop, Lightroom, GIMP and on Your Phone
- How to Crop in Photoshop Without Losing Quality
- How to Crop in Lightroom
- How to Crop in GIMP
- How to Crop Free Online and on Mobile
- What to Do When the Crop Cannot Fill the Frame
- Frequently Asked Questions
- Does cropping a photo reduce the resolution?
- How do I crop a photo in Photoshop without losing quality?
- How do I resize an image without losing quality?
- Why does my cropped photo look blurry or soft?
- How do I upscale a heavily cropped photo?
- Is cropping destructive in Photoshop?
What You Need Before You Start
Four things. Have them settled and the crop itself takes seconds.
- The original file, not a copy of it. Pull the RAW or the largest original JPEG straight off the card. A screenshot, an image saved into a chat app, or a version downloaded from a social network has already been downscaled and recompressed once, and no crop can bring that back.
- An editor that does not overwrite the original. Photoshop, Lightroom, GIMP, Affinity Photo, or a phone gallery app all qualify. What matters is that the untouched file stays on disk.
- A destination ratio or a final pixel size. A square for a profile grid, 4:5 for a portrait feed post, 16:9 for a video thumbnail, or a printed size in inches.
- A format decision for the export. JPEG for photographs, PNG for screenshots and graphics with flat colour, 16-bit TIFF if this is heading to a print lab.
One more habit pays off immediately: duplicate the layer, or open the file and save a working copy under a new name. In crop-happy sessions the real enemy is not the crop, it is the moment you flatten and overwrite with no way back.
Step-by-Step: How to Crop Photos Without Losing Quality
Each step below explains what to do and how to confirm it worked before you move on.
Open the Original Image and Duplicate It
Open the highest-quality file you have. If you shoot RAW and also get a JPEG out of the camera, edit the RAW. The JPEG is already compressed, and when you crop and enlarge a compressed file you are magnifying block edges along with the detail. This is the single most common reason a tightly cropped shot looks waxy.
In Photoshop, right click the Background layer and choose Duplicate Layer, or use Layer and then Duplicate Layer. If you want a crop you can still change later, convert the duplicate to a Smart Object first: Layer, then Convert to Smart Object. Drag it into place, apply your crop, and you can reopen the crop at any time by double clicking the Smart Object thumbnail and editing the layer beneath.
How do you know it worked? The Image Size panel should show the original pixel dimensions, and your duplicated layer should be the only thing selected. In Lightroom this happens automatically because edits are stored in a catalogue database rather than in the file, as long as you never choose Copy as the export destination.
Choose the Right Aspect Ratio: How to Crop Without Losing Sharpness
Crop to the shape your destination needs, then resize to the exact pixel size inside that shape. Doing it the other way round, resizing first and cropping after, forces the editor to interpolate pixels and is where softness creeps in.
| Ratio | Where it is used | Typical export size |
|---|---|---|
| 1:1 | Profile grids, product grids, marketplace listings | 1080 x 1080 |
| 4:5 | Portrait feed posts | 1080 x 1350 |
| 16:9 | Video thumbnails, slide decks, website hero banners | 1920 x 1080 |
| 9:16 | Stories, reels and shorts | 1080 x 1920 |
| 3:2 | Native output from many full-frame and APS-C cameras, standard print ratios | Keep original proportions |
| 2:3 | Portrait orientation from a 3:2 sensor | Keep original proportions |
Most editors have a ratio dropdown. In Photoshop it sits on the toolbar above the canvas, in the icon that looks like a little frame. In Lightroom it is the first icon in the row under the Develop module name. In GIMP, open the Unified Transform tool options, set Transform to Crop and choose Ratio from the drop-down, then drag a corner rather than an edge so the box locks to that shape.
Verify: after you commit the crop, the document dimensions should match the ratio exactly. If you get 1079 x 1350 instead of 1080 x 1350, the box was off by a pixel and you should nudge it before committing.
Position the Crop Without Cutting Off Important Details
The crop box does three jobs at once: it fixes the ratio, it moves the frame, and it creates a layer of transparency you can fill. The middle one is the one people rush.
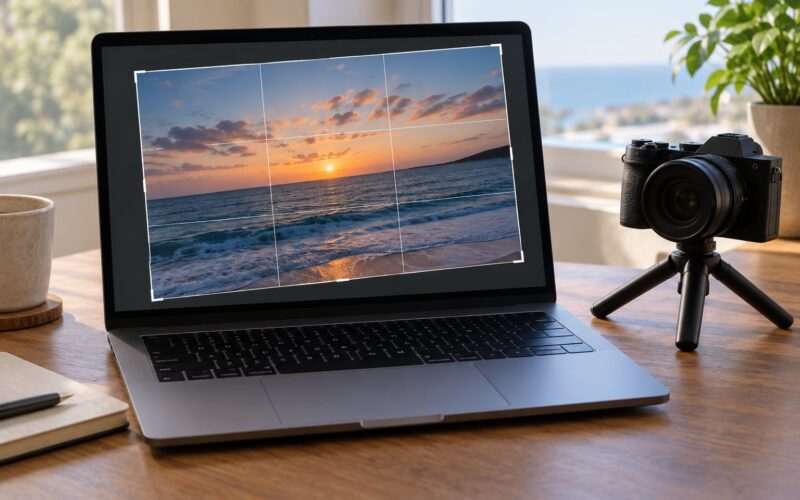
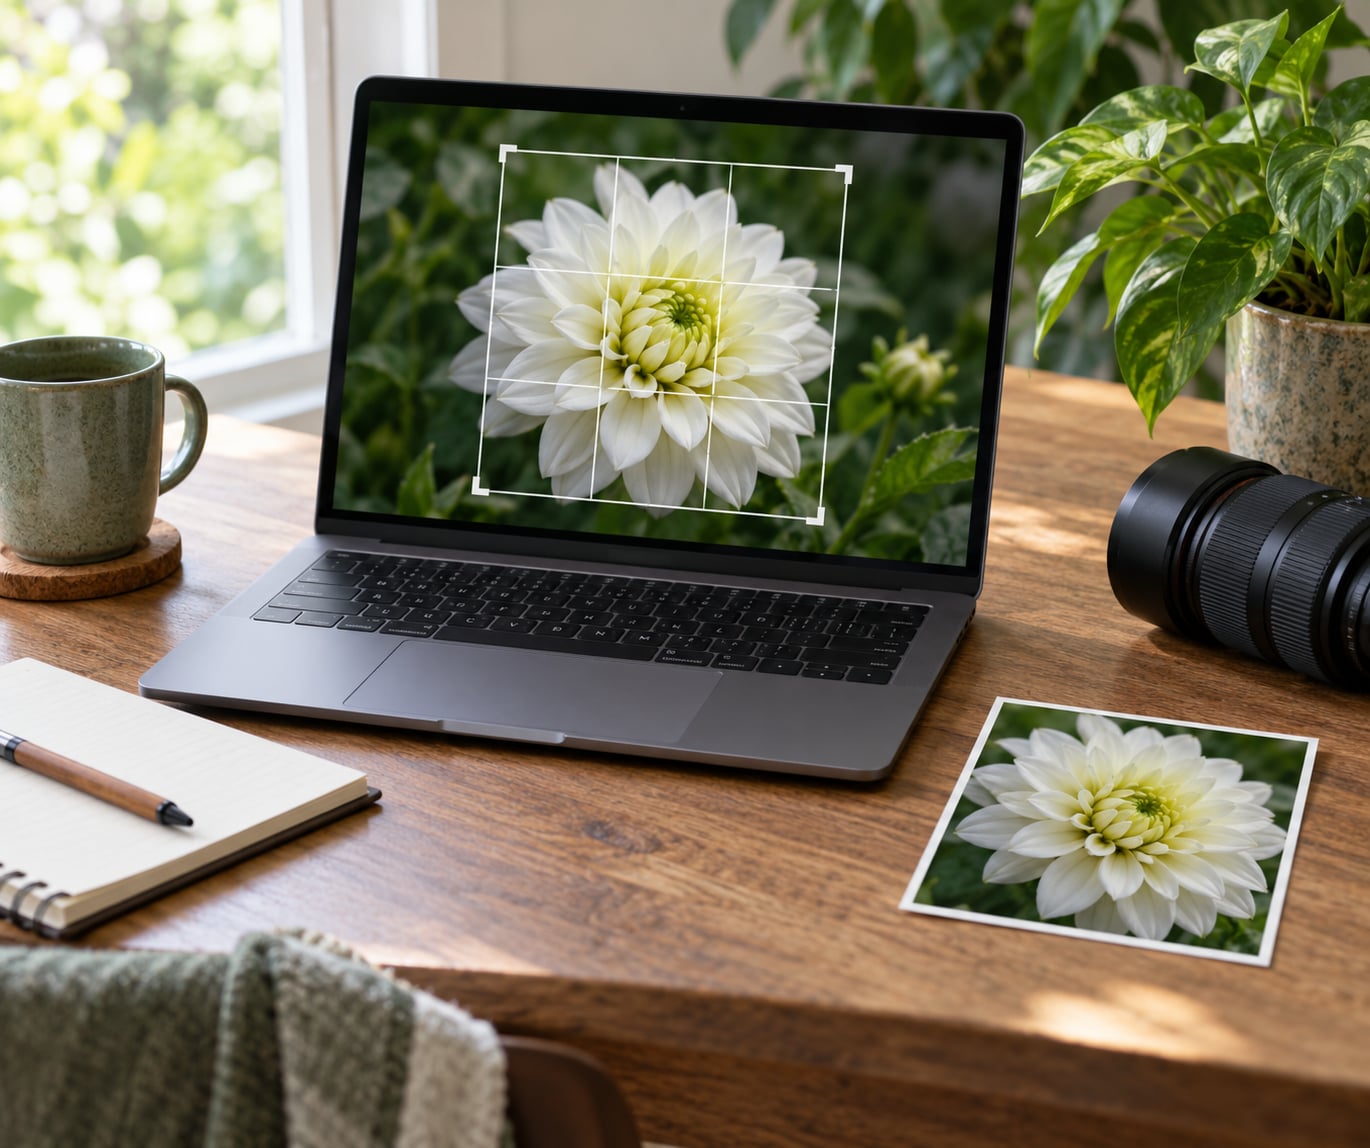
Turn on the grid. Photoshop offers Rule of Thirds, Golden Ratio, Grid, and Diagonals from View and then Guide and then Grid Layout. Rule of Thirds places your subject near the intersections rather than dead centre, which usually reads as a deliberate composition instead of a snapshot.
Then look for the things a tight frame can amputate. Check feet and hands, the tops of heads, the ends of a horizon line, and stems or petals that run out of frame. In wildlife and sports work, follow the eye and leave a little space in the direction of movement. Photographers on r/AskPhotography put the same point differently: a tight crop magnifies whatever was already wrong, so a soft subject stays soft no matter how good the framing is.
Do not crop so tight that the subject touches an edge on three sides. That single habit causes more awkward results than any technical mistake, and no amount of pixel budget fixes it.
Use Straighten, Angle, and Detail Carefully
A tilted horizon is the one problem a crop can fix cheaply, and it needs almost no correction. In Photoshop use Image and then Image Rotation and then Arbitrary, or simply hold Shift while dragging the straighten tool so it stays orthogonal. One or two degrees is plenty. More than about three and the corners of your crop box start sampling pixels from nowhere, which shows up as stretched edges or a border that no longer lines up.
Leave sharpening until the end, and then be conservative. After a heavy crop, apply sharpening with a radius of roughly half a pixel to one pixel and raise the masking so the effect skips flat areas like sky. A wider radius on a small crop creates bright rims around eyelashes, fur and rigging. If you see glowing edges at 100 percent, undo, halve the radius and mask harder.
Check by zooming to 100 percent with the pixel grid on and sliding along the sharpest edge in the frame. Detail should hold steady from one edge of the subject to the other.
Check the Crop at 100% and Export the Right Size
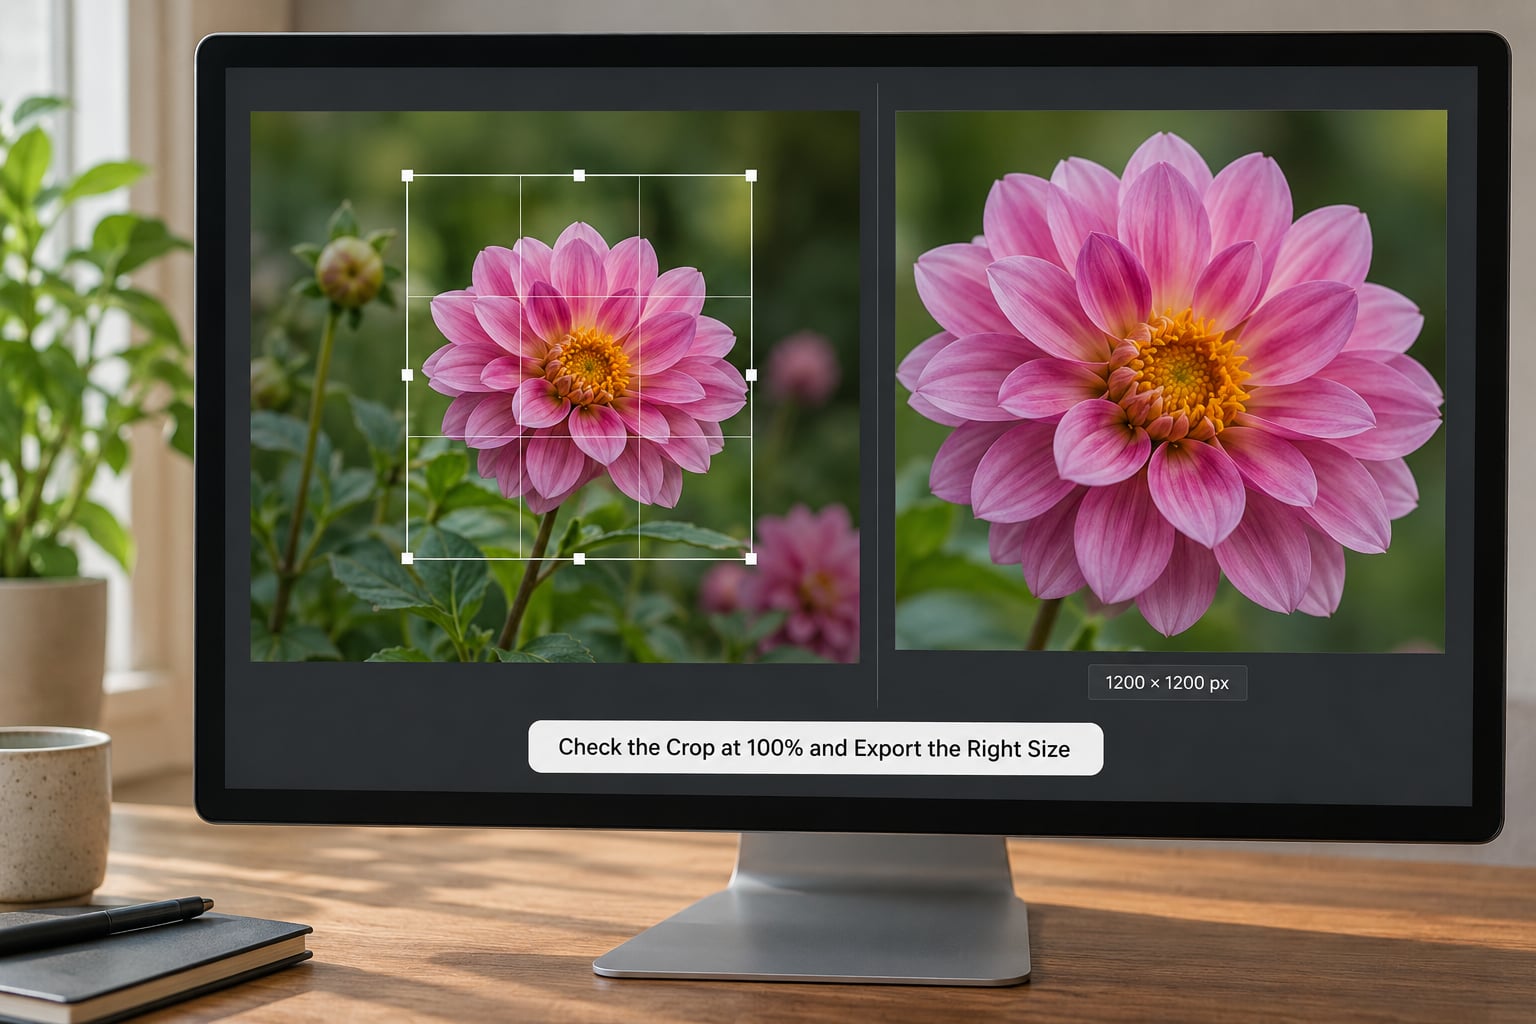
Screen preview lies. Editors draw images at reduced resolution while you pan and zoom, so what looks crisp on screen can disappoint at full size. Zoom to 100 percent, the level where one screen pixel equals one image pixel, and inspect the subject close up.
Then do the arithmetic that actually decides whether your crop is big enough. Divide the pixel dimensions of your finished crop by 300 to get a print size in inches at 300 PPI, which is the standard for inkjet prints viewed at arm’s length.
| Finished crop | Safe for screen use | 300 PPI print size |
|---|---|---|
| 1600 x 1200 | Comfortable on any display | 5.3 x 4 inches |
| 2400 x 3000 | Full page hero images | 8 x 10 inches |
| 3300 x 4200 | Large banners and hero sections | 11 x 14 inches |
| 4800 x 6000 | Large-format wall prints | 16 x 20 inches |
If the number you need is bigger than your crop can supply, you have three honest choices: widen the crop, find a higher resolution original, or accept a smaller output. There is no fifth option.
When you export, use sRGB for anything going to a screen and set JPEG quality between 80 and 90. Going above 90 inflates the file size for almost no visible gain, and going below 75 is where blocking starts to show in skies and skin. For print or archiving, export 16-bit TIFF from the RAW develop step. For flat colour and text, PNG is lossless and stays crisp.
One refinement worth knowing about: JPEG stores data in 8-pixel by 8-pixel blocks, so a crop that lands on those boundaries can be written back without recompressing anything at all. Command line tools like jpegtran from the libjpeg suite can do that, and it remains the only genuinely lossless route for editing a JPEG in place. Everything else is very close, but very close is not the same thing.
Common Mistakes and How to Fix Them
Almost every soft crop traces back to one of these.
Cropping far too tight
The image stays sharp and still looks wrong because the composition is amputated. Undo, zoom out until nothing important touches an edge, then tighten from there. If the subject no longer fits, use a taller ratio or a wider frame rather than squeezing the existing one.
Enlarging a small crop to fill a slot
This is upscaling, not cropping. Nothing is lost from the kept pixels, but the new pixels are guesses. If you must enlarge, do it once, in a single step, with a good algorithm, and treat the result as a fallback rather than an equal.
Exporting repeatedly from a compressed file
Every save of a JPEG rebuilds the compression artifacts. A file saved five times in a row can show mushy skies and ropey foliage that had nothing to do with the crop. Go back to the original or the 16-bit TIFF and export once.
Over-sharpening after an upscale
Sharpening cannot invent detail, only exaggerate contrast around edges. On a small crop it produces halos and crunchy textures. Use a narrow radius, mask the result, and check at 100 percent before saving.
Stretching instead of cropping
Dragging a corner handle while holding Shift in most editors resizes the whole image and distorts faces. Hold Shift and drag from an edge to move the frame, or drag from a corner and the box snaps to your chosen ratio.
Ignoring the final viewing size
A file inspected at 100 percent on a 27 inch monitor will look wrong when displayed at 400 pixels wide on a phone. Zoom to the size the image will actually occupy and judge it there, not at full magnification.
Working from a screenshot or a chat download
Both have been resized and recompressed. Open the file from the card or the cloud original, then crop.
Two habits above the rest are worth keeping. Crop for composition first and resize for dimensions second, and never enlarge unless the math leaves you no choice. Everything else in this guide is a refinement on those two.
How to Crop Without Losing Quality in Photoshop, Lightroom, GIMP and on Your Phone
No single written guide covers all of these, yet the video results on this query are almost entirely app-specific. Here is the short version of each path.
How to Crop in Photoshop Without Losing Quality
With the image open, press C for the Crop tool, then set the ratio dropdown on the options bar to your chosen shape. Set Content-Aware Fill to Auto in the dropdown below so the cleared area is filled automatically. Drag the box into position, press Enter to commit, then open Image and then Image Size to set your exact pixel dimensions. Resample should read Bicubic or better; Automatic is fine. That is the whole sequence: crop for shape, then size.
To keep it reversible, convert the layer to a Smart Object before cropping. Your crop becomes a mask you can reopen and change at any point without going back to the original.
How to Crop in Lightroom
In the Develop module press C to open the Crop Overlay. Set Aspect to your ratio and choose whether to anchor to the short edge, long edge or diagonal. Use the grid lines to place the frame, then click Done below the histogram. Now apply the size in the File menu: Export, set Image Sizing to Do not resize while exporting, then add a second export if you need specific dimensions. Alternatively use the Guided panel under the Develop module to resize on export with a sharpening pass built in.
Lightroom never overwrites the original unless you tell it to, so the safety question handles itself.
How to Crop in GIMP
Open Tools, then Transform Tools, then Crop. In the tool options set Fixed Aspect Ratio to the value you need and click the chain link so width and height stay locked. Drag from a corner to draw the frame. Commit with Enter. For the resize, use Image and then Scale Image, enter the target width, and choose Interpolation as Cubic or NoHalo. Save as XCF to keep layers, or export with File and then Export As, where you set JPEG quality on the export dialog rather than at save time.
How to Crop Free Online and on Mobile
Browser croppers are fine for a quick square, and the quality depends entirely on whether you upload the original and whether the site lets you set export quality. Prefer tools that offer an explicit quality setting and keep the file size sane. Avoid any service that outputs a fixed small size by default, because that step is a resize, not a crop.
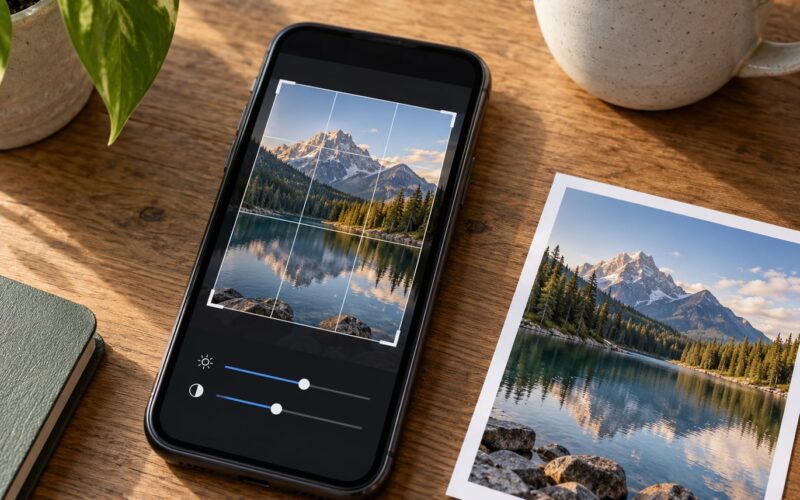
On iPhone, open the photo in Photos, tap Edit, then Crop at the bottom, drag to reframe, and save. iOS keeps the original file untouched, which makes this the safest quick crop on any device. Android gallery apps vary; Google Photos offers a crop handle and saves the edit alongside the original. On either platform, check the crop rectangle against the aspect ratio before saving, because the default is freeform.
If the crop is small and the destination is large, phone editing is not the answer. Enlarging on a phone screen hides exactly the softness you need to see.
What to Do When the Crop Cannot Fill the Frame
Sometimes the pixel budget simply is not there. A 100 to 400mm lens shot of a bird 60 pixels across will not become a sharp 8 x 10 inch print, and pretending otherwise wastes an afternoon.
Before upscaling, check whether your editor offers Super Resolution or an equivalent option. Lightroom can double or triple a selected image on export with one click, and Topaz Photo AI and ON1 Resize do the same as separate steps. A controlled comparison published on Luminous Landscape tested five approaches, and the finding worth knowing is that a plain export resize from Lightroom was hard to distinguish from dedicated AI upscalers at 100 percent, while some of the AI methods left grainy backgrounds or slightly mushy local contrast. Luminous Landscape’s broader point stands too: no method recovers detail that was never captured.
Do the upscale after the crop, never before. Enlarging first throws away the pixels the crop was going to remove, and you do more work for the same result.
If the image is coming from a JPEG, move to RAW first. A published test on that site found that working from a 16-bit TIFF export before upscaling avoided the sharpening and compression artifacts that make JPEG upscaling hazardous. If you only have a JPEG, keep the sharpening step conservative and export from the least-compressed version you have.
Frequently Asked Questions
Does cropping a photo reduce the resolution?
Cropping removes pixels from the edges and leaves the pixels inside the frame exactly as they were. The resolution of what you keep does not change, so a crop of a 24-megapixel file still contains the same detail in that area. What changes is the total pixel count and the maximum size you can print or display. A soft cropped image almost always means you enlarged the result past what the remaining pixels can support.
How do I crop a photo in Photoshop without losing quality?
Convert your layer to a Smart Object so the crop stays editable, press C, pick your aspect ratio from the toolbar dropdown, set Content-Aware Fill to Auto, drag the frame into place and press Enter. Then use Image and then Image Size to set the exact pixel dimensions with a good interpolation method. Export once, at quality 80 to 90 for sRGB screen use.
How do I resize an image without losing quality?
Only downsizing is truly safe, because it discards pixels your eye will never notice. Open Image and then Image Size, enter the new width and height, and set Resample to Bicubic or better. Never tick Resample Image Resize if you are enlarging by more than a few percent. Working from the RAW or a 16-bit TIFF instead of a saved JPEG also protects against stacking compression artifacts.
Why does my cropped photo look blurry or soft?
Four causes account for nearly every soft crop: the crop was enlarged beyond its native pixel size, the source file was already small or heavily compressed, motion blur that existed in the original became obvious once magnified, or the JPEG was saved repeatedly. Check the crop at 100 percent zoom, compare the remaining pixel dimensions against your target output, and if you are still stuck, return to the original file and crop more conservatively.
How do I upscale a heavily cropped photo?
Upscale once, after cropping, using Super Resolution in Lightroom or a dedicated tool such as Topaz Photo AI or ON1 Resize. A controlled comparison of five methods found plain export resizing hard to tell apart from AI upscalers at 100 percent, though AI tools can also produce waxed or over-smooth detail on close inspection. Start from RAW or a 16-bit TIFF where possible, and treat the enlarged file as a fallback rather than a match for the original.
Is cropping destructive in Photoshop?
A direct crop of a locked Background layer is destructive in the sense that the removed pixels are gone from that layer, though Command and Z undoes it as long as you have not closed the file. Convert the layer to a Smart Object first and the crop becomes a non-destructive mask you can reopen by double clicking the thumbnail. Saving over the original file is what truly removes the pixels.
Start with the original file, decide the ratio before you open the crop box, and crop to that ratio first and size second. If the remaining pixels do not reach your destination, widen the crop or find a better source, because how to crop photos without losing quality comes down to leaving enough pixels on the table in the first place.