You can edit RAW photos for free with tools like darktable, RawTherapee and Photopea, and the process is the same in all three: open the file, fix exposure and white balance, adjust color and contrast carefully, sharpen lightly, then export to JPEG. A first proper edit takes 10 to 20 minutes once you know the order, and it never touches your original file.
I spent years paying for subscriptions before I moved to a free workflow, and the thing nobody told me is how much of the paid-tool advantage is really about discipline rather than features. If you fix things in the right sequence and stop before the image looks fake, a free editor will give you results you can print.
This guide walks the whole workflow step by step, in the order that actually works, using menu and panel names you will see in the free tools.
Table of Contents
- What You Need to Edit RAW Photos for Free
- A RAW file you can actually open
- A device that can run the editor
- One free editor, not five
- Somewhere safe for your originals
- Step-by-Step: How to Edit RAW Photos for Free
- How to Edit RAW Photos for Free: Set Up the Workspace
- How to Edit RAW Photos for Free: Correct Exposure and White Balance
- How to Edit RAW Photos for Free: Adjust Color and Contrast
- How to Edit RAW Photos for Free: Sharpen and Finish
- How to Edit RAW Photos for Free: Export the Result
- Common Mistakes When You Edit RAW Photos for Free
- Editing a JPEG instead of the RAW file
- Correcting white balance after saturation
- Raising exposure too far
- Over-sharpening
- Saving over the original every time
- Applying every available adjustment
- Frequently Asked Questions
- Which photo editor is 100% free?
- What is the best free RAW photo editor?
- Can I edit RAW photos online for free?
- Can I convert a RAW photo to JPEG?
- Do free RAW editors support my camera’s format?
- How much storage space do RAW files use?
- Conclusion
What You Need to Edit RAW Photos for Free
You need four things, and only one of them takes real thought.
A RAW file you can actually open
Your camera writes RAW in its own format, and extensions like .CR2, .CR3, .NEF, .ARW, .RAF, .ORF and .RW2 all mean the same thing: unprocessed sensor data. If you shoot JPEG only, there is nothing to develop, and the free RAW workflow below won’t apply to those files.
A device that can run the editor
Any laptop or desktop from the last several years handles RAW fine. darktable and RawTherapee both run on Windows, macOS and Linux, and both ship builds for Apple Silicon machines.
That said, the phone answer is messier than most guides admit. Several mobile apps can read and export RAW, but they mostly apply an automatic processing rather than giving you the sliders below, so treat phone editing as a quick turnaround tool, not a serious RAW workflow. Choose a desktop or browser editor as your main tool and you will have full control.
One free editor, not five
Pick a single program and learn it before switching. darktable is the closest free thing to a Lightroom-style layout. RawTherapee gives you far more control and a steeper first week. Photopea runs in a browser tab, needs no install, and needs an internet connection every time you use it. GIMP opens RAW only through a separate import plugin, so it works best as a companion tool for pixel-level fixes after your RAW develop is done.
Somewhere safe for your originals
Every editor listed above is non-destructive: your changes are stored as instructions in a sidecar file, and the original RAW stays exactly as the camera wrote it. Copy your card to two drives before you start anyway. Storage is the one real cost of this hobby.
Step-by-Step: How to Edit RAW Photos for Free
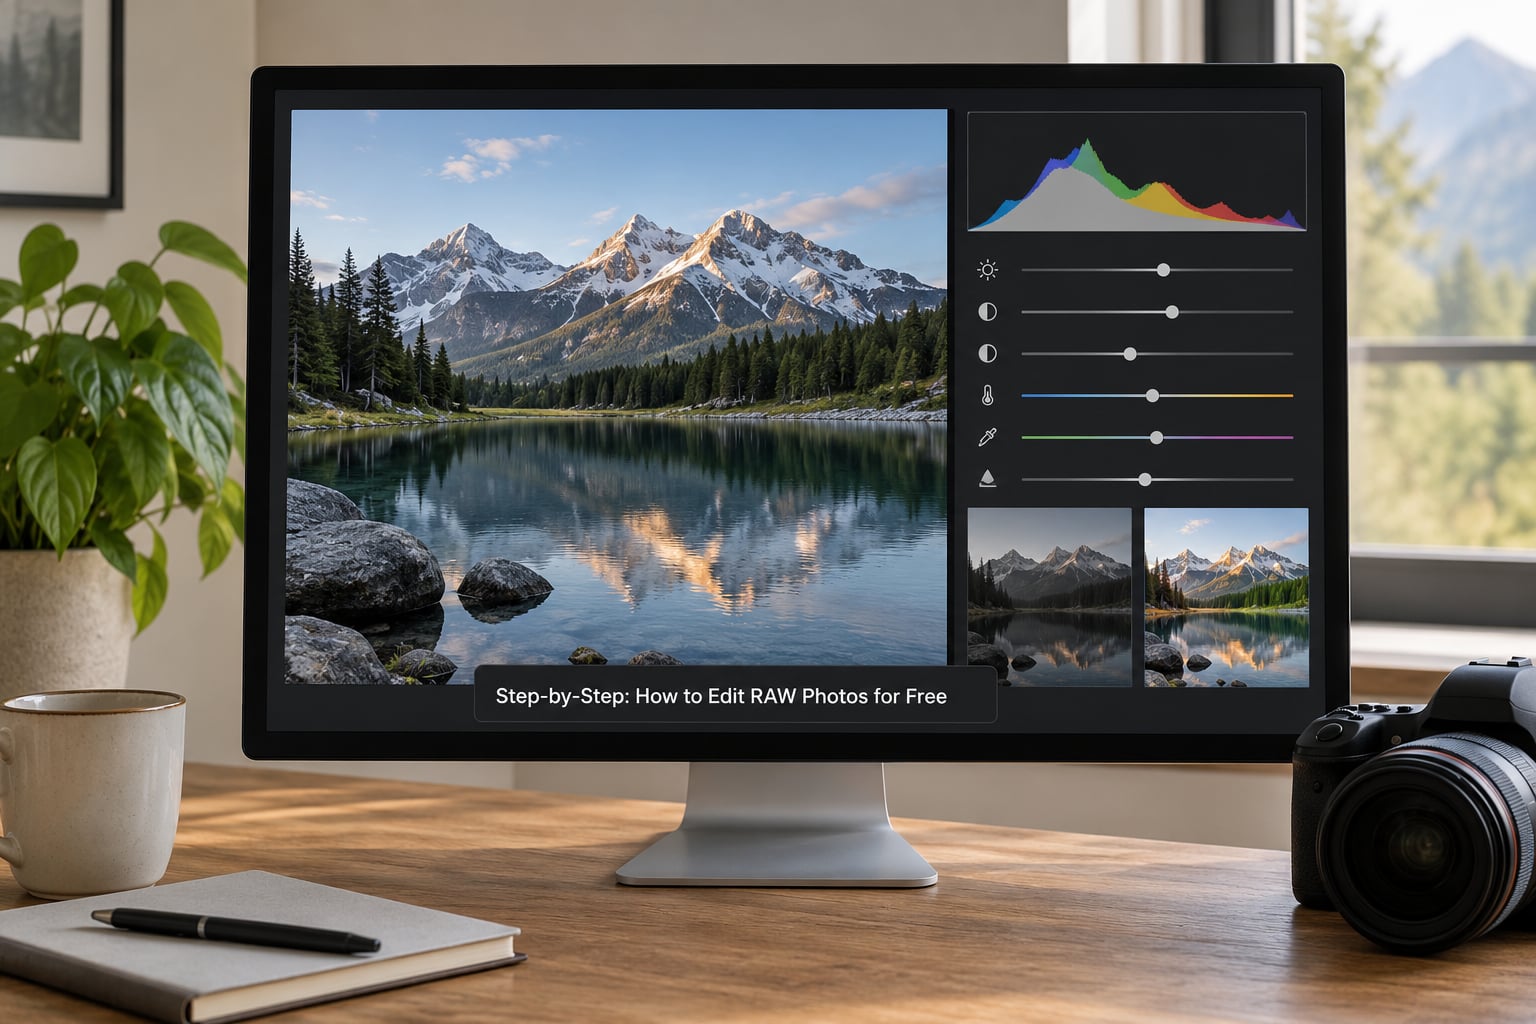
How to Edit RAW Photos for Free: Set Up the Workspace
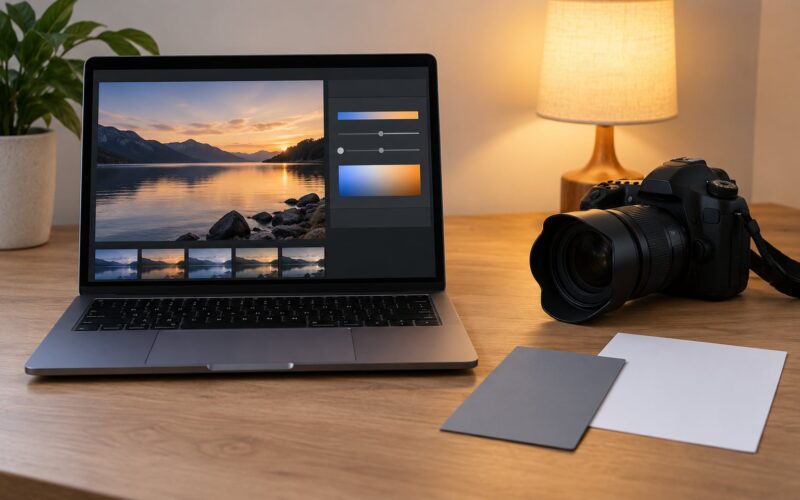
Import the file first. In darktable, use Lightroom view so your folders look like a normal photo library; in RawTherapee, use File and Open; in Photopea, drag the RAW into the tab and accept the prompt to open it as a smart object.
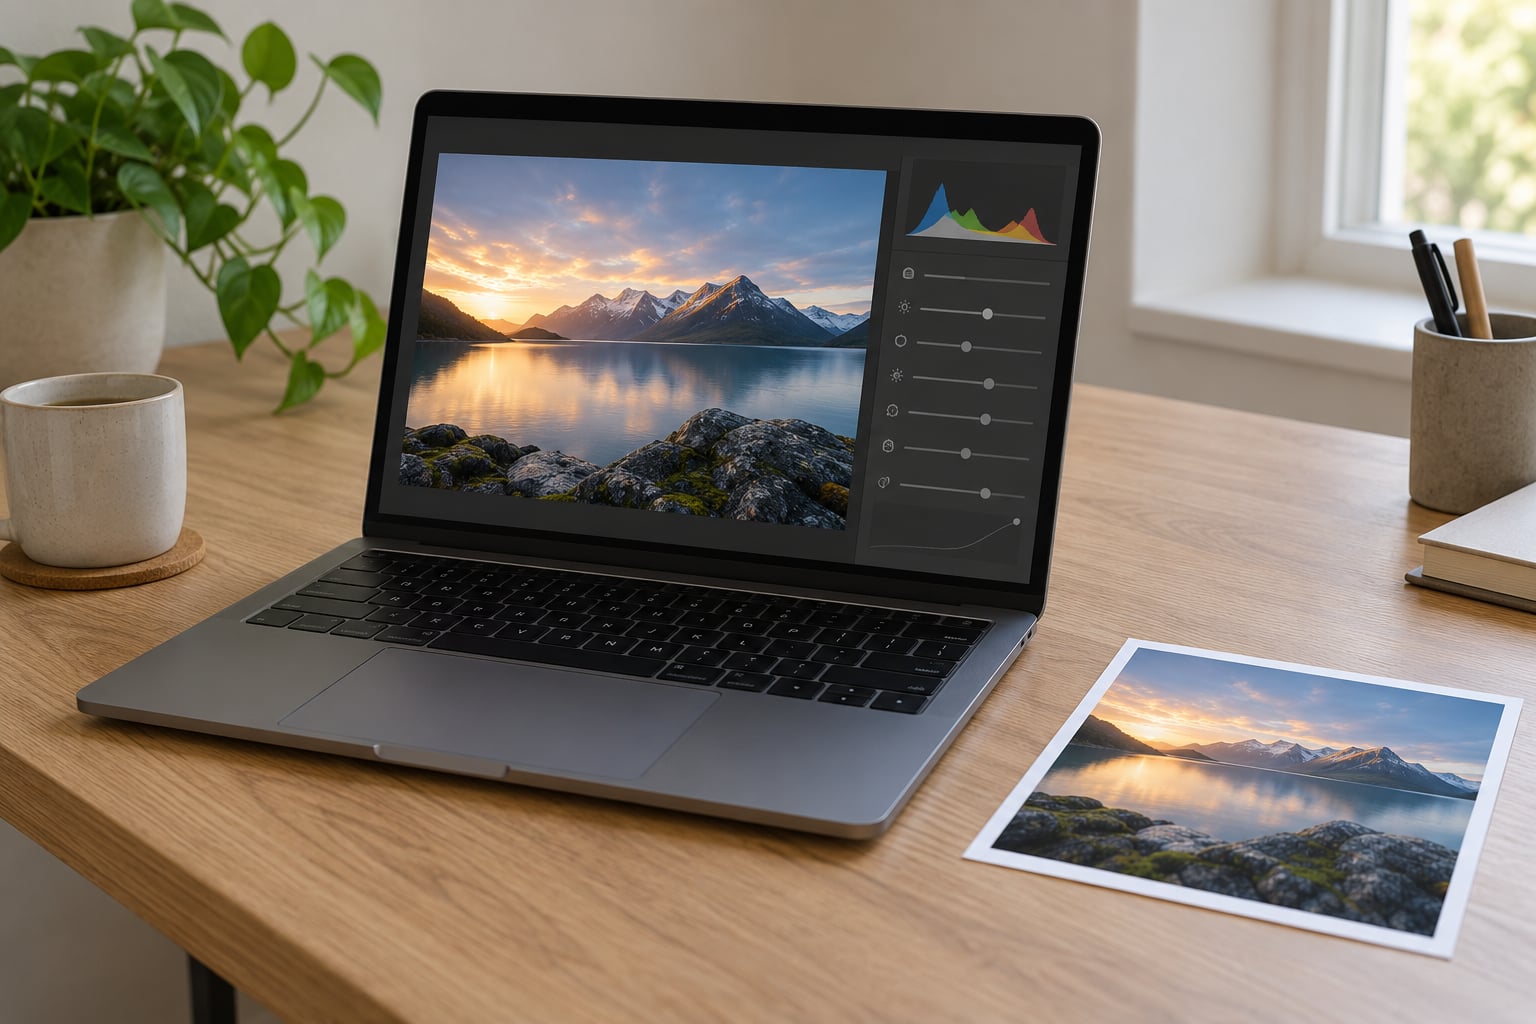
Before touching a slider, look at the histogram. A healthy RAW file shows data spread across the width with nothing hard against either end, and the image on screen will look flat and dull, sometimes slightly green or grey. That flat look is normal and it is not a fault in your camera. It is what unprocessed data looks like.
Write down the two or three things that bother you most, usually something like too dark, colours look wrong, or the whole thing feels lifeless. Working from a short list keeps you from wandering.
How to Edit RAW Photos for Free: Correct Exposure and White Balance
Fix brightness and colour temperature before anything else. Once you have applied saturation, contrast or sharpening, every later correction fights the earlier one.
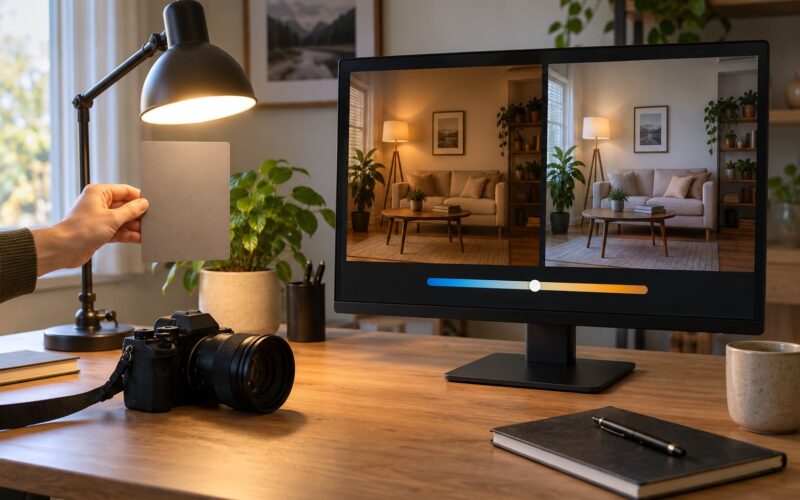
Set white balance first in most cases. Click or drag on a neutral area, a patch of grey road or a white shirt, and the cast disappears. If you prefer numbers, use the eyedropper in the white balance panel, then nudge temperature until skin looks like skin and not orange or green.
Now exposure. Watch the histogram and the clipping warnings. A small amount of highlight clipping on a bright sky is often unavoidable; heavy clipping means pixels have hit the ceiling and no slider brings the detail back. Pull exposure down slightly and the texture usually returns.
Work through the tone controls in this order: exposure, then highlights, then shadows, then whites, then blacks. Move one at a time and look at the screen after each change. Brightening the image until it looks right on a dim laptop screen is the most common beginner error I see, so check it on a brighter display when you can.
How to Edit RAW Photos for Free: Adjust Color and Contrast
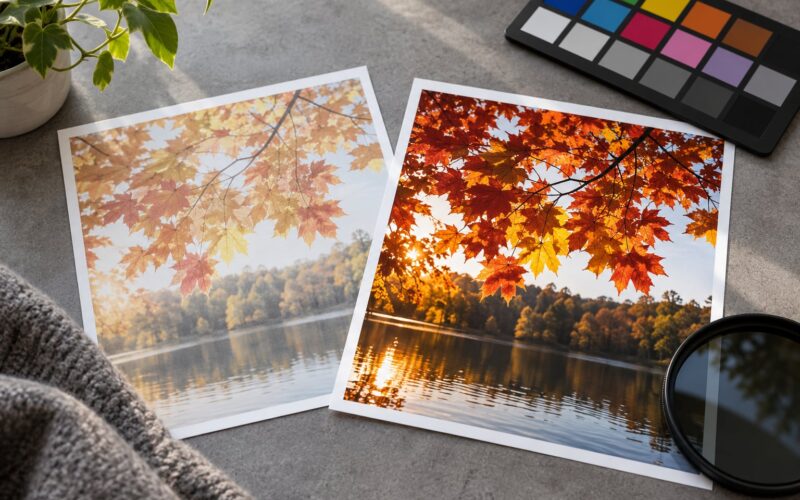
Now the fun part, still in small doses. Use vibrance rather than saturation wherever the tool offers it. Vibrance lifts muted colours and leaves skin tones alone, while saturation pushes everything equally, which is how a sunset turns into radioactive orange.
Contrast comes next, and a global contrast slider is a blunt tool. Tone curves give you finer control: raise the shadows end slightly, drop the highlights end slightly, and leave the midtones alone for a natural look.
Check three things before moving on. Skin tones should not look green or blood red. Bright skies should still show cloud texture. Foliage should look like leaves, not lime. If any one of those fails, undo that last adjustment rather than stacking another one on top.
Colour channel sliders, including HSL-style controls in RawTherapee and darktable’s colour grading panel, are for fine-tuning a single hue. Pulling blue down half a stop in a landscape is often enough to make grey weather look intentional.
How to Edit RAW Photos for Free: Sharpen and Finish
Zoom in to 100 percent before you sharpen. Sharpening a small preview is how skies and skin end up crunchy, and you cannot judge it at fit-to-screen zoom.
Apply moderate sharpening for detail or capture sharpening, and less of it for output sharpening. Keep the radius small and check the edges of a high-contrast object, plus the darkest shadows, where noise tends to gather. If halos appear along a roofline, you have gone too far.
Noise reduction comes next. Reduce luminance noise in shadows, and touch chrominance noise lightly since strong colour noise reduction dulls fine detail. If your photo was shot at a high ISO, work on the shadow noise first because it is the most visible.
Crop and straighten while the image is still open, then check the frame with the histogram hidden. A straight horizon feels more important than any colour adjustment, and the rotate tool in the crop panel costs nothing to use.
How to Edit RAW Photos for Free: Export the Result
Export to JPEG for anything you post online, and to TIFF or PNG when a printer or a later edit needs more. Keep the original RAW file untouched, and give the export a filename such as IMG_4821_edit.jpg so the two never get mixed up.
For web and social use, quality 90 in a 8-bit sRGB JPEG is plenty and the file stays small. For print, export at the print’s pixel dimensions rather than at 72 dpi, which is a common source of soft, pixelated results.
Batch conversion works the same way. In darktable, select several images in Lightroom view and use the export dialog with a shared style applied. RawTherapee has a batch queue in the left panel. In both, apply one set of settings to the whole selection, then spot-check a couple of images before you close the dialog.
Back up the exports, format the card, and shoot again. That loop is the whole job.
Common Mistakes When You Edit RAW Photos for Free
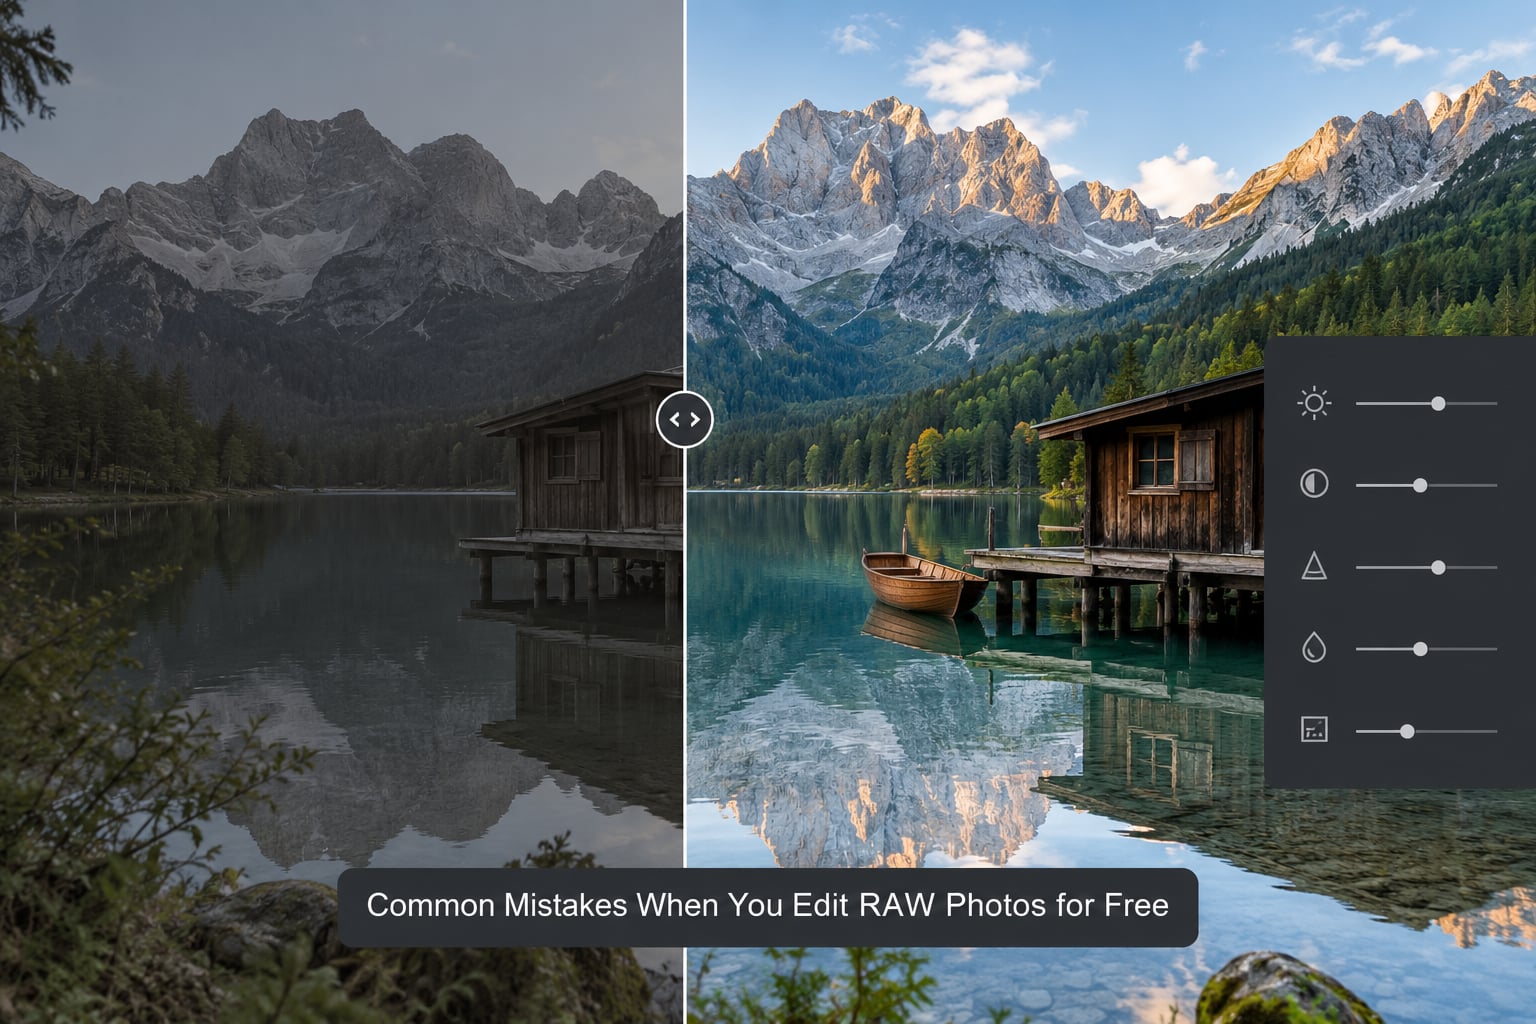
Almost every bad-looking RAW edit I have seen comes from one of a handful of mistakes, and each has a simple fix.
Editing a JPEG instead of the RAW file
If you open the JPEG, you are working with a compressed file and every slider moves pixels you cannot get back. Fix: make sure the extension on the open file is the camera’s RAW extension, not .jpg.
Correcting white balance after saturation
Once colour is saturated, a temperature change shifts everything again and the correction never settles. Fix: return to your white balance step and do it before any colour work.
Raising exposure too far
The screen brightens, shadows lift, and the picture turns grey and flat. Fix: watch the histogram and the clipping warning, and stop while detail is still visible in the highlights.
Over-sharpening
Halos along edges and crunchy foliage come from judging sharpening at low zoom. Fix: zoom to 100 percent first, and if in doubt, halve the amount.
Saving over the original every time
Doing this leaves you with no clean starting point and no way to compare. Fix: let the software write its sidecar edit files and export to a separate folder. Never overwrite.
Applying every available adjustment
Every slider you touch is a chance to make the photo worse. Fix: aim for two or three real changes per image. If a control has no visible effect at 100 percent zoom, turn it off.
Frequently Asked Questions
Which photo editor is 100% free?
darktable, RawTherapee and GIMP are 100% free with no paid tier, no export limits and no account required. Photopea is also free, with a small paid upgrade that removes ads. Camera maker software such as Canon DPP, Nikon NX Studio and Sony Imaging Edge costs nothing to download and works best on that brand’s lenses and profiles.
What is the best free RAW photo editor?
darktable is the easiest starting point for most beginners because its module layout feels familiar and its tone tools are predictable. RawTherapee offers deeper control and sharper results if you are willing to read the documentation. Photopea is the quickest option when you have no install access and a working internet connection.
Can I edit RAW photos online for free?
Yes. Photopea opens RAW files in the browser with no install and no account, and the adjustments match the desktop tools closely. Keep in mind that it needs a live internet connection every time, large files upload slowly on ordinary home broadband, and anything you upload passes through the service’s servers.
Can I convert a RAW photo to JPEG?
Every editor in this guide does it in one step. Open the RAW, apply your adjustments, then use the export dialog and choose JPEG with quality around 90 and the sRGB colour space. Keep the original RAW file so you can re-export later at a different size or with different settings.
Do free RAW editors support my camera’s format?
Almost certainly, because darktable and RawTherapee both update their support for new camera models regularly. If a brand-new body is not recognised, the usual reason is that no software version has added its format yet. Canon CR3, Nikon NEF, Sony ARW, Fujifilm RAF and Olympus ORF are all supported in current versions.
How much storage space do RAW files use?
RAW files are much larger than JPEGs, often 25 to 40 MB per frame on a modern camera. A single edited shoot can run to tens of gigabytes, so keep originals on an external drive and copy finished exports to a second one. Compressing archives is the usual first move when a card fills up.
Conclusion
Editing RAW photos for free is a five-step routine: pick one editor, set white balance and exposure in that order, make small colour and contrast adjustments, sharpen lightly at 100 percent zoom, then export to JPEG at quality 90 and keep the original.
Start today by installing darktable, copying a shoot to your desktop, and opening one flat-looking file. Fix white balance first. That single habit removes most of the mistakes beginners make, and this workflow costs nothing in 2026.