To photograph fall foliage from a car pullout, park fully off the travel lane in a designated turnout, work the light you find there, and shoot a small set of repeatable frames: backlit canopy, a telephoto view of layered ridgelines, and a wide shot anchored by foreground. Most pullouts face east or west, so a short walk around the parked car tells you what you are working with before you lift the camera.
Roadside shooting is the most common way people meet autumn color, and it is the least forgiving. You have a fixed position, reflective leaves, wind you did not plan for, and traffic you cannot ignore. This guide covers the whole sequence, from choosing whether to stop at all to the edit that keeps red and gold looking like leaves instead of poster paint.
It is aimed at hobbyist photographers who would rather not hike in for a shot, and it works just as well for someone shooting on a phone. Allow 15 to 30 minutes at a good pullout, longer if you plan to walk back into the trees.
Updated for October 2026.
Table of Contents
- What You Need
- Step-by-Step
- How to Photograph Fall Foliage From a Car Pullout: Find the Best Light
- How to Photograph Fall Foliage From a Car Pullout: Set the Camera
- How to Photograph Fall Foliage From a Car Pullout: Compose Through the Car
- How to Photograph Fall Foliage From a Car Pullout: Focus and Capture the Scene
- How to Photograph Fall Foliage From a Car Pullout: Protect Your Gear and Finish the Shot
- Common Mistakes
- Frequently Asked Questions
- Can you photograph fall foliage through a car windshield?
- What camera settings work best for fall foliage from a car pullout?
- How do I avoid reflections when photographing trees from inside a car?
- Is it safe to stop and photograph fall foliage from a roadside pullout?
- What time of day is best for photographing colorful fall leaves?
- How can I make autumn leaf colors look natural in editing?
- Quick Final Checklist
What You Need
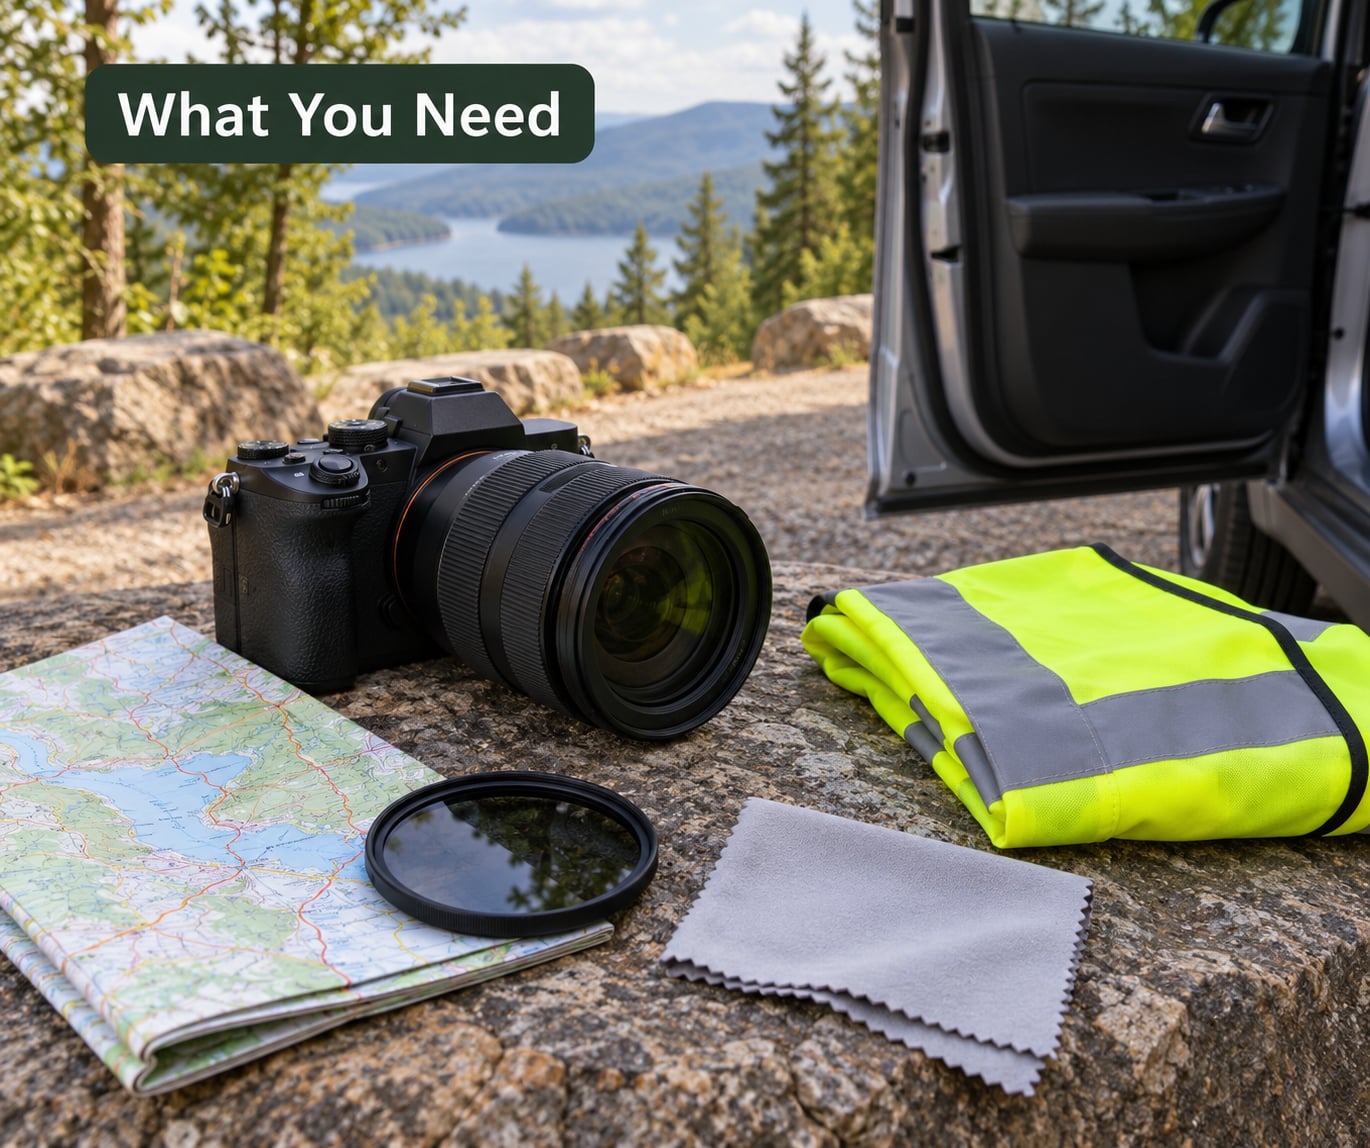
A zoom lens covers almost everything roadside. Something like a 24-70mm handles a foreground-anchored wide shot and a compressed ridgeline from the same spot, so you are not crawling around a car looking for an angle.
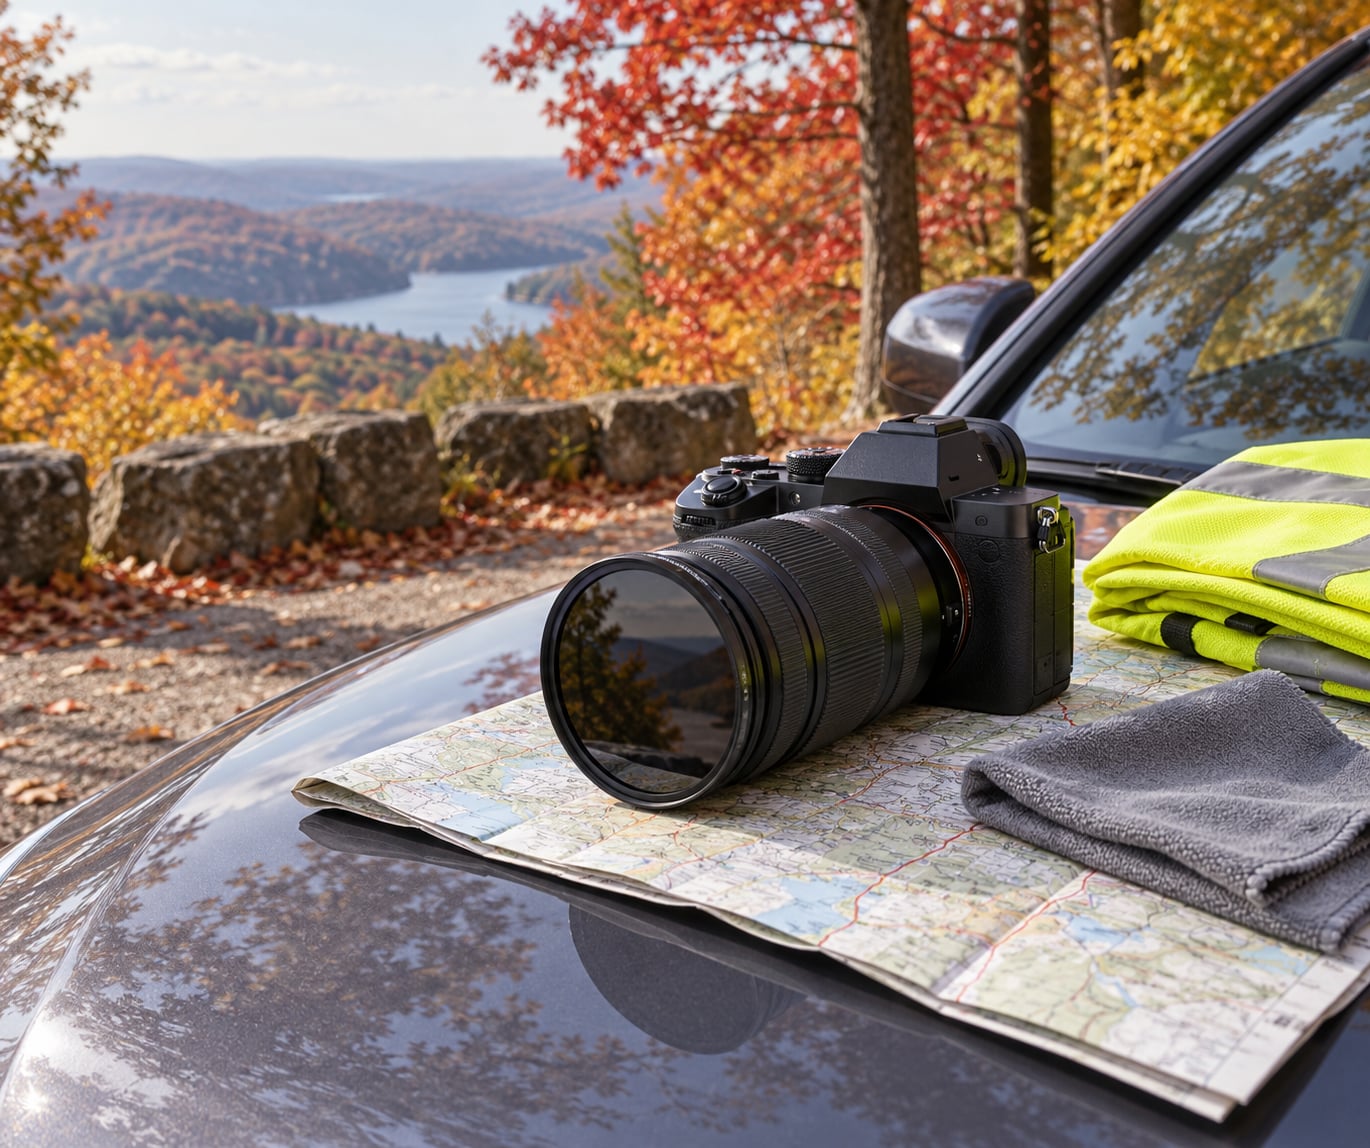
Autumn leaves are genuinely reflective, and photographers complain about it more than anything else in this genre. A circular polarizer cuts that glare, deepens the green understory and darkens blue sky at the same time. Its one drawback: it costs you roughly a stop and a half of light, which matters more in a dim valley than on a bright ridge.
A small flat-field tripod is worth carrying for the shots where you want to stop down to f/8 or f/11, bracket exposures for a high-contrast canopy, or blur falling leaves at 1/15s. It is not essential. Everything below can be shot hand-held.
Pack a microfiber cloth and a lens cloth you actually trust. Dew, mist and light drizzle turn a front element into an instant soft filter, and roadside foliage is damp far more often than you expect.
For planning, an offline map matters more than a live one, because cell service drops exactly where the color is. State park and Forest Service fall color reports tell you which regions are past peak and which just started, which turns most wasted stops into avoided ones.
Safety gear is not optional here. A high-visibility vest costs almost nothing and matters if you step out of the vehicle. Keep a charged phone, a small first aid kit and water within reach rather than in the trunk. A headlamp handles pre-dawn starts when you want fog in the valley before the crowds arrive.
A variable ND filter is a luxury. It only becomes useful if you plan long exposures of moving water or wind-blown leaves under a fixed camera.
Step-by-Step
How to Photograph Fall Foliage From a Car Pullout: Find the Best Light
Before you slow down, check the foliage report for the counties you are driving through. A region at peak four days ago is a region full of brown ground and bare branches now, and the pullout scenery will not save it.
Then pull completely off the travel lane. A turnout exists for this; a highway shoulder or a gravel patch beside someone’s mailbox does not. If the spot is full, keep driving. There is almost always a better turnout two miles up the road, and the photo you take from an illegal stop is not worth the risk.
Stay in the vehicle or in the turnout area while you scout. Watch where the sun is coming from and where the shadows fall across the trees. Sun behind the canopy gives you backlit leaves with glowing edges, which is the signature autumn look. Sun on the canopy gives you even, saturated color with no drama but far more forgiveness on exposure.
Low sun raking across a slope from the side is the sweet spot, because it separates trees in depth rather than flattening them into a wall of color.
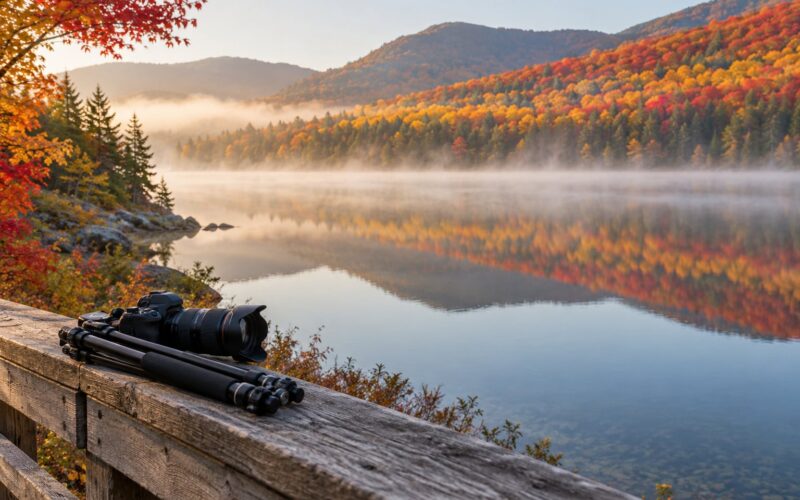
Overcast skies are better than clear ones for most of this work, and that surprises people. Soft light keeps every leaf in the frame exposed and lets color come through instead of clipping to yellow-white. After rain is the best condition of all, because wet leaves reflect more saturated color back at you. Mist in a valley at dawn gives you layered ridgelines for free.
Before you leave the vehicle, note where traffic comes from and how fast it moves. Check mirrors before you step out, keep yourself behind the guardrail or well inside the turnout, and give the road your full attention every few minutes. Turn your hazard lights on if you are working in a lay-by with poor sight lines.
How to Photograph Fall Foliage From a Car Pullout: Set the Camera
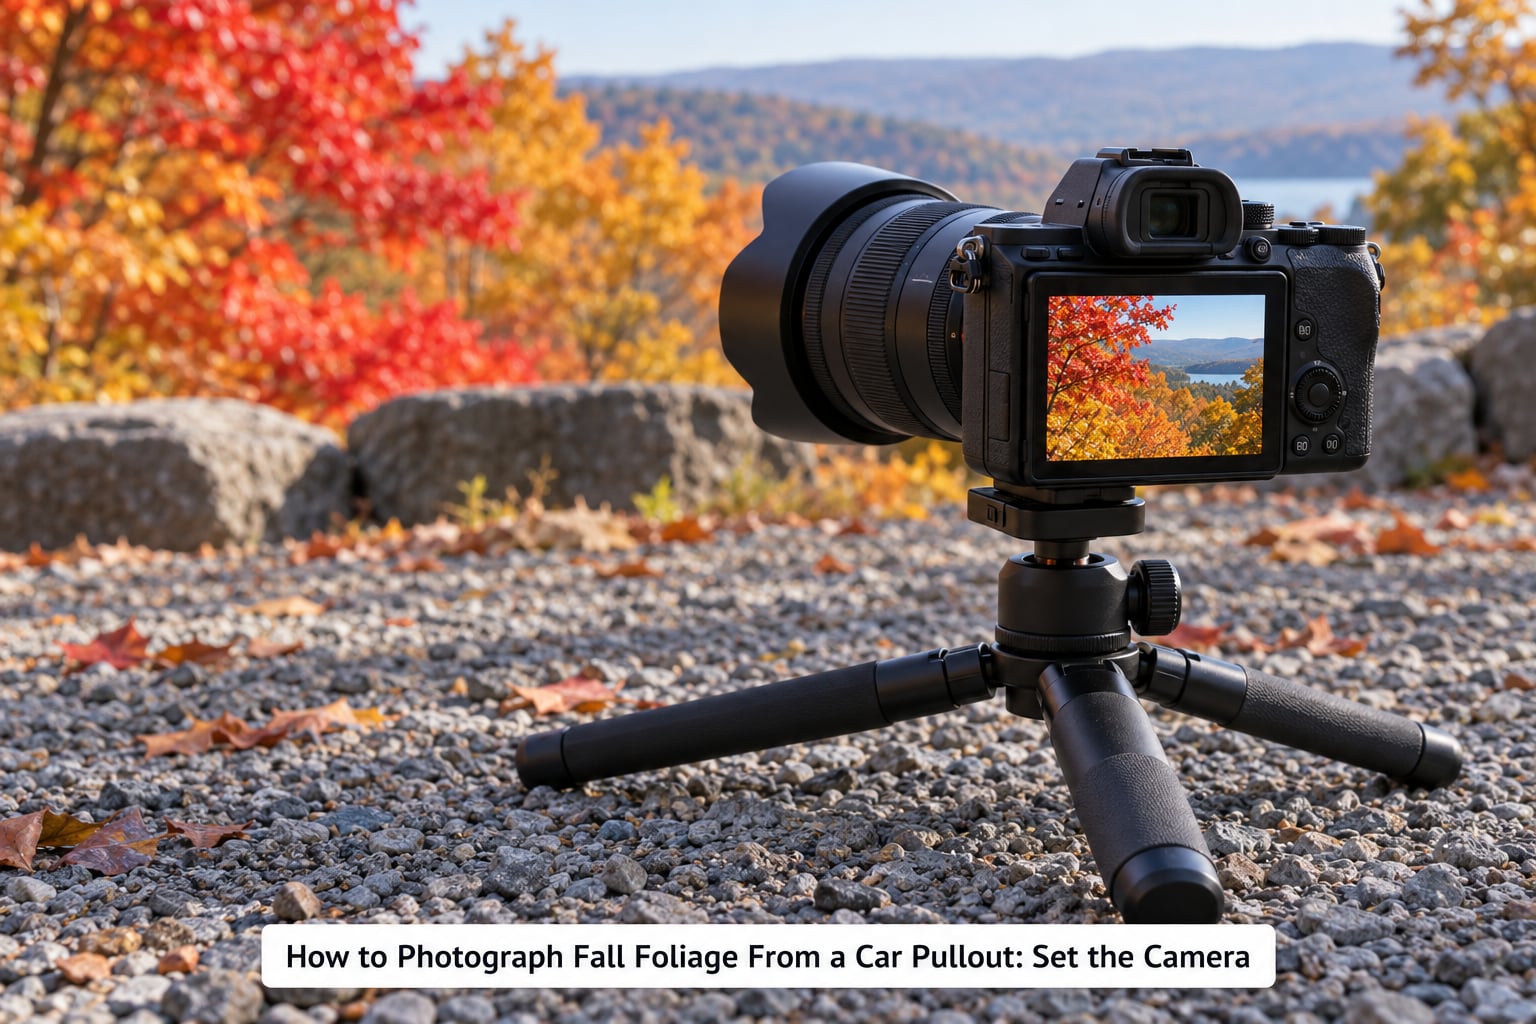
Start in aperture priority. Pick the aperture that suits the shot, let the camera handle shutter speed, then correct with exposure compensation. Move to manual when the light changes faster than the meter can follow, which happens constantly as clouds move over a ridge.
Aperture decides how much of the scene is sharp. Use f/8 or f/11 for a wide view where foreground and ridgelines both need to hold detail. Open to f/2.8 or f/4 for a leaf close-up, where a blurred background separates your subject from the wall of color behind it.
Shutter speed is your wind control. Wind-blown leaves need 1/500s or faster to freeze, and that is also your slowest safe hand-held speed. Drop to 1/30s only when you want motion blur deliberately, and only on a tripod. Most blurry fall photos are a shutter-speed mistake, not a lens mistake.
Keep ISO at 100 in daylight and raise it only as far as your camera’s files allow before shadows turn to noise. Shoot RAW. Autumn reds clip badly in JPEG, and the recovery you need later lives in the RAW file.
For backlit canopy, the meter will underexpose, often by one or two stops. That is usually right. Compensate with plus exposure if the leaves are reading as dark silhouettes, and let a few highlights blow out in the sun gaps.
Set white balance to the shade or cloudy preset rather than auto. That warms the frame as you shoot it, which saves a lot of slider work later.
Here is a starter block you can copy and adjust from.
| Condition | Aperture | Shutter | ISO | White balance |
|---|---|---|---|---|
| Backlit canopy at golden hour | f/5.6 | 1/500s | 100 | Shade, plus 0.7 to 1.3 EV |
| Overcast or post-rain color | f/8 | 1/250s | 100 | Cloudy |
| Fog or mist in a valley | f/5.6 | 1/125s | 200 | Cloudy, minus 0.3 EV |
| Leaf close-up with blur | f/2.8 | 1/500s | 100 to 400 | Daylight |
| Falling leaves, deliberate blur | f/8 | 1/15s on tripod | 100 | Daylight |
These are starting points, not rules. Check the histogram and adjust until the brightest leaves sit just under the clipping point.
How to Photograph Fall Foliage From a Car Pullout: Compose Through the Car
A fixed vantage is not a limitation, it is a constraint that forces better frames. You cannot walk around for a cleaner background, so you build one instead.
Deal with the windshield first if you are shooting from the driver’s or passenger’s seat. A clean windshield still reflects the dashboard, your hands and the sky behind you. Turn off your screen, dim the instrument cluster, and shift your position until the reflection moves off the frame. A lens hood pressed close to the glass blocks more stray light than any other single trick.
Polarizers and windshields do not mix well. A circular polarizer darkens the scene unevenly through coated automotive glass and can make the image look like a mistake. If you shoot through glass, take the filter off and plan to handle the reflections with your body position instead.
For the frame itself, use the 20/60/20 approach: roughly 20 percent foreground anchor, 60 percent midground foliage, 20 percent sky or distant ridge. A guardrail post, a stone wall, a bridge railing or a single bare branch close to the lens gives the shot depth and tells the viewer where they are standing.
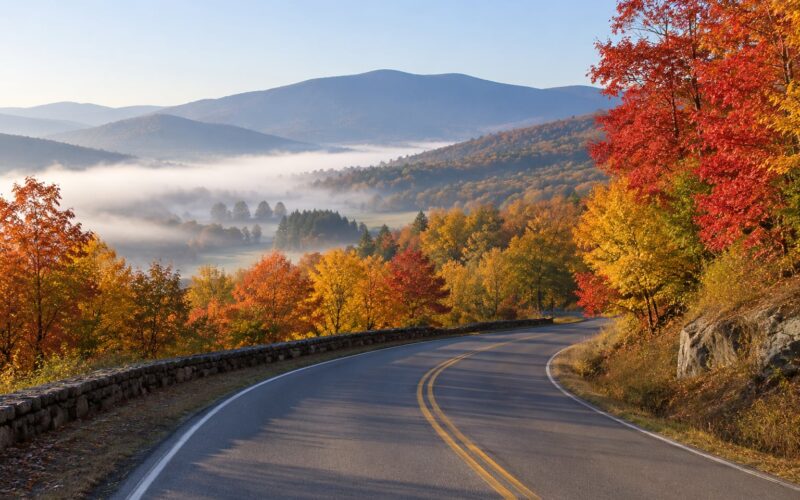
Look for leading lines in the road itself, a guardrail curve or a stream. Telephoto compression stacks ridgelines into distinct colored bands, which is how you turn a busy valley into layered bands of red, orange and yellow.
Watch the edges of the frame for parts of your own vehicle, a parking sign or another car. It happens constantly because you keep shifting your viewpoint while the camera stays put. Check corners before you release the shutter, not after.
How to Photograph Fall Foliage From a Car Pullout: Focus and Capture the Scene
Put focus where the eye should land, not where the camera defaults. Single-point autofocus on the brightest cluster of red leaves near a third of the frame, then verify with a quick zoom before you shoot.
For the wide view, set your focus about a third of the way into the scene and use a narrow aperture. The foreground wall and the distant ridge will both be acceptable rather than both perfect, and that is fine.
Watch your shutter speed against what the wind is actually doing. Leaves move before you notice it, and a 1/60s frame at a pullout will be soft more often than not. If you cannot hit 1/250s, raise ISO rather than lowering shutter speed.
Bracket two or three exposures at every stop on static scenes with a bright sky and a dark canopy. On a tripod this is quick, and blending them later recovers detail from both ends.
From one pullout, work a shot list so you leave with variety rather than forty near-identical frames. Take the backlit canopy, the telephoto ridgeline, the foreground-anchored wide, then one leaf close-up and one abstract of leaves against sky. You can do the whole list in about twelve minutes.
How to Photograph Fall Foliage From a Car Pullout: Protect Your Gear and Finish the Shot
Cold gear plus warm humid air creates condensation, usually on the front element or the body. Keep the camera in its bag or inside the cabin until it matches the outside temperature, and wipe gently rather than rubbing grit across the glass.
Blowing leaves and sap are the roadside enemy. Wipe the front element after every few shots, and change your position rather than shooting past a branch that is dripping in front of the lens.
Watch for your own shadow before shooting. Low sun means a long shadow reaching into frame, and you will not see it until you look at the back screen.
Light changes faster than the forecast. Check the sky every few minutes, and when the color shifts, re-evaluate white balance and exposure rather than assuming your first frame still applies.
For editing, start conservative. Warm the white balance slightly toward yellow rather than toward orange, because leaves are warm enough already. Add a small amount of dehaze to bring out the canopy depth, then pull saturation up slightly on the reds only, using a mask.
If your reds look neon, you have pushed past what the sensor captured. Adding a touch of green back into the reds usually restores something close to what your eye saw.
Save a phone-only fallback in mind. Lock exposure and focus with a long press on the screen, shoot RAW if your phone supports it, avoid the ultra-wide lens because it distorts trees, and step out of the vehicle or at least open a door to get clean air instead of shooting through glass.
Common Mistakes
Windshield reflections in every frame. Kill them with position, not filters: turn off screens, dim the dash, move a few inches until the reflection slides out of frame, and use the lens hood close to the glass.
Everything looks flat and dull. The meter exposed for a bright sky. Add one to two stops of exposure compensation, or shoot into a darker part of the canopy and recover in post.
The car is in the shot. Crop it out, or better, move to the far side of the vehicle before you start shooting. Reviewing the corners of the frame takes two seconds and saves the frame.
Blurry leaves. Wind. Push shutter speed to 1/250s or faster, raise ISO, or use a tripod for the shots you want slow. Nothing else fixes motion blur after the fact.
Colors look like neon plastic. You are beyond the sensor’s recordable saturation. Bring the reds back, add a little green, and stop pulling saturation in the slider.
Framing one flat wall of trees. Add a foreground anchor and shoot wide enough to include sky or a distant ridge. The frame needs a near, a middle and a far.
Standing somewhere unsafe. Move back into the turnout or behind the guardrail. If you cannot shoot the angle without stepping toward the travel lane, do not shoot the angle.
Driving to a region that already peaked. Check the report before you leave home, and set yourself the rule that you will not stop for color if the forecast has been dropping for a week.
Frequently Asked Questions
Can you photograph fall foliage through a car windshield?
Yes, but reflections are the main obstacle. Turn off your phone and infotainment screens, dim the instrument cluster, and slide your position until the reflected dashboard moves out of the frame. A lens hood pressed near the glass helps. Skip the polarizer, which darkens coated automotive glass unevenly, and step outside with a short tripod if the shot really matters. Shooting out an open door gives you clean light and no glass at all.
What camera settings work best for fall foliage from a car pullout?
For most conditions, aperture priority at f/8 with a shutter around 1/250s and ISO 100 gives you a sharp wide roadside view. Open to f/2.8 or f/4 for a leaf close-up with a blurred background, and use 1/500s or faster whenever wind picks up. Set white balance to the shade or cloudy preset to warm the frame, and shoot RAW so red and orange highlights have room to recover.
How do I avoid reflections when photographing trees from inside a car?
Reflections come from anything bright inside the cabin, so clear the dashboard, switch off screens, and park so the sun is behind you rather than bouncing off the glass toward the camera. Then move your head and shoulders a few inches at a time until the reflection slides out of the frame. Finally, keep the lens hood close to the glass to block stray light. If reflections persist, use a door as a dark filter.
Is it safe to stop and photograph fall foliage from a roadside pullout?
It is safe when you use a designated turnout and stay inside it. Pull fully off the travel lane, check mirrors before stepping out, keep yourself behind a guardrail where one exists, and turn on hazard lights if sight lines are poor. Do not park on a highway shoulder, a curve or a private driveway. If the turnout is full, drive on. A full turnout is the clearest sign the shoulder is not a parking spot.
What time of day is best for photographing colorful fall leaves?
The hour after sunrise and the hour before sunset, when the light is low and warm. Backlit canopy glows with the sun behind it, and side light separates trees in depth instead of flattening them. Overcast days are underrated, because soft light exposes every leaf in the frame and holds saturated color. Fog at dawn and wet leaves after rain both give you more color than a clear midday sky.
How can I make autumn leaf colors look natural in editing?
Start by warming the white balance toward yellow rather than orange, since the leaves are already warm. Add a small amount of dehaze to open canopy depth, then lift saturation only in the reds and oranges using a mask. If reds turn neon, you have gone past what the sensor recorded; adding a little green back into them restores something closer to what your eye saw.
Quick Final Checklist
You can shoot a usable frame at a pullout in about five minutes if you do this in order. First, confirm the turnout is legal and pull completely off the travel lane. Next, check the foliage report and the sky, then walk around the car to see whether the light is backlit, side-lit or flat. Third, clear the windshield and dashboard if you plan to shoot through glass. Fourth, set aperture priority, a shutter speed above 1/250s and ISO 100, with white balance on shade or cloudy. Fifth, look for a foreground anchor before you lift the camera, and check the frame corners for your own vehicle. Take the backlit canopy shot first while the light is at its best, then the wide, then the telephoto. Keep your stop to fifteen minutes unless you have walked away from the road, and leave the shoulder cleaner than you found it.