Manual mode (M mode) is the mode where you pick the aperture, shutter speed and ISO yourself instead of letting the camera choose them. The camera still tells you whether your combination lets too much or too little light onto the sensor, and you correct it until the meter sits at zero. It takes about 15 minutes of practice to make the routine feel automatic.
Most beginners already own everything they need. The only genuinely new skill is deciding which of the three settings to give up first when the light changes, and the honest answer is: pick one setting you care most about, lock the other two, and move only that one. That single habit is what stops manual mode from feeling like three dials fighting each other.
Table of Contents
- What You Need
- Step-by-Step
- 1. Switch the camera to manual mode
- 2. Set the aperture for your scene
- 3. Set the shutter speed
- 4. Set the ISO
- 5. Focus manually and lock the focus
- 6. Check the histogram and take a test shot
- 7. Adjust settings as the light changes
- Common Mistakes
- Frequently Asked Questions
- What settings should I use as a beginner in manual mode?
- Is it a good idea to shoot in manual mode?
- How do I get correct exposure in manual mode?
- Why are my manual mode photos blurry?
- Should I use autofocus while shooting manually?
- Can I shoot in manual mode on a phone?
- Conclusion
What You Need
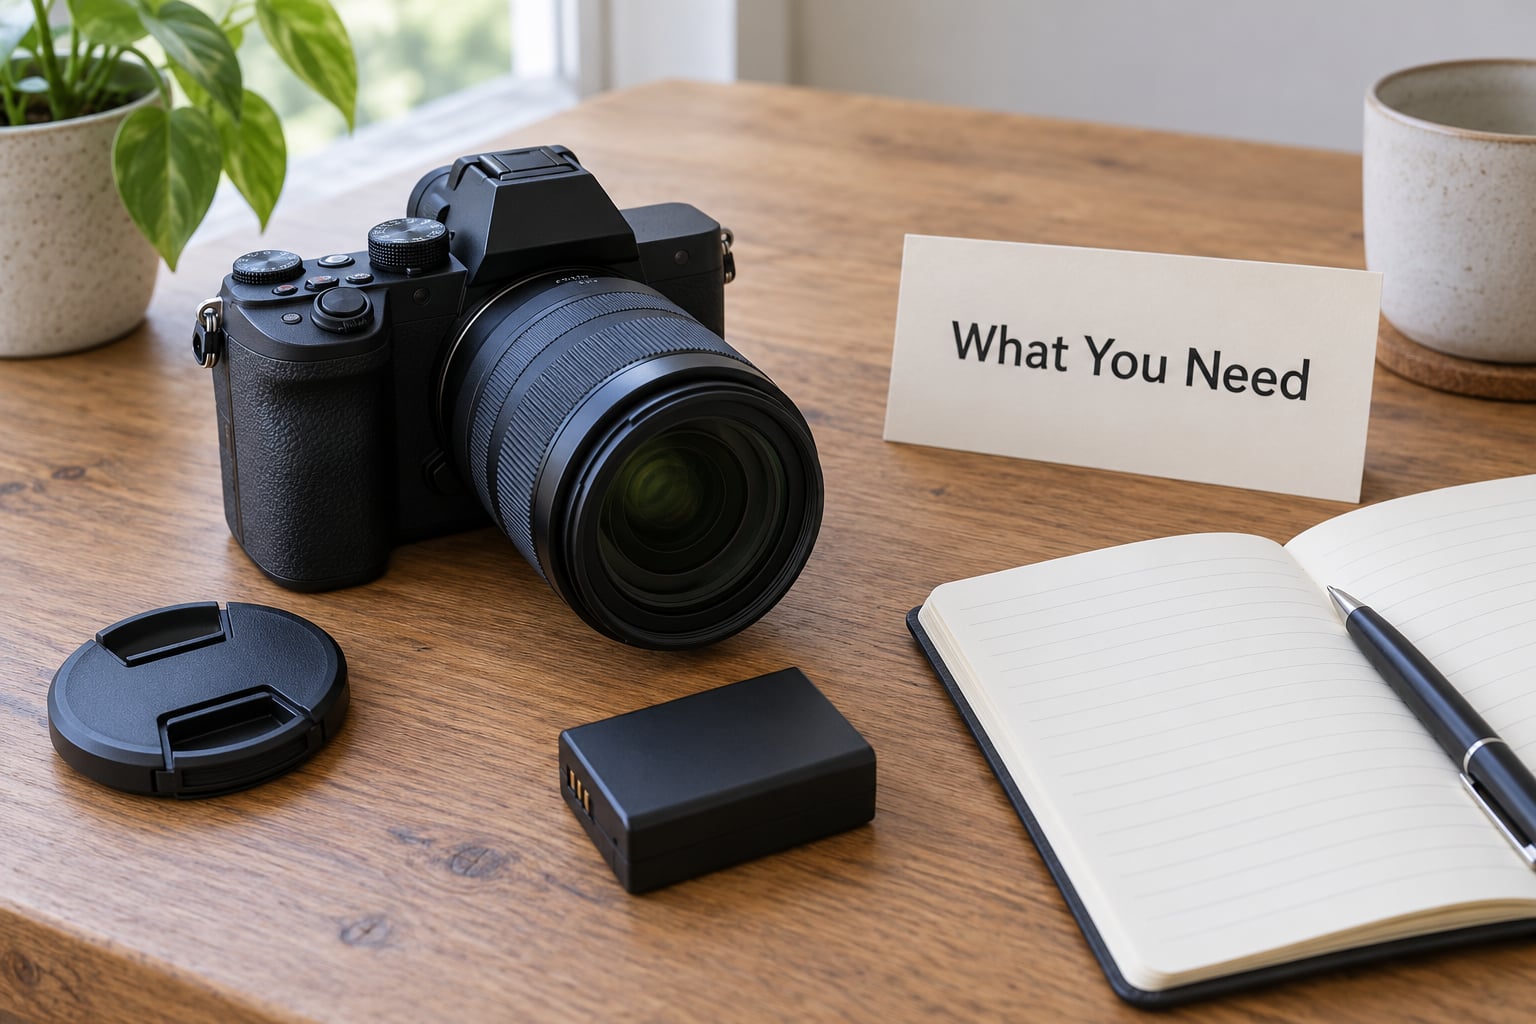
You need a camera that has a manual mode, which is every DSLR and mirrorless body made in the last two decades, plus any lens. A tripod and a cheap wired shutter release help, but they are optional for everything described below.
You also need to know what the three controls do. Here is the short version, and it is worth learning properly rather than half-remembering.
Aperture is the opening inside the lens, written as an f-number such as f/1.8 or f/8. A small number means a wide opening and a shallow depth of field, where the background melts away. A large number like f/16 means a narrow opening and a deep depth of field, where near and far stay sharp.
Shutter speed is how long the sensor is exposed, written as a fraction of a second: 1/250s is fast, 1/15s is slow. Fast shutter speeds freeze movement. Slow ones blur it, which is sometimes exactly what you want.
ISO is the sensor’s sensitivity to light. Low ISO, such as ISO 100, gives clean files with little grain. High ISO, such as ISO 6400, lets you shoot in dim light at the cost of visible noise.
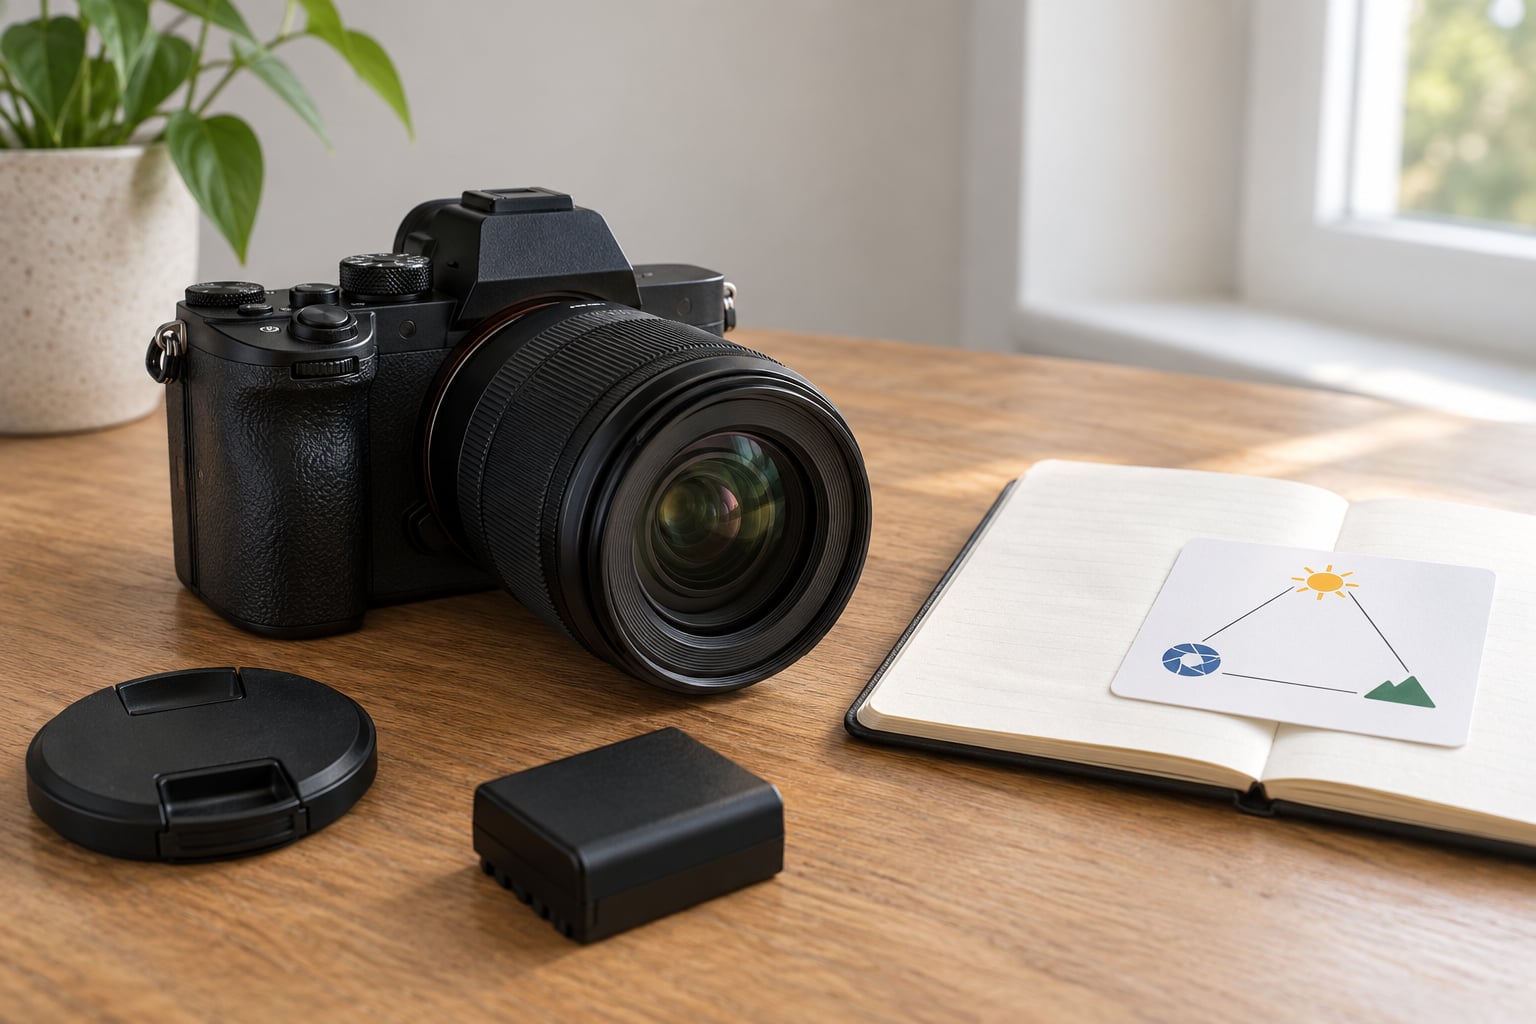
Together these are called the exposure triangle, because they trade against each other. Open the aperture by one stop and the image gets one stop brighter, so you can halve the shutter speed or halve the ISO to compensate. A stop is a doubling or halving of light, and every one of these adjustments is measured in stops.
Step-by-Step
The sequence below is the whole routine. Do it in the same order every time and the camera stops feeling like a puzzle. Work through Steps 1 to 7 once at your kitchen table, then again outside, and the sequence will already feel natural.
1. Switch the camera to manual mode
Turn the mode dial until the indicator lines up with M. On most bodies the dial sits on top of the camera on the side you press the shutter button with; on some compact cameras and on a few mirrorless models there is no dial at all, and manual exposure is buried in a shooting mode menu instead. If you cannot find an M, look for “M” in the first-level shooting menu.
One quick warning from camera forums: beginners often grab the mode dial and spin the wrong ring afterwards. Once you are in M, only two or three controls matter, and they are usually in different places from the dial you just turned.
2. Set the aperture for your scene
Choose the aperture first because it is the setting that decides how the photograph looks. For a single person with a blurred background, start around f/1.8 to f/2.8 on a fast lens. For a small group, f/4 to f/5.6 keeps everyone’s face sharp. For a wide outdoor scene from foreground to horizon, f/8 to f/11 is a safe starting point.
If you have no idea, f/5.6 works in more situations than any other number, and it is the community default that shows up again and again when beginners ask for starting settings.
3. Set the shutter speed
Now set the shutter speed to match the movement in front of you. Standing still: 1/125s is comfortable. People walking: 1/250s. Children and pets: 1/500s. Sport or anything fast: 1/1000s or faster, up to 1/4000s if the light allows.
There is also a floor for handheld work, and it causes more blurry beginner shots than anything else. Keep the shutter speed at least as fast as one over the focal length: on a 50mm lens that means 1/50s or quicker, on a 200mm lens, 1/200s. This reciprocal rule is the single most useful habit to memorise.
4. Set the ISO
Leave ISO low for daylight work, usually ISO 100 to 400, and raise it only when the other two settings cannot collect enough light. In a dim room you might reach ISO 1600 or 3200 before you go higher.
Raising ISO is the cleanest fix for a too-dark image because it does not add blur and it barely changes depth of field. The trade is grain. Push ISO too far and shadows turn blotchy, so treat 6400 as a ceiling for most sensors rather than a default.
5. Focus manually and lock the focus
Switch the lens to manual focus and turn the focus ring until your subject is sharp. Most cameras make this easy: press the focus-check button, or use the focus magnification on the live view screen, to zoom in and confirm sharpness before you shoot.
Single autofocus is a perfectly reasonable shortcut while you learn. Turn on autofocus, let the camera focus on the subject, then switch back to manual and that focus is locked until you move or refocus. That hybrid method gets you a sharp subject with far less turning of the ring.
Manual focus has a second use that beginners miss entirely. Set the focus distance once, then reframe the shot without refocusing, and you can work in extremely dim light where autofocus hunts and gives up.
6. Check the histogram and take a test shot
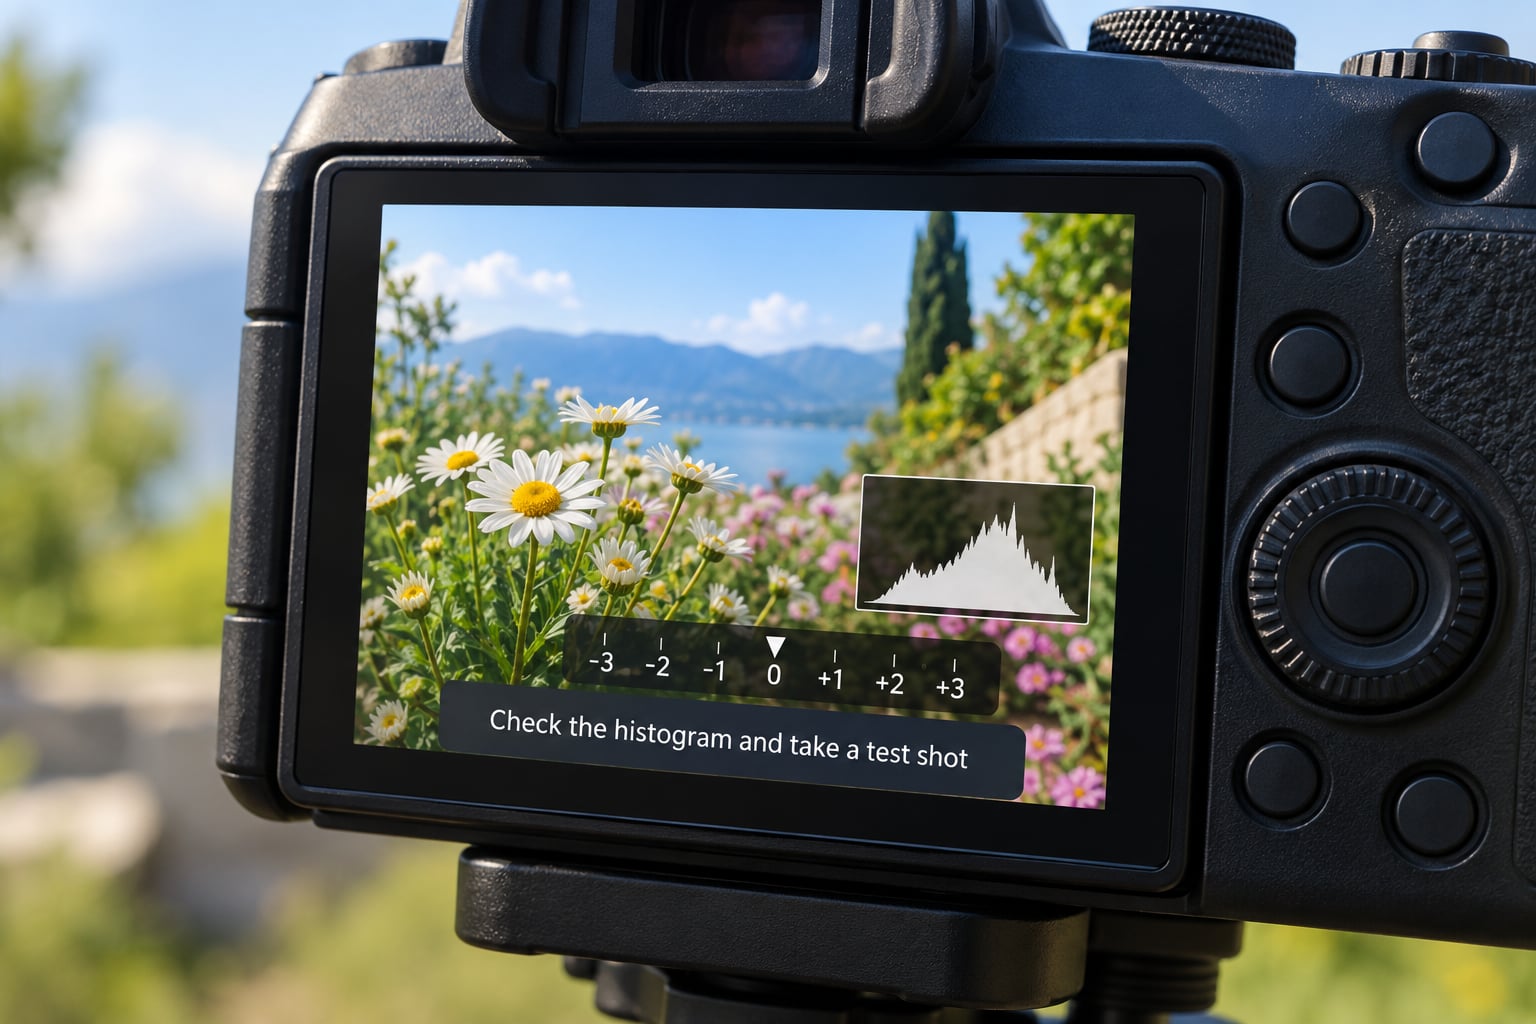
Look at the exposure scale, usually along the bottom or top of the viewfinder or screen. It is a row of marks with a zero or a triangle in the middle and numbers running out to both sides in stops. If the indicator sits at zero, your settings are correct for the middle grey the camera assumes. If it sits one or two marks toward the bright end, you are overexposed; toward the dark end, underexposed.
Now take a test shot and open the histogram. The histogram is a graph of brightness from black on one side to white on the other. A healthy image has a spread of values without big gaps at either extreme. Clipped at the bright end means blown highlights with no recovery possible; crushed at the dark end means shadows with no detail.
One small correction beats a big one. Move one mark, take another shot, compare. Do not try to fix everything at once.
7. Adjust settings as the light changes
When the light changes, change one setting. The table below gives you a starting point for common conditions on a typical camera with a standard zoom, then adjust from there.
| Lighting condition | Aperture | Shutter speed | ISO |
|---|---|---|---|
| Bright sun outdoors | f/8 | 1/1000s | ISO 100 |
| Overcast daylight | f/5.6 | 1/250s | ISO 200 |
| Open shade | f/2.8 | 1/125s | ISO 400 |
| Indoors by a window | f/2 | 1/125s | ISO 800 |
| Dim indoor room | f/1.8 | 1/60s | ISO 3200 |
| Night, tripod on the ground | f/8 | 10s | ISO 400 |
The order you should change things in depends on what moved. If you walked from sun into shade, the light dropped several stops: open the aperture first, then drop the shutter speed until you reach the reciprocal limit for your lens, and only then raise ISO. If you turned on a lamp in a dark room, close the aperture and lower ISO instead.
When in doubt, keep ISO low, keep the shutter speed safe, and spend the stops on aperture. That ordering produces the fewest ruined frames.
Common Mistakes
Almost every bad manual mode photo has a diagnosable cause. The table maps what you see to the setting you actually need to change.
| What you see | What it means | What to change |
|---|---|---|
| Whole frame blurry | Shutter speed below 1/focal length | Raise shutter speed, open aperture, or use a tripod |
| Subject sharp, background smeared | Subject moved during a slow exposure | Raise shutter speed, or accept the blur as intentional |
| Only the eyes in focus | Aperture too wide for the framing | Stop down to f/4 or f/5.6 |
| Grainy and flat looking | ISO pushed too high | Lower ISO and recover the stops elsewhere |
| Very dark photo | Not enough light reached the sensor | Open aperture, slow shutter, or raise ISO |
| Sky blown out, foreground black | Scene brightness exceeded sensor range | Expose for the shadows and accept a bright sky |
| Focus jumps after each shot | Autofocus is still hunting | Switch to manual focus and lock it |
The most common error is not a wrong number. It is grabbing all three settings at once, losing track of which one changed the brightness, and ending up somewhere random.
Two habits fix most of that. Choose a dominant setting for the shot and change only that one. And write the settings on a note card in the bag, because the settings that worked at this spot in this light will work again.
One more worth naming: exposure compensation does nothing in manual mode. That dial exists to tell a semi-automatic camera how far to push its own choices. In M you are the exposure compensation, which is the whole point.
Frequently Asked Questions
What settings should I use as a beginner in manual mode?
Start with shutter 1/250s, aperture f/5.6 and whatever ISO the light demands. Those three numbers work for most daylight situations with a standard zoom, and they leave room to adjust in either direction. Once a shot feels wrong, change one setting only and take another frame.
Is it a good idea to shoot in manual mode?
Yes, once you have the exposure triangle roughly understood, because it makes your results repeatable. That said, manual is not always the right tool. Semi-automatic modes handle rapidly changing light, fast-moving subjects and video better than most beginners can. Learn manual for consistency, then switch back to aperture priority when the situation calls for it.
How do I get correct exposure in manual mode?
Correct exposure means the indicator on your camera’s exposure scale sits at zero. That scale shows how many stops your combination of aperture, shutter speed and ISO differs from the camera’s own idea of correct. When it is off zero, move one setting by one mark, take a test shot, and check the histogram to confirm the shadows and highlights are holding detail.
Why are my manual mode photos blurry?
In most cases the shutter speed was slower than one over the focal length, so movement of the camera itself smears the frame. On a 50mm lens that means 1/50s or quicker. A second cause is a very wide aperture, which gives such shallow depth of field that only a thin slice of the subject is sharp. Stop down to f/4 or f/5.6 to widen the sharp zone.
Should I use autofocus while shooting manually?
Many photographers do, and there is nothing wrong with it. Shoot in manual exposure mode, let single autofocus find the subject, then leave focus alone for the rest of the sequence. You keep control of brightness while the camera handles the one job it still does well. Reserve pure manual focus for low light, deliberate effects and close-up work.
Can I shoot in manual mode on a phone?
Yes. On iPhone, open the Camera app, switch to the Pro mode control and tap the yellow timer to reveal manual exposure controls. Most recent phones expose aperture and shutter speed, with ISO available too. Android phones vary widely by maker; look for a Pro or Manual mode in the camera app or in a separate manual camera app. The exposure triangle behaves the same way.
Conclusion
Here is the next ten minutes. Take the camera to a familiar spot in daylight, turn the dial to M, and set 1/250s at f/5.6 with ISO 200. Take a shot, watch where the exposure indicator sits, and correct by one mark until it reads zero.
Then change one thing at a time and watch what the frame does. Aperture changes the background. Shutter speed changes the movement. ISO changes the grain. That feedback loop is the whole skill, and it takes far less time to learn than people expect.