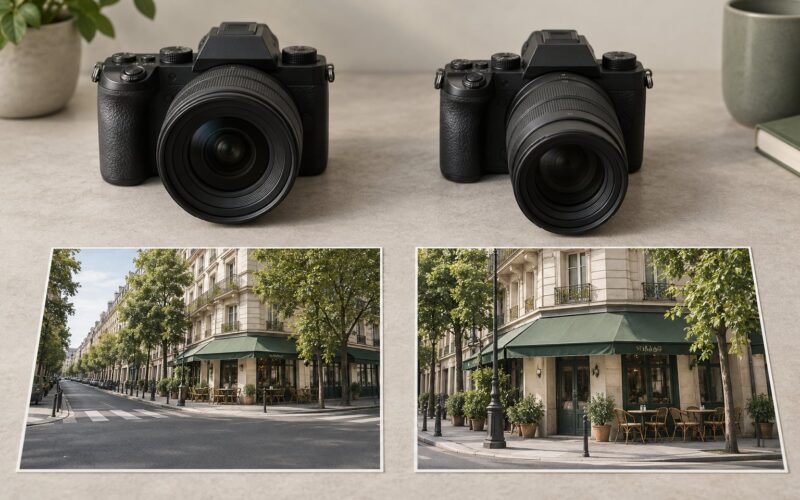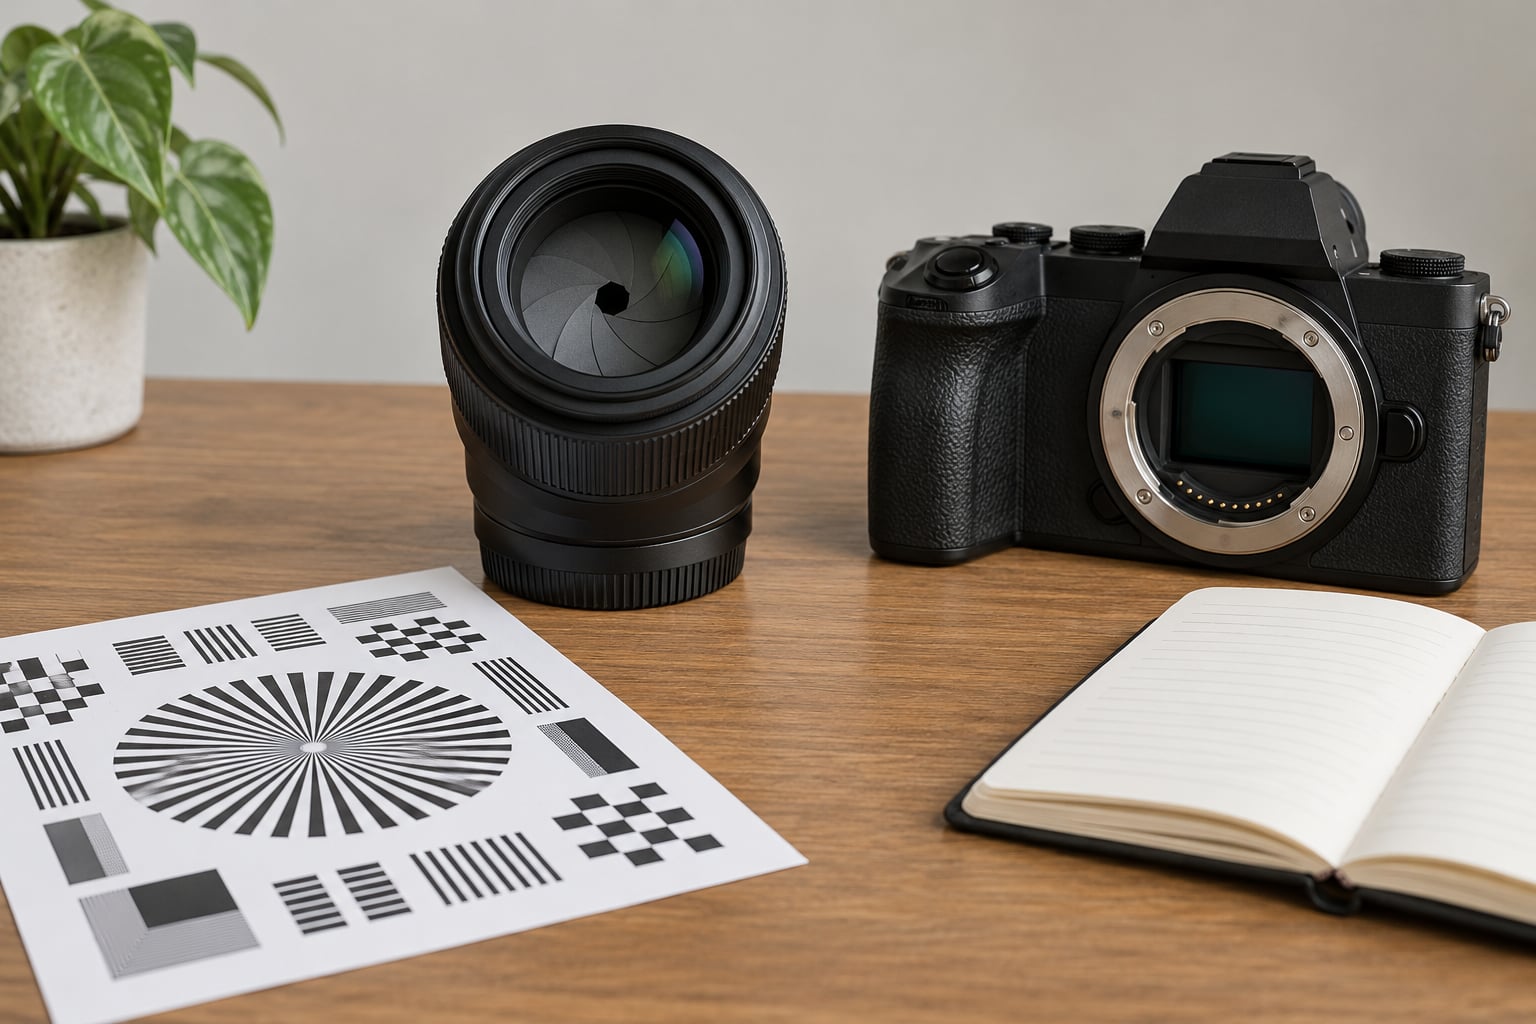
The sweet spot of a lens is the aperture range where it delivers its highest resolution and contrast, usually two or three full stops down from the widest opening and landing somewhere around f/5.6 to f/11. It is a range, not a single f-number, and where it sits changes with the lens design, the sensor and the scene in front of you.
Which is why anyone quoting you one magic f-stop is skipping the interesting part. This guide covers why lenses behave this way, when the sweet spot moves, and how to find the version of it that belongs to the lens in your own bag.
Table of Contents
- What Is the Sweet Spot of a Lens?
- Why the sweet spot of a lens is a range, not a number
- Why Does Stopping Down Improve Sharpness at First?
- 1. The entrance pupil grows the circle of confusion
- 2. Spherical aberration drops away
- 3. Corner sharpness catches up with the centre
- When Does Diffraction Begin to Reduce Detail?
- How Does Lens Design Affect the Sweet Spot?
- Diffraction-limited designs
- Resolution-limited designs
- Aberration-limited designs
- How Do You Find the Sweet Spot on Your Own Lens?
- Which f-Stop Should You Use Most Often?
- What Trade-Offs Matter Beyond Technical Sharpness?
- How Do Sensor Size and Pixel Pitch Change the Answer?
- What Is the Sweet Spot of a Lens in Everyday Photography?
- Frequently Asked Questions
- Is f/8 always the sweet spot of a lens?
- Does stopping down always make a lens sharper?
- What aperture gives the least diffraction?
- Is a smaller sensor more affected by diffraction?
- Should I use the optical sweet spot when shooting handheld?
- Conclusion
What Is the Sweet Spot of a Lens?
A lens’s sweet spot is the band of f-stops where a lens resolves the most detail from corner to corner with the highest microcontrast, typically found two to three stops down from its maximum aperture. Wide open, optical aberrations soften the image. Stopped all the way down, diffraction spreads the light and softens it again. The sweet spot of a lens is the narrow overlap between those two effects, and it usually spans two stops rather than a single click.
It is not a specification on the box or a line in the manual. Manufacturers rarely publish a sweet spot, and when reviewers quote one they are describing their own tests on their own body. Two copies of the same lens can peak a stop apart, and a lens that peaks at f/8 on full frame can peak at f/5.6 on a smaller sensor.
Why the sweet spot of a lens is a range, not a number
Sharpness against aperture draws a curve, and the curve usually has a broad floor rather than a spike. If you shoot f/5.6, f/8 and f/11 under identical light and compare them at normal viewing size, you will often struggle to tell them apart.
That plateau is the practical definition. The sweet spot of a lens is the stretch where small changes stop mattering, so you can pick an aperture for the depth of field or the shutter speed you actually need without giving up visible detail.
Why Does Stopping Down Improve Sharpness at First?
Because the light passing through the lens is behaving better the further you close the iris. Three effects stack up, and all three work in your favour at first.
1. The entrance pupil grows the circle of confusion
The f-number is focal length divided by the diameter of the entrance pupil, the opening the camera actually sees. Closing from f/2 to f/4 halves that opening and doubles its diameter as an exit pupil, which raises the circle of confusion. Where a small iris renders a tiny confusing blur a sensor pixel can absorb, a larger iris spreads that blur past what the pixel can resolve.
2. Spherical aberration drops away
Marginal rays focus at a different point than central rays when a group is wide open. Closing down shrinks the beam reaching the edges of the lens element, so marginal rays behave more like central ones and the blur circle shrinks.
3. Corner sharpness catches up with the centre
Corner performance trails the centre most at wide apertures. Once you stop down, the corner stops being the weak point and the whole frame sharpens together, which matters far more for landscape and architecture work than the centre reading alone.
Chromatic aberration, coma and astigmatism all ease off in the same direction. A lens can look noticeably dull wide open and then turn crisp two stops later, and that jump is often the first thing that tells you where its sweet spot lives.
When Does Diffraction Begin to Reduce Detail?
Diffraction becomes visible when the aperture opening gets small enough that light passing through it spreads as it crosses the air gap to the sensor. Each opening position behaves a little like a tiny projector, and as the opening shrinks the projected point widens and gets softer.
The damage is not random speckle. It shows up as an overall loss of fine detail and microcontrast across the frame, most obvious in foliage, brickwork and fabric texture, and it gets steadily worse as you close further. On most full-frame lenses it starts to bite around f/11 and is obvious by f/16 to f/22.
Smaller sensors reach that wall sooner, because their pixels are packed more tightly. A field test of an 8-16mm APS-C zoom found f/8 sharpest at every focal length, with the tester describing f/16 and f/22 as suffering badly from diffraction on that format.
Treat these as starting points, not rules. High-resolution bodies tolerate less before softening, and some modern high-resolution lenses are already near their peak wide open.
How Does Lens Design Affect the Sweet Spot?
Three limits fight over the same aperture range, and which one wins tells you where the peak sits.
Diffraction-limited designs
These stay close to their best until the physical diffraction wall, then fall off. The curve looks like a long flat top followed by a cliff, so any aperture in the top run works fine.
Resolution-limited designs
A hard cutoff exists set by the sensor, the lens aperture or file format rather than by a smooth optical curve. Until the lens reaches that limit, added resolution lands in the file; past it, detail goes nowhere.
Aberration-limited designs
Vintage and manual-focus glass often falls hardest here. Their best performance can sit three or four stops down from wide open, which means the wide-open end is genuinely unusable and there is no useful plateau to sit on.
Prime lenses usually peak earlier, around two stops down, because a single focal length gives the designer fewer compromises to fight. Zoom lenses peak later, commonly three stops down, and the peak also shifts along the zoom ring, since the long end needs more stopping down than the middle. Wide-angle zooms are a common exception: on one APS-C 12-24mm the centre was sharpest wide open at 12mm while f/5.6 to f/8 gave the best result across the frame.
How Do You Find the Sweet Spot on Your Own Lens?
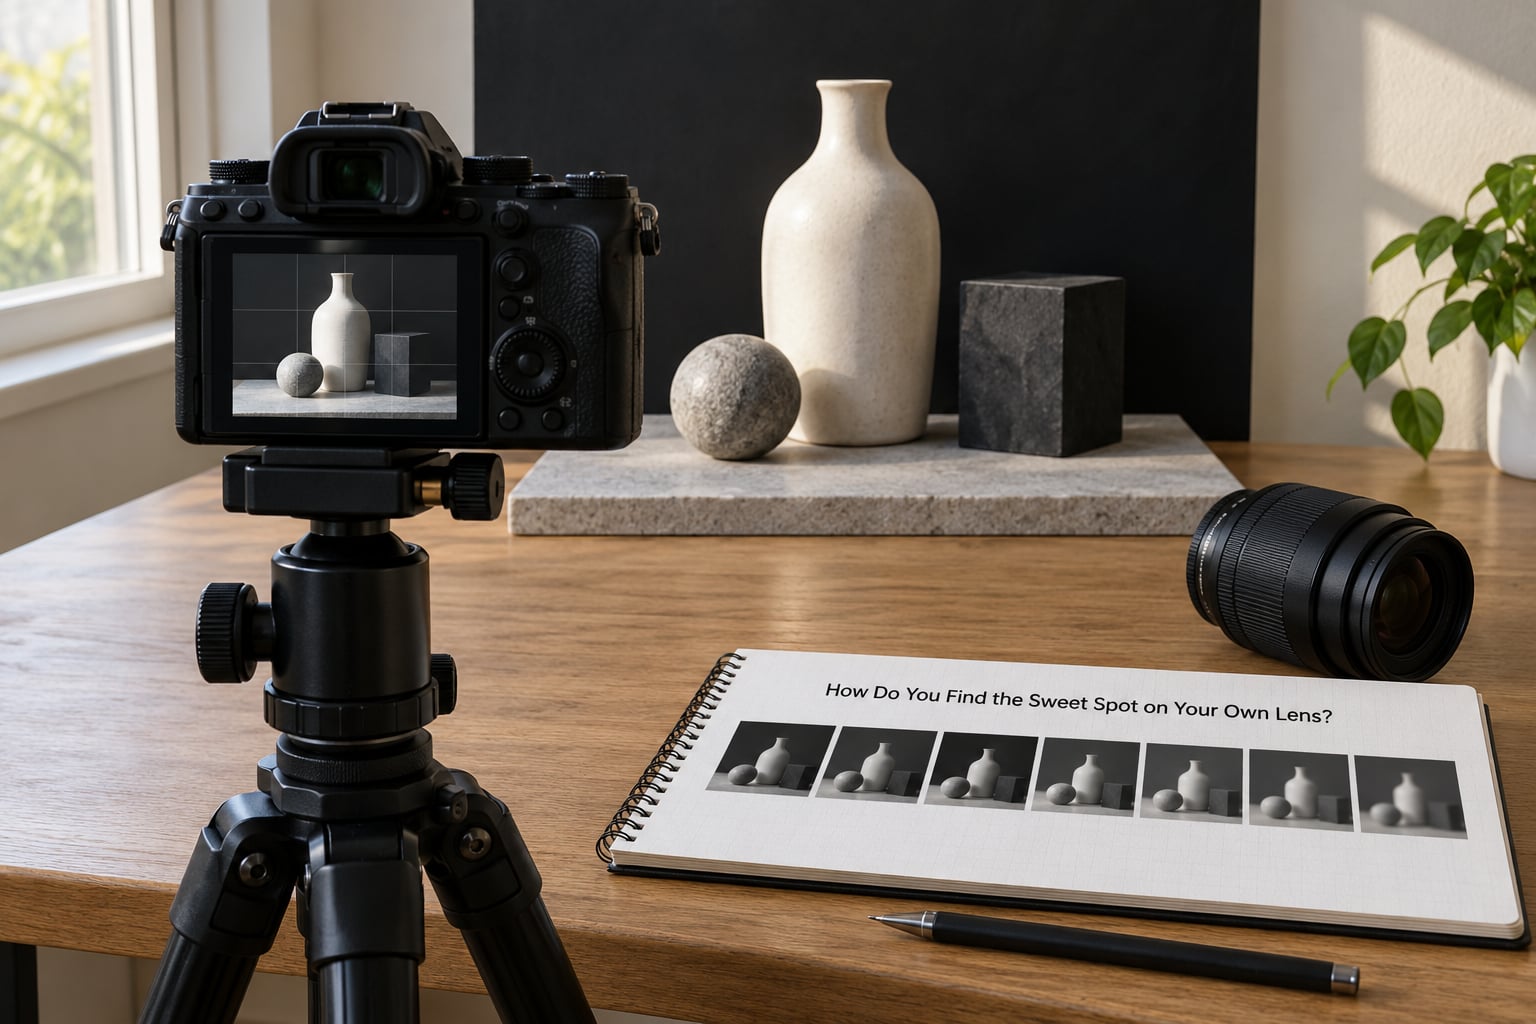
This is a ten-minute test and it beats any rule of thumb. Set up once, shoot a sweep, and you have your own answer for that lens on that body.
- Set up a fixed subject. Put a high-contrast target on a table: printed text, a Siemens star, or a set of black-and-white resolution charts taped flat. Lock the tripod, frame it, and never move the camera again.
- Fix the exposure variables. Manual mode, ISO 100, shutter speed raised until the histogram stays clear of the highlight clip. Shoot RAW.
- Focus manually and do not refocus. Manual focus at 10x magnification on the finest detail in the target. Once focus is set, leave the lens alone for the whole sweep.
- Use the self-timer or a remote release. A pressed shutter introduces its own blur, and that blur looks remarkably like a bad aperture choice.
- Shoot every full stop. Start at maximum aperture and work down through each full stop to f/16, keeping the framing identical. On a f/2.8 lens that is seven frames.
- Compare at 100 percent, on a decent monitor. Judge the centre and a corner separately, with sharpening turned off in your RAW converter. Ignore the back-of-camera screen, whose brightness settings will lie to you.
- Write the answer down. Note the f-stop where the corner catches the centre, and note where the first drop starts. That pair of numbers is the usable range for this lens, this body, this subject.
If you want numbers rather than opinions, shoot an ISO 12233 slanted-edge chart and measure the edge spread in software such as Quick MTF or Imatest. That gives you MTF50, the spatial frequency at which contrast drops to half, which is a much better sorting number than “looks sharp to me”.
Which f-Stop Should You Use Most Often?
This table is a starting point for each aperture setting. Where the sweet spot falls for a given lens depends on its design, and the last column tells you what each stop is really for.
| f-Stop | Likely Performance | Depth of Field | Best Used For |
|---|---|---|---|
| f/1.4 to f/2 | Softest on older designs, near peak on modern high-resolution primes | Very shallow | Portraits, low light, subject separation |
| f/2.8 | Wide open on many fast zooms, usually still soft | Shallow | Astro, wildlife, indoor action |
| f/4 | Noticeably crisper, aberrations mostly settled | Moderate | Groups, environmental portraits |
| f/5.6 | Most lenses are at or near their peak here | Good | Everyday shooting, travel, street |
| f/8 | The most common answer across tests | Deep | Landscape, architecture, products |
| f/11 | Holding, with diffraction starting to show | Very deep | Interiors, focus stacking |
| f/16 | Clear diffraction loss on most formats | Maximum | Focus stacking with a live-view screen |
If you remember one line from all of this: start at f/5.6 or f/8 and adjust from there. On a landscape forum the recurring advice was f/8 to f/11 with a good zoom for the extra depth of field, and testers of four different telephoto zooms found f/8 was the sharpest aperture at every focal length they tried.
What Trade-Offs Matter Beyond Technical Sharpness?
Sharpness at one aperture is not the same as a good photograph. Several other decisions sit alongside the f-number.
Shutter speed and camera movement. A sharp lens at 1/6s with a shaky camera gives you a soft photograph. Photographers on the forums describe chasing the perfect aperture while the shutter speed dropped below what handheld shooting allows, and blaming the lens for the result.
ISO and noise. Stopping down costs light, which pushes ISO up. On a modern body ISO 800 in good light is invisible, so an aperture chosen for shutter speed beats an aperture chosen for MTF.
Focus distance. Infinity and macro are different tests. A lens that peaks at f/8 at infinity often peaks closer to f/11 at close focus, because the exit pupil shrinks as you extend the barrel.
Subject separation. Aperture is also a rendering tool. Portrait shooters deliberately shoot wide open, away from the sweet spot, to keep the background soft. One commenter put the opposite view nicely: better a little diffraction across the whole frame than a soft foreground.
Focus accuracy. A lens micro-adjusted correctly can look sharper at the aperture you are using than a badly calibrated one at its theoretical best. If a specific copy of a lens looks soft at every aperture, focus calibration is the first thing to rule out.
How Do Sensor Size and Pixel Pitch Change the Answer?
Bigger pixels tolerate smaller apertures before diffraction catches them. Pixels on a full-frame body are physically larger than pixels on an APS-C or micro Four Thirds body with a similar resolution, so the diffraction wall arrives later on the larger format.
More megapixels change the balance again. Tighter pixels resolve more detail when the lens delivers it, which is a good thing, but they also start showing diffraction softness sooner. A 45 or 60 megapixel camera may look softer at f/11 than a 24 megapixel body with the same lens, while still recording more usable detail at f/8.
So more megapixels does not mean smaller apertures are always better. The extra resolution is only real if the light is getting through the lens cleanly, and past the diffraction threshold it arrives already softened.
Viewing conditions matter as much as the number. A 61 megapixel file judged on a laptop screen may show almost no difference between f/8 and f/11. Printed at two metres wide, the same pair of frames looks nothing alike.
What Is the Sweet Spot of a Lens in Everyday Photography?
Start where the physics is best and move away from it only when the picture needs you to.
- Landscape: f/8, or f/11 when you need the front-to-back depth and can focus on a tripod.
- Portrait: f/1.4 to f/2.8, chosen for background separation rather than peak sharpness.
- Groups and events: f/4 to f/5.6 so everybody in the frame stays acceptably sharp.
- Street and travel: f/5.6, a safe middle that suits daylight and needs no tripod.
- Macro: f/8 to f/11, then focus stack if you want both ends of the subject sharp.
- Low light and events: the widest aperture the lens offers, because a fast shutter and a clean file beat a sharp but noisy frame.
A short field checklist: put the lens at f/5.6 or f/8 first. If the shutter speed lands where you need it, stay there. If it does not, change the ISO before you change the aperture. Only then move the f-stop for depth of field, and accept a little diffraction in exchange for a photograph you can actually make.
Frequently Asked Questions
Is f/8 always the sweet spot of a lens?
No. f/8 is the most common answer because it sits near the top of most lenses’ resolution curves, but plenty of fast primes peak wide open or one stop down at f/2.8, and some zoom lenses peak at f/11. Manufacturer MTF charts usually plot wide open and f/8 for exactly that reason: one covers the modern high-resolution crowd, the other covers everything else.
Does stopping down always make a lens sharper?
Only for the first few stops. From maximum aperture down to roughly two or three stops the image usually gains resolution, then holds steady, then loses detail to diffraction. On a full-frame lens that loss typically start around f/11 and is obvious by f/16 or f/22. On smaller sensors it arrives earlier, so the useful range is shorter.
What aperture gives the least diffraction?
The widest aperture you can shoot without other problems. Diffraction only appears when the opening gets small, so the least-diffraction setting is the one closest to maximum aperture. If you need depth of field, take the smallest aperture that meets the requirement rather than the smallest aperture the lens offers, since f/16 and f/22 add softness for depth of field you probably do not need.
Is a smaller sensor more affected by diffraction?
Yes, for the same resolution and the same lens. Tighter pixel spacing means the diffraction spot spreads across a larger proportion of each pixel, so softening appears at a wider aperture than on full frame. A field test of an APS-C zoom found f/16 and f/22 badly degraded while f/8 was sharp at every focal length, which matches what full-frame shooters see a stop or two later.
Should I use the optical sweet spot when shooting handheld?
Only when the shutter speed stays safe. The sweet spot controls sharpness, not stability, and a sharp frame at 1/8s still blurs if the camera moves. Raise ISO before you sacrifice shutter speed, and only stop down as far as your hands allow. On a tripod for landscapes, chase the sweet spot all the way to f/11 without concern.
Conclusion
The sweet spot of a lens is a usable range, not a magic number, and it usually sits two or three stops down from the widest opening. Most of the time that lands you at f/5.6 or f/8, which is a fine place to start every time you pick up a camera.
From there, spend ten minutes with a tripod and a chart. Shoot the sweep, compare the crops, write the numbers on a piece of tape and stick them to the lens. That answer will be more accurate than any chart a stranger drew for the same model, and it will still be right next year.