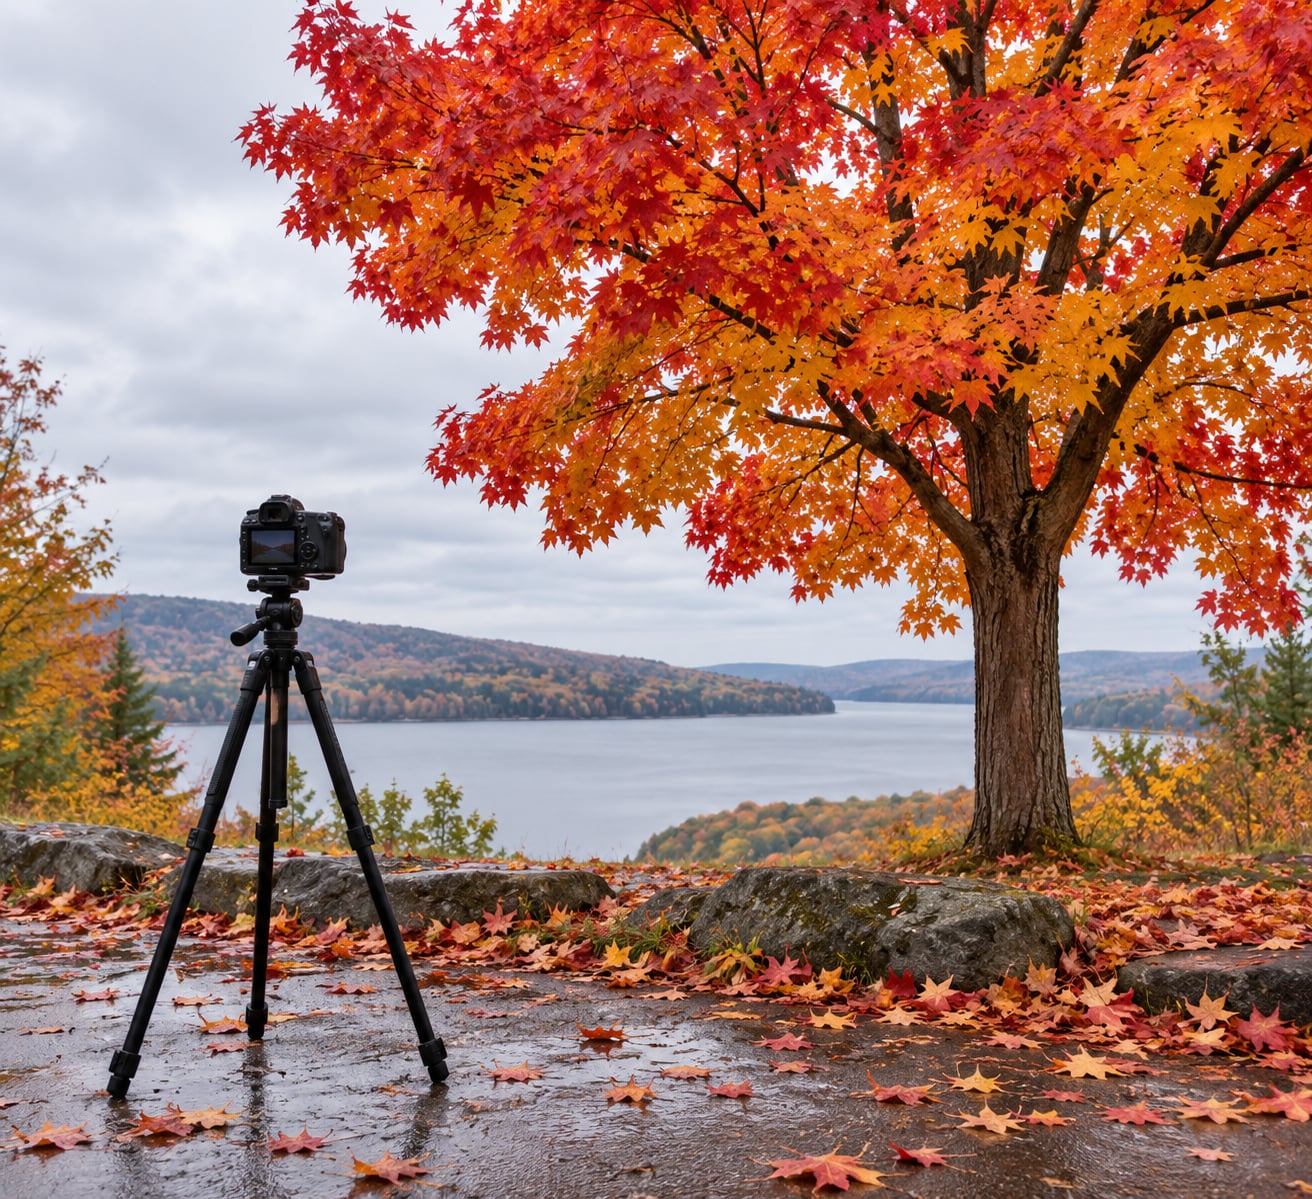
Cloudy light is the easiest light there is for autumn color, not the worst. To photograph autumn color on a cloudy day, shoot RAW, set white balance to Cloudy or Shade, start around f/5.6 to f/8 at ISO 400 to 800 and 1/125 s or faster, then add roughly +1.0 EV on a bright overcast day so the leaves brighten without the sky going white. Give yourself fifteen minutes in one good spot and the frames will hold up.
Most autumn advice assumes golden hour, which quietly tells you to cancel every gray morning of the season. Here is a workflow built for the other half of autumn, with the numbers, the mistakes and the honest limits. Updated for October 2026.
Table of Contents
- What You Need to Photograph Autumn Color on a Cloudy Day
- Step-by-Step: Photographing Autumn Color on a Cloudy Day
- 1. Plan Around Soft, Directional Light
- 2. Choose a Scene With Clear Color and Contrast
- 3. Set the Camera for Reliable Cloudy-Day Exposure
- 4. Compose Around Foliage, Sky, and Texture
- 5. Focus on the Most Important Details
- 6. Make Simple Edits to Bring Out Autumn Color
- Common Overcast Autumn Mistakes
- Frequently Asked Questions
- Can I photograph autumn leaves with a smartphone on a cloudy day?
- Should I underexpose when photographing bright autumn colors under clouds?
- How do I keep autumn leaves looking natural in post-processing?
- What is the best way to focus on autumn foliage when the wind is moving?
- How do cloudy skies affect the background of autumn photographs?
- What should I do if my autumn colors look dull and flat?
- Conclusion
What You Need to Photograph Autumn Color on a Cloudy Day
You need very little. Any camera that shoots RAW will do, and so will a decent phone camera. The gear matters far less than the light and the exposure decisions below.
- Camera with RAW capture. RAW is what lets you pull color back after the fact without the fried look JPEG gives you when you push saturation.
- Any focal length you already own. A wide angle for a whole hillside, a normal lens for a single tree, a telephoto to stack ridge lines and compress the color.
- Rain and cold protection. A zip-top bag or a camera rain cover, a microfiber cloth, and a spare battery kept in an inside pocket. Batteries drain faster in cold damp air, and a light drizzle gets inside a body faster than most people expect.
- Starting settings, dialed in before you leave. Aperture priority or manual, f/5.6 to f/8, minimum shutter 1/125 s, Auto ISO capped around 1600, white balance on Cloudy or Shade, RAW plus JPEG.
- A tripod, if you have one. Not essential in daylight, but it opens up fog, still water and long exposures where leaves blur into streaks.
One filter note, because it wastes money and weight. A circular polarizer needs direct light to work. Under a full cloud deck there is no polarization left to cut, so it does almost nothing for color or sky on a gray day. Leave it in the bag and use the Highlight Clarity and Dehaze sliders in Adobe Camera Raw or Lightroom to recover the punch a polarizer would have given you.
Step-by-Step: Photographing Autumn Color on a Cloudy Day
1. Plan Around Soft, Directional Light
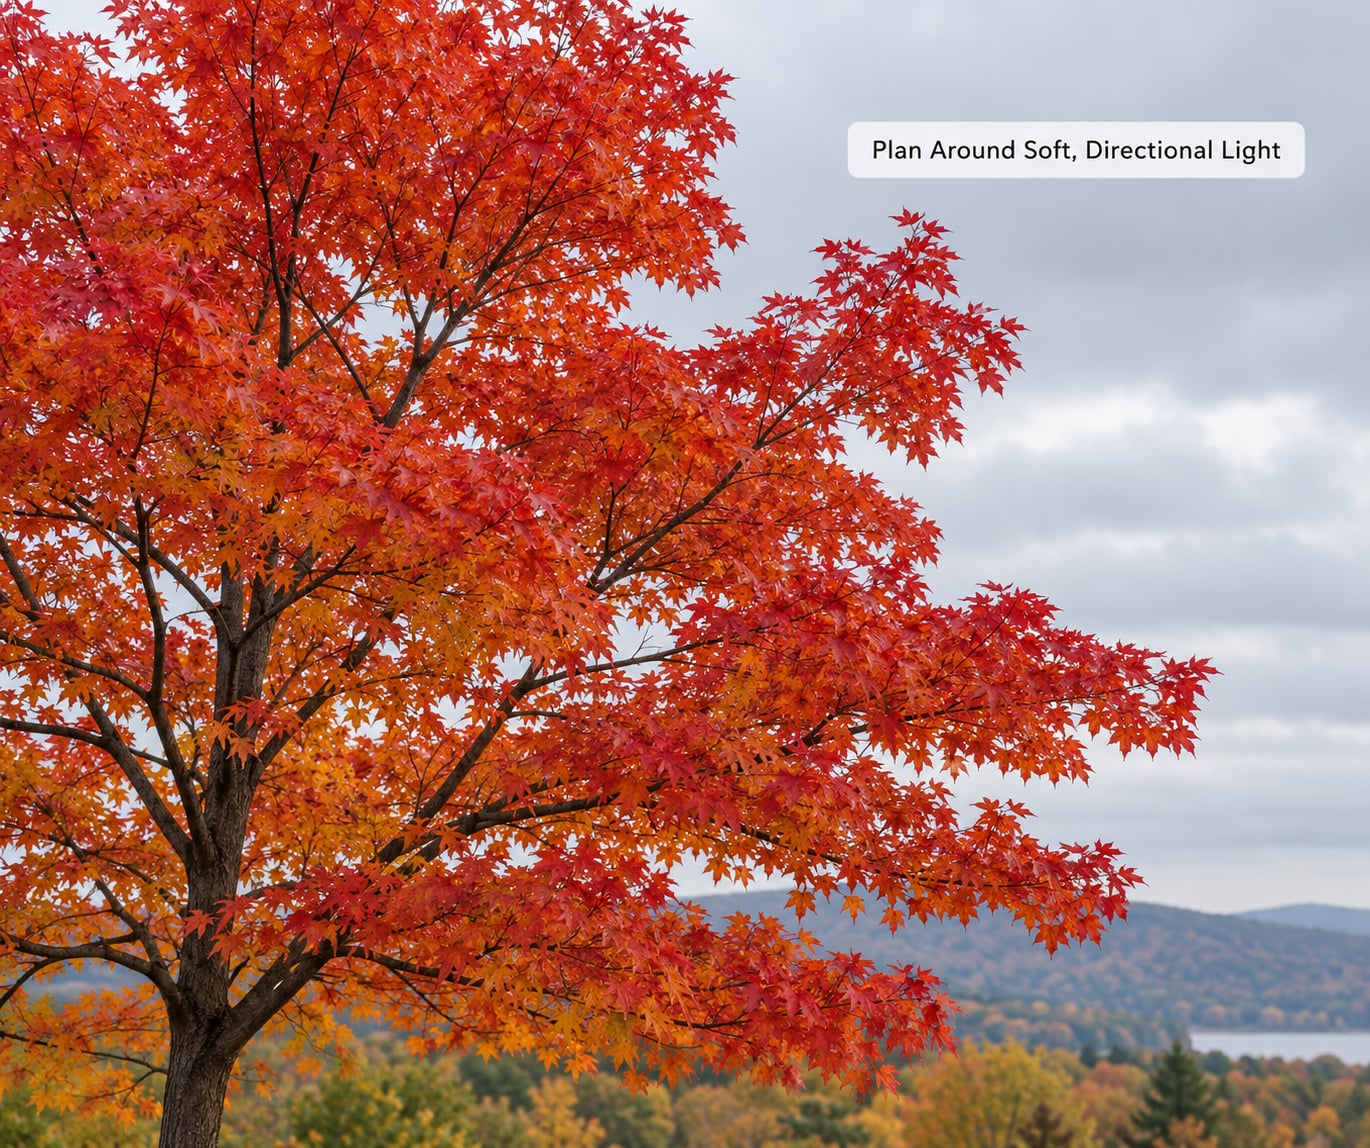
Clouds do one job well, and it is the job you want. They scatter sunlight across a wide angle before it reaches the leaves, so no single leaf is lit harder than its neighbor. Shadows turn soft and shallow, and that is the condition where mixed reds, oranges and yellows all keep their color at once instead of the bright side blowing out while the shaded side goes muddy.
Flat is not the same as featureless. Watch for a thin patch where the sun is behind the deck, then stand with that brighter patch behind you or off one shoulder. You get a gentle gradient across the canopy and a little shape on the leaves, and that gradient is what stops the frame looking like a paint chip.
A fifteen-minute field sequence works well. Spend five minutes walking the edge of the grove to find your strongest color. Stand still for three minutes and watch where the light is brightest. Make three frames, walk ten steps sideways, make three more. Only then change anything.
2. Choose a Scene With Clear Color and Contrast
With shadows gone, contrast has to come from somewhere else. Put warm leaves against something dark: a trunk, an evergreen wall, a shaded understory. A single bright maple against a deep hemlock hedge photographs better in flat light than a whole slope of mixed color, because your eye has somewhere to land.
Look for one dominant color and let it own the frame. A hillside of red with one yellow tree at the edge reads as a mistake. A stand of yellow aspen with a single red branch in front reads as a photograph.
Watch the background for clutter and bright exits. A pale road, a sky gap or a white fence behind the tree pulls attention out of the leaves faster than any editing mistake. Moving a few steps sideways usually fixes it for free.
3. Set the Camera for Reliable Cloudy-Day Exposure
Here is the recipe. Exposure mode on aperture priority at f/5.6 to f/8 for scenes and f/2.8 to f/4 for a single leaf or cluster. Shutter speed 1/125 s or faster handheld, 1/250 s when the wind is up. Auto ISO with a ceiling, or a fixed ISO 400 to 800 in decent light. White balance on Cloudy or Shade. Exposure compensation at +0.3 EV on a thick gray sky and +1.0 to +2.0 EV on a thin, bright overcast.
That compensation number matters more than anything else here. On a bright overcast day the camera meters the bright sky and underexposes the foliage, which is the dull-and-green look people complain about. Shoot one frame at +1.7 EV, roughly the range photographers recommend for bright overcast, and check it on the camera screen before committing to the rest.
| Setting | Bright overcast | Direct sun |
|---|---|---|
| Exposure mode | Aperture priority or manual | Aperture priority or manual |
| Aperture | f/5.6 to f/8 | f/8 to f/11 |
| Shutter speed | 1/125 s or faster | 1/500 s or faster |
| ISO | 400 to 800, cap at 1600 | 100 to 200 |
| White balance | Cloudy or Shade | Daylight |
| Exposure compensation | +1.0 to +2.0 EV | -0.3 to -0.7 EV |
| Polarizer | Little effect under cloud | Worth using |
| Tripod | Optional, useful for fog | Rarely needed |
| Condition | Aperture | Shutter | ISO | Compensation |
|---|---|---|---|---|
| Bright thin overcast | f/5.6 | 1/250 s | 200 | +1.7 EV |
| Standard gray overcast | f/5.6 to f/8 | 1/125 s | 400 to 800 | +0.5 EV |
| Post-storm dark clouds | f/4 to f/5.6 | 1/60 s | 800 to 1600 | 0 to -0.3 EV |
| Fog and mist | f/5.6 to f/8 | 1/125 s | 400 to 800 | +0.7 EV |
| Sun breaking through | f/8 | 1/500 s | 100 | -0.7 EV |
Two more habits worth building. Check the histogram after every frame, and treat a highlight spike on the right as a problem you can still fix by dialing in compensation, not by rescuing it in post. If the sky is brighter than the foliage and you want both, switch to spot or partial metering on the leaves, lock it with AE lock, then reframe. A two or three stop graduated ND filter does the same job physically and works well on a wide view of a valley under a bright deck.
Keep ISO as low as the light allows. Plenty of landscape photographers shoot fall color between f/5.6 and f/10 and accept slower shutter speeds rather than pushing the ISO, and the files come out noticeably cleaner. Where the branches are still and a tripod is available, that is the better trade.
4. Compose Around Foliage, Sky, and Texture
Without shadows, depth comes from layering. Put a dark out-of-focus branch in the foreground, mid-ground leaves sharp, and a paler background. Three planes read as depth even under a featureless sky.
Pick a focal length on purpose. Wide angles include sky, which on an overcast day is the brightest and least interesting part of the frame, and they stretch the outer trees. A 70 to 200mm range isolates a single tree, layers the ridges behind it and keeps the sky out entirely. Try both before you leave the spot.
Flat light is unusually good at texture: leaf veins, wet bark, moss, a spiderweb strung between two branches. Get close and shoot wide open at 1/250 s. Monochrome is worth one attempt here too, since removing color from a scene that has no light drama often leaves you needing something real to photograph. Make sure there is one.
Rain is a bonus, not a problem. Wet leaves darken and deepen, drops on a single aspen leaf make a strong subject, and a creek running through colored trees gives you a reflection to balance the frame. Shoot during the rain or right after, not an hour later when everything has dried.
5. Focus on the Most Important Details
Use single-point autofocus or a small zone, placed on a leaf or branch near the front of the subject, then check sharpness at 100 percent before you move. Focus peaking, if your camera has it, turns in-focus areas colored and makes this nearly foolproof.
Wind is usually the real limit. If the subject is moving, raise shutter speed to 1/250 s or 1/320 s, shoot short bursts, and pick the sharp frame later. Slowing the shutter to gather more light is fine when the branches are genuinely still, such as under a dense canopy or in the first hour after rain, but it turns moving leaves into soft smears.
Steady a long lens on a tree or railing rather than your own body when you are at 200mm. Meter once, hold it with AE lock, and stop re-metering for every frame as clouds move.
6. Make Simple Edits to Bring Out Autumn Color

Overcast RAW files are flat in a recoverable way. Work in this order and stop before it looks cooked.
- White balance. Add about 400 to 600 Kelvin of warmth to the Cloudy or Shade starting point, then check the histogram. Neutral gray should sit close to the middle, not blown.
- Exposure and highlights. Lift exposure slightly, pull highlights down to recover any clipped sky, and add a small amount of black point for shape.
- Clarity instead of saturation. Raise Texture and Clarity a little, then add 20 to 30 vibrance. Vibrance lifts the dull reds without touching the greens that are already fine. Saturation is the dial that produces orange trees that no longer look like trees.
- Dehaze or Highlight Clarity. This is the software stand-in for a polarizer, and it is worth 10 to 20 clicks under overcast skies.
- Targeted color. In the HSL panel, raise luminance on the orange and yellow ranges slightly and pull saturation back on any leaf that has gone neon.
- Sharpen and crop. Masked sharpening at a low amount, then crop the empty sky out or convert the frame to black and white.
Keep the target simple: a Cloudy white balance JPEG that looks natural rather than cooked. That is the whole standard.
Common Overcast Autumn Mistakes
- Foliage too dark under a bright sky. The camera metered the sky. Switch to spot metering on the leaves, lock exposure, and add +1.0 to +2.0 EV.
- Color looks cooked and orange. You stacked saturation on a file that was already warm. Undo it, reset vibrance to zero, and re-grade from a neutral white balance.
- Everything looks flat and lifeless. That is the scene, not the camera. Add depth with a foreground layer, a telephoto compression, or a texture subject close up.
- Blurry leaves. Shutter speed was too slow for moving foliage. Go to 1/250 s, raise ISO a stop if you must, and accept some noise.
- Sky blown to white. Watch the histogram, not the screen, which lies outdoors. Protect highlights with spot metering, exposure compensation, or a graduated ND.
- Too little depth of field. Wide open at f/1.8 gives you one sharp leaf and a blur of mush behind it. f/5.6 or f/8 keeps the tree readable.
- Bracketed HDR looks wrong. Wind moves the leaves between frames, so a three-shot merge ghosts and doubles the branches. Shoot a single well-exposed frame instead, or a blend of only two.
- Carrying a polarizer in the rain for nothing. Under full cloud it does almost nothing. Take the weight off your neck.
Frequently Asked Questions
Can I photograph autumn leaves with a smartphone on a cloudy day?
Yes. Tap the subject to set exposure, then add about a stop of exposure compensation so the leaves brighten without the sky going white. On most phones, hold the screen on the foliage and use the exposure slider rather than pinching to zoom, which also keeps the background sharp. Shoot in the highest resolution and RAW mode if your phone offers it.
Should I underexpose when photographing bright autumn colors under clouds?
No, not for the foliage. The instinct to protect a bright sky comes from the camera metering the brightest part of the frame, which leaves the leaves muddy and green. Meter on the leaves and add roughly plus one to plus two stops of exposure compensation. If the sky clips, recover it in editing from the RAW file or use a graduated filter instead of darkening the whole scene.
How do I keep autumn leaves looking natural in post-processing?
Use vibrance rather than saturation, and change one thing at a time. Warm the white balance first, then exposure, then clarity and dehaze, and only then add about twenty to thirty vibrance. If a leaf reads neon orange, pull its saturation back in the HSL panel until it matches its neighbours. Shoot RAW, because that is what gives you room to make these moves without breaking up.
What is the best way to focus on autumn foliage when the wind is moving?
Use single-point autofocus placed on a leaf or branch near the front of the tree, then raise the shutter speed to 1/250 s or faster to freeze the motion. Shoot short bursts and choose the sharp frame in playback. If the branches are genuinely still, you can slow down to 1/125 s or use a tripod, but moving leaves at that speed usually turn into smears.
How do cloudy skies affect the background of autumn photographs?
An overcast sky is the brightest thing in most frames, so it pulls attention away from the leaves and clips easily. You have three options: keep it out with a tighter focal length, balance it with a dark trunk or evergreen behind the tree, or protect it with spot metering and a graduated ND filter. Fog and mist are the exception, where a pale background separates dark trunks beautifully and needs no correction.
What should I do if my autumn colors look dull and flat?
Check the file before you edit. A dull image is usually a dark, underexposed capture rather than a bad edit, so go back and add exposure compensation next time. In editing, add a small amount of texture, clarity and dehaze, then vibrance rather than saturation. If it still reads flat, the fix is in the field: layer a dark foreground, choose a telephoto view, or get close to a wet leaf or textured trunk.
Conclusion
Do this first: find one tree with strong color against something dark, get the camera out of the bag before the wind picks up, and make a single frame at f/5.6, 1/250 s, ISO 400 with the white balance on Cloudy and +1.7 EV. Check the histogram, protect the leaves, and only then move on to composition and editing. Cloudy days will not give you the light you wanted, but they will give you most of a season of photographs.