Exposure compensation is a camera setting that lets you tell your camera to ignore its own brightness judgment and shoot a specific number of stops brighter or darker. You dial in a value like +1 or -2, the camera applies it, and your photo comes out the way you wanted. That is what exposure compensation and how to use it really means: one control, a scale of stops, and a short cycle of check, adjust, shoot.
Most beginners find it hard because the camera never says “I got this wrong.” It just renders a confident, evenly grey picture of a scene that is actually mostly white. The fix takes about three seconds once you know where the control lives on your camera.
Table of Contents
- What Is Exposure Compensation?
- What Does Exposure Compensation Do?
- How to Use Exposure Compensation in Different Camera Modes
- What Is Exposure Compensation and How to Use It Step by Step
- Look at the picture, not the settings
- Pick a mode that lets the camera breathe
- Set a starting value
- Check the histogram or the highlight warning
- Adjust in small increments and reshoot
- Reset to zero when the light changes
- Where the control lives by brand
- How Much Exposure Compensation Should You Use?
- When Should You Use Positive or Negative Exposure Compensation?
- Exposure Compensation vs. ISO, Aperture, and Shutter Speed
- How to Avoid Common Exposure Compensation Mistakes
- Frequently Asked Questions
- What is exposure compensation and how does it work?
- Does exposure compensation do anything in manual mode?
- What is the difference between exposure compensation and ISO?
- What should I set my exposure compensation to?
- What should my exposure be set to on my iPhone?
- Conclusion
What Is Exposure Compensation?
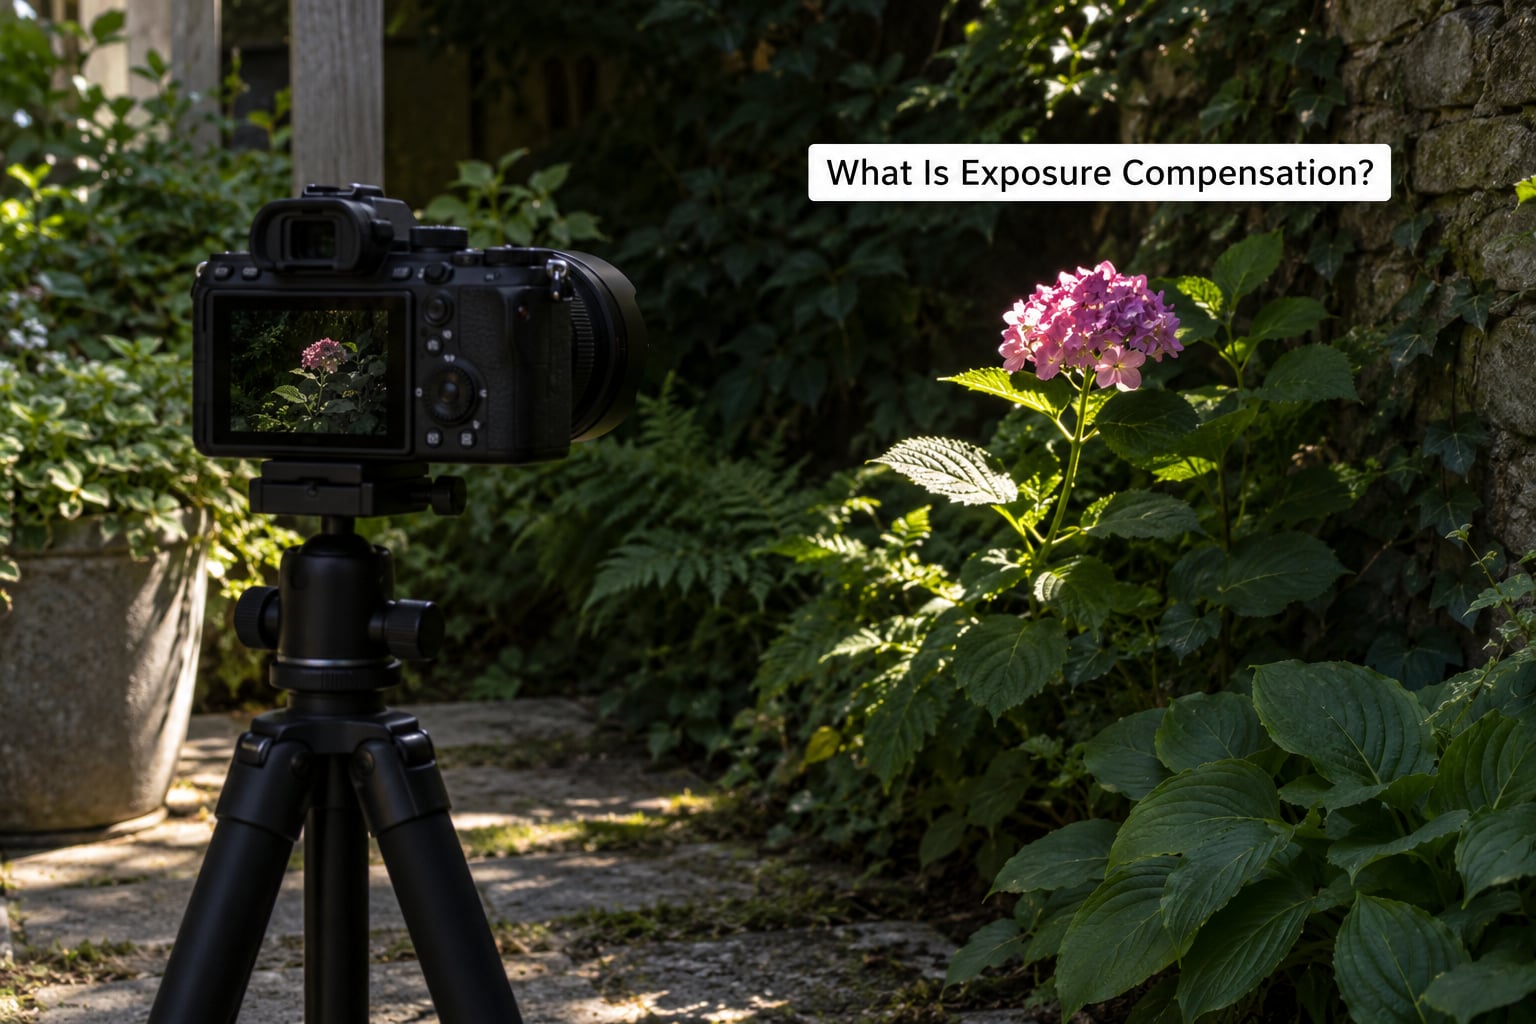
Exposure compensation is a dial or button that adds or subtracts stops from the exposure value your camera calculates on its own. Positive values make the photo brighter, negative values make it darker, and zero hands everything back to the camera.
The key word is stops. One stop is a doubling or halving of the light reaching the sensor, which is why a +1 adjustment feels like a large change and a third of a stop feels like a nudge. Most cameras let you work in one-third or one-half stop steps, so the scale runs something like -3, -2 2/3, -2 1/3, -2, down to zero, and back up in matching increments.
It is worth being clear about what compensation does not do. It does not add light to the scene, it does not open your lens, and it does not change how many photos you can take before the batteries die. It changes the brightness of the file your camera writes, by asking the camera to overrule its own meter by a fixed amount.
What Does Exposure Compensation Do?
Compensation tells the camera to ignore the exposure it calculated and add your number of stops on top of it. Add a stop and everything in the frame gets brighter. Subtract a stop and everything gets darker, including the shadows.
Why would you want to do that? Because camera meters assume the world is a mid-tone grey. Most bright scenes come out too dark and most dark scenes come out too bright, and compensation is the fastest correction for that bias.
| Setting | Light change | What it looks like |
|---|---|---|
| +2 EV | 4x more light | Only for extreme cases like deep snow or a strongly backlit subject |
| +1 EV | 2x more light | A clear lift, good for backlit portraits and sand or water scenes |
| +1/2 EV | About 1.4x more light | Enough to correct most bright subjects |
| +1/3 EV | About 1.26x more light | The usual first move when a shot looks slightly flat |
| 0 EV | No change | The camera’s own reading, with no correction |
| -1/3 to -1 EV | Between 0.79x and 0.5x the light | Protects a white sky over a dark foreground |
| -1.7 EV | About 0.3x the light | Standard for bright snow, sand and overcast skies |
Two things to keep separate. Exposure compensation is not the same as ISO, which changes how sensitive the sensor is and how much noise ends up in the shadows. It is also not the same as changing aperture or shutter speed yourself, which is what you would do in manual mode.
How to Use Exposure Compensation in Different Camera Modes
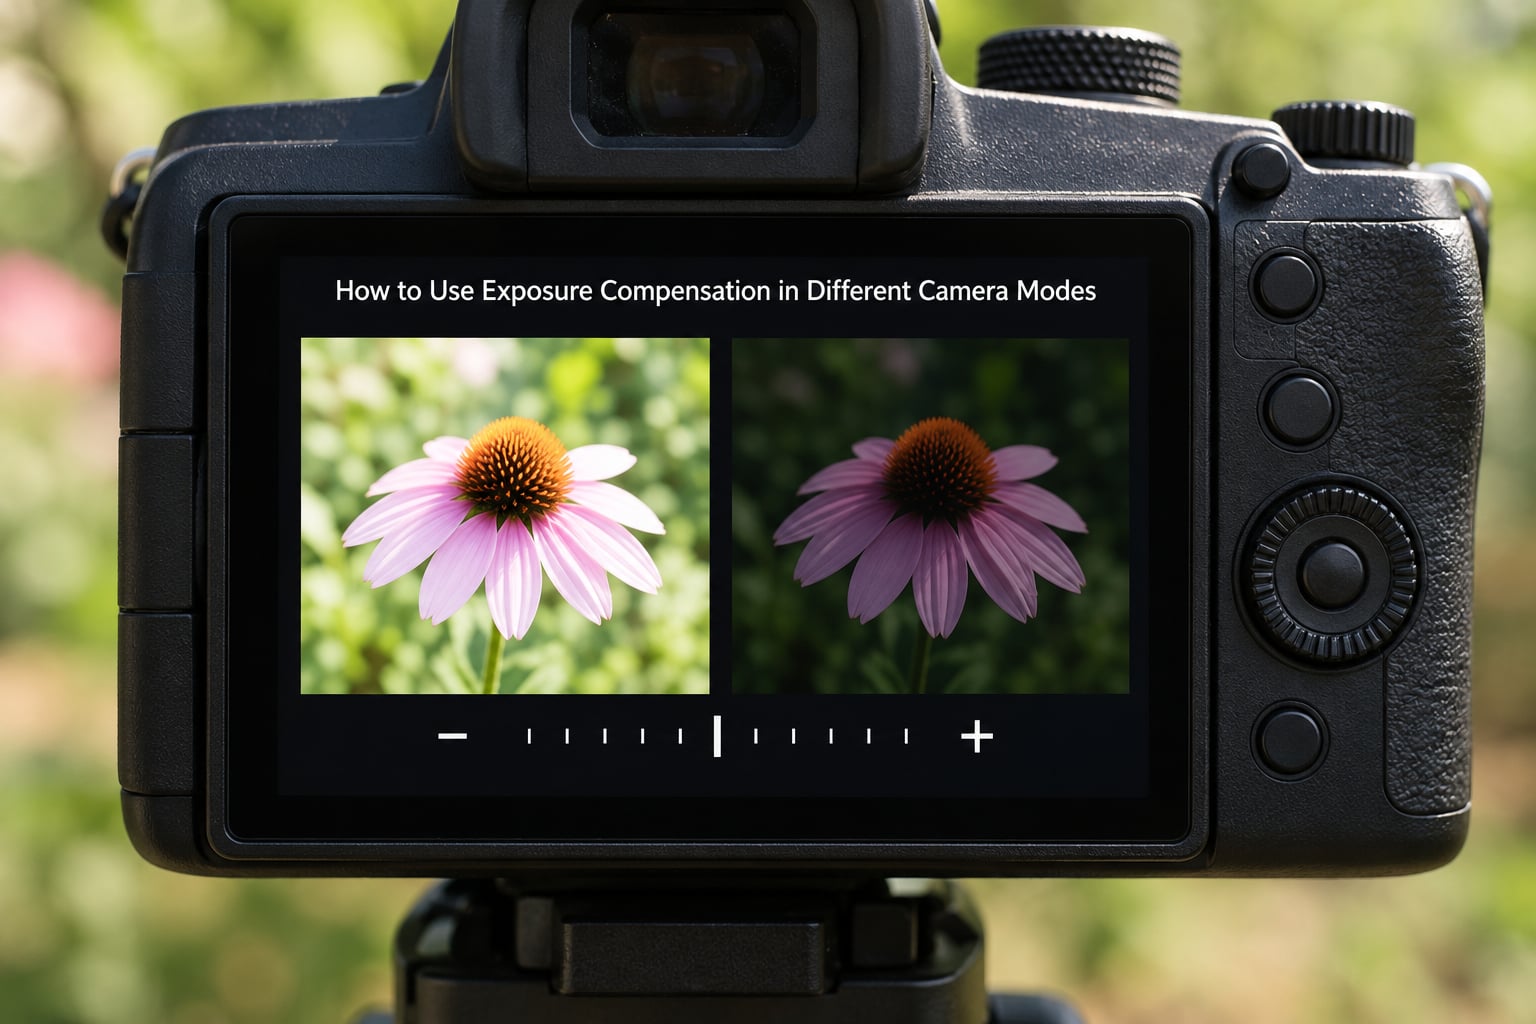
Compensation only does something when the camera is still choosing part of the exposure for you. In fully manual mode with a fixed ISO, turning the dial changes nothing at all.
| Mode | What the camera decides | What compensation changes |
|---|---|---|
| Program (P) | Both aperture and shutter speed | Both, moved together to keep the brightness shift |
| Aperture priority (A or Av) | Shutter speed | Shutter speed. Your aperture stays where you set it, so depth of field is untouched |
| Shutter priority (S or Tv) | Aperture | Aperture. Motion blur stays controlled, depth of field shifts |
| Manual (M), fixed ISO | Nothing | Nothing. This is the setting people get stuck on |
| Manual (M) with Auto ISO | ISO | ISO moves to hit your offset. This one works, and surprises people |
Aperture priority is where most photographers live, and it is the cleanest way to use compensation: you choose the depth of field, the camera handles brightness, and your dial nudges the result. If you have Auto ISO switched on in manual mode, the camera raises or lowers ISO to satisfy the compensation value, which is how manual-mode shooters end up with an ISO they never chose.
On video the range is usually narrower than for stills. Sony, for one, allows about -3 to +3 EV for photos but only -2 to +2 for video, and some bodies disable compensation entirely when flash is firing.
What Is Exposure Compensation and How to Use It Step by Step
Here is the loop that works every time, and it takes less than ten seconds per shot once you have it down.
Look at the picture, not the settings
Ignore the aperture and shutter speed for a second. Ask whether the picture looks right: too dark overall, too flat, with a white sky blown out, or a face sitting in shade.
Pick a mode that lets the camera breathe
Aperture priority or program mode will respond to compensation instantly. Manual with a fixed ISO will not, so switch first if you are in it.
Set a starting value
For a small correction, take one third of a stop. For a clearly wrong-looking shot, take a full stop. You can always refine.
Check the histogram or the highlight warning
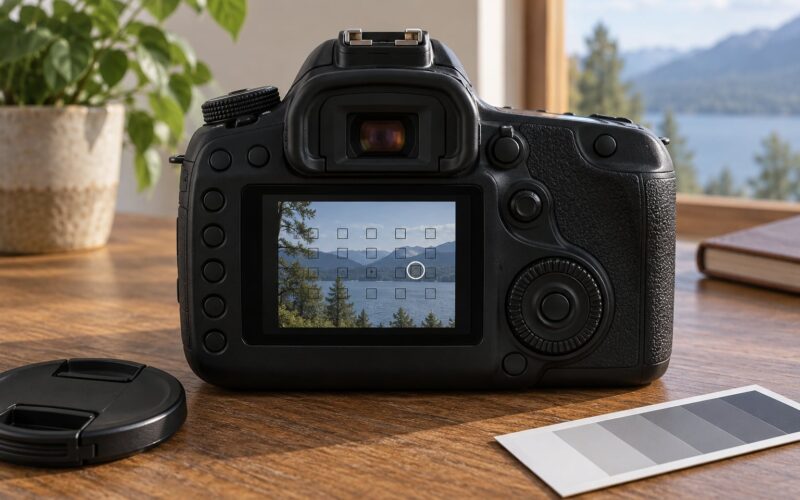
On the rear screen or in playback, look for data piled against the right-hand edge. That means clipped highlights, and more positive compensation will not recover them.
Adjust in small increments and reshoot
Move one third of a stop at a time. Half-stop jumps feel enormous when you are close to correct.
Reset to zero when the light changes
This is the single most common mistake, and it is why compensation should go back to zero the moment the scene does. Setting it back to zero on a dedicated dial or button takes one press.
Where the control lives by brand
Names differ, but every body does the same thing. On Canon bodies it is usually the exposure compensation or aperture button next to the rear control wheel, or a half-press-and-turn of that button. On Nikon it is the small exposure compensation button beside the shutter release, though some older DSLRs put it on the plus and minus keys of the directional pad. Sony puts it on the control wheel, or under Exposure Comp. in the menu. Fujifilm gives you a physical exposure compensation dial, which is why those users like the feature so much. Panasonic and Olympus bodies usually put it on a top dial or behind a touch exposure compensation tab.
How Much Exposure Compensation Should You Use?
Start with what the subject looks like and add one stop of caution. Bright scenes need positive compensation because the meter reads them as too dark; dark scenes need negative compensation for the same reason.
| Scene | Typical starting value | Reason |
|---|---|---|
| Backlit portrait | +1 to +2 EV | The bright background is pulling the reading down |
| Snow, sand, bright sky | +1.7 EV | Near-white scenes read as mid-grey and underexpose |
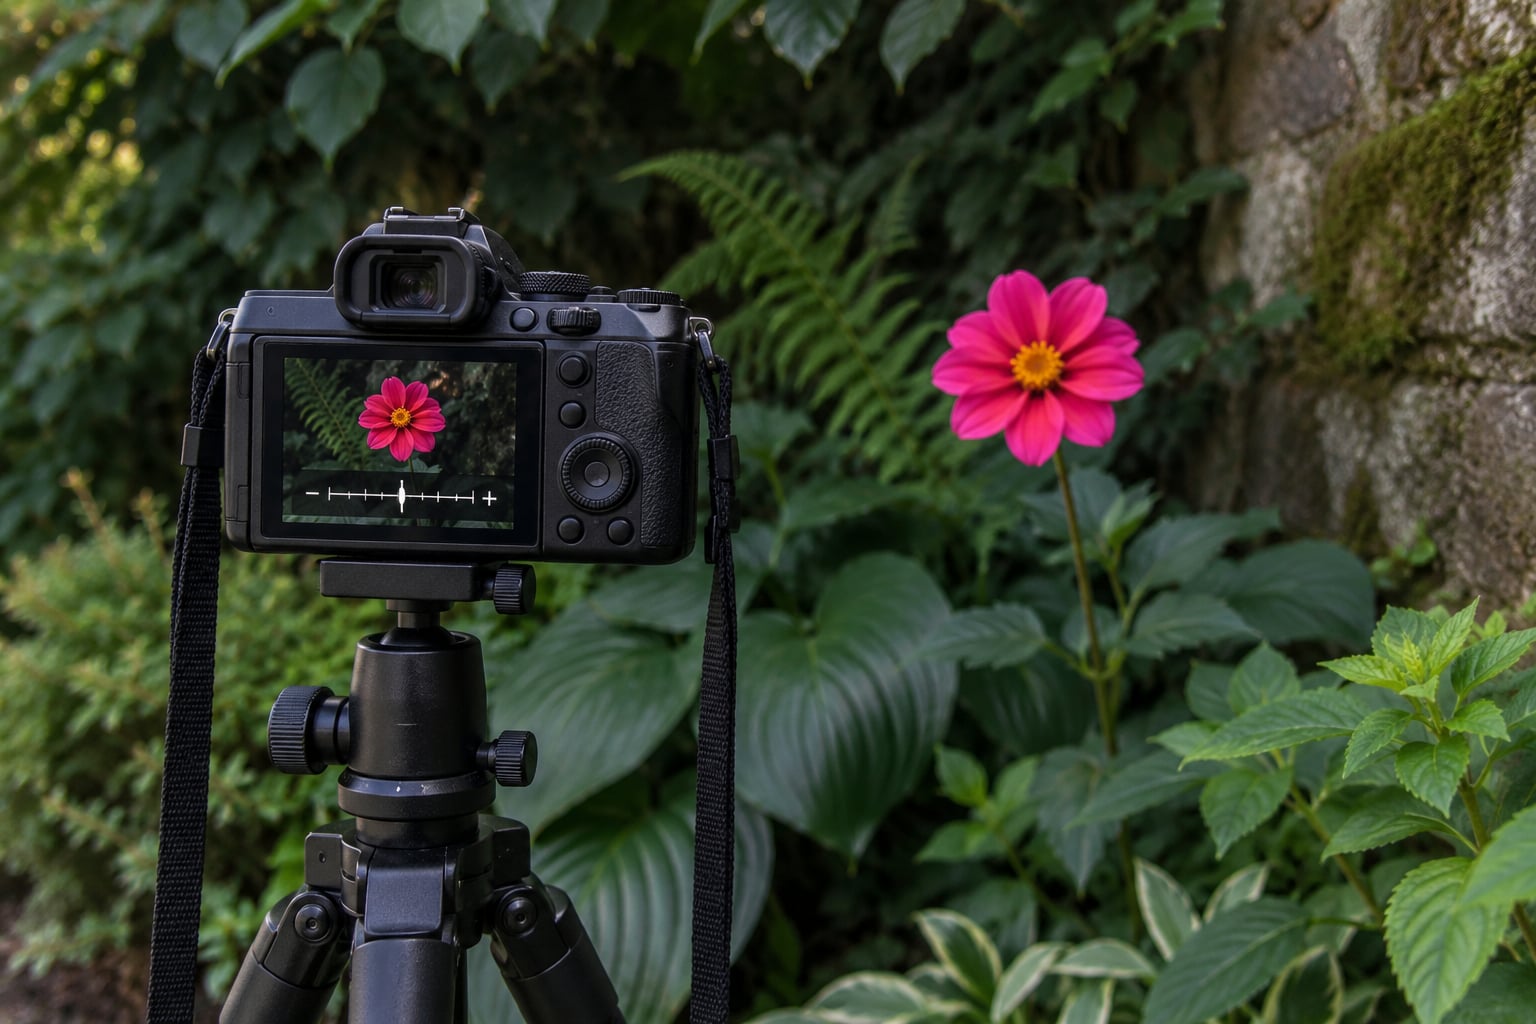
| Flower against foliage | +1/3 to +1 EV | Spot metering the flower helps, but the dark leaves still pull |
| Black clothing or dark hair | -1 EV | Dark subjects get pushed towards grey and the background blows out |
| Concert or stage lighting | -0.7 to -1 EV | Spot or centre-weighted metering on the lit face works best here |
| Intended bright, airy look | +0.7 EV | A deliberate style choice rather than a correction |
| Intended moody, low key look | -0.7 EV | Keeps blacks deep and lets the key light do the work |
Metering pattern changes the number you need. Evaluative or matrix metering reads the whole frame and usually wants a small nudge. Spot or partial metering on the face lets you hold the exposure and skip compensation almost entirely.
The histogram is the honest check. Data touching the right wall means highlights are gone for good, and no amount of pulling back in editing will bring texture back. Data sitting hard against the opposite wall means shadows have merged into black with no detail left in them.
When Should You Use Positive or Negative Exposure Compensation?
Positive compensation suits scenes dominated by light. Backlit portraits are the classic case, where the sun sits behind your subject and the meter tries to protect the sky, leaving a face in shadow. Snow and sand are the other two, and both regularly need around +1.7 EV. A pale wall, a wedding dress against dark trees, or a white product on a seamless sweep all behave the same way.
Negative compensation suits scenes dominated by dark. Black hair against a bright sky, dark clothing in daylight, or a black dog on wet pavement. Stage lighting is the other big one, where a spot meter on the lit face and a stop or so of negative compensation keeps the background from turning white.
Worth knowing that people deliberately underexpose by a third of a stop to get slightly richer colour and cleaner highlight transitions. That is a style decision, and it works well with file types that hold extra highlight range.
Exposure Compensation vs. ISO, Aperture, and Shutter Speed
All four controls change brightness, and only one of them is the right choice in a given situation. Compensation is a fast, reversible brightness correction that leaves your aperture, shutter speed and ISO alone.
| Control | Effect on brightness | Side effect | Reach for it when |
|---|---|---|---|
| Exposure compensation | Brightness up or down | Changes shutter speed or aperture automatically | The meter got the mood wrong and you want depth of field or shutter speed to stay put |
| ISO | Brighter | More noise, less dynamic range at high values | You need a faster shutter speed or a wider aperture than the light allows |
| Aperture | Brighter when wider | Shallower depth of field | Depth of field is the reason for the picture |
| Shutter speed | Brighter when slower | Motion blur, or camera shake in low light | Freezing motion or preventing shake matters most |
One more distinction that causes real confusion: exposure compensation and exposure lock are different tools. Compensation changes the exposure by a fixed offset that stays in effect until you change it. Exposure lock, usually marked AE-L or AEL, freezes the current reading so the camera keeps that brightness as you recompose. Lock is for a subject moving across a bright background; compensation is for correcting a wrong reading.
Auto exposure bracketing is a third thing again. Bracketing shoots a set of frames at different exposures, one at the compensated value and the others bracketed around it, which is how you build a merged HDR image. One adjustment, one frame, versus a set of frames.
How to Avoid Common Exposure Compensation Mistakes
The first mistake is forgetting you set it. A dial still at +2 from the previous scene will wreck every shot that follows, which is why you should zero it between locations.
The second is reaching for compensation in manual mode with a fixed ISO and then wondering why nothing happened. If the camera is choosing nothing, there is nothing to bias.
The third is overcorrecting. If the picture looks slightly flat, one third of a stop is usually enough, and adding two stops just undoes the problem in the other direction. Increments are there so you can stop when it looks right.
The fourth is confusing compensation with lock. If you want the camera to stop recalculating while you move the frame, that is AE-L, not a dial on the EV scale.
The fifth is clipping highlights while chasing a brighter picture. Once the right edge of the histogram is a solid wall, that detail is not recoverable, and pulling the exposure back down is the only repair.
Watch for compensation being disabled when flash fires, or when the camera switches to certain scene modes. A body set to full auto plus flash will ignore the dial entirely. On smartphones the equivalent control is separate as well, which is why exposure compensation and how to use it questions come up as often for iPhones as for DSLRs.
On a phone, tap and hold the sun icon beside the exposure slider to open the extended panel. Drag up to brighten, down to darken, and long-press the sun to hand control back to the camera. The same panel exposes metering mode, HDR and Live Photo, so you can bias the brightness and still decide how the camera reads the scene.
Frequently Asked Questions
What is exposure compensation and how does it work?
Exposure compensation is a camera setting that adds or subtracts stops from the exposure your camera calculates on its own. Set it to +1 and everything in the frame gets one stop brighter, set it to -1 and everything gets one stop darker. It works by overruling the meter while you keep control of aperture, shutter speed or ISO.
Does exposure compensation do anything in manual mode?
In manual mode with a fixed ISO, no. The camera is not choosing the exposure, so there is nothing for the compensation to bias. The exception is manual mode with Auto ISO switched on: the camera then raises or lowers ISO to hit your offset, which is why compensation suddenly starts working there.
What is the difference between exposure compensation and ISO?
Compensation changes brightness while leaving ISO where you set it, so noise and dynamic range stay the same. ISO changes how sensitive the sensor is, which brightens the image at the cost of more noise and less highlight headroom. Use compensation when the camera misread the scene, and ISO when you need more light for speed or depth of field.
What should I set my exposure compensation to?
Zero is right when the camera reading matches what you want. Start at one third of a stop and build from there when a picture looks slightly flat or slightly dark. Backlit subjects usually need +1 to +2 EV, snow and sand around +1.7 EV, and dark clothing or stage lighting often want -1 EV.
What should my exposure be set to on my iPhone?
Leave the sun slider at its middle mark for most shots. Tap and hold it to open the extended panel, then drag up to brighten or down to darken by roughly a third of a stop per nudge. You can also set metering mode to spot and aim it at your subject, which often works better than pushing brightness.
Conclusion
Start here: confirm you are in aperture priority or program mode, dial in a third of a stop in the direction the picture looks wrong, check the histogram, and step again. Two or three adjustments will teach you more than any table, and zeroing the dial between scenes keeps you out of trouble.