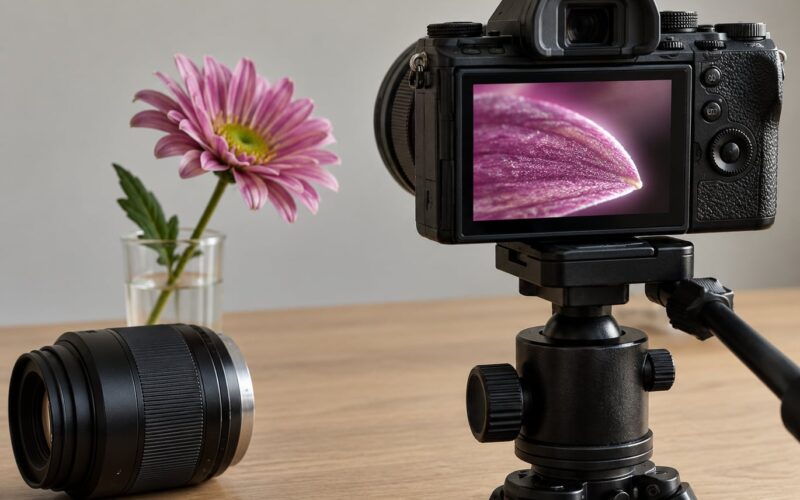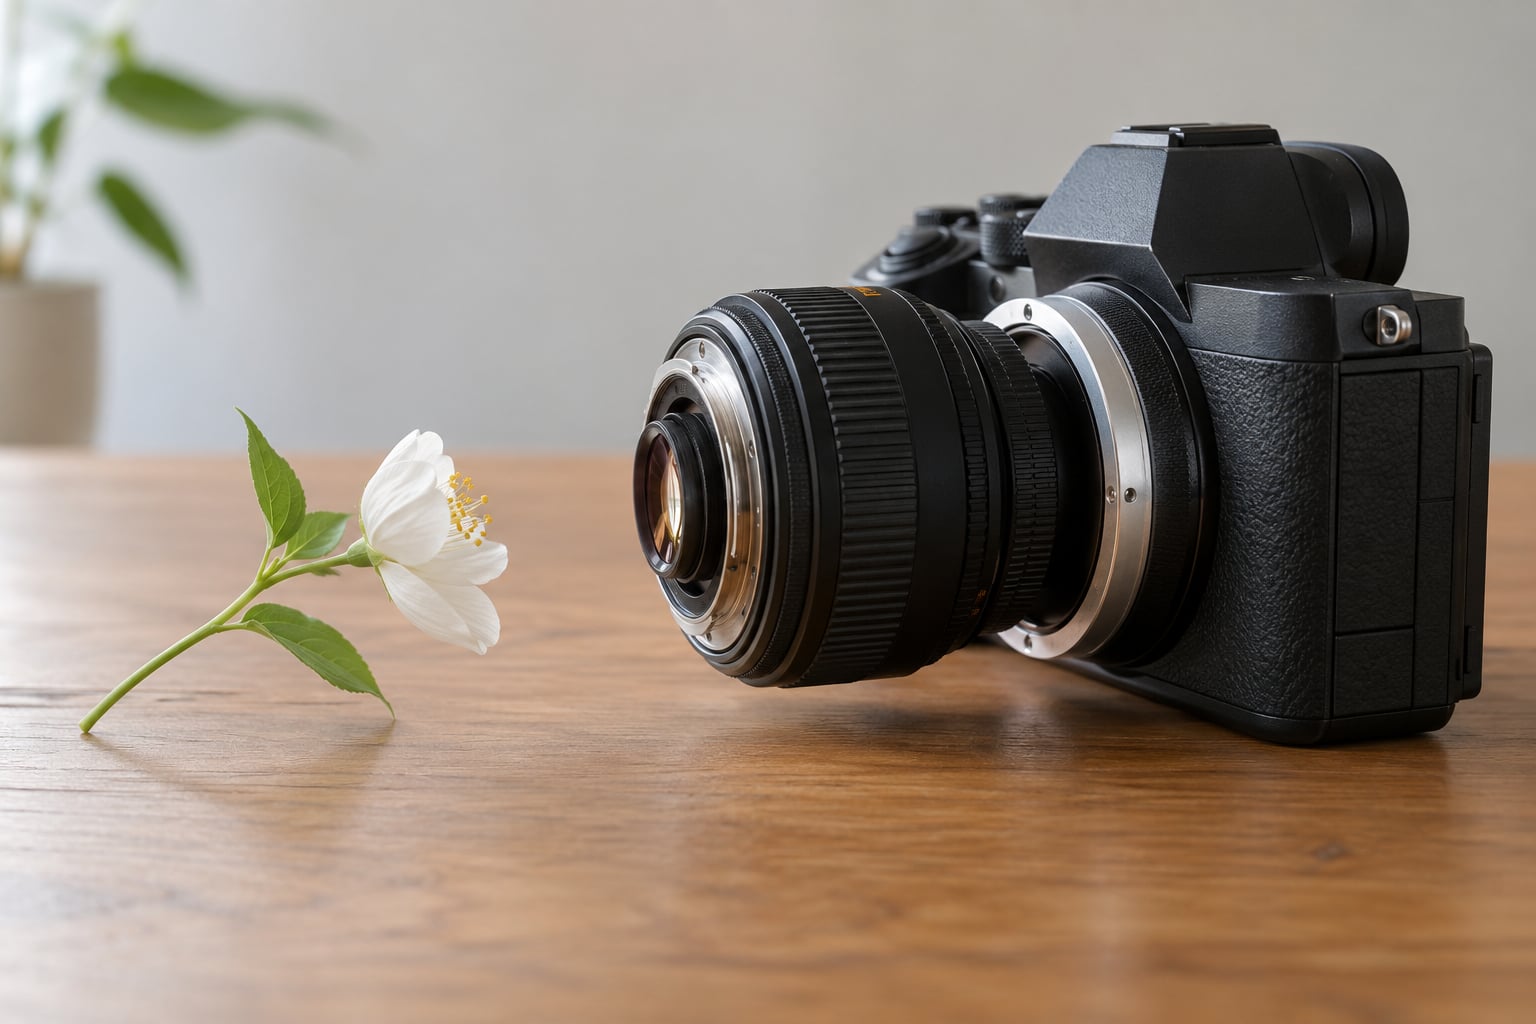
A reverse lens macro trick is simply this: you take a lens off your camera, mount it on the body backwards with a cheap reversing adapter, and photograph subjects a few centimetres away. The rear element ends up facing your subject, so the lens behaves like a magnifier and images far smaller things than it ever could in normal position. It is pure optics, not a digital filter, and it works on any camera with a removable lens.
My first attempt was with a kit zoom I barely used, purely out of curiosity. Setup takes a couple of minutes, and the result is usually sharp at surprisingly high magnification, which is why so many people keep one reversed lens on a shelf as a dedicated macro setup. It is the cheapest route to real close-up work I know of, and this guide covers what it is, how the optics work, how to set it up safely, and what it costs you in image quality.
Table of Contents
- What Is a Reverse Lens Macro Trick?
- How Does Reversing a Lens Create Macro Magnification?
- Why a reversed lens often will not focus close enough
- What Equipment Do You Need for a Reverse Lens Macro Trick?
- Sizing the reverse ring by mount and filter thread
- How to Set Up a Reverse Lens Macro Setup
- How to Focus and Photograph Small Subjects
- What the reverse lens macro trick does to depth of field
- What Are the Common Problems and How Do You Fix Them?
- Frequently Asked Questions
- Can you reverse any lens for macro photography?
- How much magnification does a reversed 50mm give?
- Why can I not control the aperture on a reversed lens?
- Does reversing a lens damage it?
- Is reverse lens macro better than extension tubes?
- Is the reverse lens macro trick suitable for beginners?
- Conclusion
What Is a Reverse Lens Macro Trick?
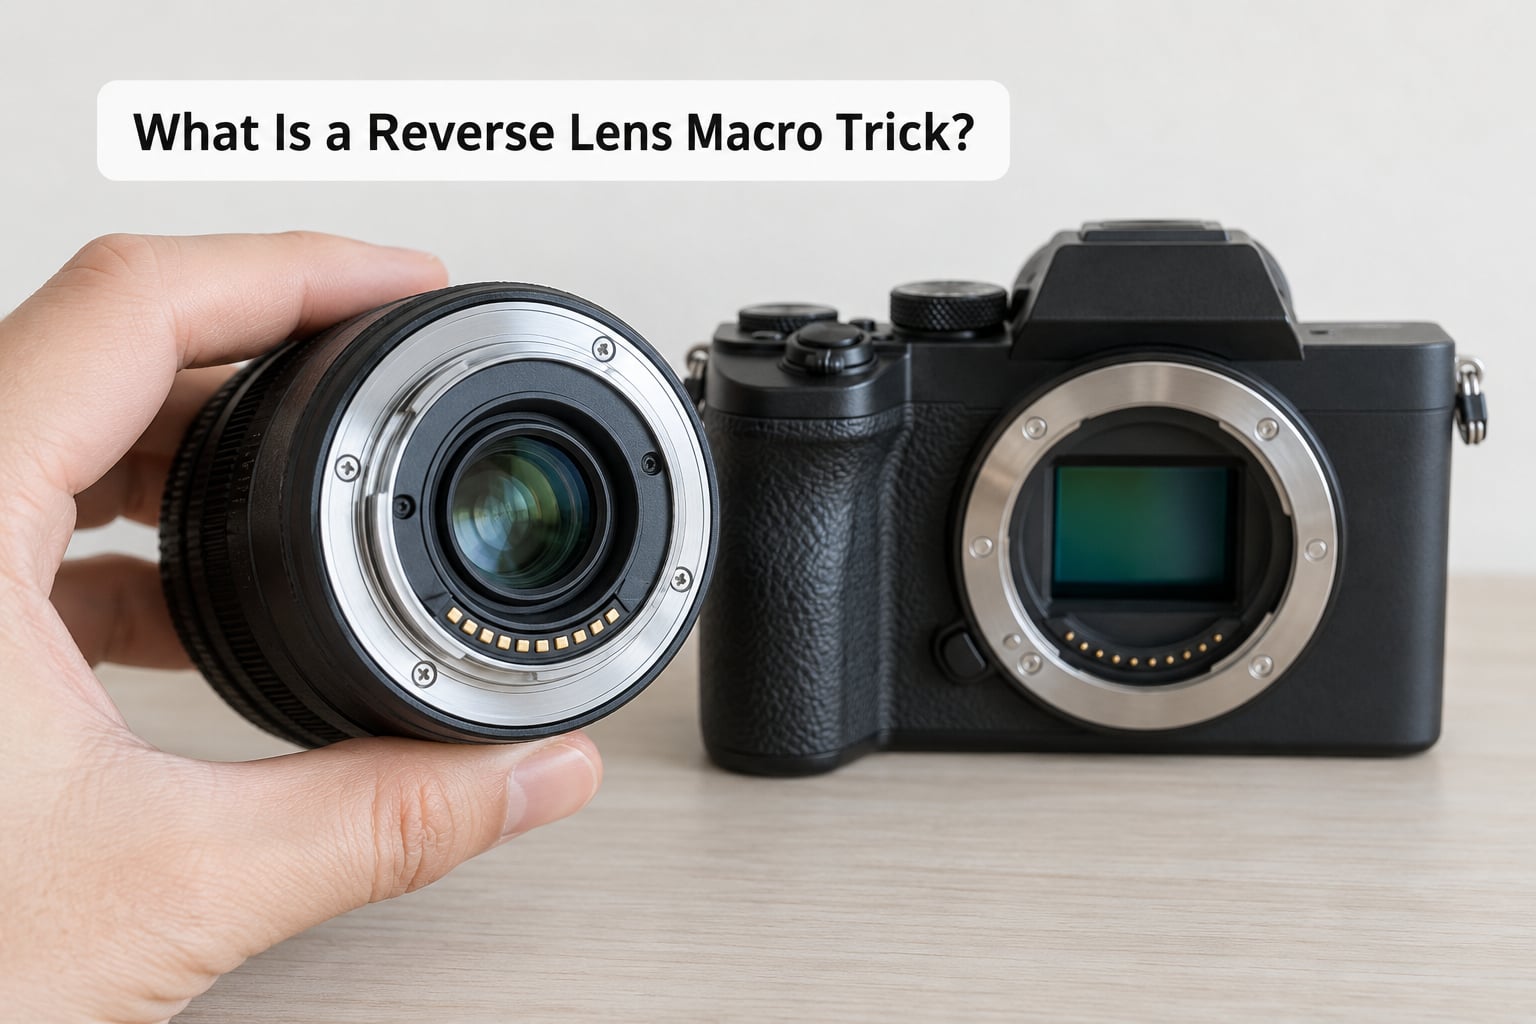
A reverse lens macro trick means mounting a camera lens in the opposite direction on your body, usually with a reversing adapter called a reverse ring. The lens’s rear element, normally closest to the sensor, now faces your subject. That flips the focus range, lets the lens sit much closer to the sensor than its minimum focusing distance, and produces magnification well beyond anything it can do in its normal position.
Two things make it worth trying. First, the magnification is genuinely useful rather than novelty, so insects, flower stamens, coins, textures and circuit boards all become photographable. Second, it costs one small adapter instead of a dedicated macro lens, which is why so many beginners and students start here.
How Does Reversing a Lens Create Macro Magnification?
Magnification comes from one relationship: how far the subject sits in front of the lens compared with how far the image sits behind it. In normal position the lens focuses down to a minimum distance set at design time, usually a few tens of centimetres. The rear element is also recessed inside the barrel and physically limits how close anything can get. Reverse the lens and the barrel points the other way, so the subject can approach the rear element from close range while the image still forms on the sensor at a workable distance. Magnification climbs because the numerator of that ratio, the image distance, stays fixed while the denominator, the subject distance, shrinks.
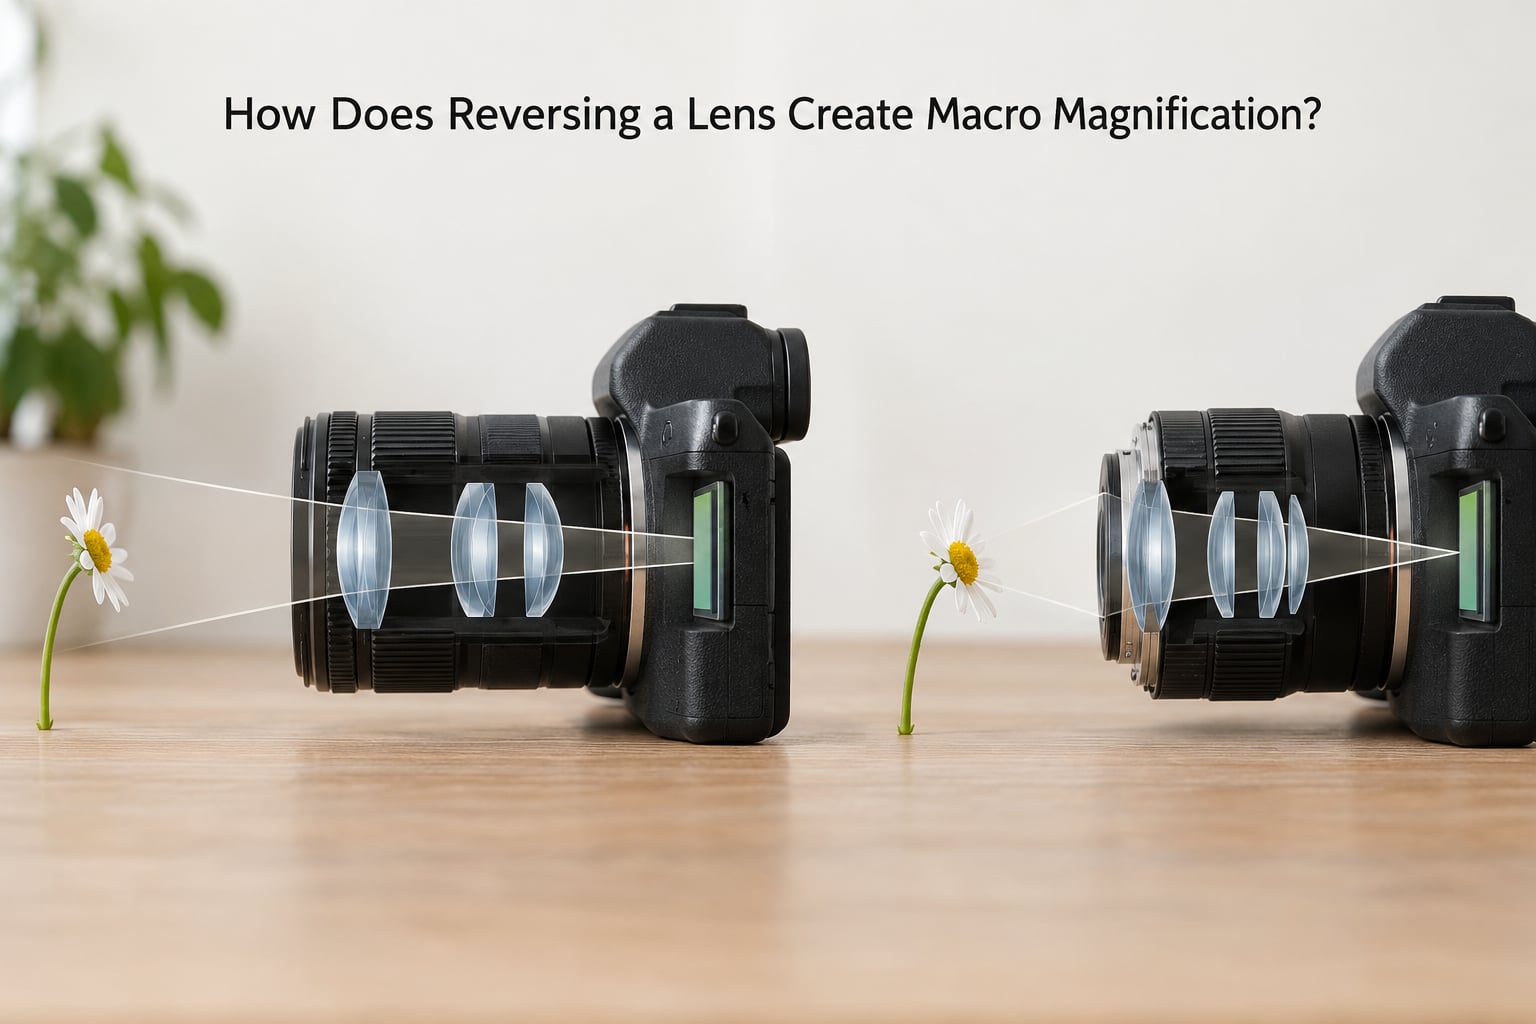
Here is how the magnification figures usually fall. Treat them as rough ranges, not specifications, because barrel design and how far the rear element sits forward change the result lens to lens.
| Lens reversed | Rough magnification at closest focus | What that means for you |
|---|---|---|
| 20mm prime, or 18mm end of a kit zoom | Well under 1:1 until you add a tube | Shortest working distance and the most forgiving depth of field, but you need extension to get close |
| 28mm | About 0.2x | The forgiving starting point, nothing creeps near 1:1 unaided |
| 35mm | Around 0.3x to 0.5x | A little more reach while staying workable by hand |
| 50mm | Around 0.5x to 1x | Often crosses 1:1 with a few millimetres of extension |
| 100mm | Around 1x or a little past it | Long glass sits closest to the sensor and still gives you room to work |
Magnification is normally written as a reproduction ratio, where 1:1 means the subject on the sensor is the same size as the real thing and 2:1 means twice life size. A reversed lens typically starts below 1:1 and gets there with extension.
Why a reversed lens often will not focus close enough
A reversed lens frequently focuses past infinity, which is the single most reported beginner problem. The reason is that flipping the lens swaps its front and rear principal planes, so the distance the lens needs from the image plane to its focal point changes sign. Photographers on the DPReview forums worked this out with concrete numbers: a 50mm f/1.4 needs roughly 6.72mm of extension just to return to infinity focus, and a 28mm f/2.8 reversed sits around 0.2x magnification. That is also why combining reversal with a tube or bellows is the standard route past 1:1.
What Equipment Do You Need for a Reverse Lens Macro Trick?
You need four things, and only one of them is a purchase. First, a camera with a removable lens, either a DSLR or a mirrorless body with a standard mount. Fixed-lens compacts cannot do this at all. Second, a manual-focus or autofocus lens with a filter thread on the front. Third, a reverse ring sized to match that filter thread and your camera mount. Fourth, a tripod or a solid support, because you will be holding a lens that focuses by hand at a distance of a few centimetres.
A stepping ring or lens hood will not reliably substitute for a proper reverse ring, and trying to tape a lens on is how people end up with a cracked mount. Buy the right part.
Sizing the reverse ring by mount and filter thread
The adapter has to match your camera mount on one side and your lens filter thread on the other. Print the lens size off the barrel or the front ring, then match it to your mount.
| Lens side, filter thread | Common on | Look for an adapter with |
|---|---|---|
| 52mm | Most Nikon F and entry Canon EF lenses | 52mm thread on the lens side, your mount on the camera side |
| 58mm | Wider Canon EF and Nikon F kit zooms | 58mm thread on the lens side |
| 49mm | Many Sony E and third-party E-mount primes | 49mm thread on the lens side, Sony E on the camera side |
| 46mm | Most Micro Four Thirds lenses | 46mm thread on the lens side, Micro Four Thirds on the camera side |
A wrong thread size simply will not screw on, so nothing breaks, it just sits there looking unhelpful. If your lens is an unusual size, read the marking on the front ring rather than guessing from the brand.
How to Set Up a Reverse Lens Macro Setup
Set it up in this order and you will avoid the two common mistakes, which are fitting the ring over the wrong thread and losing aperture control halfway through.
- Set and lock the aperture before removal. Most electronic lenses need power to hold their widest or narrowest setting. On many bodies you can stop the lens down while the camera is on, hold the depth of field preview button, then switch off, and the diaphragm stays where you put it.
- Remove the lens from the camera body. Do it in a clean, dry room, away from pets and dusty floors. You are about to have bare glass facing the world.
- Screw the reverse ring onto the lens filter thread. The ring has the lens thread on one side and your camera mount on the other. Turn it finger tight, no tools.
- Mount the reversed lens onto the body. Match the mount, rotate until it clicks, and check it is seated flat. Give it a gentle tug; if it rotates or wobbles, take it off and reseat it.
- Make one test exposure before refining anything. Shoot a distant object first to confirm the body is metering through the reversed lens at all, then move in.
If your lens will not hold an aperture when powered down, manual-aperture vintage glass is the easy answer. Threads that work on film bodies have no electronics at all, and classic lens forums note that reversed manual glass is a popular pairing for exactly this reason.
How to Focus and Photograph Small Subjects
Focus is manual, there is no alternative, and the whole process is a slow push and pull until the image on the display snaps. A reasonable starting point for a 50mm reversed at about 1:1 is f/8, ISO 100 to 400 depending on your light, and a shutter speed your tripod can hold still. Then move the subject plane millimetre by millimetre rather than turning the focus ring hard.
What the reverse lens macro trick does to depth of field
Depth of field collapses as magnification rises. At 1:1 on a full frame body you are working with a depth of field measured in fractions of a millimetre, which is why focus stacking became popular for the same reason. Practical mitigations: shoot at f/16 if the light allows, raise ISO instead of chasing light, keep the camera perfectly still, and take a bracket of frames at slightly different focus distances and stack the sharp ones later.
Lighting matters more here than most guides say. Working distance of a few centimetres means a ring flash or a diffuser is often the difference between a usable frame and one full of blown highlights and hard shadows on the front of your subject. Reflector and diffusion are cheap compared with getting it wrong repeatedly.
If your results stay soft no matter what you do, check three things in order: whether the camera is truly stationary, whether the subject is perpendicular to the sensor plane, and whether the rear element is clean.
What Are the Common Problems and How Do You Fix Them?
Blurry images that get blurrier the closer you push are normal for the first session, not a fault. Slow down, use live view magnification, and shoot a short focus stack at a fixed distance instead of trusting one frame.
Dark frames or wildly varying exposure usually mean the body has no aperture data from the reversed lens, so exposure has to be set by eye. Meter manually on the subject, lock it, and shoot. Images with black corners are vignetting, which is simply the reversed lens projecting a round image area onto a rectangular sensor; crop it in software or step in a little further. Dark patches moving across the frame as you move the subject are your own shadow, so use a diffused light source rather than bare flash on the lens.
Visible haze or flare that moves when you move the lens points to something in front of the rear element, and a cheap clip-on macro lens or a sheet of clear film between the element and your subject will confirm it. A loose adapter that keeps shifting under the weight of the lens gets a quarter turn tighter and, if that does not fix it, a strip of thread tape. Finally, the rear element is exposed for the entire session, so work on a clean table, keep the lens capped when idle, and never put it face down on fabric.
Frequently Asked Questions
Can you reverse any lens for macro photography?
Almost any lens with a filter thread can be reversed, and manual-focus glass often works better than electronic glass because the aperture is controlled mechanically. Very long telephotos, lenses with a rotating front element, and collapsible kit lenses are awkward or impossible to mount in reverse. Wide primes tend to be the easiest place to start.
How much magnification does a reversed 50mm give?
A 50mm reversed at its closest focus lands somewhere around half life size to roughly 1:1, depending on the lens design and how far forward the rear element sits. Photographers working the numbers on the DPReview forums found a 50mm f/1.4 needs about 6.72mm of extension just to reach infinity focus once reversed, which is why most people add a tube.
Why can I not control the aperture on a reversed lens?
Electronic lenses need power and electronic contacts to move the diaphragm, and those contacts sit on the lens side, away from the body once the lens is reversed. That leaves you with whatever aperture the lens holds at shutdown. Many people avoid the problem by stopping the lens down, holding the depth of field preview button, powering down, then mounting it reversed.
Does reversing a lens damage it?
The lens itself is not harmed by being mounted backwards. The real risk is the exposed rear element picking up dust, fingerprints and scratches while it faces your subject. Work on a clean surface, keep the lens capped when you are not shooting, and do not lay it face down. Mounting hardware correctly matters too, so never force a ring onto a thread that does not match.
Is reverse lens macro better than extension tubes?
Neither is simply better. Extension tubes keep the lens in its normal position, so you keep autofocus, stabilisation, aperture control and EXIF data, and they are the easier choice for most people. Reversing a lens gives more magnification per millimetre and a shorter working distance, but you give up every electronic feature. For a first attempt at macro, try the tubes.
Is the reverse lens macro trick suitable for beginners?
Yes, as a second step rather than a first. It is cheap, it teaches you how thin lenses actually work, and it needs no extra glass. Just expect manual focus, a fixed aperture and a lot of trial and error on your first afternoon. If you already own any prime lens and a tripod, you have everything you need to start.
Conclusion
Start with one lens you already own, a reverse ring matched to its filter thread, and a tripod. Set the aperture before you remove the lens, mount it reversed, make one test frame at a conservative f/8, and only then start chasing focus and light. You will learn more about magnification and working distance in an hour of this than from a week of reading about it.