A scene looks flat when everything in it sits on the same visual plane, so nothing in the frame is clearly nearer than anything else. The cure is not a filter: you add depth by building layers, moving your shooting position, and giving distance its own colour, contrast and sharpness. Most of the work happens before the shutter, and the rest you can rebuild later in editing.
A flat scene is one with no size gradient, no value gradient, no detail falloff and no shift in colour temperature between foreground and background, so your eye is never told which object is close. If you have wondered how to add depth to a flat scene, that absence is the whole problem, and each of the eight steps below puts one of those cues back.
None of this needs expensive gear. Pick a subject with some space in it, give yourself fifteen minutes, and work through the steps in order. Every step works in a garden, a street, a kitchen table or a view from a hillside.
Table of Contents
- What You Need
- Step-by-Step: How to Add Depth to a Flat Scene
- 1. Separate the frame into three distance layers
- 2. Change your shooting position instead of moving closer
- 3. Use a viewpoint where leading lines pull the eye back
- 4. Shoot in directional or side light for texture
- 5. Add an atmospheric layer to separate distant subjects
- 6. Use scale, overlap and selective focus as depth cues
- 7. Control colour, contrast and brightness by distance
- 8. Finish with vertical emphasis and simple spacing
- Common Mistakes
- Frequently Asked Questions
- Does a wide-angle lens always make a scene look deeper?
- How can I add depth to a flat scene with a phone camera?
- Do I need a tripod to create a more dimensional photo?
- Can I fix a flat-looking photo in editing software?
- How do I add depth without making the foreground look cluttered?
- Conclusion: Start With Three Clear Layers
What You Need
- Any camera you already own. A phone handles every technique on this page. A camera with manual exposure just makes the light and colour steps quicker to dial in.
- A wider lens if you have one. Anything wider than roughly 24mm on full frame exaggerates near and far nicely, but it is a convenience, not a requirement.
- A subject with real physical depth. A path, a shoreline, a row of trees, or a table with three objects spaced along it. Depth cues need something real to sit in.
- A sense of the three distance planes. Foreground within a couple of metres, the middle ground, and everything beyond. Most flat frames are missing the middle plane.
- Optionally a tripod or a self-timer. Useful in the side-light step, when the light is low and exposures get long enough to shake.
Step-by-Step: How to Add Depth to a Flat Scene
Work through these in sequence rather than picking one at random. Each step gives the next one something to build against, and steps 1 to 4 are the ones that matter most because they happen in the frame rather than on a slider.
1. Separate the frame into three distance layers
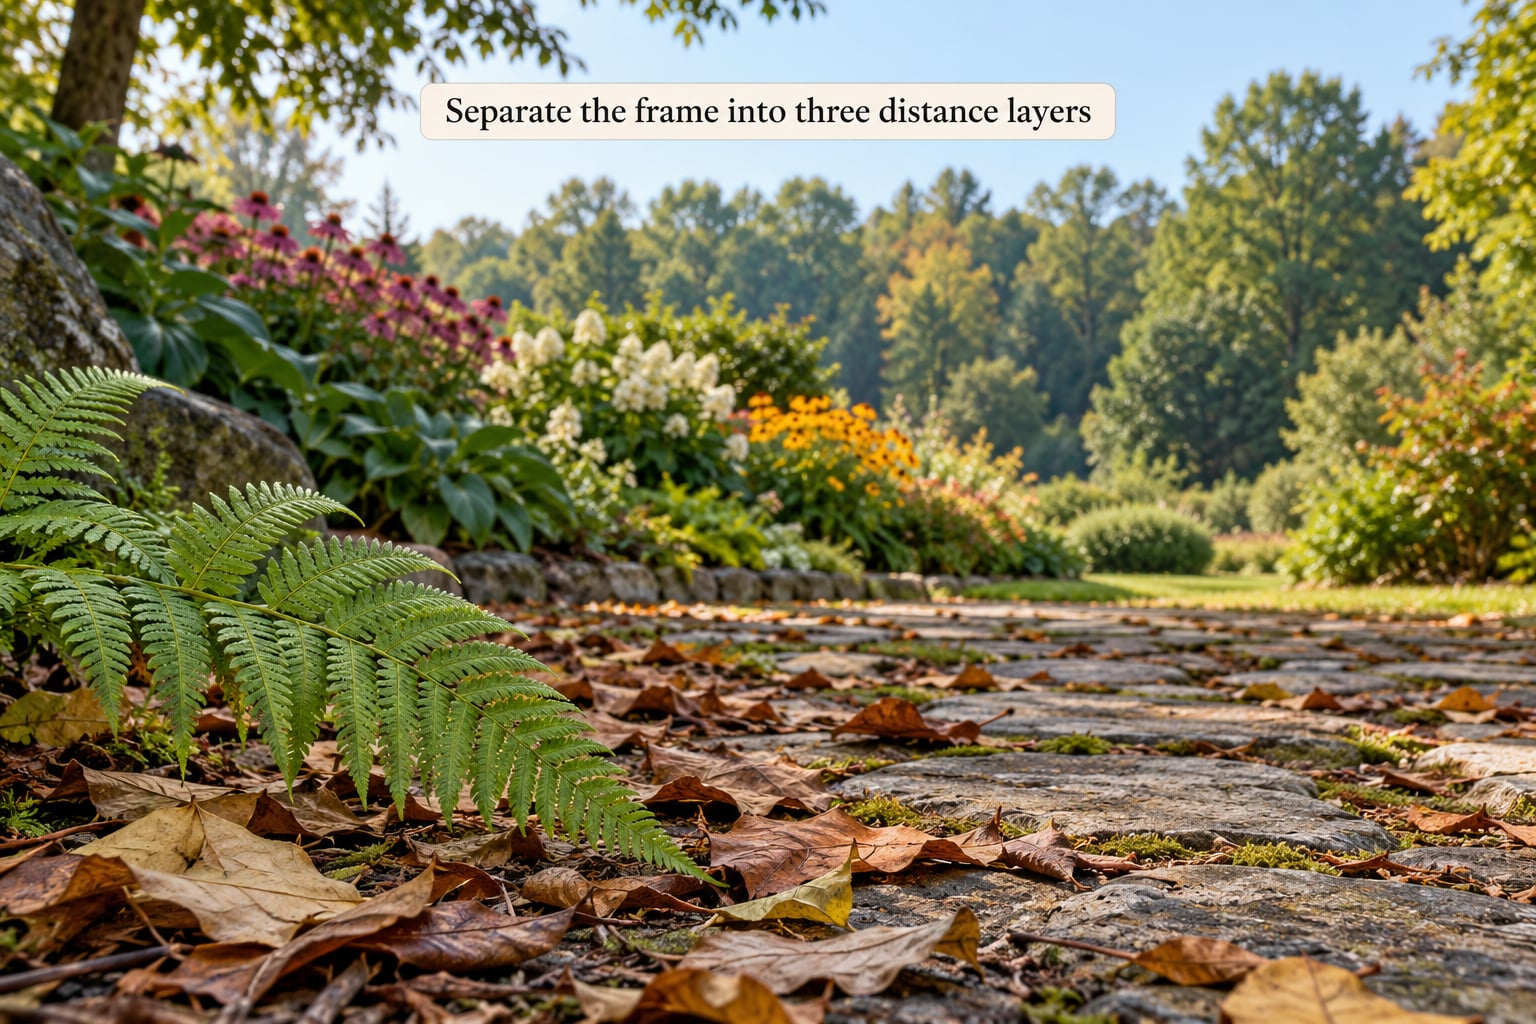
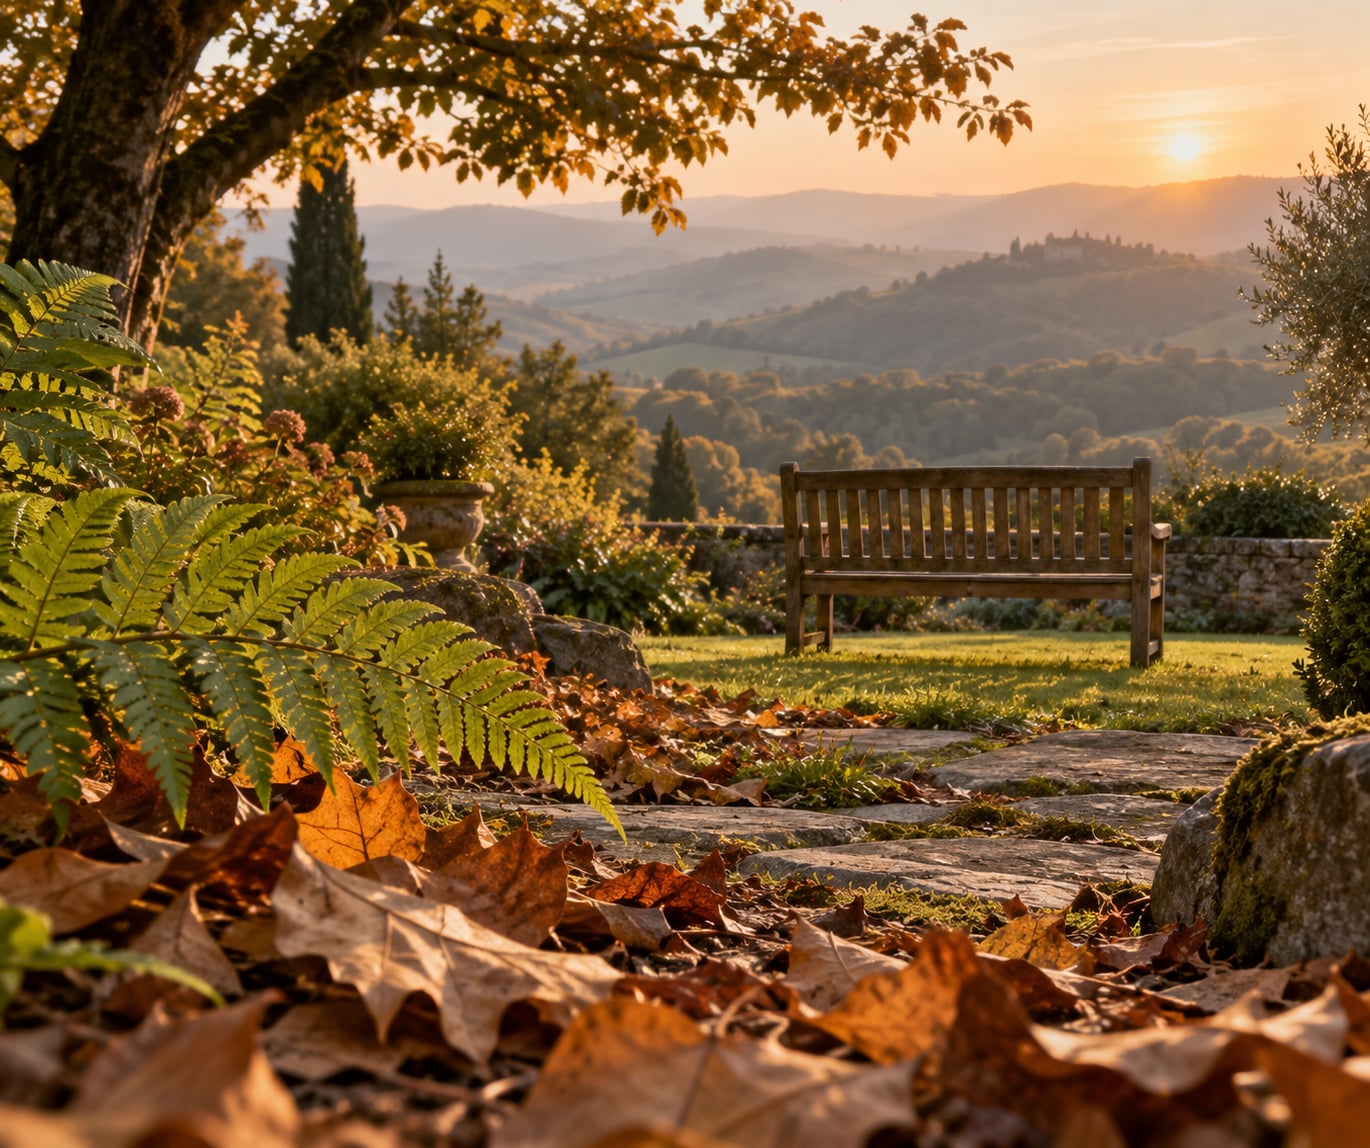
Depth starts with a decision, not a lens: name the three things in your frame and how far away each one is. A handful of leaves a foot from the camera, the flower bed five metres off, the trees a hundred metres back. If you can say all three out loud, you have layers. If you can only name the subject, you have a wall.
Check the layers before you commit. Zoom out in live view, or hold the shot at arm’s length and look at it squinting, and ask whether the near element is visually distinct from the middle. Walking to a spot where the leaves overlap the flowers is worth more than any amount of editing later.
2. Change your shooting position instead of moving closer
Most people flatten a scene by leaning toward it. Walking forward pushes the near plane out of the frame, so the background fills the whole image and the eye has nothing to measure against. Step to one side, crouch, or stand on something low instead, and overlapping planes appear without any new equipment.
Try this routine: take one frame from where you are standing, then one from a step sideways, then one from a crouched position. Compare them on the back of the screen at the same zoom. On a tabletop, move sideways to change how the bowls overlap rather than leaning in to make them bigger.
3. Use a viewpoint where leading lines pull the eye back
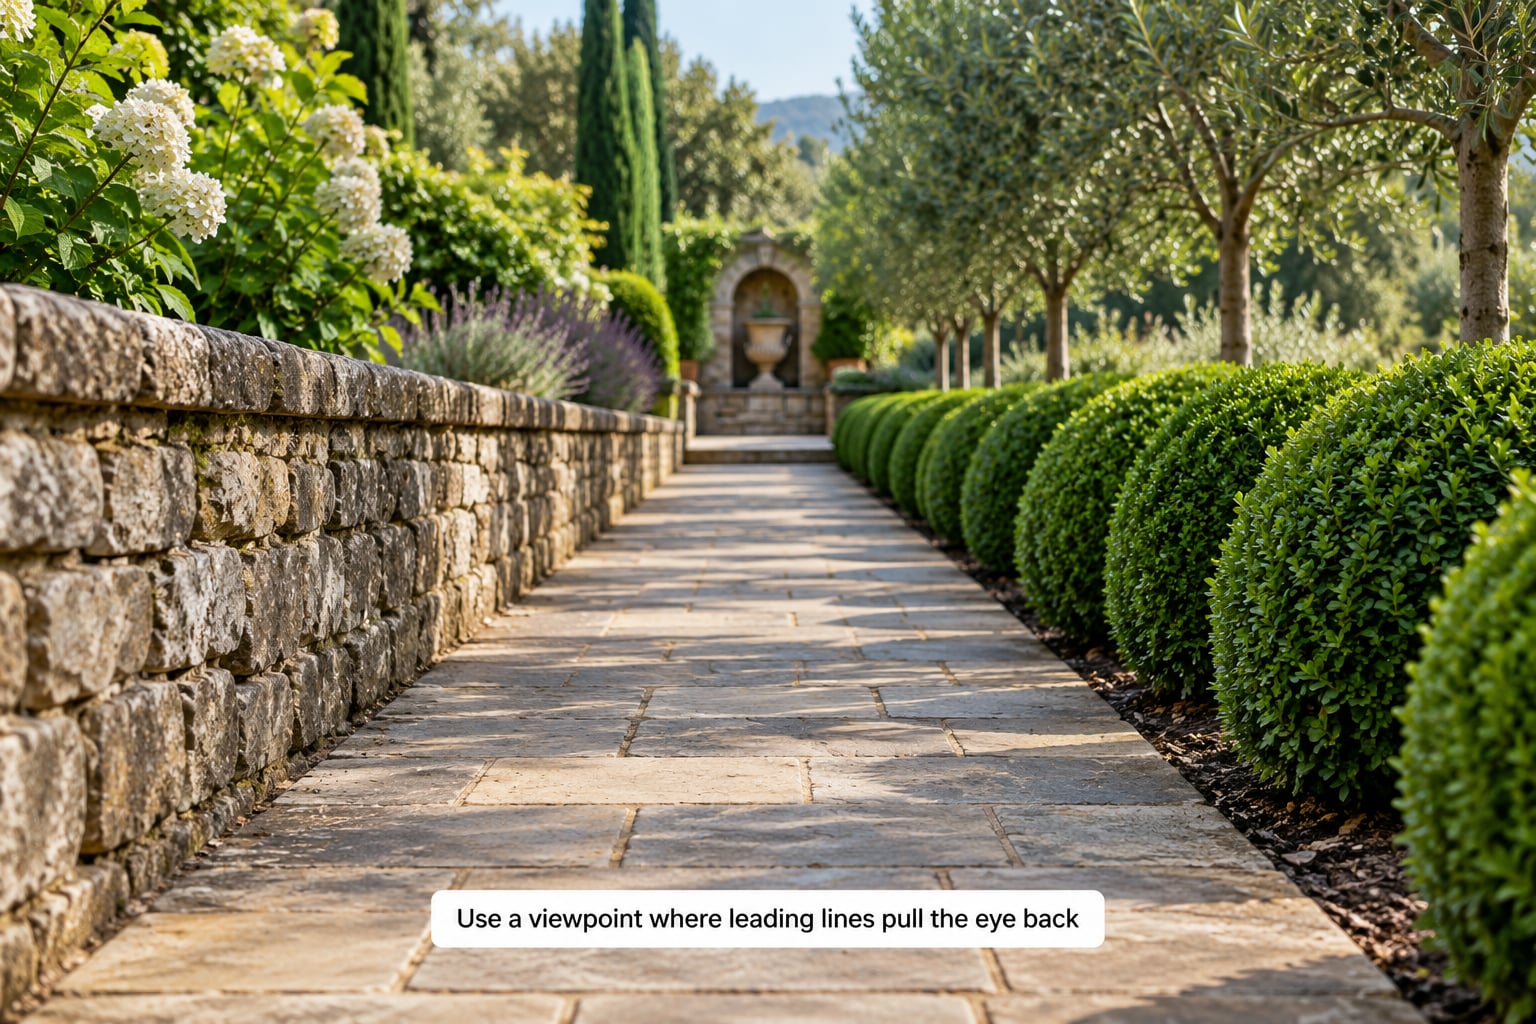
Lines are the cheapest depth cue there is. A path, a wall, a fence, a row of trees, even the shadow of a railing gives the eye a path to travel, and a path that starts at the edge of the frame and ends on your subject reads as distance.
The detail that matters is where the line ends. Lines that point off the side of the frame send the viewer out of the picture. Lines that cross the middle of the frame and carry on behind the subject pull the viewer through the scene instead. Turn your body a few degrees until the line lands where you want it.
4. Shoot in directional or side light for texture
Flat light kills texture, and texture is how the brain infers shape. Light coming across a surface at a low angle throws small shadows into every bump and groove, so a rough wall reads as rough. Light straight from overhead fills those same shadows in and the wall goes back to being a flat grey shape.
So ask one question before you shoot: where is the light coming from relative to the surface, not relative to me? If the sun is high and behind you, turn ninety degrees or move to a different hour. On an overcast day, look for whatever still has a direction: an edge, a shadow line under a fence, a brighter patch of sky reflected on water.
5. Add an atmospheric layer to separate distant subjects
Real distance is never perfectly clear. Mist, smoke, dust, exhaust haze and backlit air put something between you and the far edge of the scene, and that something is what stops far subjects from merging into the shapes behind them. This effect has a name: atmospheric perspective.
When you cannot add real atmosphere, because burning smoke or making mist is unsafe, impractical or just rude to the people around you, build the separation in editing instead. Lay a soft gradient over the far part of the frame, drop its clarity a little, cool it slightly, and leave the near plane untouched. The same gradient laid over the foreground reverses the depth, so the direction matters more than the amount.
6. Use scale, overlap and selective focus as depth cues
Your brain judges distance using three quick shortcuts, and you can use all three. Relative size: a gate you know the size of tells you instantly how far it is. Overlap: a branch crossing in front of a fence proves the branch is nearer, even when both are the same tone. Focus: sharp near, soft far, or the reverse, reads instantly as two different distances.
Open the aperture when you want one subject to hold the frame. For a big view, do the opposite and put your focus falloff on the near anchor instead, letting the distance soften while the far ridge stays readable. Focus that sits exactly on the far horizon with everything near equally sharp is the most common reason a wide shot looks like a diagram.
7. Control colour, contrast and brightness by distance
Real distance changes things in a predictable direction: colour gets less intense, contrast gets lower, detail gets finer, and the temperature usually shifts cooler. The trick is to reinforce that direction instead of fighting it, and to do it locally rather than across the whole frame.
Warm and deepen the near plane slightly, cool and quieten the far one, and keep the strongest separation between the two. A small amount of extra clarity in the foreground, a touch of dehaze in the middle distance and a soft gradient in the background will do more than any global contrast slider. Every step here works in Lightroom Classic, Capture One, Photoshop, DaVinci Resolve or a phone editor in 2026, and the same idea holds in all of them.
8. Finish with vertical emphasis and simple spacing
A tall subject placed off-centre, with room on the side it faces, reads as a distinct object in space rather than a shape stuck on a background. A tree, a lamp post, a standing figure or a single stem all benefit from the same treatment. Remove the tangencies too: a branch that just touches the frame edge, a horizon that cuts across the top of your subject, make the eye snag.
Then run the depth check one last time. Can you name three things at three distances? Is the strongest cue in the frame, the near anchor or the leading line, actually the most obvious thing you see? If not, that is your next shot, not your next edit.
Common Mistakes
- Using only the widest lens. Wide angles exaggerate near and far and hollow out the middle, which reads as a gimmick rather than depth. Fix: include a clear middle plane and watch the frame edges for foliage that looks stretched.
- Dropping the camera to knee height out of habit. The low angle is fine, but only when something deliberate sits near the lens. Fix: place one object in the lower third on purpose before you lower the camera.
- Relying on blur alone. Shallow depth of field over a subject with no layers just hides the flatness. Fix: build the layers first, then use focus as the finishing move.
- Stuffing the foreground with clutter. Several competing near objects read as noise, not depth. Fix: one anchor, simple in shape, occupying roughly a quarter of the frame.
- Raising contrast everywhere at once. Global contrast brings the whole frame forward together and the depth collapses. Fix: contrast on the near plane, quiet on the distance.
- Editing until it looks processed. Over-dehazed distances grow halos and hard edges, over-sharpened skies look cut out, and clipped shadows lose the texture that was doing the work. Fix: small steps, zoom to full size after each one, and check the histogram for clipping.
Three quick habits keep you honest. Name your three layers before every shot. Turn on the live-view histogram or clipping warning so you stop blowing out the foreground you just built. And let the strongest depth cue in the scene dominate, rather than giving the eye four equally loud things to sort.
Frequently Asked Questions
Does a wide-angle lens always make a scene look deeper?
No. A wide lens exaggerates the difference between near and far, so the closest object can look enormous and the middle distance can vanish. That reads as a trick unless a clear middle plane and a real foreground anchor are in the frame. If your wide-angle shots feel hollow, the problem is usually a missing middle distance, not the lens.
How can I add depth to a flat scene with a phone camera?
Phones have everything you need for the capture half of this. Tap the screen to lower exposure slightly, lock focus on the near anchor, step sideways until three layers separate, and use the wide or ultra-wide lens for exaggeration. For the editing half, a gradient over the far distance and a small clarity boost on the foreground do most of the work in any phone editor.
Do I need a tripod to create a more dimensional photo?
Only when low light forces a slow shutter, which is also the best light for texture in step four. A stable camera lets you choose a narrow aperture, a lower ISO and a longer exposure without shake, so your near and far layers stay clean. In bright conditions a tripod does nothing for depth, and the position, layering and light still do all the work.
Can I fix a flat-looking photo in editing software?
You can recover a lot, but not everything. A frame shot with no foreground cannot get a real one afterwards, and a middle plane that merged with the background stays merged. What editing can do is rebuild the tonal gradient, add a local gradient over the distance, cool and quieten the far plane, warm the foreground and sharpen selectively, which often converts an average frame into a good one.
How do I add depth without making the foreground look cluttered?
Use one anchor with a simple, readable shape: a single rock, a tuft of grass, a curved railing or a cluster of leaves. Keep it clear of other near objects, let it occupy about a quarter of the frame, and check that it overlaps the main subject rather than touching it. A single strong near element reads as depth; three small ones read as a mess.
Conclusion: Start With Three Clear Layers
Start where the depth is cheapest to build. Find a foreground anchor, a distinct main subject and a background, and check the three in live view before anything else. Then change your position, shoot into side light, and only afterwards bring in focus, colour and local adjustments in editing. That is how to add depth to a flat scene for real: not one clever trick, but several distance cues all pointing the same way.