Organizing a photo library comes down to four things: one place where every photo lives, a folder structure you can predict, a file name that tells you something useful, and at least two more copies somewhere else. Do those four and any image you own takes seconds to find, even in a collection of 50,000 files. The whole job takes an afternoon to set up and about 15 minutes a week to maintain.
The reason to do it now rather than someday is quiet. Photos rarely vanish in a dramatic way. They get scattered across an old laptop, a phone, a memory card and a hard drive nobody has opened since the last phone upgrade, and one day you need a photo you know exists and cannot say where it is. That search failure, not a dead drive, is what ruins the memory.
A note on method below: the camera file-number sequence setting matters more than any app, and the backup step comes before the tidying step on purpose. Renaming files while your only copy is still on a single drive is how people lose originals.
Table of Contents
- What You Need
- Step-by-Step: How to Organize a Photo Library
- 1. Gather every photo and back it up before you touch anything
- 2. Choose a folder structure you will still use in two years
- 3. Import new photos into one controlled location
- 4. Rename only when it helps you find the photo
- 5. Use albums for meaningful collections
- 6. Add keywords, ratings and other metadata
- 7. Remove duplicates safely and keep one untouched archive
- 8. Create a maintenance routine
- Common Mistakes and How to Fix Them
- Frequently Asked Questions
- Should I organize photos in folders or albums?
- What is the best file-naming format for a photo library?
- How do I find duplicate photos without deleting the wrong version?
- Do I need keywords or captions if my photos are already in folders?
- How often should I back up my photo library?
- How do I organize my Apple photo library or use Google Photos instead?
- Conclusion
What You Need
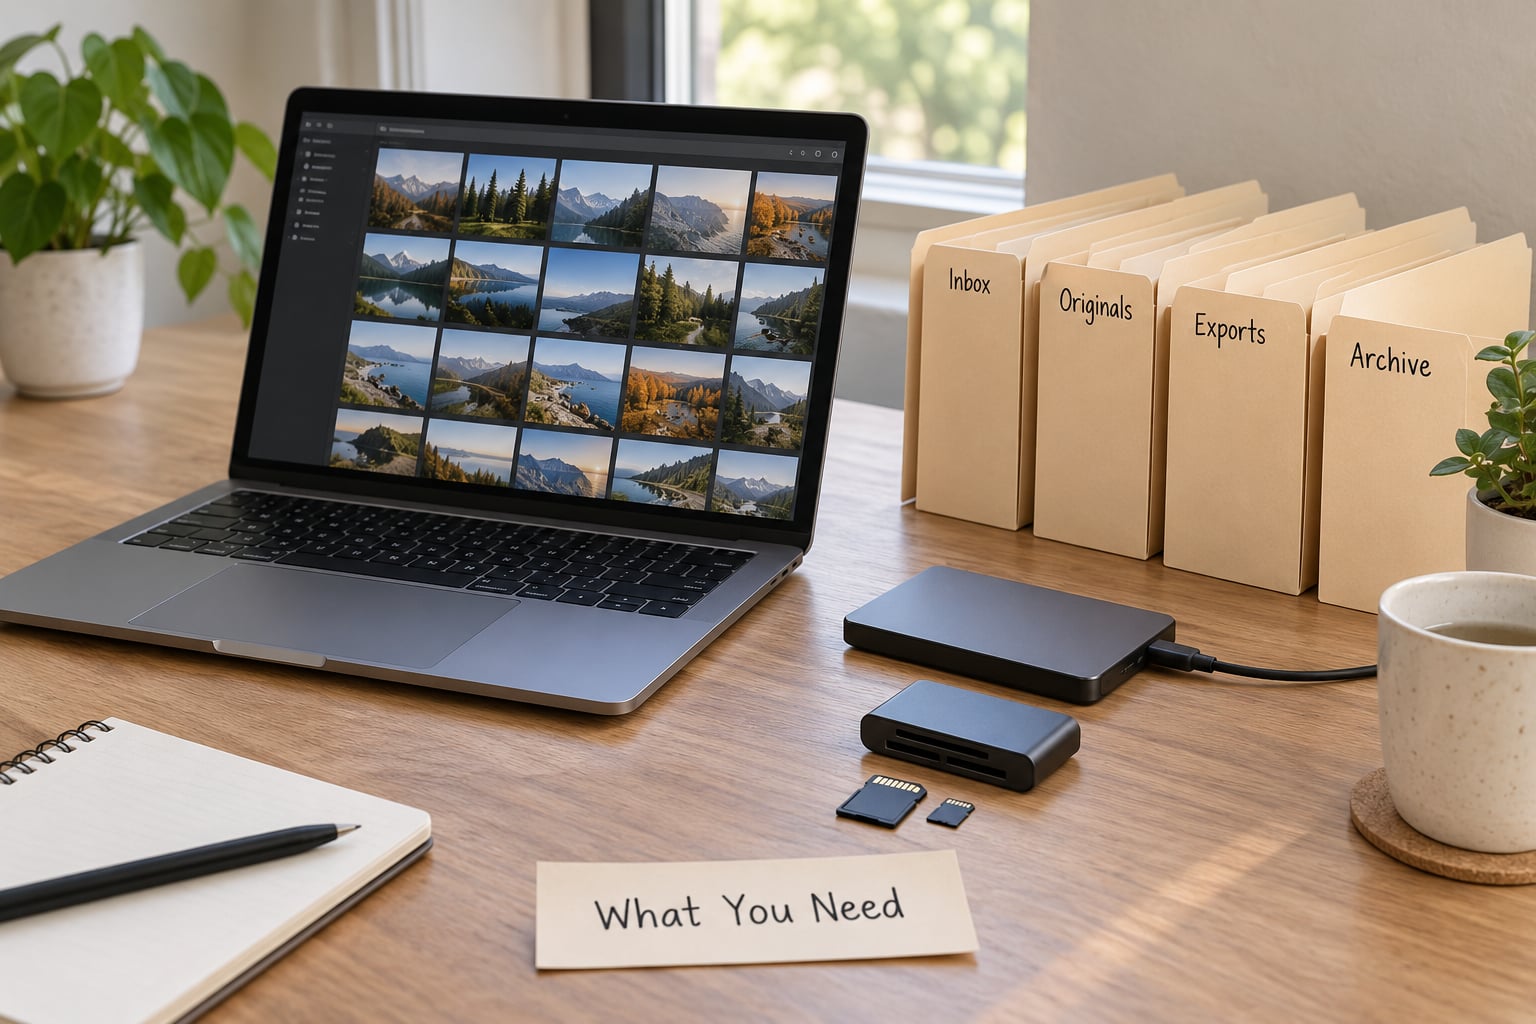
Four things, and you probably already own all of them.
- A primary home. One drive or account where the library actually lives. Everything else is a copy.
- Software that reads that home. A cataloging app or your existing editor. It does not need to be fancy, but it should be able to read the folder structure you choose.
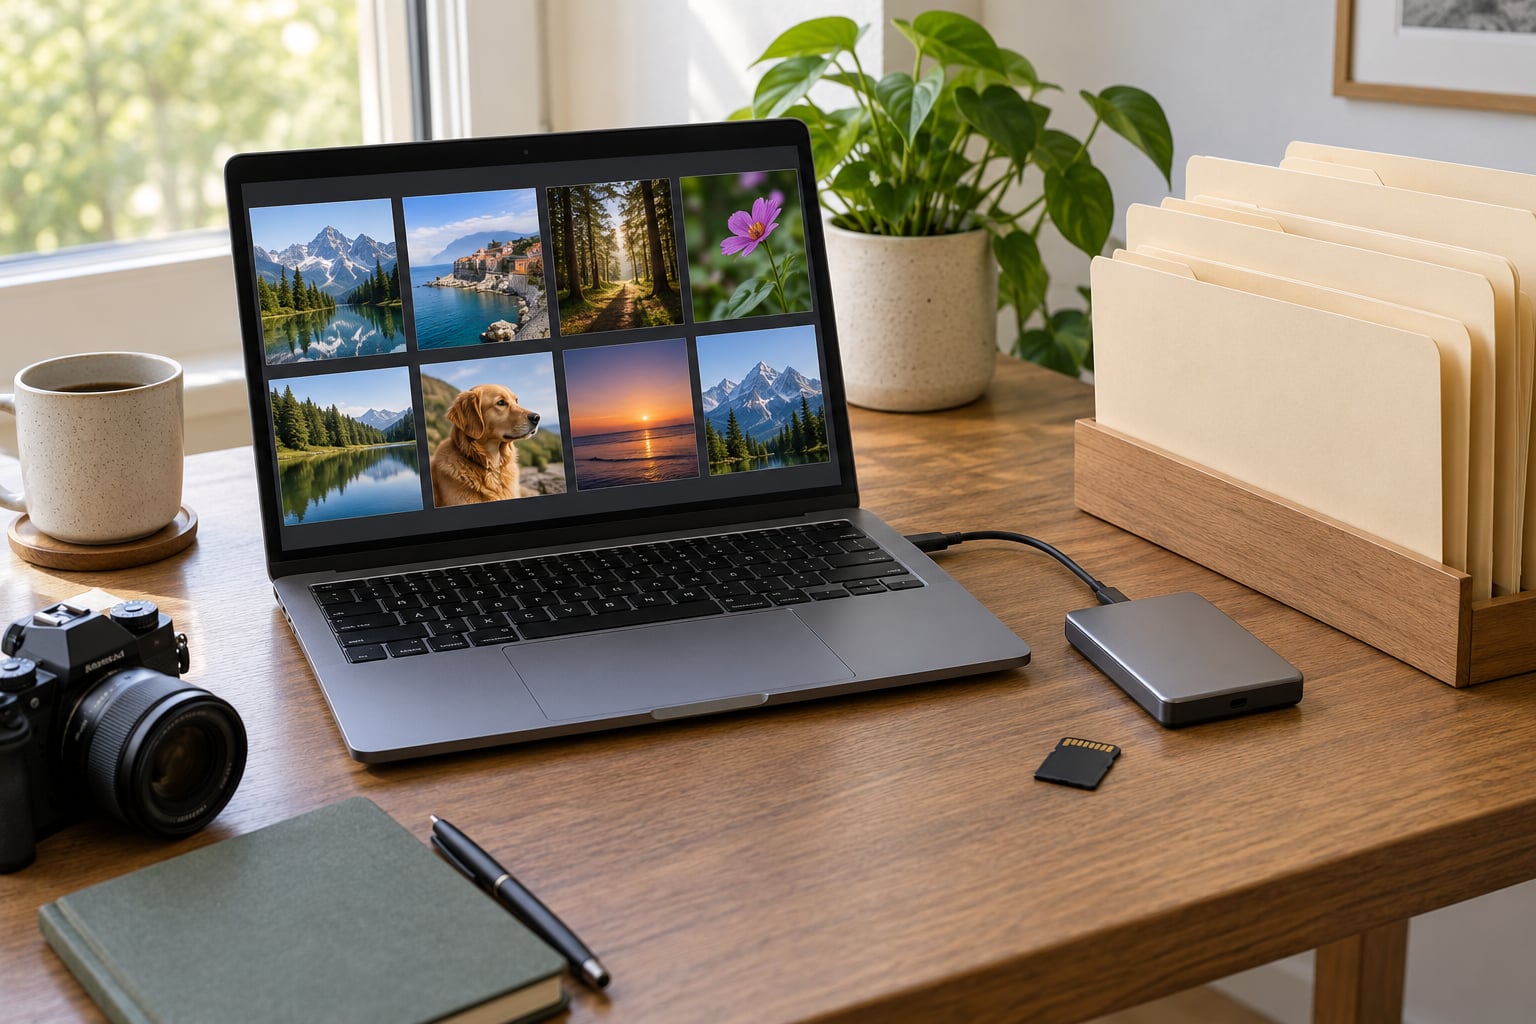
- A second copy. Usually an external drive you plug in weekly.
- A third copy somewhere else. Off-site, so a fire, a flood or a stolen laptop does not take everything.
- A naming format you decide once. Written down, and applied consistently.
You can do this with a phone, a computer and memory cards, or with a combination of all three. Plenty of people end up with a camera body, a phone and a partner’s phone all feeding the same library, and the system works fine as long as they all land in one place.
Storage location is the first real fork in the road, because it decides how much work every later step costs you.
| Option | Best for | Speed | Stays yours | Longevity |
|---|---|---|---|---|
| Internal drive on your main computer | A library you actively edit | Fastest | Fully local | Tied to the machine |
| External SSD | The main working copy, off the computer | Fast | Fully local | 5 to 10 years typical |
| NAS on your own network | Households with several devices and several photographers | Fast, shared everywhere | Fully local | Runs as long as its drives |
| Cloud photo service | Phone-first libraries and easy sharing | Depends on your connection | Tied to a subscription and someone else’s servers | As long as you keep paying |
The honest trade-off is convenience against ownership. Cloud means your phone, your partner’s phone and your laptop all see the same library with no cables, and it is the easiest option for people who mostly shoot on a phone. Local storage means nobody else can quietly change, throttle or delete your files, and you keep working without an internet connection.
The most common regret among people with large libraries is going cloud-only. Users on photography forums repeatedly report lower anxiety once they had one external drive as the working copy plus a cloud backup, rather than trying to make a subscription service carry the whole archive.
Step-by-Step: How to Organize a Photo Library
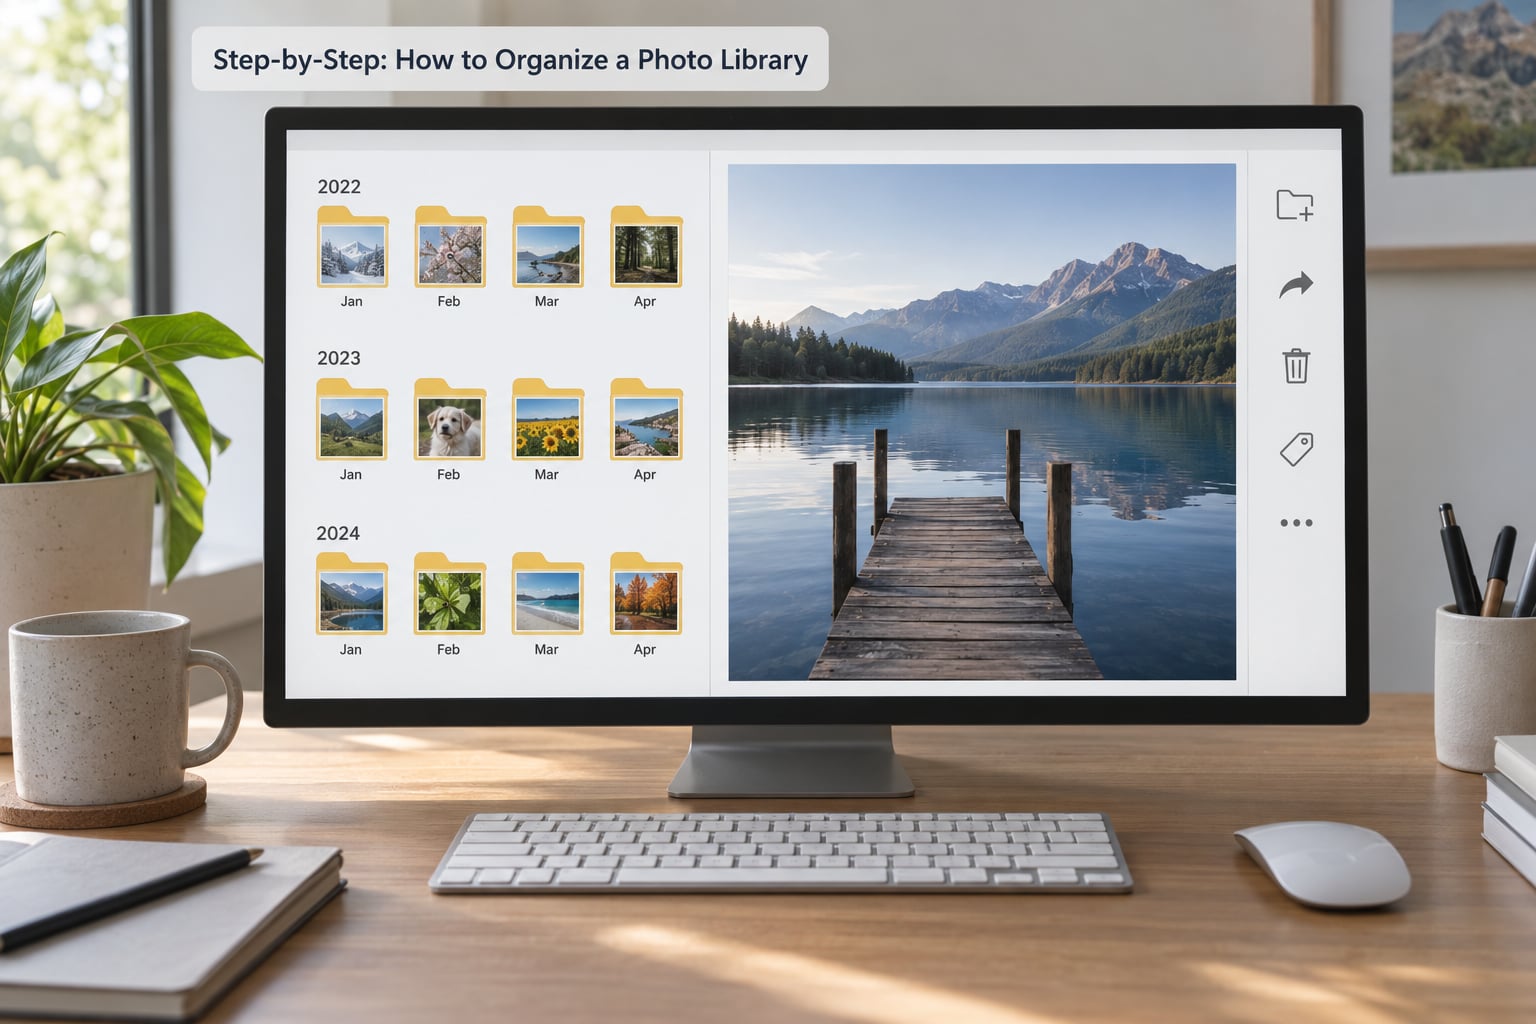
Eight steps, in this order. Each one is small enough to finish before dinner.
1. Gather every photo and back it up before you touch anything
Collect the sources first: cameras, phones, memory cards, old external drives, downloads from messaging apps and email, screenshots, and video files your phone recorded while you were not thinking about photos. Copy, do not move, so the original stays where it was until the new copy is verified.
The 3-2-1 rule is the whole idea: three copies of your data, on two different kinds of media, with one copy off-site. Your working drive plus an external drive plus a cloud or off-site drive clears it comfortably.
A basic top-level structure is enough to start:
- Inbox — everything new, still unfiled
- Originals — untouched camera files, never edited in place
- Exports — web-size and social copies you made yourself
- Archive — closed years, kept read-only
You will know step one worked when you can open the library on a second machine, or unplug the drive, and still have every photo you own. Verify a handful of files by opening them, not by trusting a progress bar.
2. Choose a folder structure you will still use in two years
Three structures work. Date-first sorts itself and is the easiest to maintain: 2026, then 2026-06-14-harbor, then the files. Event-first suits shoots and projects: Weddings, Brand Refresh, Garden 2026. People-first suits family archives, where the photo you want is of a person rather than a date.
Date-first wins for most libraries, including huge ones, because date is the one attribute every photo already has. Event-first wins if you shoot professionally and deliver by project. People-first wins if your photo searches are almost always “show me photos of my dad.”
Keep the tree shallow. Three levels is comfortable; six levels is where people give up. The folder structure that matters most is the one you will actually maintain, and shallow beats clever every time.
Copy-pasteable version for a mixed library:
- Photos/Originals/2026/2026-06-14-harbor/
- Photos/Originals/2026/2026-07-02-garden-trees/
- Photos/Originals/Archive/2015-2019/
- Photos/Exports/Social/2026-06-14-harbor/
- Photos/Video/
- Photos/Scans/family-album-01/
You will know step two worked when a new shoot takes you under a minute to place, and you can find last summer without searching.
3. Import new photos into one controlled location
Everything enters through the Inbox. Whether it arrives on a card, over USB, or automatically from your phone, it lands in the same place first. That single entry point is what stops the library from drifting back into chaos.
Turn on automatic import for your phone inside your photo app’s preferences, and point your camera’s file-number sequence setting to reset or continue rather than always restarting at 0001. That setting is the fix for the most common silent data loss in photography: a card formatted in-camera sends DSC0001 again, and importing into an existing folder overwrites a photo you already had. Users on photography forums raise this trap more than almost any other.
Once the Inbox is empty, move each shoot into its dated folder. Copy the originals in, do not drag them from the card.
4. Rename only when it helps you find the photo
A useful pattern is date, location, subject, sequence: 20260614_harbor_sunrise_014.jpg. It sorts chronologically in any file browser, reads sensibly out of context, and carries the capture date even if the file travels.
Do not rename originals if your editing software writes its records into filenames or a catalog tracks them. In that case leave the camera name and put the useful words in metadata instead, where step 6 picks them up.
Whatever you choose, keep the original capture data intact. Renaming a file does not touch EXIF, but re-saving a JPEG through an editor does. Work on a copy.
5. Use albums for meaningful collections
Folders hold originals by date. Albums are references, not moves. Adding a photo to an album called Grandparents or 2026 Trips leaves the file sitting in its dated folder, and the same photo can belong to several albums at once.
Build collections around how you actually search: an event, a season’s walks, a project, a person, or a favorites pick. If your app supports smart albums, use them to assemble things automatically from rules like rating, keyword or date, instead of dragging files by hand.
Groups of people are the collection most people want and never finish. Face grouping in Apple Photos, Google Photos and Lightroom will find the same relative across decades and countries on its own; the work you are left with is naming the groups sensibly.
6. Add keywords, ratings and other metadata
Metadata is what makes a big library searchable without you remembering filenames. Three layers matter: EXIF, written by the camera, holding capture date, camera model and exposure; IPTC, holding title, caption, location and keywords; and XMP, usually a sidecar file beside the image, which is where Lightroom, Capture One and other cataloging tools write.
Ratings and color labels are the fast half. A five-star pick and a red flag for rejects cost nothing and cut the culling time dramatically. Captions and keywords are the slow half and pay off for years, especially for anything with a place, a species or a name in it.
A small example set for one garden photo: title “Rowan blossom, May 2026”, keywords “garden, blossom, close-up, spring”, location set to your garden, and a four-star rating. Search for blossom in three years and it comes back.
Current tools will suggest keywords for you, and some will do it entirely on your machine with no upload. That matters if the library is family photos you would rather not hand to a stranger’s server, and it is a genuine advantage of the desktop-first organizers over the phone-first ones.
7. Remove duplicates safely and keep one untouched archive
Run your software’s duplicate finder, but do not let it delete anything automatically. Bursts from a long exposure or a burst-mode shot produce files that look identical and are not, and a careless cleanup will throw away the sharpest frame.
Compare each group on size, date and dimensions, keep the largest and the sharpest, and move anything you are unsure about into a Review folder. Empty that folder a week later with fresh eyes.
Large backlogs get worse if you try to clear them in one sitting. Break the work into weekend-sized chunks: one year of folders per session, oldest first, and do nothing else while you do it. People with tens of thousands of photos who report finishing it usually report the same thing: they never tackled the whole library at once.
When a year is finished and backed up, move it to Archive and set that folder read-only. That is the last line of defense.
8. Create a maintenance routine
Fifteen minutes a week is enough to keep the system from rebuilding itself into a mess.
- Import everything new into the Inbox, from every device.
- File the Inbox into dated folders and clear it to zero.
- Star or label the keepers from the last shoot.
- Run one backup and confirm it finished.
- Add captions or keywords to a handful of photos.
Once a month, skim the Inbox folder count and check free space. An Inbox sitting at 300 files means the routine has slipped, and it is much cheaper to fix that than to organize 300 files again in six months.
Common Mistakes and How to Fix Them
Editing the only copy. Raw files and the original JPEGs get touched, retouched, re-saved and eventually degraded, and if that file was also your backup, the loss is permanent. Fix: originals live in one folder you treat as read-only, and all editing happens on copies your software manages.
Mixing originals and exports in one folder. A folder full of 4000-pixel JPEGs next to your camera files makes it impossible to tell what you can still get a better version of. Fix: keep the three tiers apart, as Originals, Exports and Archive do.
Building folders six levels deep. Deep trees feel organized and turn every search into work. Fix: three levels, date-first, and let albums and keywords handle everything that does not fit the path.
Trusting face recognition alone. Grouping is genuinely good at surfacing old photos of a relative, and bad at two things: telling twins apart, and distinguishing a person who appears in 300 shots from a stranger in the background. Fix: use it as a shortcut for finding candidates, then confirm names yourself.
Never testing a backup. A backup you have never restored from is a hope. Fix: once a quarter, restore a random folder of 20 photos to a scratch location and open them. Two minutes, and it turns an assumption into a fact.
Renaming everything at once. A 40,000-file rename project is how a weekend disappears. Fix: date-first folders, descriptive names only where a filename is the only way you will ever find that photo, and metadata everywhere else.
Frequently Asked Questions
Should I organize photos in folders or albums?
Use both, with a clear job for each. Folders store originals by date and are the only structure that survives if you change software. Albums are references that point at files, so one photo can sit in a dated folder and appear in Grandparents, Trips and Favorites at once. If your app supports smart albums, build those from rules such as rating, keyword or date rather than dragging files by hand.
What is the best file-naming format for a photo library?
Date, location, subject, sequence, as in 20260614_harbor_sunrise_014.jpg. It sorts chronologically in any file browser and still makes sense to someone who finds it years later. Keep the date in the first eight characters so alphabetical sorting equals chronological sorting. Skip descriptive names on originals if your editing software tracks files by name, and put those words in metadata instead.
How do I find duplicate photos without deleting the wrong version?
Never let a duplicate finder delete on its own. Burst shots and long exposures produce near-identical files where only one frame is sharp. Run the finder, sort each group by pixel dimensions and capture time, keep the largest and sharpest, and drag anything ambiguous into a Review folder you empty a week later. Then check that your untouched archive still holds one complete copy of everything.
Do I need keywords or captions if my photos are already in folders?
Folders answer when and where. Keywords answer what is in the picture, and that is usually the question you have years later: the bird, the flower, the street, the child’s school play. A short caption and five or six consistent keywords per photo takes seconds in most apps. Rating and color labels are even quicker and cut culling time, which is where most of the effort in a large library actually goes.
How often should I back up my photo library?
Back up weekly at minimum and immediately after any shoot you care about. Three copies, on two different kinds of media, one of them off-site. A daily automatic backup to an external drive plus a weekly off-site copy is a good rhythm for most people. Test the process once a quarter by restoring a random folder and opening the files, because a backup you have never restored from is only an assumption.
How do I organize my Apple photo library or use Google Photos instead?
Both platforms handle albums and people grouping well, and both can find photos by place, date and object name without you tagging anything. In iCloud Photos, create albums at iCloud.com and add photos from the Shared Album tab; in Google Photos, use albums plus the People and Places views. Both keep originals tied to the account, so add a separate drive backup of your own library rather than relying on sync alone.
Conclusion
Start small and in this order. Make two more copies of your library before you change a single file name. Create the four top-level folders, Inbox, Originals, Exports and Archive. Import one recent shoot as a test batch, name those files with the date-location-subject pattern, add a few keywords, and confirm the backup restores.
If that test batch works, the rest is repetition rather than inspiration. The people with tidy 50,000-photo libraries are not the ones who spent a heroic weekend sorting; they are the ones who picked one folder structure and a fifteen-minute weekly routine, then kept it boringly for years.