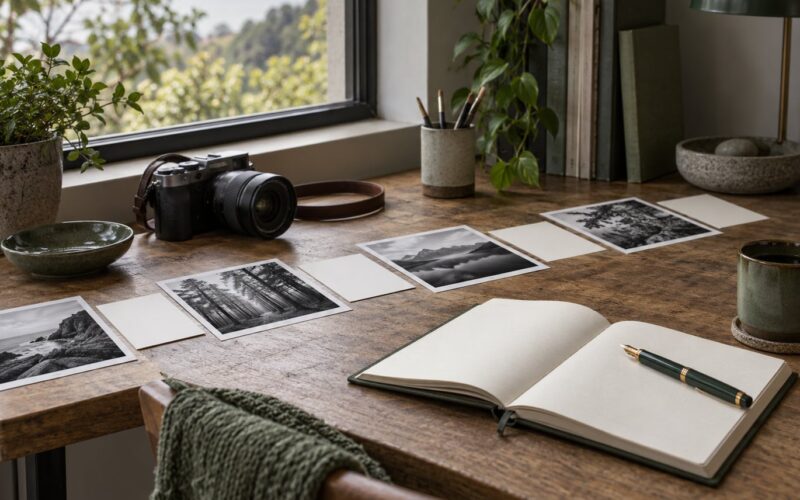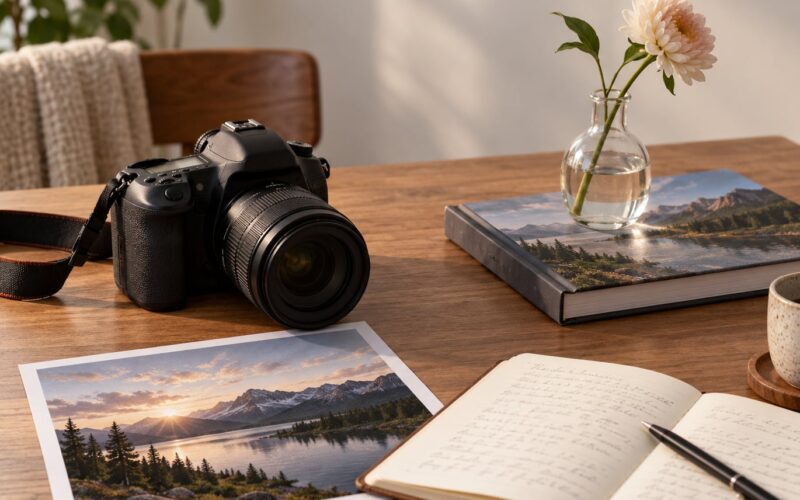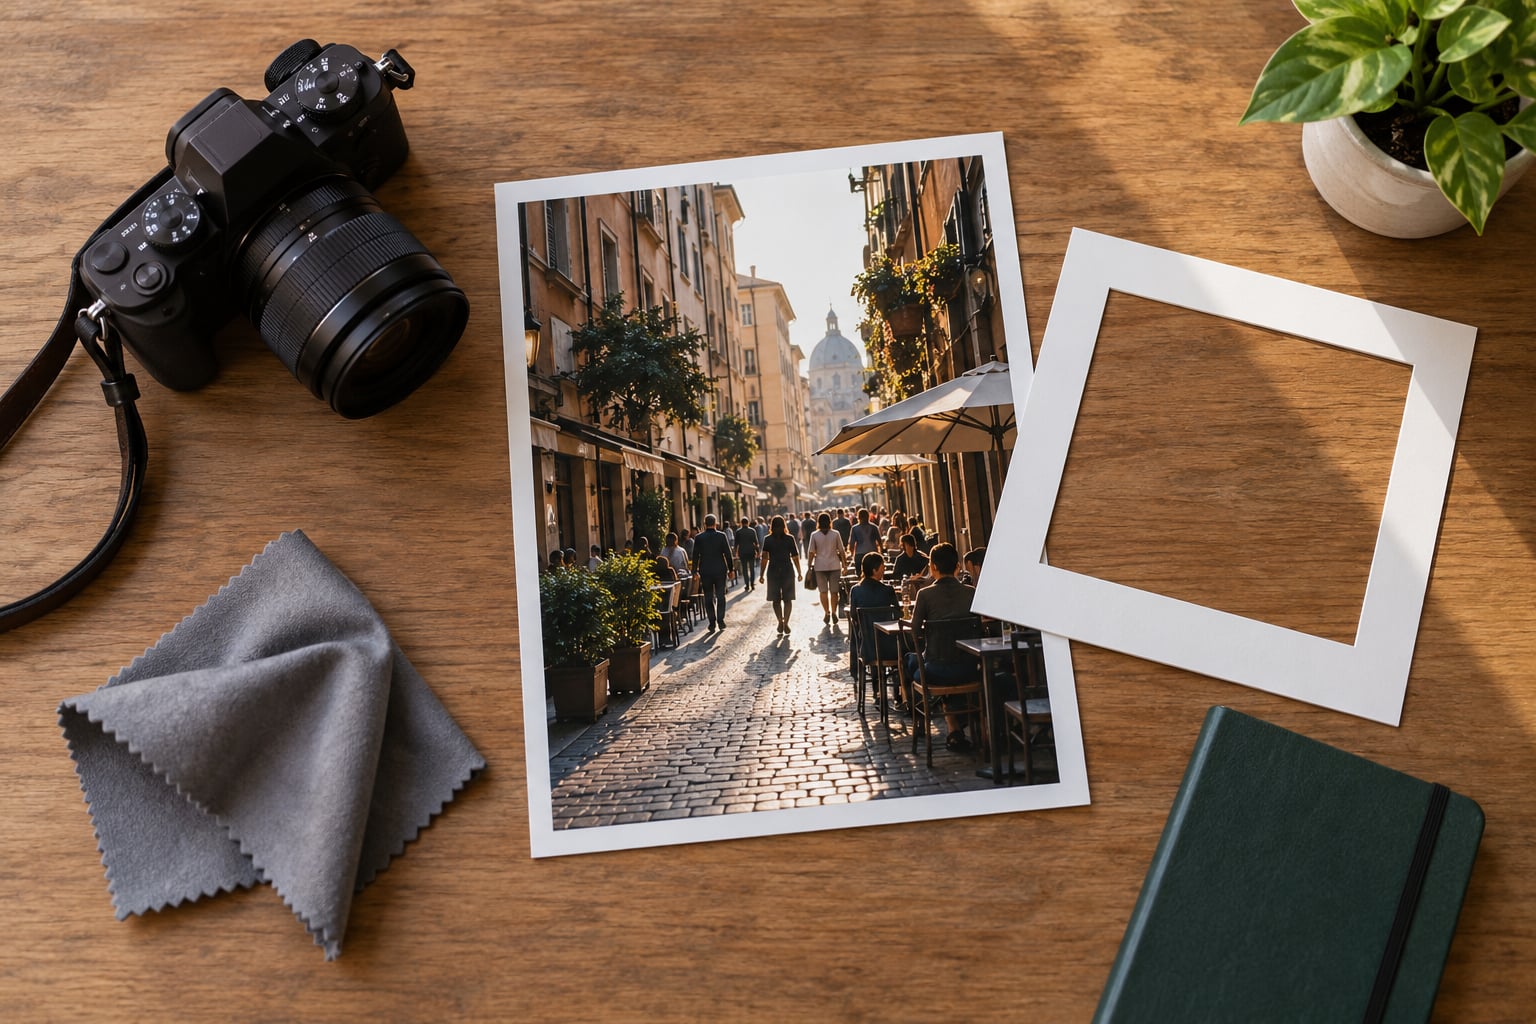
Most people search for how to simplify a busy scene when signs, passers-by, tangled branches and half a dozen competing colors all fight for the same frame. The fix is rarely a new camera: pick one subject, move closer or reach for a longer focal length, open the aperture to push the background back, then crop the edges that still compete.
Nearly all of that happens in the ten minutes before you press the shutter. Editing only tidies up what you already decided to keep.
Table of Contents
- What You Need
- Step-by-Step: How to Simplify a Busy Scene in Five Steps
- Step 1: Choose a Stronger Point of Interest
- Step 2: Simplify the Background
- Step 3: Control Lines, Shapes, and Color
- Step 4: Focus on One Clear Moment
- Step 5: Simplify Again in Editing
- Common Mistakes That Break the Process
- Frequently Asked Questions
- Do I need a special lens to simplify a busy scene?
- Can I simplify a busy scene on a smartphone?
- What aperture is best for a less distracting background?
- Is it better to remove distractions while shooting or in editing?
- How much should I crop a busy photo?
- What if the scene is busy but the atmosphere is important?
- Conclusion
What You Need
The good news is that almost nothing on this list is expensive or specialized. Every technique below works with a phone, a mirrorless body, or an old DSLR with a kit zoom.
- Any camera you can move. A fixed position is what makes busy scenes hard. If your tripod is holding the camera at eye level, that is the problem.
- A longer focal length. A 70-200mm class zoom is the single biggest simplifier most people never use. On a phone, the 2x or 3x lens is the same idea, limited.
- A wide aperture. f/1.8 to f/2.8 separates a subject from a background far more effectively than any amount of editing. Phone portrait mode does the same job automatically.
- A way to crop. The crop tool in whatever editor you already own. No subscription needed.
- A healing or spot removal tool. Built into most desktop editors and phone apps. Use it for small intrusions only.
- Optional: a circular polarizing filter. It kills glare on water, glass and wet rock, which removes an entire layer of visual noise at once.
- Optional: a reflector or white card. Worth carrying if you shoot people in open shade. It lets you place clean, even tone right where you want it.
Here is how each tool maps to the problem it solves:
- Longer focal length fixes too much background in frame. Step back, then zoom in, so subject size stays the same and the edges fall away.
- Wide aperture fixes a background competing with the subject. Check the corners of the frame, not just what sits behind the subject.
- Changing position fixes lines, poles and bright edges. Kneel, step up, or shoot through a gap.
- Crop tool fixes distractions on the frame edge. Do this before any color or exposure change.
- Spot removal fixes small intrusions on the sensor or in the scene. Use it only for things that never mattered.
- Monochrome conversion fixes competing color noise. Test it, because it often turns a messy frame into a calm one.
Which technique to reach for depends on what you are shooting and how far away the clutter sits:
- Market or street with people: reach for a longer focal length, then wait for a gap. Compression cuts the number of bodies in frame before you fire.
- Forest or foliage close up: change position first, then open the aperture. Depth of field is shallow by nature, so background gaps matter most.
- Wide open vista: reach for a longer focal length. A wide lens always puts more in frame than you want at this distance.
- City streets and architecture: use a lower angle plus a smaller aperture. You need the whole structure sharp, so isolate by position instead.
- Waterfalls, rivers, coast: use a long exposure to smooth the surface. Moving water averages itself into a soft, even shape.
- Fog, mist, overcast sky: change nothing and just use it. Atmospheric haze already strips contrast and depth from the background.
- Phone only: 2x lens, portrait mode, then crop. The long end is the only real compression you get.
Step-by-Step: How to Simplify a Busy Scene in Five Steps
The workflow below runs in order. Most of the gain comes from steps one and two, and editing at step five should only ever be tidying.
Step 1: Choose a Stronger Point of Interest
Before you lift the camera, say the subject out loud in a short phrase: the woman in the yellow coat, the single lit window, the one red buoy. A vague subject is the root cause of a busy frame, because your eye cannot commit to anything.
Once you have named it, do three physical things. Move closer until the subject is noticeably larger in frame. Change your angle, even by half a step, so that gap or clean wall behind it grows. Then wait for the moment when the competing element leaves, which with people often means the gap between two walkers instead of the moment one of them is in the gap.
How you tell it worked: squint at the image until it goes blurry. Whatever stays sharp is what the viewer will see first. If that is not your subject, keep moving.
One habit helps more than any other: before taking the photo, walk ten steps in each direction. I did this on a market shoot years ago and found a stall with a plain canvas backdrop from six meters away, when the obvious spot had umbrellas, crates and a fire hydrant all competing.
Beginners often overcorrect here and crop in so far that the frame loses all context. A hand against a plain wall can be a clean, striking image, but if the subject needs a hint of place to make sense, leave a little of the environment in and just keep it quiet. Test it by asking whether the picture still makes sense with the caption removed.
Step 2: Simplify the Background
Three controls do almost all the work, and you can combine them. A longer focal length narrows your angle of view, so you exclude clutter without changing the size of your subject. A wider aperture throws the background out of focus. Distance does the same thing as a wide lens but optically, so the blur looks natural.
Start by zooming in rather than stepping back when you can. Photographers often assume they need a wide lens to include everything, then end up with a frame full of objects they never cared about. Zooming to the far end of your lens and cropping later gives you the same subject size with a much narrower slice of the world.
For blur, open up as far as you can without letting the subject drift soft. On a person, f/1.8 is usually fine. On a distant subject, aperture barely changes anything because the whole scene sits at the same distance, so reach for focal length and position instead.
If you are working out how to simplify a busy scene for the first time, this is the step that pays off fastest. None of it needs new equipment, and the result shows up immediately on the back of the camera rather than a week later in an editing window.
Lowering or raising the camera is the free move. Get down near water level and a cluttered bank flattens out. Step up onto a low wall and the ground becomes a clean plane of color. How you tell it worked: look at the four corners of the frame. Bright, sharp, high-contrast objects sitting in the corners are what pull the eye out of the picture.
Weather sometimes hands you the simplified background for nothing. Fog, mist and heavy overcast all strip contrast out of everything past the near foreground, which does the same job as blur while keeping detail sharp. A beach with a low fog bank is easier to simplify than a clear day on the same beach. Most people wait for good light and then wonder why the frame came back busy.
On a phone, the 2x or 3x lens is your telephoto, and portrait mode is your wide aperture. Both have limits: the digital zoom on a phone crops rather than magnifies, so quality drops as you go longer, and portrait mode will blur edges of hair and glasses. Use them to get closer to a clean frame, then check the result at full size before you rely on it.
Step 3: Control Lines, Shapes, and Color
A pole slicing through a subject’s head ruins a frame that is otherwise empty. Straight lines are not neutral; they point, and they point hard.
Shift your position until any distracting line leaves the frame or passes behind empty space rather than through your subject. Move ten centimeters sideways and a railing that crossed a face usually clears it. If the line is part of the scene, embrace it: put the subject right at the end of the line so the line leads toward the subject instead of through it.
Then check the color. Most busy scenes are busy because several saturated colors compete for attention. Pull the saturation down slightly in-camera and the problem often disappears, and if one color already dominates the frame, let it be the only strong one. The 60-30-10 idea works here: roughly 60 percent of the frame in one calm dominant tone, 30 percent in a supporting one, 10 percent as an accent.
Shadows are shapes, and shapes are simpler than detail. Wait until a wall or post throws a clean shadow across the background and use it as your backdrop.
How you tell it worked: describe the image in five words or fewer. If you cannot, the frame is still carrying more than it needs.
Step 4: Focus on One Clear Moment
Once the frame is clean, the shutter timing decides whether it stays clean. With people in a crowded setting, one frame in ten will catch someone mid-stride with a clean gap. That frame is worth more than the nine around it.
Use a single autofocus point placed on your subject, and keep it there rather than letting the camera hunt. Set a shutter speed fast enough to stop that motion, around 1/250 of a second handheld for people walking, and raise ISO rather than slowing down. Once focus is locked, wait instead of shooting bursts.
Sometimes the busy scene is the point. Crowds, markets and festivals carry meaning in the density itself, and cleaning them out deletes the story. If the atmosphere matters more than the subject, keep the frame full, pick a foreground anchor so the eye has somewhere to land, and let the complexity stay.
Step 5: Simplify Again in Editing
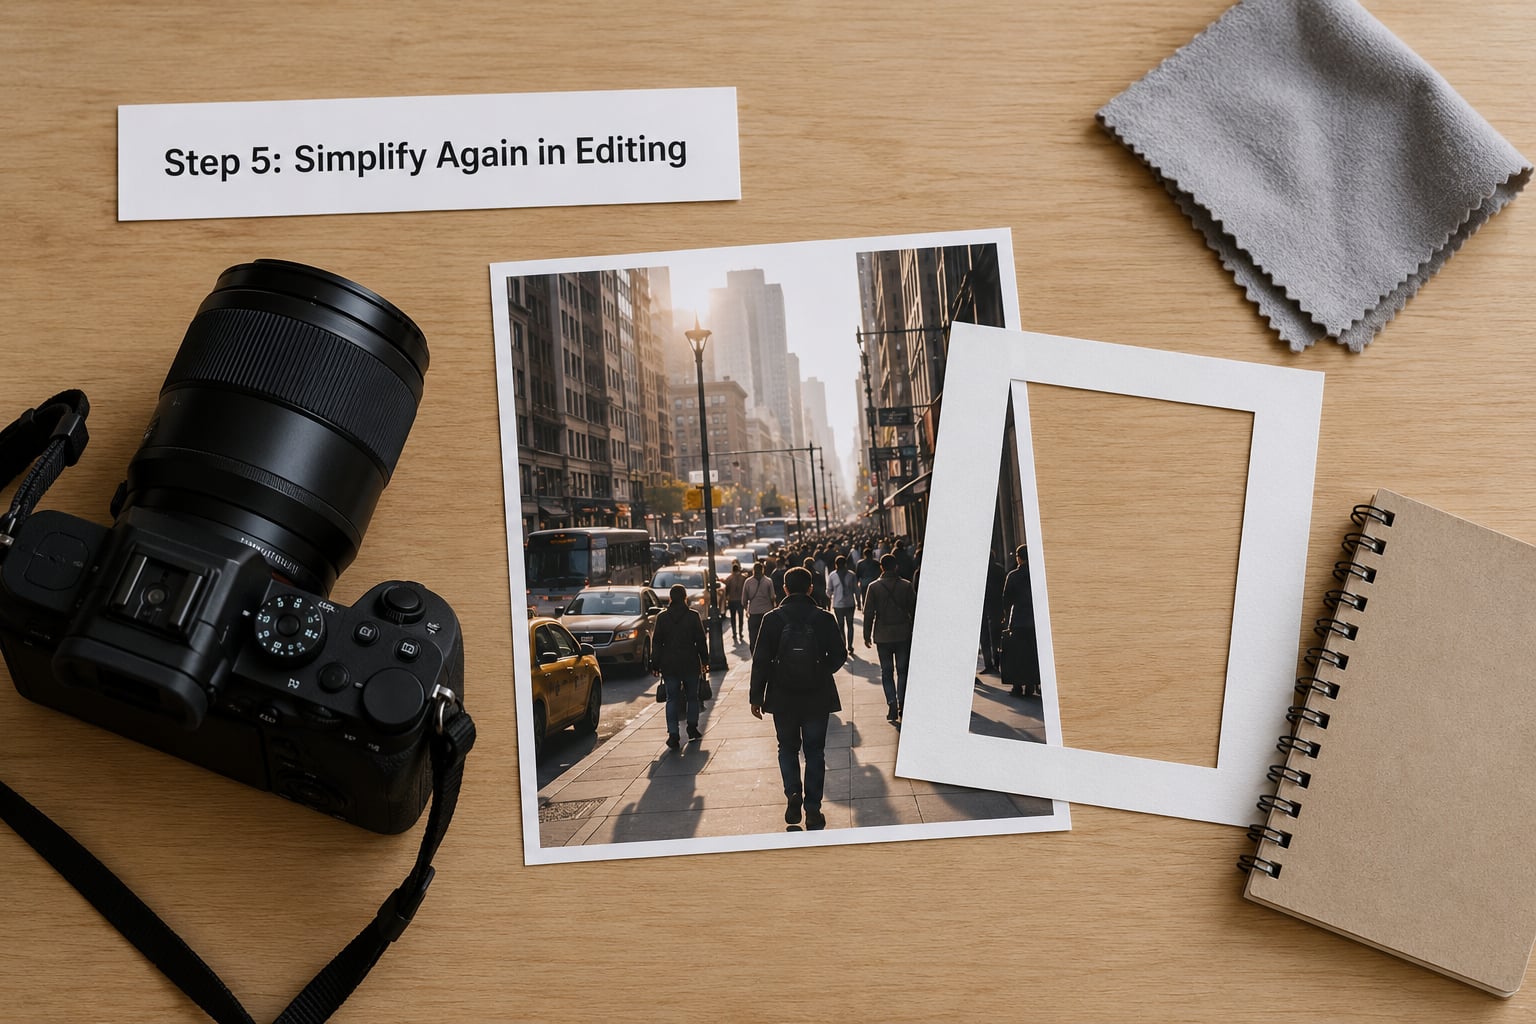
Editing is the last pass, not the first one. Work in this order and stop as soon as the frame looks right.
Crop first. Cut every distraction touching an edge, then check the four corners again. On a phone, tap and hold on an edge to bring up the crop handles, then turn the grid on so verticals stay straight.
Second, dodge and burn gently. A small brightening of the subject and a light darkening just outside it guides the eye without any hard mask. Keep the adjustment subtle, since an obvious halo looks worse than the clutter did.
Third, mute the color. Try dropping the whole frame to monochrome and compare it with the color version. Losing several competing hues is often the fastest way to make a frame feel calm, and it works on images that no amount of cropping could rescue.
Fourth, remove only what never mattered: dust spots, a stray wire, a logo on a distant sign. If the object gives the scene its character, keep it. Cloning large areas invites the eye to notice something soft that was never distracting in the first place.
You will know the pass worked when you stop fiddling and the frame still holds together. That urge to keep adjusting is usually a sign that the composition never worked, which means going back out with the camera.
Short practice matters more than gear here. Two weeks of making one simplified frame every day, then reviewing them side by side, tends to change how you see a location permanently.
A simple way to measure progress: mark every frame where you can name the subject in five words or fewer, and count how many you get in an hour at a familiar spot. The number climbing is the clearest sign the habit is sticking.
Common Mistakes That Break the Process
- Relying on blur alone. A wide aperture hides clutter but not bright patches, and an out-of-focus subject still looks out of focus. Fix: simplify the frame first, then add blur.
- Deleting too much in editing. Heavy cleanup produces soft, plastic-looking areas and removes the context that made the scene interesting. Fix: remove only objects with no story value.
- Boosting saturation to fix a messy frame. More color amplifies the competition rather than settling it. Fix: cut saturation first and add it back selectively on the subject only.
- Waiting until editing to solve a composition problem. You cannot add negative space around a subject in a software window. Fix: move on location, because the angle does not exist in the file.
- Leaving distractions on the frame edge. The eye goes to sharp high-contrast edges first. Fix: crop or reposition before you take the photo.
- Using a wide lens indoors when you cannot step back. Wide angles force the subject near the background and add edge distortion. Fix: use portrait mode, or switch to a longer focal length and accept a tighter frame.
- Locking the camera to the tripod. A fixed height and position mean one background, and often a cluttered one. Fix: take the camera off the tripod and walk.
- Over-cropping until resolution suffers. Heavy cropping from a low-resolution file loses the detail that sells the subject. Fix: crop only as far as the file supports.
One more habit worth adding: read your images back at small size before editing them. A frame that survives at thumbnail size has done its job, and one that needs to be viewed full-screen to hold together is asking for a new approach in the field.
Frequently Asked Questions
Do I need a special lens to simplify a busy scene?
No. A kit zoom covers it, and the technique works on a phone. What matters is choosing a longer focal length, moving closer, and changing position rather than adding expensive glass. If you own one lens, use its long end and step back, then crop the extra out in editing.
Can I simplify a busy scene on a smartphone?
Yes, with three moves. Use the 2x or 3x lens to narrow your view, use portrait mode to blur the background, and shoot from a slightly lower or higher angle to find a cleaner backdrop. In editing, crop tightly and lower saturation before you add any effect. Phones cannot match a fast prime for blur quality.
What aperture is best for a less distracting background?
As wide as you can while keeping the subject sharp, usually f/1.8 to f/2.8 on a full-frame lens or f/2 on a smaller sensor. Aperture only separates a subject from things a short distance behind it, so for distant scenes a longer focal length and a change of position do far more than opening up.
Is it better to remove distractions while shooting or in editing?
On location, wherever you can. Editing can crop edges, mute color and heal small spots, but it cannot add space around your subject or move you to a side where the background is clean. Most of the improvement happens in the ten minutes before the shutter, with editing used only for tidying.
How much should I crop a busy photo?
Crop until every competing element is gone from the edges, then stop. Be strict about bright or sharp objects touching a border, since the eye locks onto those first. Avoid cropping further than your file resolution supports, and leave the subject with a little room to breathe rather than pressing it against the frame.
What if the scene is busy but the atmosphere is important?
Keep the density and give the eye an anchor instead. Place a clear subject in the foreground, use a slower shutter speed to blur movement behind it, or shoot toward a bright edge of the scene. Crowds, markets and festivals lose their meaning when cleaned out, so in those frames complexity is the subject, not a flaw.
Conclusion
Simplifying a busy scene comes down to subtraction done before the shutter: choose one subject, change your position, reach for a longer focal length, open the aperture, then crop and mute color as a final tidy.
Start with the cheapest move there is. Pick a single subject, walk ten steps in one direction, and try one wide aperture before you touch anything in editing. Knowing how to simplify a busy scene is mostly a positioning habit, and it takes an afternoon of practice to start sticking.