Last updated October 2026
A photo walk is any walk you go out on to make photographs rather than to get somewhere, usually a few hours close to home. Answering what to pack for a photo walk comes down to five things every time: one camera body, one lens that covers the range you will actually use, spare power, somewhere to put the files, and enough water, warmth and rain protection to stay out long enough to use them.
Everything else is optional, and the optional gear is where most walks get heavy. This guide sets out a core kit you can pack in under ten minutes, then walks through how to adapt it for the forecast, the terrain and the kind of light you are chasing.
Table of Contents
- What You Need to Pack for a Photo Walk
- The non-negotiable core
- What the core weighs
- Optional additions and when they earn a place
- Step-by-Step: Packing a Photo Walk Kit That Actually Works
- Plan for the Route and Weather
- Build the Core Camera Kit
- Add Comfort and Safety Essentials
- Test the Kit Before You Leave
- Common Mistakes That Ruin a Photo Walk
- Overpacking
- Relying on a single battery
- Wrong footwear
- Ignoring rain protection
- Carrying too many lenses
- Having no backup plan for the photos
- Skipping the route and safety check
- Packing a bag you cannot open on the move
- Frequently Asked Questions
- What should I bring on a short photo walk?
- Do I need multiple lenses for a photo walk?
- What should I pack for a photo walk in the rain?
- How much water and food should I carry?
- How can I back up photos while traveling?
- Conclusion
What You Need to Pack for a Photo Walk
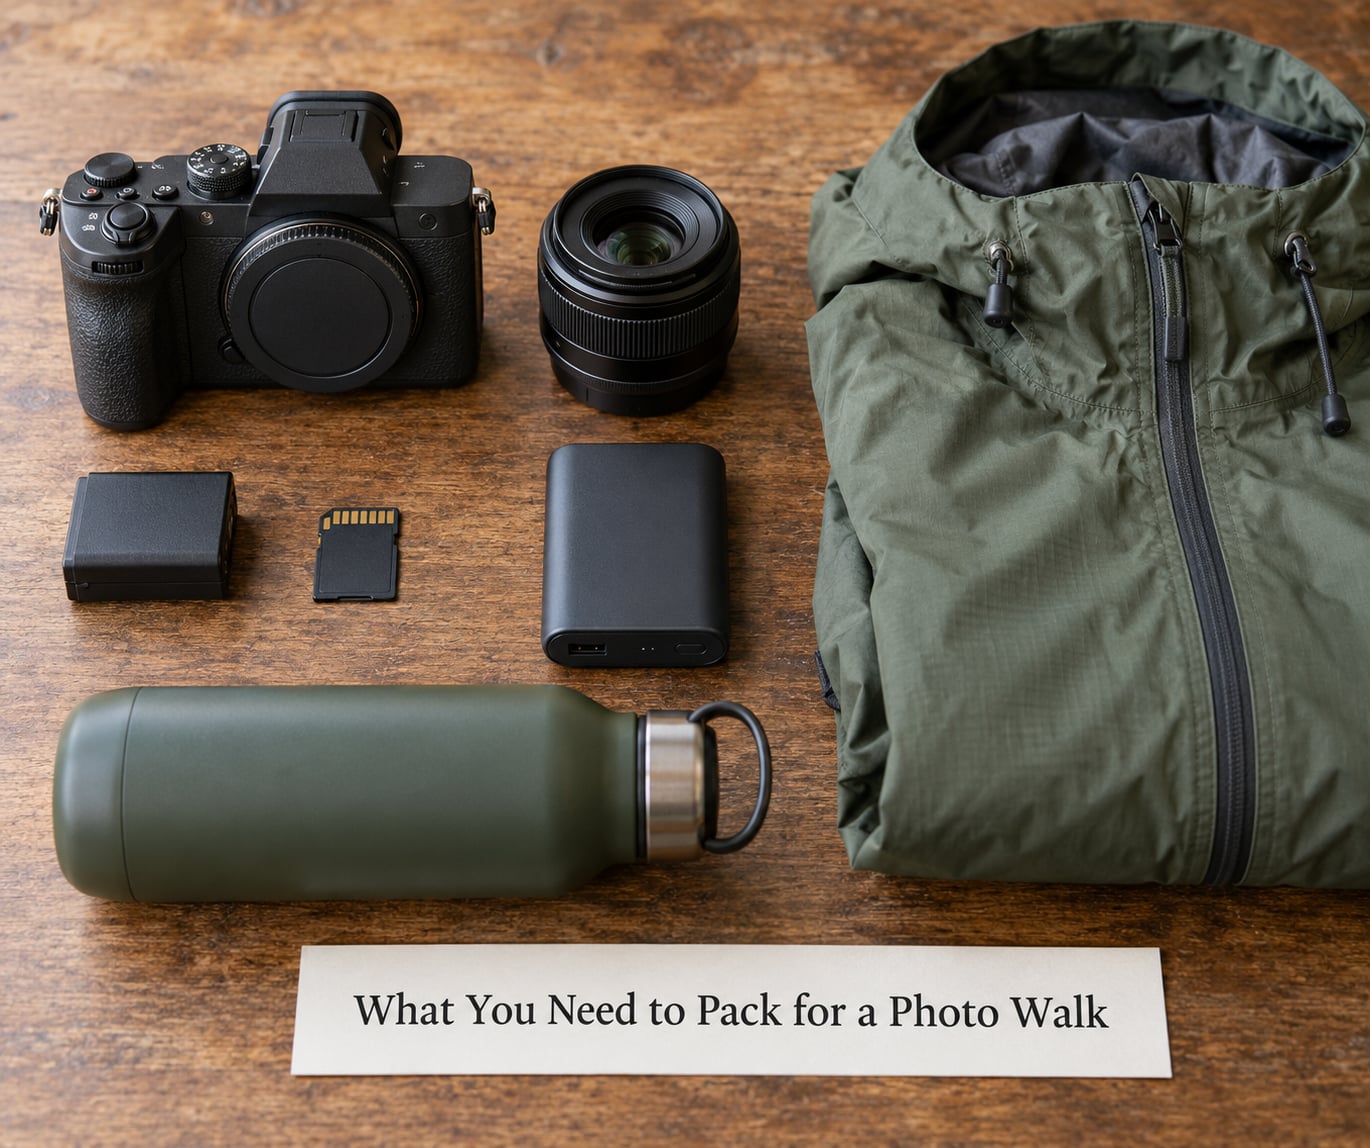
The core kit fits in a small shoulder bag or a sling and should stay under about 2.5 kg including water and clothing. If your loaded bag is much heavier than that, you are carrying something you will not use.
The non-negotiable core
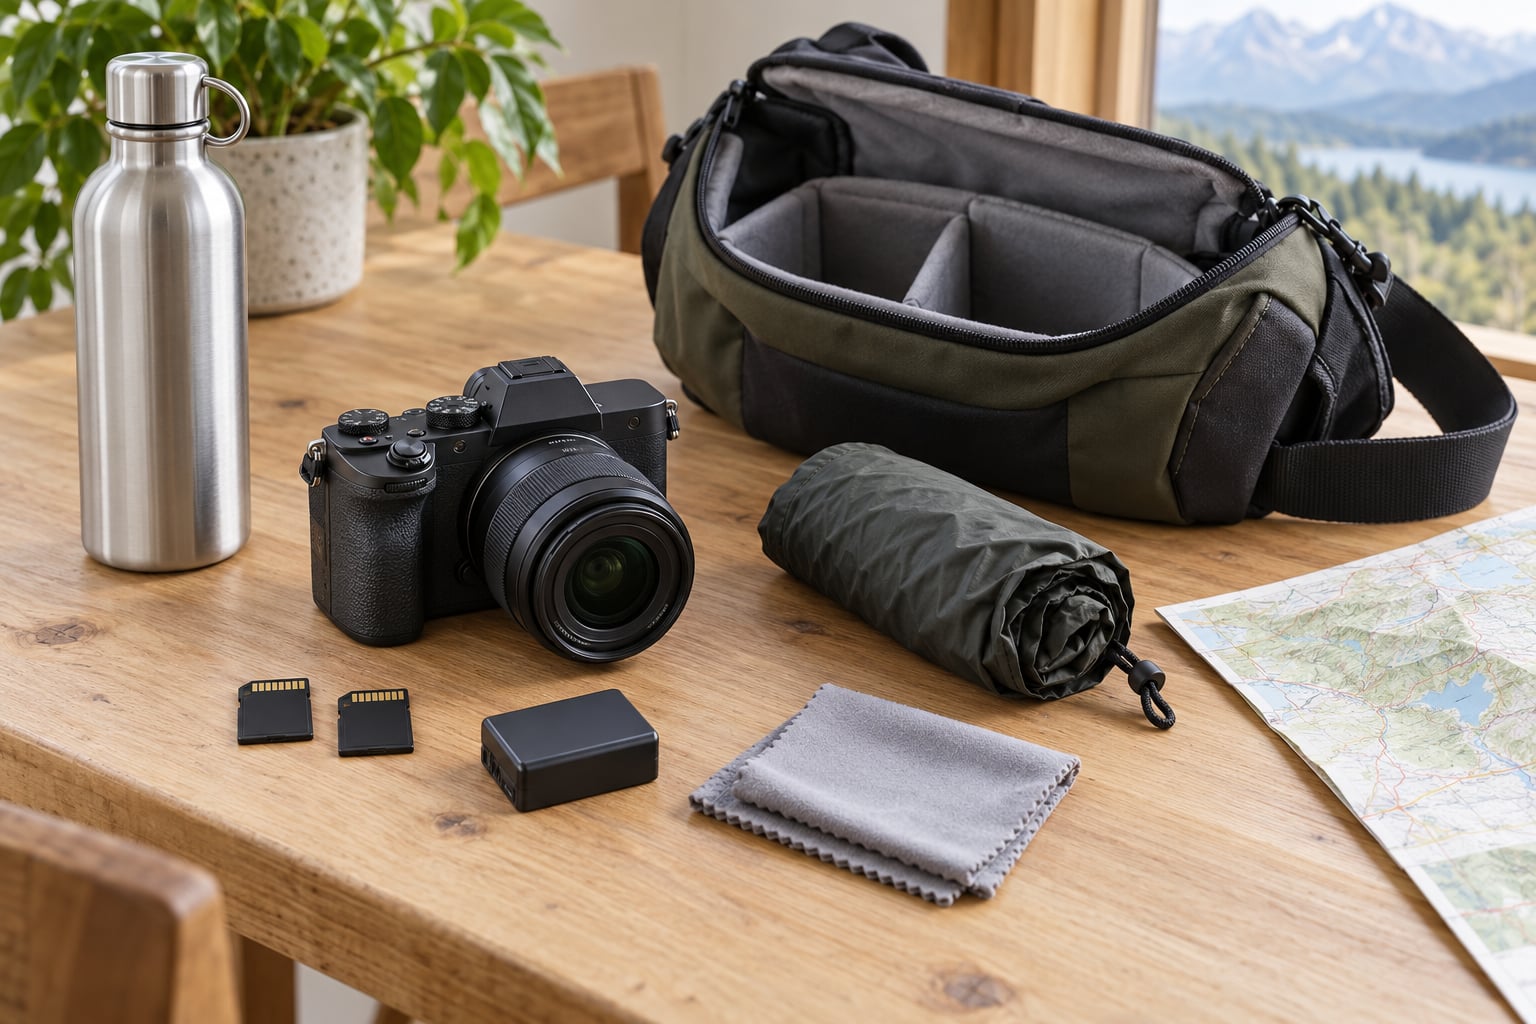
- Camera body with a charged battery installed
- One zoom lens covering wide to short telephoto
- One spare battery, charged
- Two formatted memory cards, in different pockets
- Air blower and microfiber cloth
- Waterproof bag or rain cover
- One litre of water
- Phone, charged, in your pocket rather than the bag
- Spare card reader if you shoot video
- Strap that lets you reach the shutter without unpacking
Those ten items cover almost every walk most people take. The memory cards go in separate pockets on purpose, because a single lost card is the failure nobody plans for and everybody regrets. This photo walk packing list stays the same whether you shoot a city street or a river path; only the lens and the weather gear change.
What the core weighs
Typical numbers, so you can sanity-check your own bag:
- Compact mirrorless body with lens attached: 500 to 700 g
- Spare second lens, if you carry one: 300 to 500 g
- Battery plus charger or power bank: 150 to 300 g
- Two memory cards: under 10 g, but they change the walk
- Cleaning kit and rain cover: 80 to 150 g
- Compact tripod or monopod: 300 to 600 g
- Bag itself: 400 to 900 g
- Water, food, first aid, layers: 600 to 1,200 g
A support option is the first thing to drop if you are over budget. A short walk with a fast shutter speed rarely needs one, and the neck and back pain of lugging it is paid for in missed frames.
Optional additions and when they earn a place
- A second body, if you shoot events or want a fallback while one lens is on another
- A circular polarizer, for skies, water and autumn foliage
- A graduated or square neutral density filter, only if you plan deliberate long exposures
- A remote shutter release, only for tripod work or self-portraits
- A small notebook and pen for locations, settings and shot lists
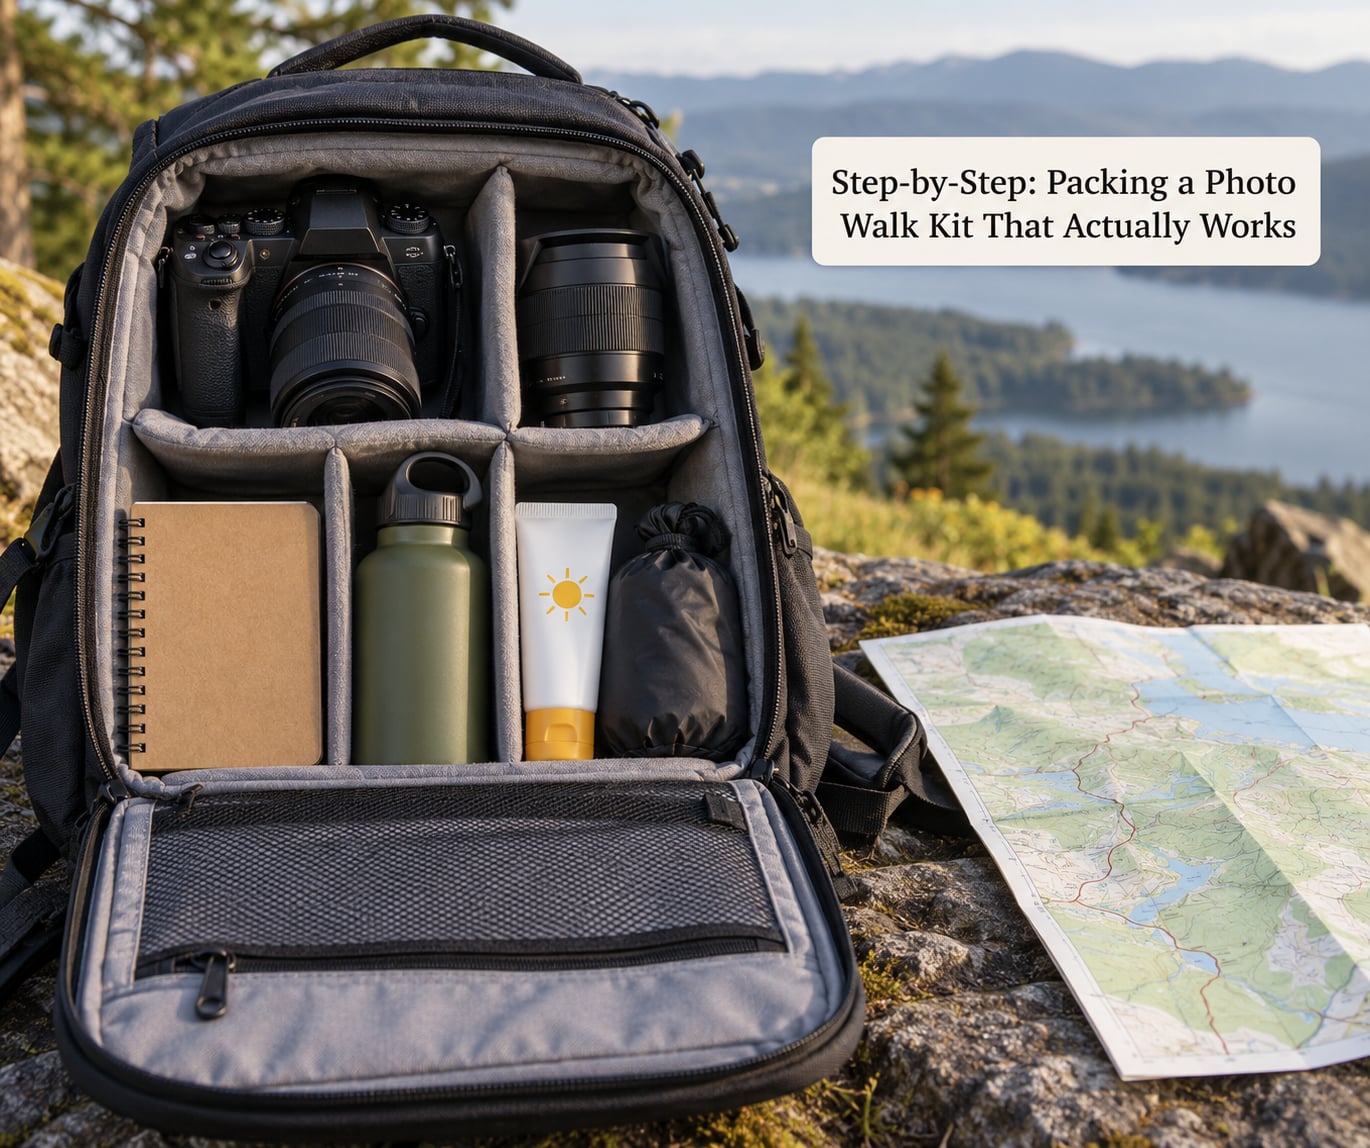
Step-by-Step: Packing a Photo Walk Kit That Actually Works
Plan for the Route and Weather
Start with the walk, not the gear. Look up the distance, the total ascent, the surface underfoot, and how far you are from water or a car. A two-hour flat canal path and a six-hour hill with a 400 m climb have almost nothing in common when it comes to what you should be carrying.
Then check four forecasts: temperature, wind, rain probability and the sunrise or sunset time. Wind matters more than people expect for photography, because it stops you slowing down to work with a tripod, and low cloud ruins the light you walked out for.
Finally, check access. Some parks and reserves restrict tripods, drones or large bags, and some city centres ask you to keep equipment bagged in certain areas. Nobody wants to unpack at a gate.
Aim to be back before the light goes. The walks I enjoy most end well before the light does, because the good frames come first and then repeat. Anyone asking what to pack for a photo walk should start with that turnaround time, since it sets the ceiling on everything else.
Build the Core Camera Kit
One body is the default for a walk. Two bodies on a local stroll is usually two bodies you never swapped lenses on, so you carried them for nothing. Take two only when you have a genuine reason, such as a backup for a paid shoot or lenses you refuse to change in the field.
On lenses, the honest answer from people who walk with cameras is one versatile zoom, usually something like a 24 to 105 mm or a 100 to 400 mm, and at most one more. A second lens earns its place only when you know what it does that the first cannot, such as a fast prime for low light or a wide angle for interiors.
Prime lenses are lighter and cleaner, and f/2.8 primes let you shoot in lower light than f/4 ones, which matters when you are handheld at dusk. Zoom lenses cost you some of that light but save you from changing glass in the rain, where every lens swap risks dust, moisture and a missed moment.
Keep the strap on a quick-release or wide, padded strap so the camera comes to your chest rather than your eye. Packing your gear into a bag you have to unpack on a wet wall is the fastest way to miss a good frame.
For power, one spare battery covers most walks in mild weather. In cold, spare batteries drain noticeably faster, so take two if you are out before sunrise in autumn or winter.
For storage, two cards beats one big one. Format both cards in the camera the night before, not on the morning of, and confirm in the menu that the second slot is actually recording.
Add Comfort and Safety Essentials
Photography gear is worthless if you have to cut the walk short because of cold hands, wet feet or a headache. Treat personal items as part of the kit.
Water first. One litre for a couple of hours in mild weather, more in heat, and treat filters, rock or coastal walks as if you will not find a tap. Food next: nuts, a sandwich or energy bars beat a heavy thermos, and you will eat them more often than you expect.
Footwear is where people get this wrong. Trainers are fine for pavement and flat park paths. Anything with loose gravel, mud, roots or a real slope wants boots with grip and ankle support. Wet feet end a walk early in a way no camera bag fix can repair.
Pack layers rather than one heavy jacket. A windproof shell that folds into itself, plus a thin mid layer, handles more conditions and takes less space. Add a rain jacket and rain trousers for anything forecast wet, and a warm hat and gloves for winter or early spring starts.
Sunscreen and sunglasses matter even on an overcast walk, since cloud cover hides the burn. In summer, insect repellent and a tick check afterwards are worth planning for in long grass and woodland.
On safety, tell someone your route and expected return time if you are going somewhere remote, and stick to it. Carry a charged phone in your hand pocket rather than buried in the bag, a small first aid kit, and a headlamp with fresh batteries if you will be back after dark or out before first light.
Protect the camera from the weather and from falls. A rain cover or dry bag is the cheapest insurance there is, and most cameras survive a lot more than their ratings suggest. Wrap the body in a microfiber cloth before it goes in a damp bag, because heat plus trapped moisture is what kills electronics, not the rain itself.
Test the Kit Before You Leave
Spend ten minutes on a function check. It is the habit that stops the most common walk-ending failures, and it takes less time than the coffee you are about to skip.
- Charge every battery and confirm each one is seated in the body or the charger.
- Format both cards in the camera and shoot a test frame on each.
- Check that the strap is attached to both lugs, untwisted, and not frayed.
- Open and close every compartment once so nothing is buried in a pocket you cannot find with gloves on.
- Confirm the rain cover and dry bag are in the bag, not in a cupboard.
- Set the time zone and date so files sort correctly when you get home.
- Put the phone on the charger and check it will reach the end of the walk.
If the camera cannot fire a test shot on both cards before you leave the door, it is not ready.
Common Mistakes That Ruin a Photo Walk
Overpacking
The most common mistake, and the one people rarely admit to. Bring the second lens only if the walk demands it, and leave the tripod at home unless you know you will use it.
Relying on a single battery
One battery works until it does not, and a flat battery mid-walk means no images at all. A spare costs a fraction of the walk and takes no space.
Wrong footwear
Brand-new shoes are the worst option on any walk. Wear something you have already broken in, and match the tread to the terrain rather than the forecast.
Ignoring rain protection
If rain is anywhere in the forecast, the cover goes in the bag whether or not it falls. Once you have been caught out, you will never pack without it again.
Carrying too many lenses
Every lens you add is weight, bulk and one more decision made in the field. One zoom covers more of most walks than three primes do.
Having no backup plan for the photos
For a local walk, pick the photos into your laptop when you get home and copy them to a second drive or the cloud that evening. You do not need a laptop in the bag. You do need the second copy.
Skipping the route and safety check
Turnaround times, daylight, access rules and who knows where you are take two minutes. Forgetting them takes the walk.
Packing a bag you cannot open on the move
If a compartment opens only after emptying three others, you will shoot one subject all morning. Keep the camera in a top or side panel and put the rest underneath.
Frequently Asked Questions
What should I bring on a short photo walk?
For a walk of one or two hours close to home, bring your camera body with one zoom lens, one spare battery, two formatted memory cards, a blower and microfiber cloth, a rain cover, a litre of water, and your phone. Add a compact support option only if you know you will shoot low light or long exposures, and a small snack if you will be out past breakfast or lunch. Keep the whole bag under roughly 2.5 kg so the gear never slows you down.
Do I need multiple lenses for a photo walk?
Usually not. Most photographers who walk report carrying one body, one versatile zoom such as a 24 to 105 mm or 100 to 400 mm, and at most one additional lens. A second lens is worth the weight when you know exactly what it adds, such as a fast prime for dusk or a wide angle for cramped interiors. Changing lenses outdoors introduces dust, moisture and a missed moment, so a well-chosen zoom often beats a lighter kit of primes.
What should I pack for a photo walk in the rain?
Rain changes the kit more than any other condition. Pack a waterproof dry bag or a fitted rain cover, a rain jacket and rain trousers, spare microfiber cloths for the front element, and a microfiber wrap for the body so it never goes into a damp bag. Keep the lens cap on between shots, swap lenses under shelter rather than in the open, and expect batteries to drain faster in cold, damp air. Once your camera gets wet, switch it off and let it dry fully before you power it back on.
How much water and food should I carry?
One litre of water for a couple of hours in mild weather, and closer to two litres in summer heat or on exposed ground. Assume no refill if the walk is remote, on a beach, or on rock. For food, bring one substantial item plus a couple of small snacks, such as a sandwich with nuts or energy bars. Most people under-eat on walks because they plan food as a meal rather than as fuel for carrying a bag.
How can I back up photos while traveling?
For a same-day photo walk, the simplest safe workflow is a two-copy rule once you are home: move files to your computer, then copy them to a second drive or upload them to cloud storage, then format the cards. Two copies in two places is the standard advice, and two places can mean your computer and the cloud. On the road or on a multi-day trip, add a small card reader and a portable drive, and back up each evening rather than once at the end.
Conclusion
Work through the decisions in order: the route and the forecast first, because they set the size of the kit. Then the core camera setup, the spare battery, two memory cards, the bag that opens with one hand, water, layers and a rain cover, and a backup plan for the files you bring home.
Only after all of that sits comfortably should you add a second lens, a tripod or a filter. Most good photo walks are made with a body, one zoom, a spare battery and the patience to wait for the light, and the light does not care what else you brought.