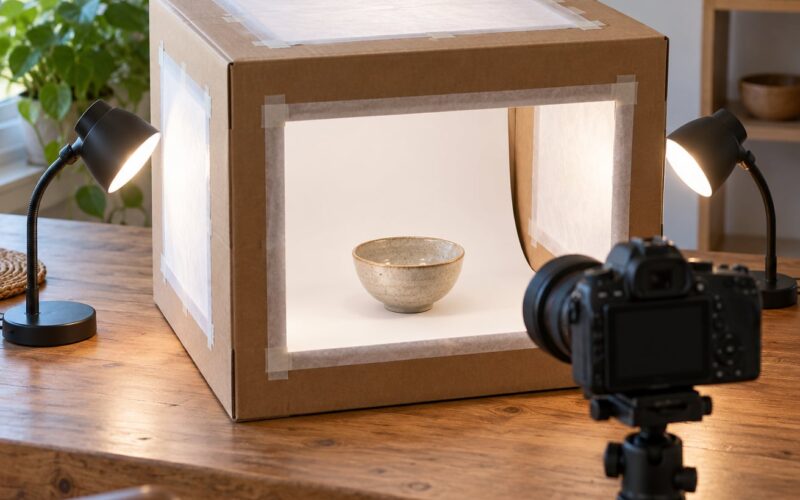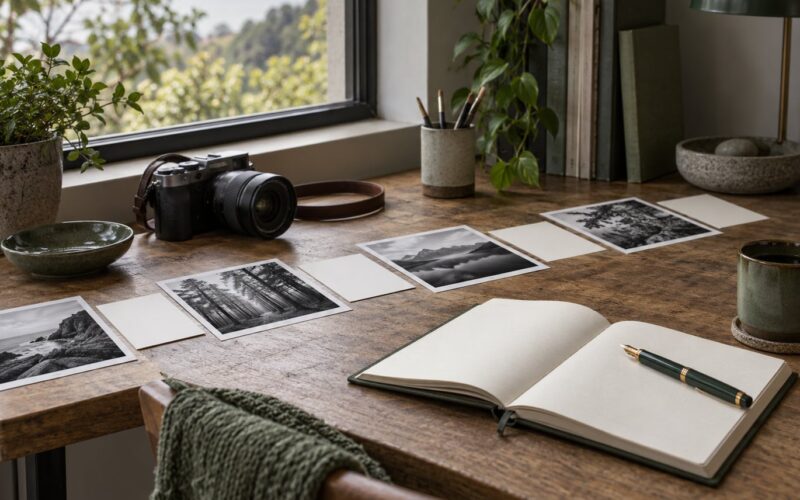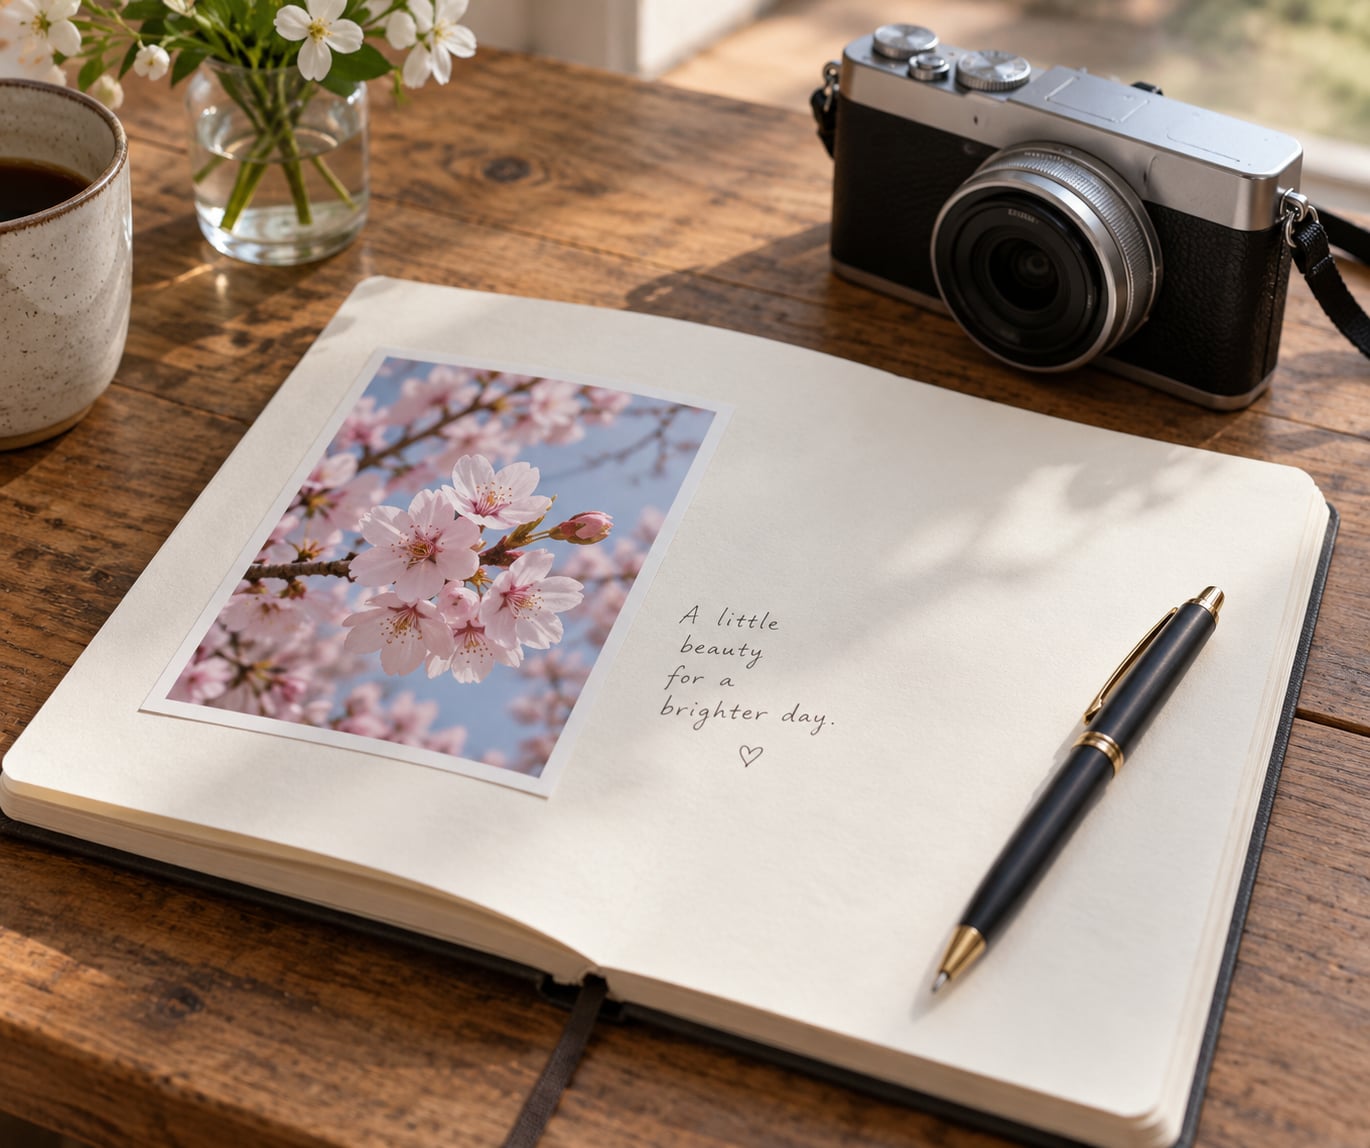
Keeping a photo journal with captions is simple once you set up a repeatable five-minute routine: take one photo, write a short caption naming the date, place, subject, and why the moment mattered, then file the entry somewhere you can find it again. Most people fail at the filing and the writing, not the photographing.
Photo journaling is the practice of pairing each photograph with a short written note so the image stays meaningful after the moment passes. A caption anchors a picture to a specific day, place, and feeling, which makes it searchable years later and turns a camera roll of unnamed files into a record you will actually reread.
It takes about five minutes per entry once the habit settles, and you need almost nothing to start. A phone camera and one notebook or notes app cover it completely.
Table of Contents
- What You Need
- A camera or phone you actually carry
- One place to write
- A caption method
- A consistent storage place
- Step-by-Step: How to Keep a Photo Journal With Captions
- 1. Choose a Theme or Recurring Subject
- 2. Select One Meaningful Photo
- 3. Write a Caption That Adds Context
- 4. Add a Few Useful Details
- 5. Organize the Entry
- 6. Review and Return to the Journal
- How to keep the habit going after the first few weeks
- Common Mistakes
- Captions that describe the image
- Captions that run long
- Vague dates and no locations
- Cluttered organization
- Captions that skip personal context
- Frequently Asked Questions
- How long should photo journal captions be?
- Should a photo journal be handwritten or digital?
- What if I cannot remember the date of a photo?
- How often should I add photos to my journal?
- How do I write captions that are interesting without overexplaining?
- Can I include people in a photo journal without sharing private details?
- Start With One Photo This Week
What You Need
The whole setup fits on one line: something to take the picture, somewhere to put it, somewhere to write, and one place to keep the finished entry. Resist buying a system. People who photograph on paper waste half their journals because the layout is intimidating.
A camera or phone you actually carry
A phone camera is genuinely enough. The photographs in a journal are not portfolio pieces, they are anchors for a day. If you already own a mirrorless or film camera, use it, but do not let gear shopping stand in for the habit.
One place to write
This can be a notebook, a plain notes app, a dedicated journaling app, or the notes field inside your photo app. Pick one and stop shopping around. Physical notebooks feel better for handwriting; digital notes are easier to search and back up. Hybrid works too, as long as the finished entry always lands in the same home.
A caption method
You need a formula, not a muse. The five-part caption formula below is the whole method: date and place, subject, why it mattered, one sensory detail, and an optional note about the shot itself. Write it once on the inside cover of your notebook and copy it into a note pinned to your home screen.
A consistent storage place
One folder in your camera roll, one album, one notebook on one shelf. Consistency here is what makes the journal work, because the point is retrieval years later. A journal spread across four apps and two notebooks is a journal you will never open again.
Step-by-Step: How to Keep a Photo Journal With Captions
1. Choose a Theme or Recurring Subject
Narrow the journal to something you will not run out of. A good theme is specific enough to prompt you and open-ended enough to last a year. Seasonal plants, a neighborhood walk taken on the same corner, meals on weekday evenings, or the ordinary shape of your daily routine all work.
Themes beat random shooting because you stop asking the camera roll question every evening. With a theme, you already know what you are looking for, so you notice things instead of hunting for them. Keep it flexible, though, and let a day off from the theme be a day off.
You can tell a theme is working if you can name it in five words and if you have turned down a shot because it did not fit. That second part sounds rigid, and it is exactly the pressure that makes the practice feel like a project rather than a habit.
2. Select One Meaningful Photo
Look for a clear subject, one small detail that rewards a second look, and enough context that a stranger could place the image. The detail is what separates a journal from an album. A bare kitchen counter says nothing; a chipped mug beside the window above the sink tells you whose morning it was.
One photo per entry is the rule that keeps this sustainable. Pages with three tiny prints turn into a scrapbook project you abandon in November. A single 4×6 print or one full-bleed image with writing underneath gives you room to write a real caption.
When you are not sure a photo qualifies, ask whether you would want to know the story behind it in ten years. If the answer is yes, it goes in the journal. If the answer is only that it looks nice, it goes in your regular album.
3. Write a Caption That Adds Context
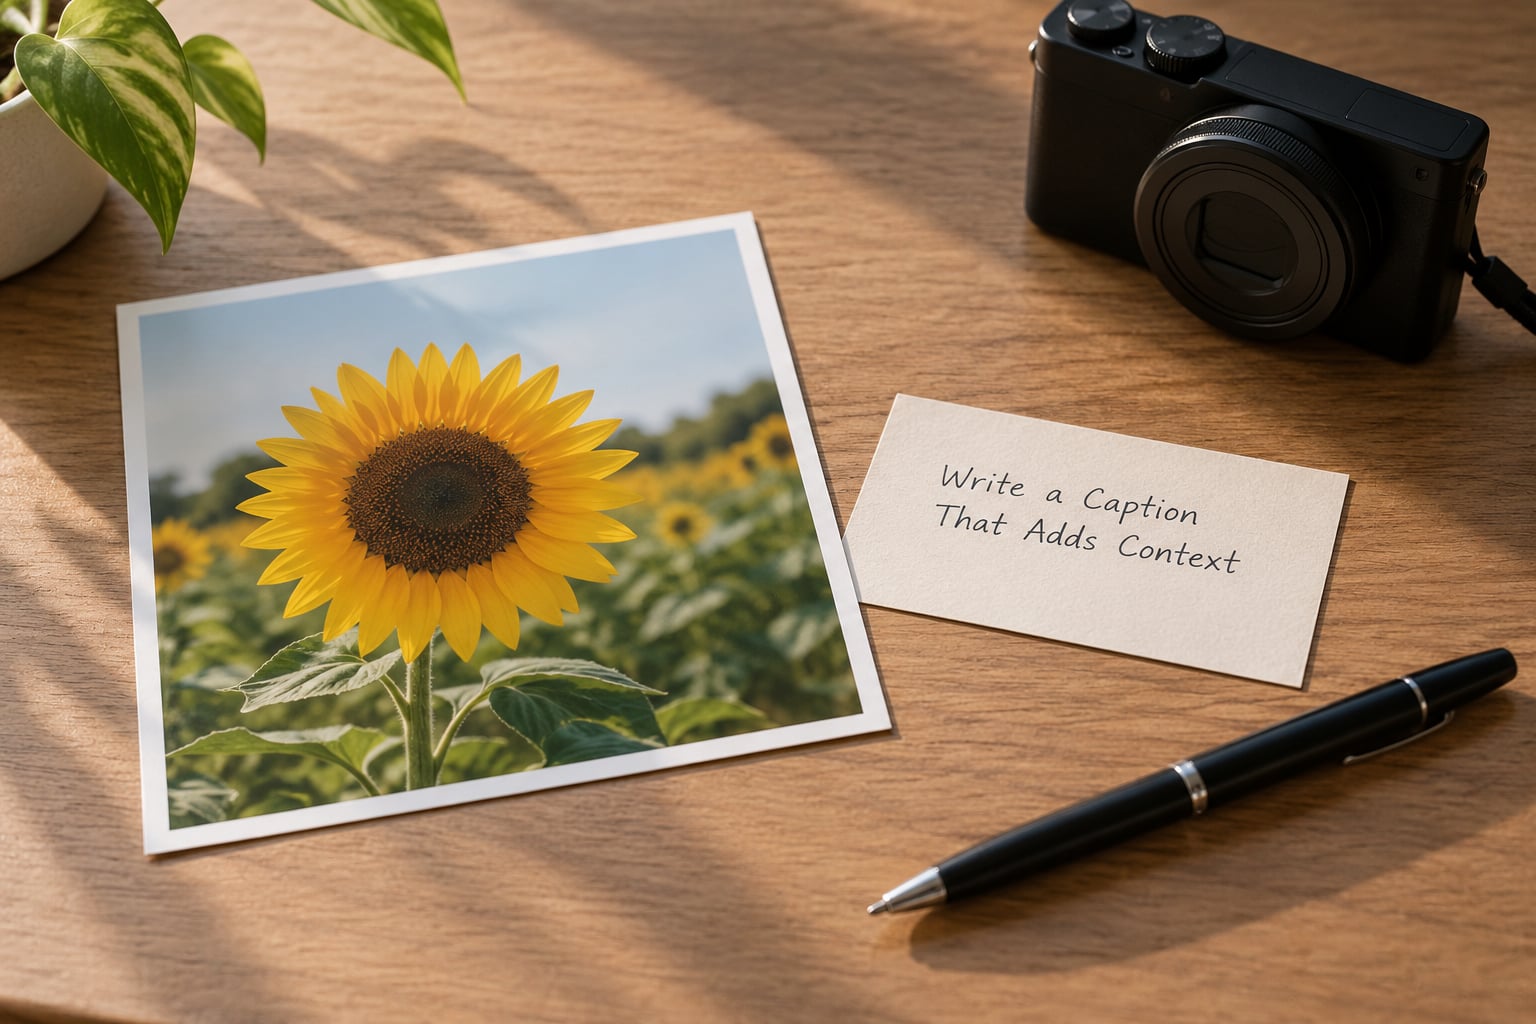
This is the step people get wrong, and it is usually a matter of describing what the picture already shows. A caption that says “a vase of yellow flowers on the table” adds nothing, because the image already said it. Write what the image cannot say: when, where, who, and why this one.
Use this five-part formula and fill in the blanks.
- When and where: the date and the specific place, not just the city. “Saturday, back step, after the rain.”
- Subject: the one thing in the frame that the entry is about.
- Why it mattered: the feeling, the small event, the reason you stopped and took the picture.
- One sensory detail: a sound, smell, temperature, or texture that is not visible.
- Optional shot note: what you were trying to do photographically, and whether it worked.
A filled example reads like this: October 4, back step, after the rain. The last dahlia on the plant my sister gave me. It held on through three frosts and I kept cutting it for the kitchen table. Smell of wet soil and cold metal. Shot at f/2 so the fence behind went soft, which I like more than I expected.
Short captions work. One full sentence is plenty. If your caption needs a second paragraph, you are probably writing about the day rather than the photograph, and that belongs in a regular journal entry instead.
Photo journal captions fail when they repeat the image or when they explain a feeling that the image already carries well. The fix is simple: ask what a person who was not there could not learn from looking.
4. Add a Few Useful Details
Optional metadata is what makes an entry searchable years later. Record the date in full, the neighborhood or trail, the weather in one word, and the camera or phone you used if you care about gear. Skip anything you will not look at again, because clutter is what causes people to stop maintaining a journal.
For digital journals, let the file name carry the basics: a year-month-day prefix, then place, then subject, such as 2026-10-04_BackStep_Dahlia. Keep geotagging switched on if you travel, and put a weekly backup in your routine so the effort of one year is never sitting on a single phone.
For paper journals, write the details in the margin rather than across the image. A small block of pencil in the corner preserves the page and still gives you a date to search for years from now.
5. Organize the Entry
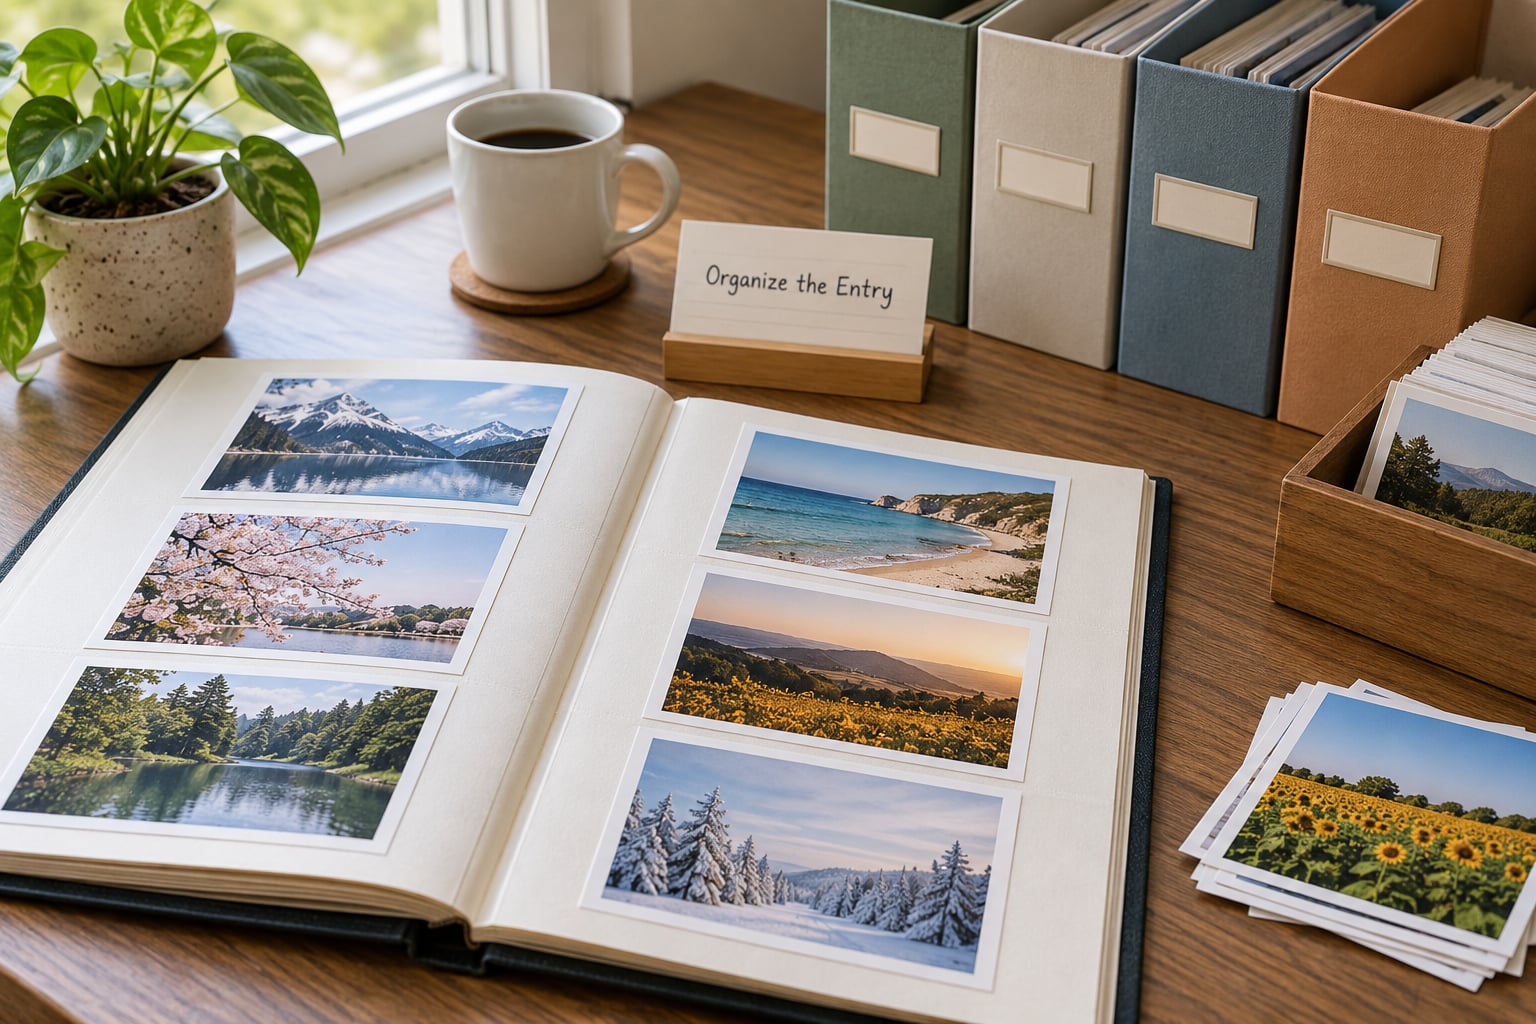
Pick one system per format and use only that system. A dated album per month works for digital. A single notebook with a contents page on the first spread works on paper. Tagging by theme on top of that is useful, but only if you actually apply the same three or four tags every time rather than inventing a new one per entry.
Naming conventions matter more than folder depth. Keep a short written rule for yourself, such as date, then place, then subject, and follow it even when the entry is small. A consistent rule means a predictable file name, which means you can find last October’s garden entries without rebuilding anything.
The test of a good system is whether you can find a specific entry in under a minute after two years. If the answer is no, the fix is usually less structure, not more. One well-labeled place beats a folder tree you built on a good weekend and abandoned.
6. Review and Return to the Journal
A photo journal is written once and read many times, so schedule the reading. Once a week, spend ten minutes skimming the last seven entries and add a monthly favorite at the end of the month. That monthly page is the part you will still care about in a decade, because it shows what you were actually noticing.
Reviews also fix things. A missing date can be recovered from the file metadata, a vague caption can be replaced with a real one while the memory is still close, and a photo that no longer belongs to the theme can be moved out without guilt.
Over time the review turns into the most useful part of the practice. Weekly contact sheets of a single corner, or a month of meals, show you change that daily viewing hides. The corner looks identical in every single shot, and the difference between the first and the last one is the whole reason you keep the journal.
How to keep the habit going after the first few weeks
The novelty carries roughly two weeks. After that, lower the bar instead of pushing harder. One entry a week you will actually keep beats five a day you abandon, and the entries you do write become the reason you keep going.
Attach the journal to something you already do, like the first coffee of the morning or the walk home from work. Missed days need no repair. Skip a week, do not go back and fill it in, and pick up with whatever is in front of you today.
Common Mistakes
Captions that describe the image
Writing “a yellow flower in a pot” tells a future reader nothing they could not see. Fix it by writing the date, the place, and the reason the photo exists. The formula from step three handles this in about twenty seconds.
Captions that run long
Two paragraphs beside one photo is a diary entry, not a caption. Fix it by writing one sentence, reading it aloud, and cutting anything that does not change what a reader understands. Save the rest for a regular journal if you want to keep writing.
Vague dates and no locations
“Sometime in the fall, the park” is nearly useless as a record. Write the full date and the specific place, the corner or the trail, not the city alone. A wrong guess at a date is worse than an honest approximation, so write what you are sure of and mark the rest with a question mark.
Cluttered organization
Eleven folders, four tag systems, and a spreadsheet nobody opens is a project, not a journal. Fix it by collapsing everything into one chronological place with a consistent naming rule, then add at most three tags you will actually search with.
Captions that skip personal context
A caption like “coffee, morning” is a label, not context. The entries that hold value years later include one specific, slightly awkward detail that only you would know. Fix it by adding a single sensory line or a short memory to every entry.
A few habits make the difference between a journal you keep and one you abandon. Write the caption the same day, while the image is still familiar. Keep entries to one photo and one sentence until the rhythm is automatic. Photograph deliberately, because the journal is the cheapest way to train your eye. And if other people appear in your photos, ask before you publish anything, which is a habit worth building from day one.
Frequently Asked Questions
How long should photo journal captions be?
One to three sentences is the sweet spot, and about forty words is plenty. A caption works when it adds the date, the place, and why the moment mattered, none of which the image can show on its own. If you are writing more than that, you are probably shifting into diary territory, which is fine, but keep it in a separate entry.
Should a photo journal be handwritten or digital?
Both work, and the format matters less than consistency. Handwriting feels more personal and is harder to search later, while digital notes are searchable, backed up, and easy to add photos to. A hybrid setup is common too: photographs printed and pasted in a notebook, with the caption written by hand beside them. Pick one home for finished entries and stay there.
What if I cannot remember the date of a photo?
Start with the technical fallback before you guess. Phone and camera photos usually carry a timestamp in the file data, and if they were shared or uploaded, the message thread often records the day. Beyond that, seasons, holidays, weather, and what was happening locally narrow it down fast. Write your best estimate and mark it uncertain, because an honest guess is far more useful than a blank space.
How often should I add photos to my journal?
Daily suits a project like a 365-day challenge, but most people sustain three entries a week or one a week with a single photo. Pick a rhythm you can hold on a bad week, then treat skipped days as normal rather than something to repair. A short weekly entry that survives a year beats a daily one that stops in November.
How do I write captions that are interesting without overexplaining?
Ask what a person who was not there could not learn by looking, then answer only that. Dates, names, the reason you stopped, and one sensory detail give you a specific entry without a paragraph. A useful check: read the caption aloud, and cut any sentence that only restates the image or explains a feeling the picture already carries.
Can I include people in a photo journal without sharing private details?
Yes, and most journals are private by default. Keep the journal on a locked device or on a shelf only you control, and turn off geotagging for entries taken at home. Ask before photographing other people, especially children, and get clear permission before any entry leaves your journal. If the images stay offline and unshared, your normal rules of consent still apply.
Start With One Photo This Week
Here is the whole method, and how to keep a photo journal with captions, in one sitting. Pick a subject you will see again this week. Take one photo of it, write a caption using the five-part formula, and save the entry in the same place you will use next time.
Three entries will teach you more than a month of planning. If you want the visual side covered, our guides to seasonal photo walks and photography basics cover how to choose subjects worth photographing in the first place.