A photo essay tells a story by ordering photographs so that each frame does a job the others cannot: one sets the scene, one shows who is involved, one holds the tension, one resolves it. If you want to tell a story with a photo essay, you plan the arc first, shoot for it second, and only then decide what stays. Most first attempts fail on the same thing: nice pictures that never connect.
The whole process takes one focused afternoon to plan, two shooting sessions spaced a few days apart, and an evening of editing. That is genuinely beginner-level work. What makes it feel hard is that beginners shoot first and think later, so you end up with 300 frames and no reason to pick any of them.
Here is the version I use. It scales to a school assignment you can finish in a week and to a documentary project you can spend a month on.
Table of Contents
- What You Need
- A single idea, written down
- A shot list, not a theme
- A point of view, stated in one sentence
- Something to sort pictures with
- The three shot types you will lean on
- Step-by-Step: How to Tell a Story With a Photo Essay
- 1. Define the story’s central idea
- 2. Choose a beginning, middle, and ending
- 3. Shoot images that reveal change
- 4. Build a sequence that guides attention
- 5. Use captions or context sparingly
- 6. Edit for visual consistency
- 7. Show the finished photo essay
- Common Mistakes and How to Fix Them
- Using too many photographs
- Starting with your strongest image
- Writing a caption for every photograph
- Mixing visual styles
- Photographing a subject instead of waiting for it
- Skipping the second visit
- Publishing without asking permission
- Frequently Asked Questions
- How many photos should a photo essay contain?
- Should every photo in a photo essay have a caption?
- How do I choose the order of photos in my essay?
- What is the best photo essay length for beginners?
- Can a photo essay be presented without text?
- How do I make a photo essay feel more emotional?
- Conclusion
What You Need
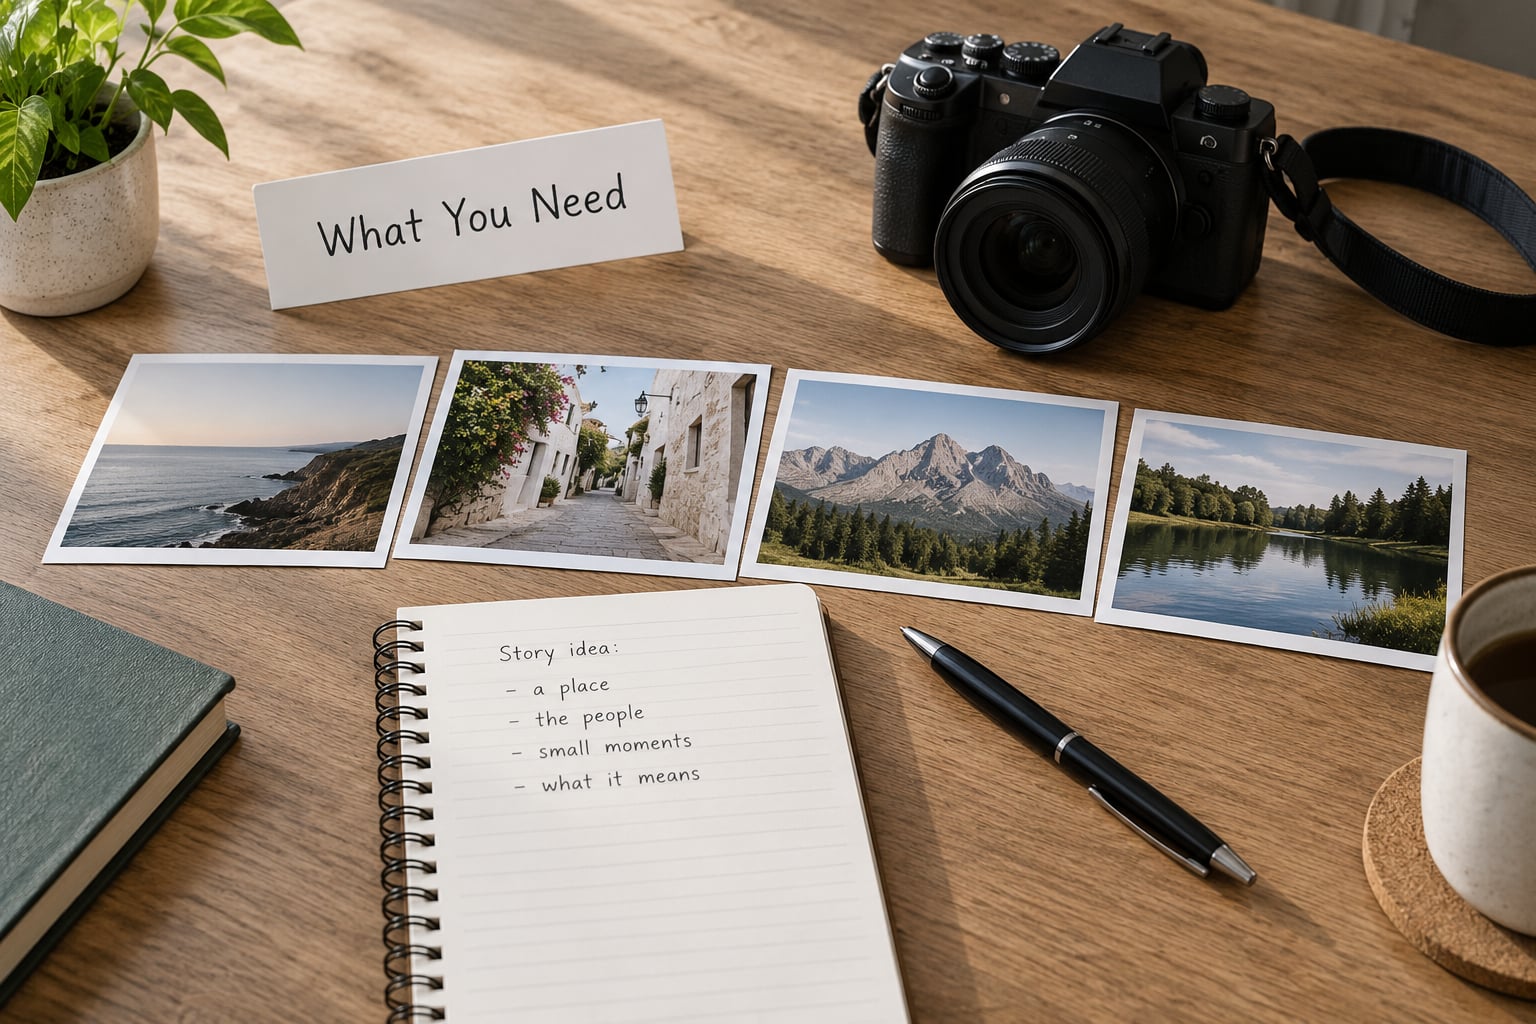
You need four things, and none of them is expensive gear. The camera matters far less than people think, including a phone.
A single idea, written down
One subject, one change, one feeling. “My dad’s workshop” is a subject. “The three years my dad’s workshop went from a place he rented to a place he owns” is a story with a shape you can photograph.
A shot list, not a theme
A shot list is a short list of frames you intend to find: an establishing view of the place, the person inside their environment, hands working, one detail nobody notices, the moment something shifts, and a closing image that quietly answers the first one. Write these before you leave the house. Beginners who shoot a theme end up with whatever the day offered. Beginners who shoot a list end up with a sequence.
A point of view, stated in one sentence
Say what you think your pictures will argue. “Grandparents are being priced out of the neighborhoods they built.” Even a modest claim, stated plainly, tells you which frame belongs where.
Something to sort pictures with
Any culling tool you already own will do. Adobe Lightroom, Capture One, Affinity Photo and the free darktable all build a contact sheet you can star-rank. For planning the sequence, printed 6-inch proofs on a table, or a free digital board app, beat staring at a single image on a laptop screen.
The three shot types you will lean on
Nearly every working frame is some combination of an establishing shot (where we are), a detail shot (what this is made of) and a moment shot (what just happened). Learn to recognize those three in the field and you can build an essay from almost any subject.
One more practical note. Shoot more frames than your list requires. The list tells you where to point your attention; it does not promise you will nail each frame on the first try.
Step-by-Step: How to Tell a Story With a Photo Essay
1. Define the story’s central idea
Write one sentence describing what you want a viewer to feel by the final frame. “Quiet pride.” “The slow disappearance of a trade.” “What a morning shift actually costs.”
If your sentence contains the word “and”, you are probably running two essays at once. Split them or pick the one you care about more. A photo essay with one feeling in it reads as intentional; one with four feels like a search.
Photographers on r/photography describe the same problem from the other side: technically strong photos that never add up to anything. That gap almost always comes back to this sentence. If you cannot write it, keep shooting as an exercise, but do not call it an essay yet.
2. Choose a beginning, middle, and ending
Every working photo essay has an arc, and you can write it in three sentences before you touch the camera.
The beginning establishes the subject and lets the viewer stand somewhere. The middle develops it, usually through a contrast or a turn: what this place looked like versus how it looks now, what someone said versus what their hands did. The ending either resolves the tension or reframes everything you just saw. A closing image that quietly contradicts the opening one is the mark of a confident essay.
You also have a choice about structure. A narrative photo essay follows change over time, so it needs at least two visits to the subject. A thematic photo essay explores one idea from several angles and can often be made in one session. Students usually find the thematic version more forgiving, because a missed appointment does not break the whole thing. Pick the one your subject supports, not the one that sounds more impressive.
3. Shoot images that reveal change
This is the step beginners skip, and it is the one that does the real work. A single frame captures a moment. A sequence needs evidence of motion.
- Shoot wide, then tight. The wide tells us where; the close tells us why we care.
- Shoot the action, then the reaction. Hands kneading dough is half the story; the face above them is the other half.
- Return to the same subject on a second day. Nothing shows passage of time faster than the same chair, the same doorway, the same counter with different wear on it.
- Photograph small things: hands, feet, a worn door handle, a stack of invoices, a mug ring on a table. On r/photojournalism the most common advice is that details carry the emotion that wide scenes cannot.
- Leave space in the sequence. Two quiet frames next to each other let the viewer breathe, and readers of documentary essays consistently describe silence as the strongest moment in a series.
A day-in-the-life subject is the most accessible starting point precisely because change happens without effort. You still have to notice it, though. Nobody hands you the frame where the mood turns.
4. Build a sequence that guides attention
To tell a story with a photo essay, the order is the part most people get wrong. First cull, then sequence. Those are separate jobs, and mixing them wrecks the order.
Culling means dropping the duplicates, the blinkers and the frames where nothing is happening. Sorting photos by quality first is a trap: the technically sharpest frame is often the least useful one. Judge a frame by whether it advances the arc, not by whether it is sharpest.
Then build two candidate sequences and compare them side by side. Walk away for a day and print both. The order that still works after a night of sleep is the right one.
Four tests for a working sequence:
- Does every frame change something for the viewer, or is it filler?
- Can a stranger describe the arc in one sentence after a first look?
- Does the visual rhythm vary, or do you have six frames at the same distance and scale?
- Does the ending pay off the beginning, or does it just stop?
On a phone, build the sequence in a free story or board app where you can place images in any order and drag them around. Print a contact sheet when you can, because a sequence problem you can see with your eyes is a sequence problem you can fix in minutes.
5. Use captions or context sparingly
A caption is a tool, not a signature. Write one when the photograph cannot carry the fact on its own: a name, a date, a place, or the reason the moment mattered.
“Fourth-generation baker, third year trading six days a week” earns its place. “Beautiful light” does not, because it explains nothing the viewer cannot see. If a caption is needed to make the picture make sense, the picture probably is not finished.
A mixed approach often reads best. A few essential captions for orientation, then silence for the images that should land emotionally. Writing all forty words for every frame turns a visual story into an article with pictures between paragraphs.
6. Edit for visual consistency
Consistency is what separates a series from a folder. Match white balance across the whole set, get the blacks and highlights into similar territory, and apply the same contrast intent to neighbouring frames.
But leave meaningful difference alone. If a frame is the only one shot in low light, or the only one at dusk, let it look different. That inconsistency is information, and flattening it removes the one moment that matters.
Crop for relationship rather than for tidiness. Two frames that clearly belong together can be cropped to share a horizon line, a dominant shape or a similar amount of empty space, and the eye reads them as a pair. This is the single most underrated move in sequencing.
7. Show the finished photo essay
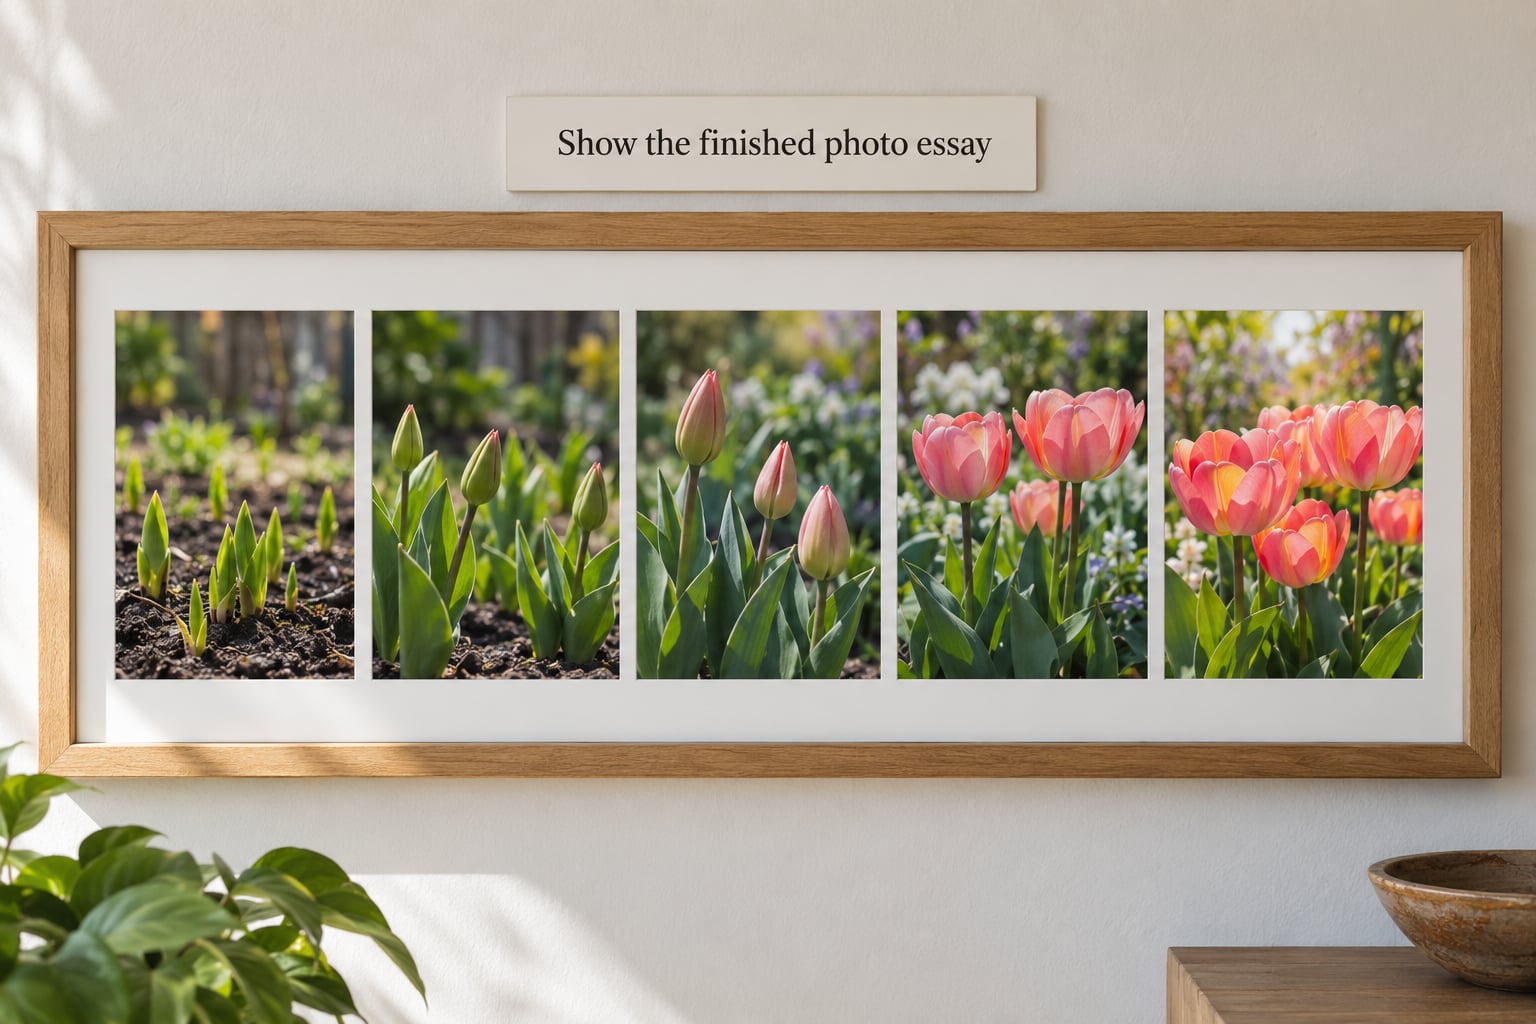
Give it a title that names the idea, not the medium. “Six Weeks at the Market” tells a reader something; “Market Photo Essay” does not.
Then test it on one person who has not seen the work. Ask three questions and stay quiet while they answer: What is this about? What happened first? What do you think happens next? Where they hesitate, you have found the gap between what you meant and what they read. Fix that spot first.
Where you publish depends on the length. A personal site or a portfolio page holds a full essay with captions. Behance and similar showcase platforms suit visual sequences with generous scrolling. A photojournalism forum such as Flickr’s social documentary group is useful for critique before you publish anywhere public. A slideshow setting built for stills keeps the order intact, which matters more than the platform’s popularity.
Before you post anything with identifiable people in it, ask how they would want to appear. Say who the project is and why, accept a request to remove a frame, and get written permission for any commercial use. Ten minutes of asking protects years of relationships.
Common Mistakes and How to Fix Them
Using too many photographs
Twelve to fifteen frames is plenty for most essays. Past that, you are asking the viewer to do your editing. Cut any frame that repeats a job another frame already does, and see whether the essay got stronger.
Starting with your strongest image
It feels natural to lead with the best frame and it flattens every story. The strongest image often belongs in the middle, where it has context to land against. Lead with the frame that orients the viewer.
Writing a caption for every photograph
Descriptions kill the reading rhythm. Keep captions for facts the image cannot show, and let the rest run without text.
Mixing visual styles
A phone frame, a heavily graded frame and a flat frame next to each other read as three different projects. Pick one look and apply it to all, or clearly group the styles with a break between them.
Photographing a subject instead of waiting for it
The decisive moment is not something you direct. Arrive early, shoot the ordinary stuff first so you can stop directing, and keep the camera ready for the instant the scene changes on its own.
Skipping the second visit
One session gives you a set of similar images. Coming back after a week gives you the before and after that turns a gallery into a story. If you only shoot once, choose a subject with built-in variety instead.
Publishing without asking permission
Especially with children, workers, patients or anyone in a vulnerable position. Ask first, explain the project, and honour a no. It costs you one frame at worst.
Frequently Asked Questions
How many photos should a photo essay contain?
Between eight and fifteen images works for most beginner essays. Fewer than eight rarely gives you enough to build an arc, and more than fifteen starts asking the viewer to do your editing. Count only the frames that change something: if a frame repeats a job another frame already does, cut it. For a school assignment, check whether your brief sets a required number before you cull, since it overrides your own instinct.
Should every photo in a photo essay have a caption?
No. Caption a photograph only when it cannot carry a fact on its own, such as a name, a date, a place, or why the moment mattered. A caption that only describes what is visible is dead weight. Many strong essays use a short caption on the first frame for orientation, one or two captions where context is essential, and no text at all for the images meant to land emotionally.
How do I choose the order of photos in my essay?
Build two candidate orderings and compare them, rather than struggling over one. Start with the frame that orients the viewer, put your most striking image where it has context to land against, and end with a frame that either resolves or reframes the opening. Print both versions as contact sheets, walk away for a day, and choose the one that still works when you look at it fresh.
What is the best photo essay length for beginners?
Short enough to finish in one to two weeks. A day-in-the-life subject, a single craftsperson at work, or one room over one season all fit that window and all contain visible change without a complicated schedule. Thematic essays built from one session are the most forgiving starting point, because a missed appointment does not break the whole arc. Finish a small one, then start something longer.
Can a photo essay be presented without text?
Yes, and single-image photo stories often land harder that way. Text is optional when your sequence already carries a beginning, a middle and an ending through order alone. Add words only when a viewer would otherwise be stuck, such as an unfamiliar location or an unexplained relationship. If you find yourself writing a paragraph to make a frame understood, that frame needs to be replaced, not explained.
How do I make a photo essay feel more emotional?
Shoot small. Hands, feet, worn surfaces and the objects people keep close carry more feeling than wide scenes do. Add pairs: an action beside its reaction, a before beside its after, a person’s words beside what their hands are doing. Leave quiet frames next to busy ones so the viewer has somewhere to rest. Most of all, edit ruthlessly, because every weak frame in the middle spends the emotion you earned earlier.
Conclusion
Start today with one subject you can photograph twice in the same week. Write the sentence that says what the essay is about, write the three-sentence arc, and build your shot list from the frame types above.
That is the whole of how to tell a story with a photo essay. Everything after it is repetition: shoot wide and tight, come back later, cull for meaning rather than sharpness, build two orders, and test the finished sequence on one person who has never seen the work before you publish it.