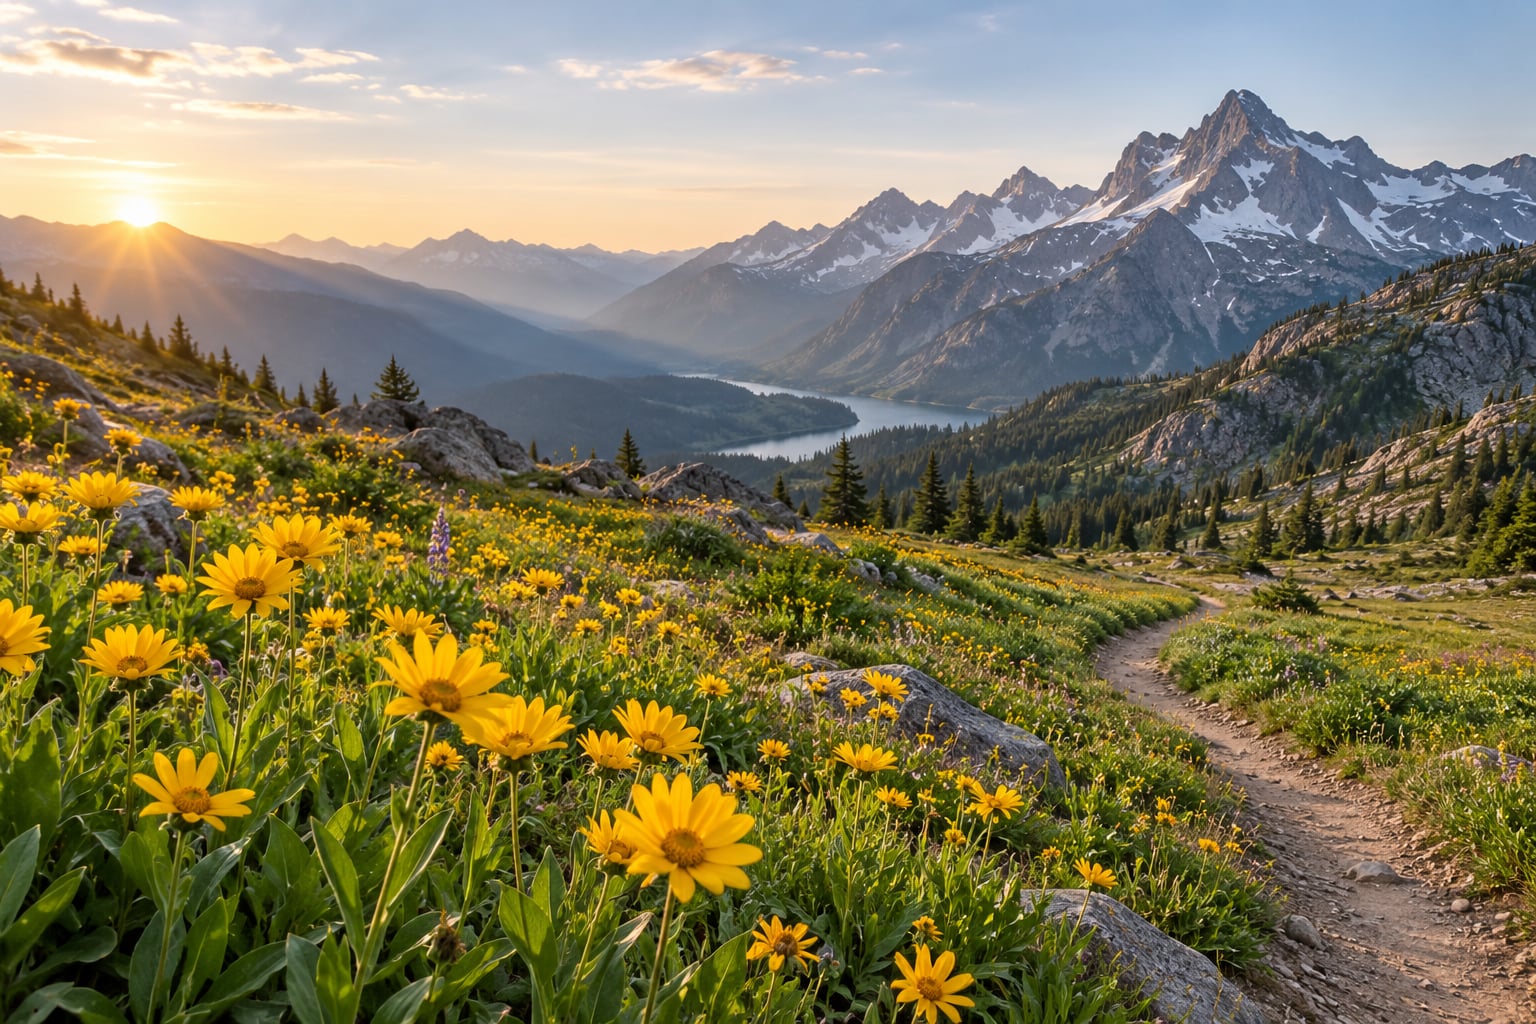
Foreground interest means putting a deliberate, textured element in the nearest plane of a landscape photograph, the part of the scene closest to your camera, so the frame gains depth, scale, context and a natural path for the eye. Most wide shots feel empty because nothing anchors the near plane. A good foreground fixes that.
Table of Contents
- What Is Foreground Interest in Landscape Photos?
- Why Foreground Interest Makes Landscape Photos Stronger
- What Makes a Good Foreground Subject?
- How to Choose a Foreground That Fits the Scene
- How to Position the Foreground in the Frame
- How to Add Depth Without Blocking the Landscape
- Foreground Focus, Background Focus, or Both?
- Common Foreground Mistakes and How to Fix Them
- How to Photograph Foregrounds in Different Conditions
- Frequently Asked Questions
- Should the foreground always be in focus in a landscape photo?
- What aperture is best for foreground interest in landscape photography?
- How do I keep a foreground from distracting from the main landscape?
- What camera height works best for photos with a strong foreground?
- Is a path or road the only useful landscape-photo foreground?
- When is a landscape photograph better without a foreground?
- Conclusion: Start With One Clear Foreground
What Is Foreground Interest in Landscape Photos?
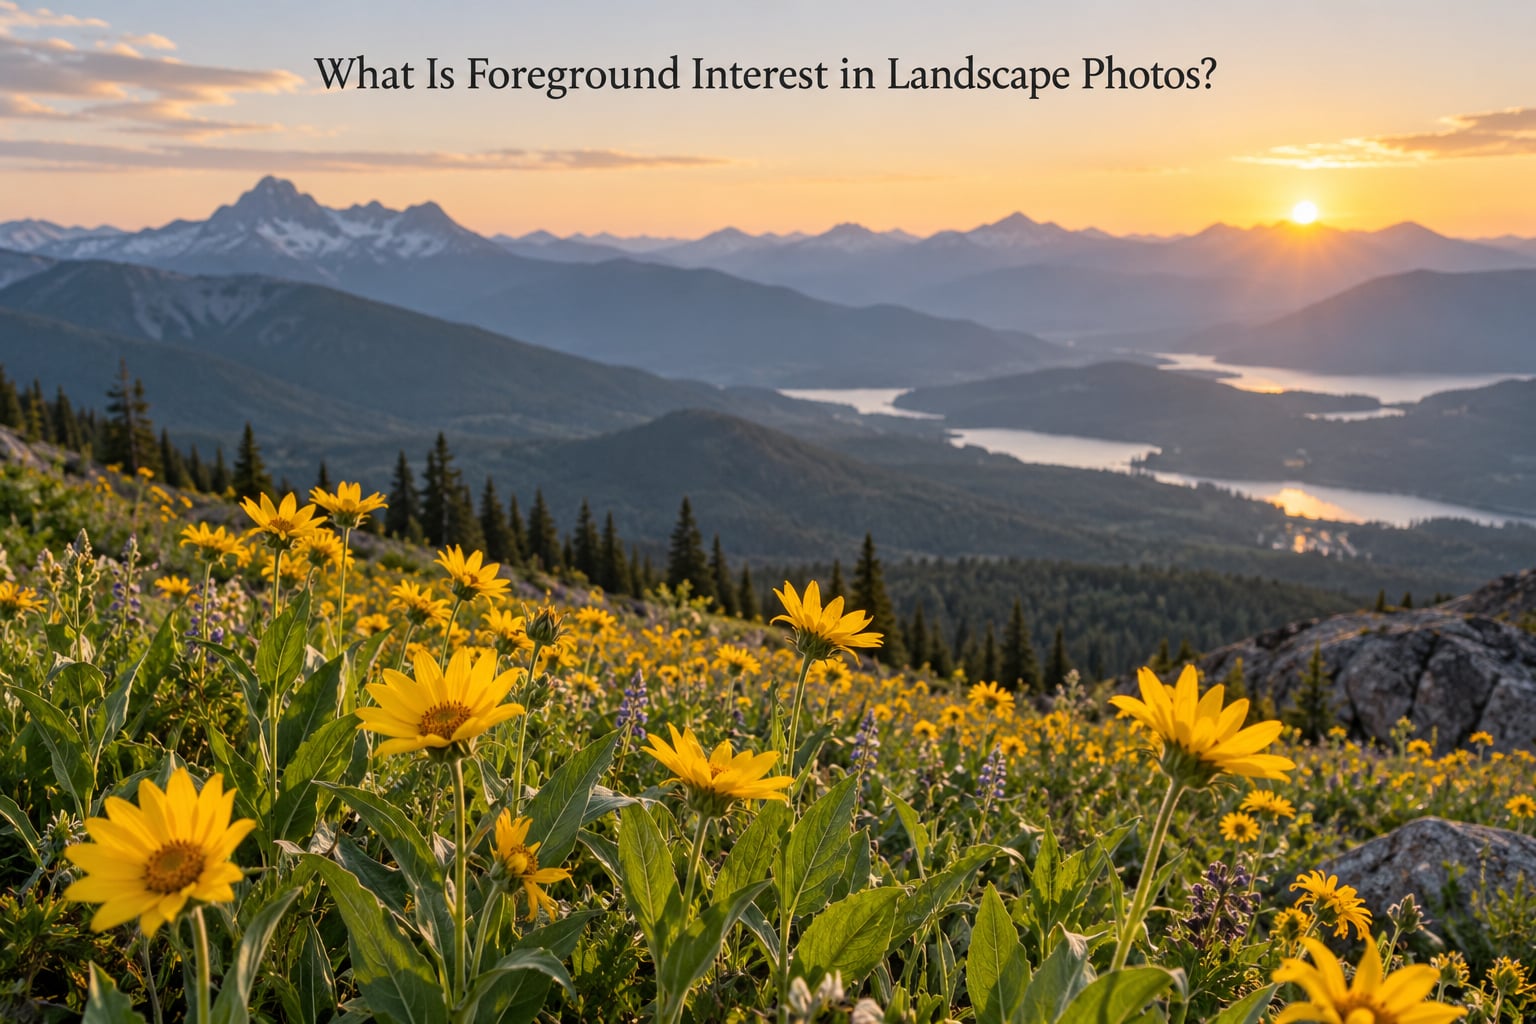
Foreground interest is the practice of choosing a near element that earns its place in the frame, then composing so it leads toward your subject rather than competing with it. The word doing the work is interest. Something can sit in the foreground and still be dull.
The foreground itself is simply whatever is nearest the lens. A muddy puddle six feet from your boots is the foreground, and it adds nothing. Foreground interest is the version where that nearest thing is worth looking at: a rock with lichen, a run of marram grass, cracked ice, ripples in wet sand.
Every photograph reads in three planes. The foreground is nearest, the middle ground sits in between, and the background is farthest away. Your brain measures one against the other, and that comparison is what creates the sensation of depth on a flat sheet of sensor.
Worth separating from the definition: foreground interest is a compositional idea, while foreground focus is a depth of field technique. You can have a boring foreground rendered sharply, and a beautiful one left soft. The focus section below covers that in full.
Why Foreground Interest Makes Landscape Photos Stronger
A wide angle lens compresses less than your eyes do and exaggerates near things more than far things. Shoot a big vista with nothing close to the lens and the result reads as a painted backdrop, flat as a wall. Adding one near element changes that instantly.
Here are the five jobs a foreground does well.
- Depth and scale. A boulder you could put your hand on gives the mountain behind it a size. Without a reference, distant peaks shrink and lose their weight.
- A path for the eye. A stream, a fence line or a diagonal rock edge carries attention from the bottom corner toward the subject. The viewer stops scanning and starts travelling.
- Context. Foreground tells you what kind of place this is. Wet gravel and tussock says coastline; birch trunks and leaf litter says northern woodland.
- Mood and story. Frost on the nearest grass makes the whole valley cold. It sets a temperature before you reach the mountains.
- Contrast and separation. A dark near branch against a bright sky pushes the ridge behind it further away, which is the opposite of merging.
The fourth one surprises people most. The nearest thing in the frame sets the emotional register for everything else.
What Makes a Good Foreground Subject?
A usable foreground element has a shape you can name, a surface that holds detail, and a line that goes somewhere. Smooth, featureless, middle-distance clutter fails all three.
These are the elements beginners scout for most often.
- Rock, boulders and stone with cracks or lichen
- Grass, heather and tussock bending one way
- Wildflowers, close enough to hold individual petals
- Tree bark, birch trunks and low branches
- Driftwood, logs and exposed roots
- Water, including still reflections and moving rapids
- Ice, frost patterns and snow textures
- Sand ripples and wet shoreline mud
- Fences, gates, posts and roads running away
- A person or an animal for scale, placed with care
Texture matters more than size. A small fern with visible fronds beats a huge boulder rendered as a flat grey shape, because there is nothing for the eye to hold onto.
How to Choose a Foreground That Fits the Scene
Beginners arrive at a viewpoint, admire the background and shoot it. Try reversing that. Spend the first five minutes looking down and to the sides instead.
Once you have two or three candidates, ask one question: does this element explain the place, or just sit in front of it? A mooring rope on a harbour wall fits a fishing cove. The same rope on a mountain summit looks borrowed.
Then check the relationship between near and far. If both your foreground and your subject are the same colour and the same brightness, they will sit flat against each other. Push one darker, lighter, warmer or sharper.
On r/photocritique the recurring advice is that partial elements read as accidental. If you include a tree or a rock, include most of its form so the viewer understands you meant it rather than ran out of frame.
A useful shortcut: pick the foreground that also gives the scene a leading line. Element and line in one job, twice the return.
How to Position the Foreground in the Frame
Place the foreground on a third line rather than in the middle. The rule of thirds is not law, but a near element dead centre divides the frame into two flat halves.
Overlap is the other half of the technique. Let a branch or a ridge cross part of the subject, never the focal point itself. Overlap says these two objects are at different distances, which is exactly the depth cue you are trying to build.
Watch the frame edges. An element cut by the border draws the eye straight out of the picture. Either bring the whole thing in or crop into it deliberately so it reads as an abstract shape.
Negative space counts too. A large empty sky above a small band of grass can be a deliberate, quiet composition, as long as you meant it.
How to Add Depth Without Blocking the Landscape
Drop the camera. Standing height shows you the middle ground and hides the foreground entirely. Lie flat or crouch so the near plane is between you and the subject, then check that no tripod leg has crept into the corner of the frame.
Scale exaggeration is the fun part. Move closer to your foreground and use a wider focal length. The near element swells, the far ridge stays small, and the gap between them reads as distance.
Keep the foreground detail sparse. A single clean rock beats five scattered ones, because clutter in the near plane competes for the attention you want the viewer to spend on the landscape.
Foreground Focus, Background Focus, or Both?
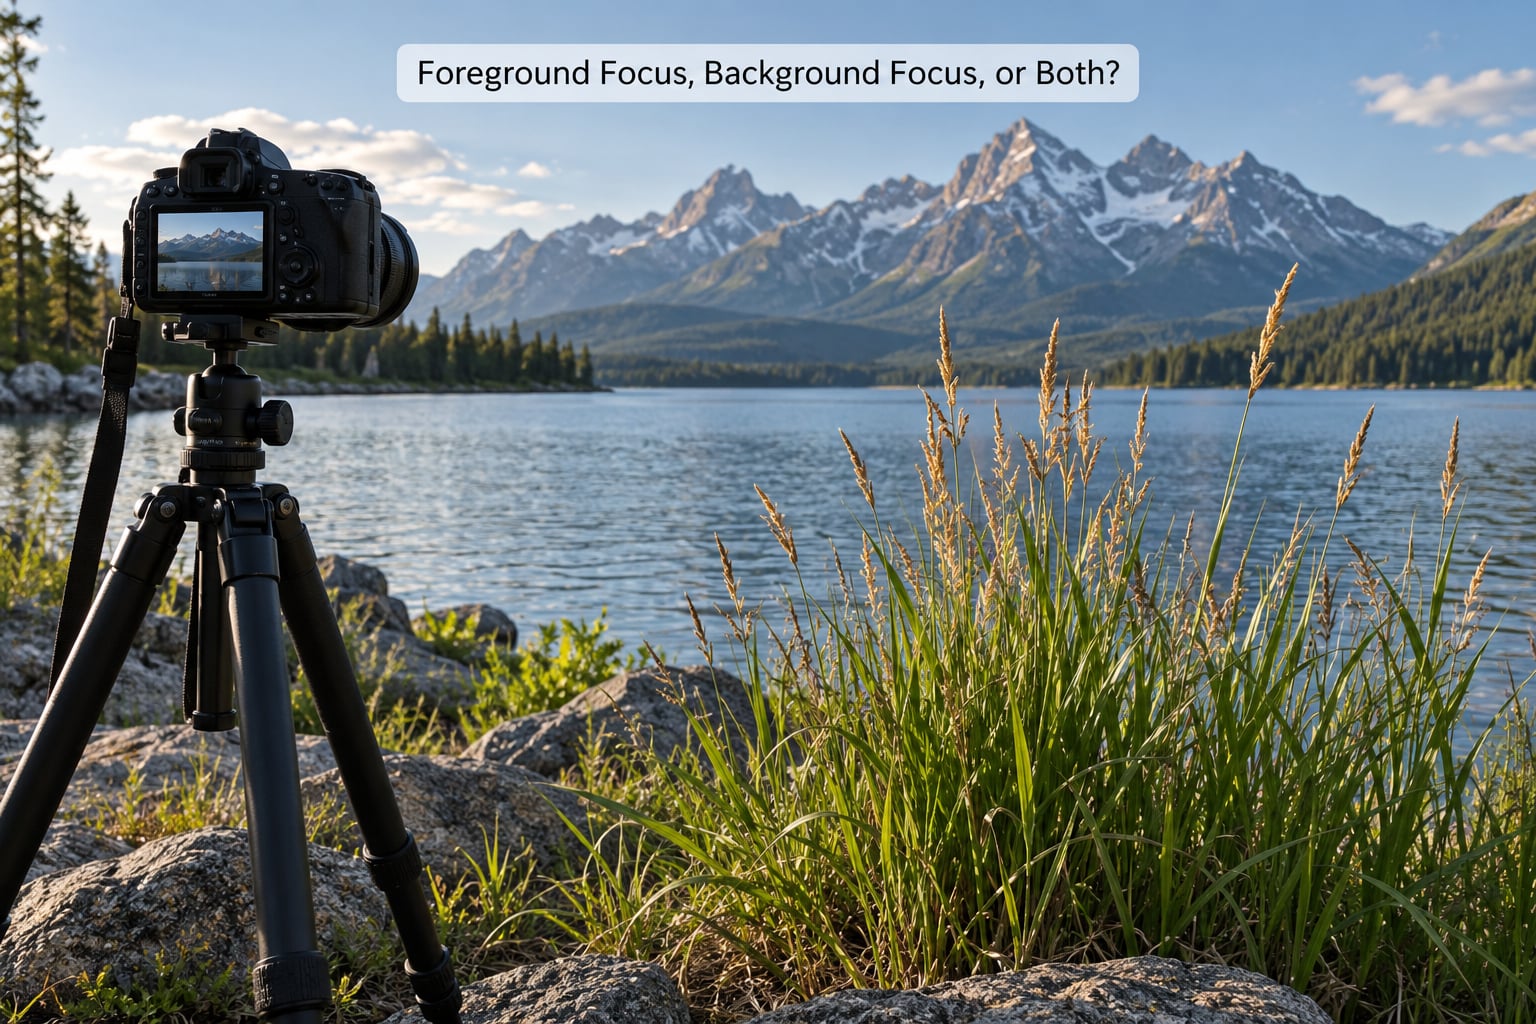
There are three workable focus strategies, and they suit different foregrounds.
Foreground sharp, background softer. Open up to around f/4 or f/5.6 and focus close. The nearest element carries the detail and the far ridge turns into a wash of colour. This works when your foreground is a genuine subject, such as a frost-covered plant or a patterned rock.
Background sharp, foreground supporting. Stop down to f/11 or beyond and focus on the distance. Your foreground becomes a soft shape that frames rather than competes. Use a graduated neutral density filter if the near plane falls too dark, or bracket two exposures and blend them.
Both acceptably sharp. Focus at the hyperfocal distance, the point where everything from the foreground to roughly half that distance reads sharp. Alternatively take several focus points and stack them in post. Live view at full magnification makes this manageable even with a wide lens.
| Axis | Weak foreground | Strong foreground |
|---|---|---|
| Texture | Featureless, evenly toned | Cracks, lichen or fronds visible |
| Value | Same brightness as the subject | Clearly darker or lighter |
| Shape | Cut off by the frame edge | Whole form, or a deliberate abstract crop |
| Line | Sits flat across the bottom | Diagonal leading toward the subject |
| Focus | Accidentally soft with no intent | Sharp, or soft by deliberate choice |
Common Foreground Mistakes and How to Fix Them
The foreground competes with the subject. Something bright, sharp or high in contrast in the near plane pulls focus away from the ridge. Fix it in the field by moving sideways until the eye goes where you want it.
It is oversized. A rock filling half the frame announces itself. Step back until it occupies roughly the lower third.
Edges are messy. Clipped grass, litter or a bright sky patch sits exactly where the eye enters. Move your feet rather than forcing the composition, and check all four corners.
Everything uses the same formula. Wide lens, f/16, a big rock in the bottom third. Dozens of landscape portfolios look identical for this reason. The top comment thread on the Fstoppers foreground article makes the same point: the recipe works, but not always.
You expect editing to add one. You can crop a distracting foreground out. You cannot add a convincing one afterwards, because the depth cue is missing from the pixels you never shot.
How to Photograph Foregrounds in Different Conditions
Open mountain vistas. Look for scree, thorny scrub or a single weathered post, and let it anchor the bottom corner. Compressed focal lengths around 400mm stack ridge lines into layers, which suits big horizons better than a wide angle.
Woodland. Tree trunks and low ferns frame naturally. Watch for dead branches in the upper corners and for patchy sky peeking through the canopy at inconsistent brightness.
Coastlines. Wet sand, ripple marks and rock pools offer strong texture and often reflections. Expose for the bright sky and expect the sand to need a lift in post.
Gardens and formal planting. Saturated flower colour fights most backgrounds. Pick low, repeating forms and shoot when the light is soft rather than harsh.
Snow and ice. Sastrugi, tracks and meltwater channels make natural leading lines. Expose for the snow and check the histogram, because snow fools the meter into underexposure.
Low light and dusk. Raise the ISO rather than stopping down further. Shoot the foreground as a near silhouette and let the brightest part of the sky sit behind your subject.
Frequently Asked Questions
Should the foreground always be in focus in a landscape photo?
No. A sharp foreground with a soft background puts the emphasis on the near element and works well when your foreground is a genuine subject. A softer foreground with a sharp distance reads as a frame instead. Choose based on whether you want the viewer to look at the foreground or through it.
What aperture is best for foreground interest in landscape photography?
For a soft, framing foreground with everything beyond it sharp, use f/11 to f/16 and focus at the hyperfocal distance. For a sharply rendered foreground against a softer background, try f/4 to f/5.6 with close focusing. Check your camera’s depth of field preview before you commit.
How do I keep a foreground from distracting from the main landscape?
Move laterally until your eye reaches the subject first. Lower contrast in the near plane by choosing a similar tone to the background, or raise it if you want separation. Keep detail simple, because a cluttered foreground pulls attention. Never blur it by accident, since unintended softness reads as a mistake.
What camera height works best for photos with a strong foreground?
Lower than you expect. Standing height hides the foreground behind whatever sits at eye level. Crouching or lying flat puts near elements between you and the subject, which is what creates the depth layering. Check the corners of the frame afterwards so no tripod leg has entered the shot.
Is a path or road the only useful landscape-photo foreground?
No, and chasing roads can make every frame look the same. Rock, grass, driftwood, tree bark, ice patterns, water, fences and people all work. What matters is texture and a line that leads inward, not the object itself. Any element that explains the place and carries the eye toward your subject will do the job.
When is a landscape photograph better without a foreground?
When the scene’s power is emptiness. Fog, a huge horizon, soft pastel skies, lone trees and negative space all read as quiet and deliberate without a near anchor. Many experienced photographers avoid foreground interest on purpose. If your frame feels busy and unresolved, take the same shot standing up and see whether it settles.
Conclusion: Start With One Clear Foreground
Pick a single element with texture and a line that leads inward, place it on a third, drop the camera low enough to see it, and shoot one test frame before refining anything. Then look back at it honestly and ask whether the frame is stronger with that element or without it. That comparison is how foreground interest stops being a recipe and starts being a choice.