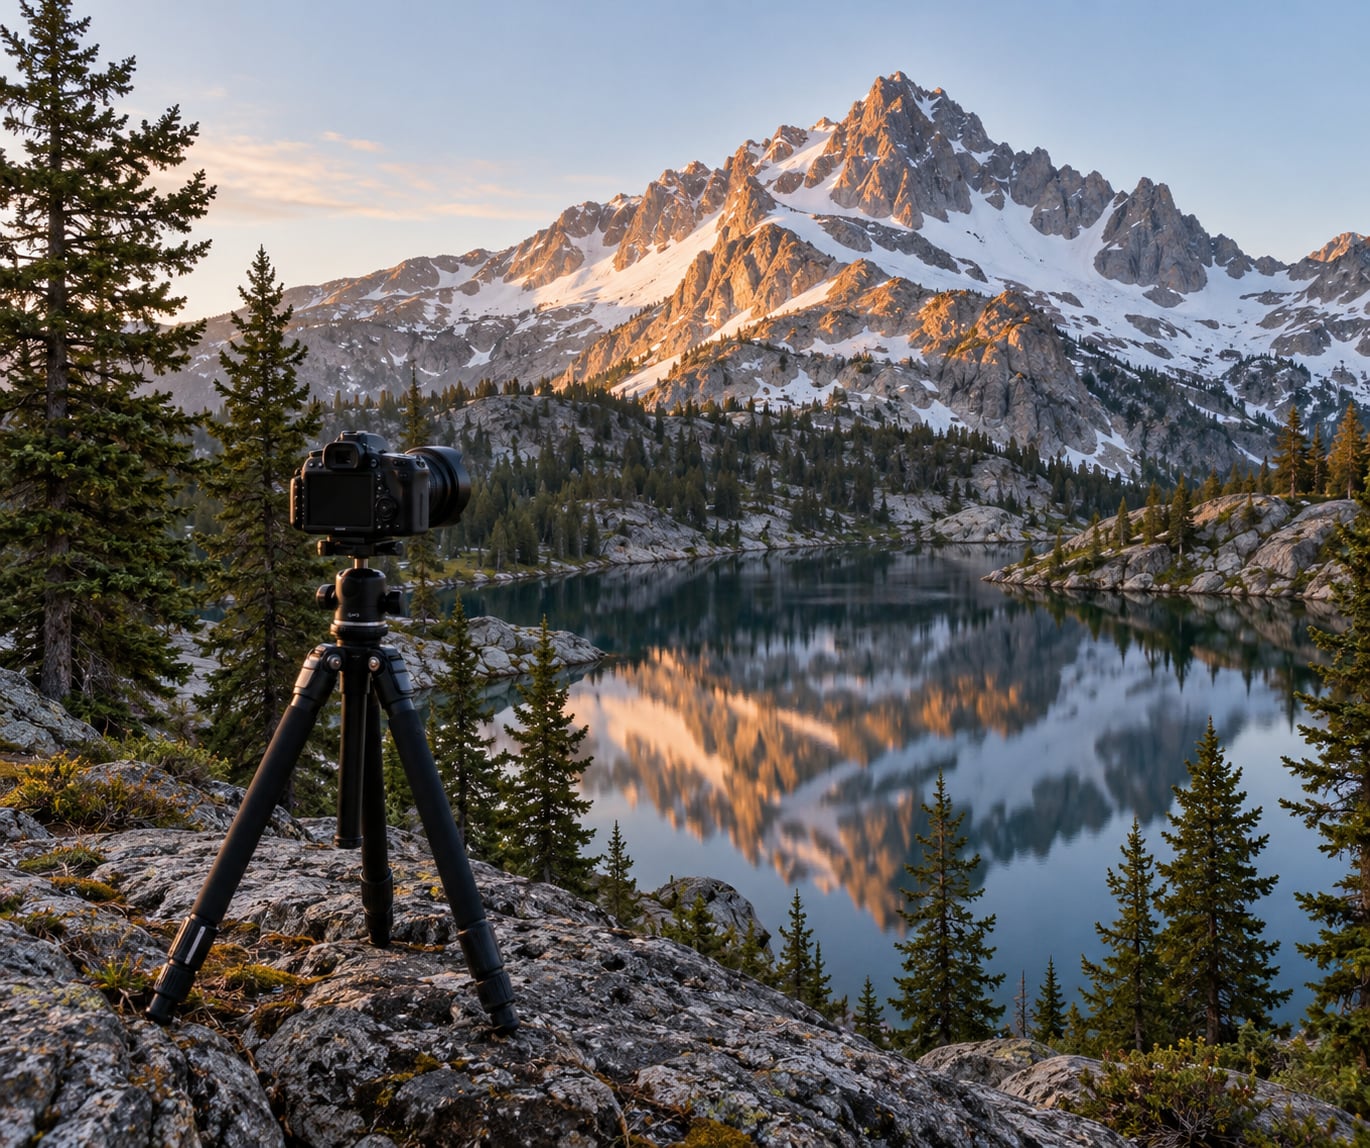
To photograph a mountain so it looks tall, control three things at once: how much of the frame the peak occupies, how much empty sky sits above it, and how the light falls across its faces. Get closer, zoom in until the summit fills a good share of the frame, drop the camera low, and shoot when the light rakes across the ridges instead of flattening them. It takes about ten minutes of decision-making, not expensive gear.
The reason most people come home disappointed is simple. A lens records the whole field of view it is handed, so a distant peak only fills the share of the frame its angular size earns. The mountain you remember towering over you gets recorded as a bump under a huge empty sky, and the frame reads smaller than the memory did.
Table of Contents
- What You Need
- Step-by-Step: How to Photograph a Mountain So It Looks Tall
- Choose a viewpoint that exaggerates the mountain’s height
- Use a wider focal length carefully
- Keep the summit prominent and leave breathing room
- Shoot vertically or crop for a taller composition
- Use light and weather to reinforce the scale
- Expose for detail and refine the result
- Common Mistakes
- Frequently Asked Questions
- What lens is best for making a mountain look tall?
- Should I photograph mountains in portrait or landscape orientation?
- Can I make a mountain look taller in editing?
- How do I photograph a mountain with a phone?
- What time of day gives the tallest looking mountain?
- Start With These Three Changes
What You Need
You need far less than people expect. The gear list below is ordered by how much it actually changes the result, not by price.
- Any camera with manual exposure. A phone in Pro mode, a mirrorless body, or an old DSLR all work. You need control over aperture and ISO, and the ability to lock exposure on a bright summit.
- A lens that reaches 70mm to 200mm on full frame. This is the single most useful thing you can own for this genre. Zoom kits covering 24mm to 200mm cover everything in this guide.
- A tripod with a decent head. At 100mm and beyond you are working at shutter speeds handheld photographers envy. A tripod makes the difference between sharp rock texture and mush.
- Spare batteries and a thin pair of gloves. Cold cuts battery life roughly in half, and you cannot change a battery with numb hands. Thin gloves let you work the dials.
- A weather cover or a dry bag. Rain and spindrift reach cameras on passes that look sheltered from below.
- A planning app. PhotoPills, The Photographer’s Ephemeris, or Stellarium all show where the sun will be at the exact minute you plan to shoot, and where it will be relative to the ridge line.
Which combination suits you depends on where you shoot. If you are photographing a single peak across a valley, prioritise focal length. If you are walking up a trail with a phone, prioritise nothing beyond a clean lens and a plan.
Step-by-Step: How to Photograph a Mountain So It Looks Tall
Choose a viewpoint that exaggerates the mountain’s height
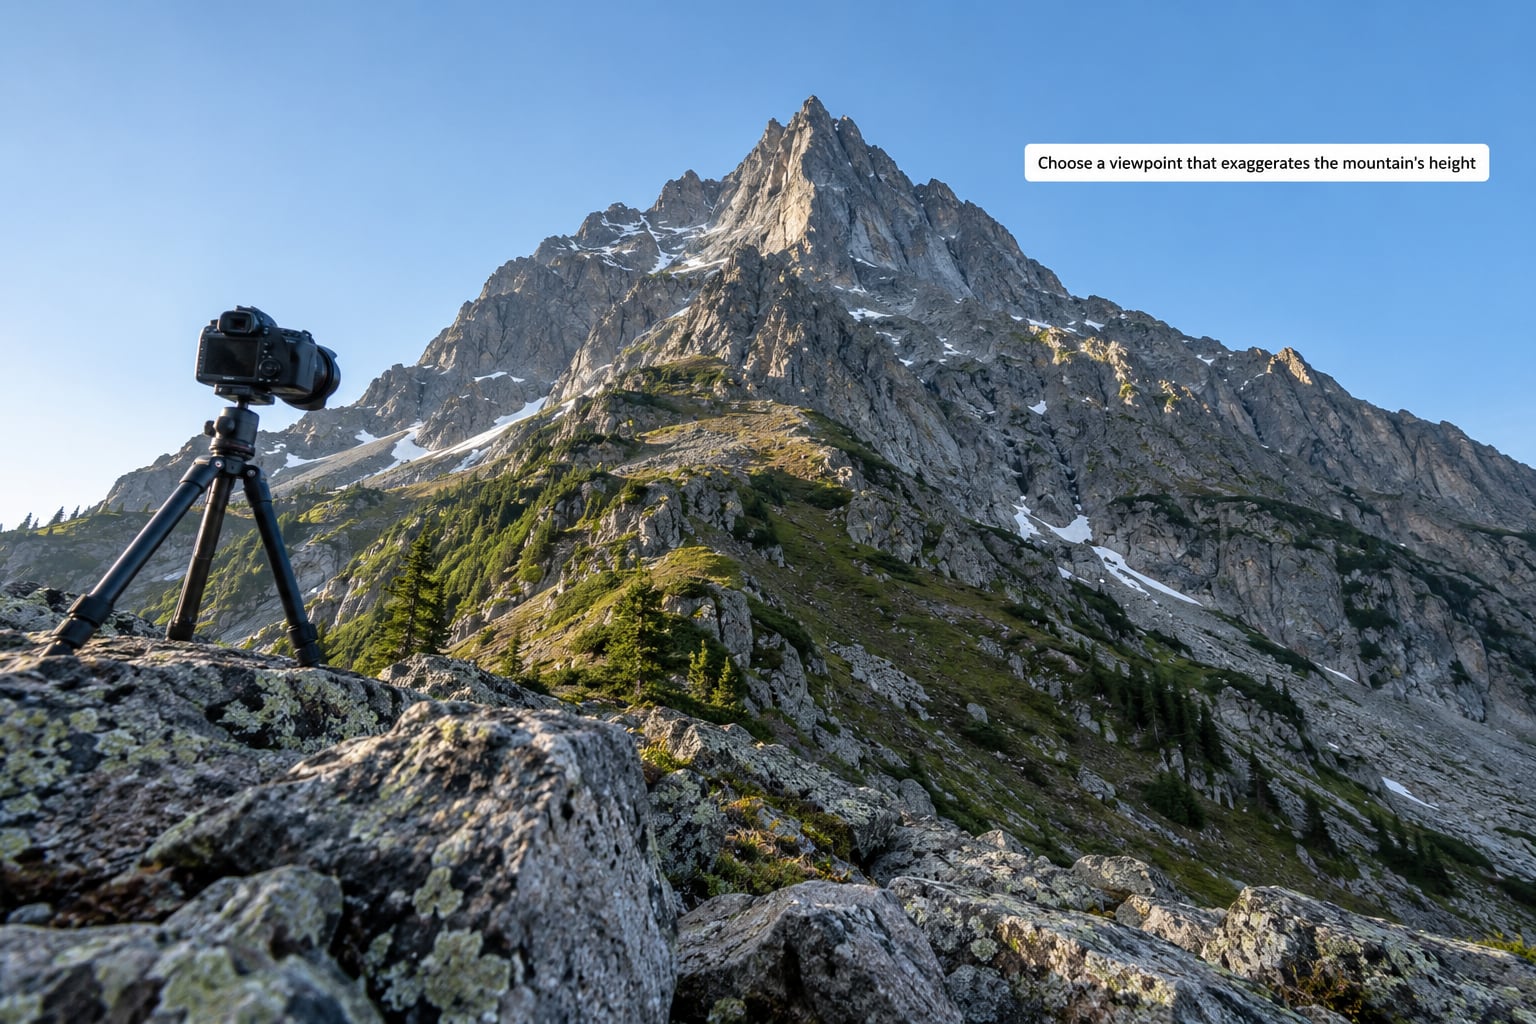
Move closer first, then think about lenses. Walking 500 metres nearer does more for the sense of height than any zoom setting, and forum photographers confuse these two constantly. Distance changes the geometry. Zoom only changes the crop of that same geometry.
Drop your camera position as low as the ground allows. Shooting upward from a streambed, a lakeshore, or the base of a talus slope makes the near ground loom and the summit recede upward, which the eye reads as distance and therefore mass.
Then find foreground that leads upward. A line of trees, a drainage channel, a footpath, a row of fence posts, or a foreground rock in the bottom corner all give the eye a path to climb. Without one, the frame is a shape floating in space and loses scale entirely.
To judge whether a position works, look for a scale reference. A hiker who fills 2% to 5% of the frame height, a hut, or a band of trees at known size tells the eye how big the mountain is. Photographers report the small distant figure as the most reliable scale cue there is, and it costs nothing.
Use a wider focal length carefully
Most guides get this backwards. Telephoto lenses do not create height. They isolate it. A 200mm lens removes the empty foreground and the sky around the peak and fills the frame with the mountain itself, which reads as tall because there is nothing left to compare it against.
The table below shows how much of a frame height a 1000 metre summit covers at 10 kilometres, on a full frame sensor with a 24mm sensor height. It is the clearest way to see why your frame looks empty.
| Focal length | Approx. height of a 1000 m summit at 10 km on sensor | Share of a 24 mm frame height | What this does to the frame |
|---|---|---|---|
| 16mm | 3.6 mm | about 15% | Peak becomes a detail in an environmental shot; needs a very close foreground to work |
| 24mm | 5.4 mm | about 23% | Whole range fits, summit sits low, lots of sky unless you crop |
| 50mm | 11.3 mm | about 47% | Natural middle ground; peak has presence without obvious compression |
| 100mm | 22.6 mm | about 94% | Peak runs edge to edge; the frame starts to feel tall |
| 200mm | 45.3 mm | far beyond the frame | Only part of the mountain fits; maximum impact, minimum context |
Notice the 70mm to 200mm range. That is where a peak finally looks right on a full frame body, which matches what long-lens users report on photography forums. Below 24mm the peak loses, and you must earn the frame back with foreground.
Wide angles are not wrong, they are a different job. At 16mm to 24mm the near foreground expands and the far edges stretch, so the frame can feel like it is falling away from you. That falling-away feeling is dramatic, and it is the opposite of towering. Use it when you want the viewer to feel small inside a huge space rather than to admire one imposing mass.
One more thing about compression. Telephoto compression is an effect of angle of view, not of distance itself. Ridge lines look stacked because the narrower angle squeezes layers together, and that is why standing in a different place changes the look more than swapping lenses does.
Keep the summit prominent and leave breathing room
Place the summit near the upper third of the frame and leave a controlled band of sky above it. Space above the peak gives the eye somewhere to rise to. A peak jammed against the top edge feels trapped, and a peak floating in the middle of a huge sky feels abandoned.
Keep the horizon level. A tilted horizon reads as amateur instantly, and on a mountain it also makes the peak look shorter because the eye measures the slope away from the true vertical.
Watch for tangencies. A spur of rock that just touches the edge of the summit makes the peak look blunt. Step sideways a few metres and the same composition gets a clean silhouette for free.
Shoot vertically or crop for a taller composition
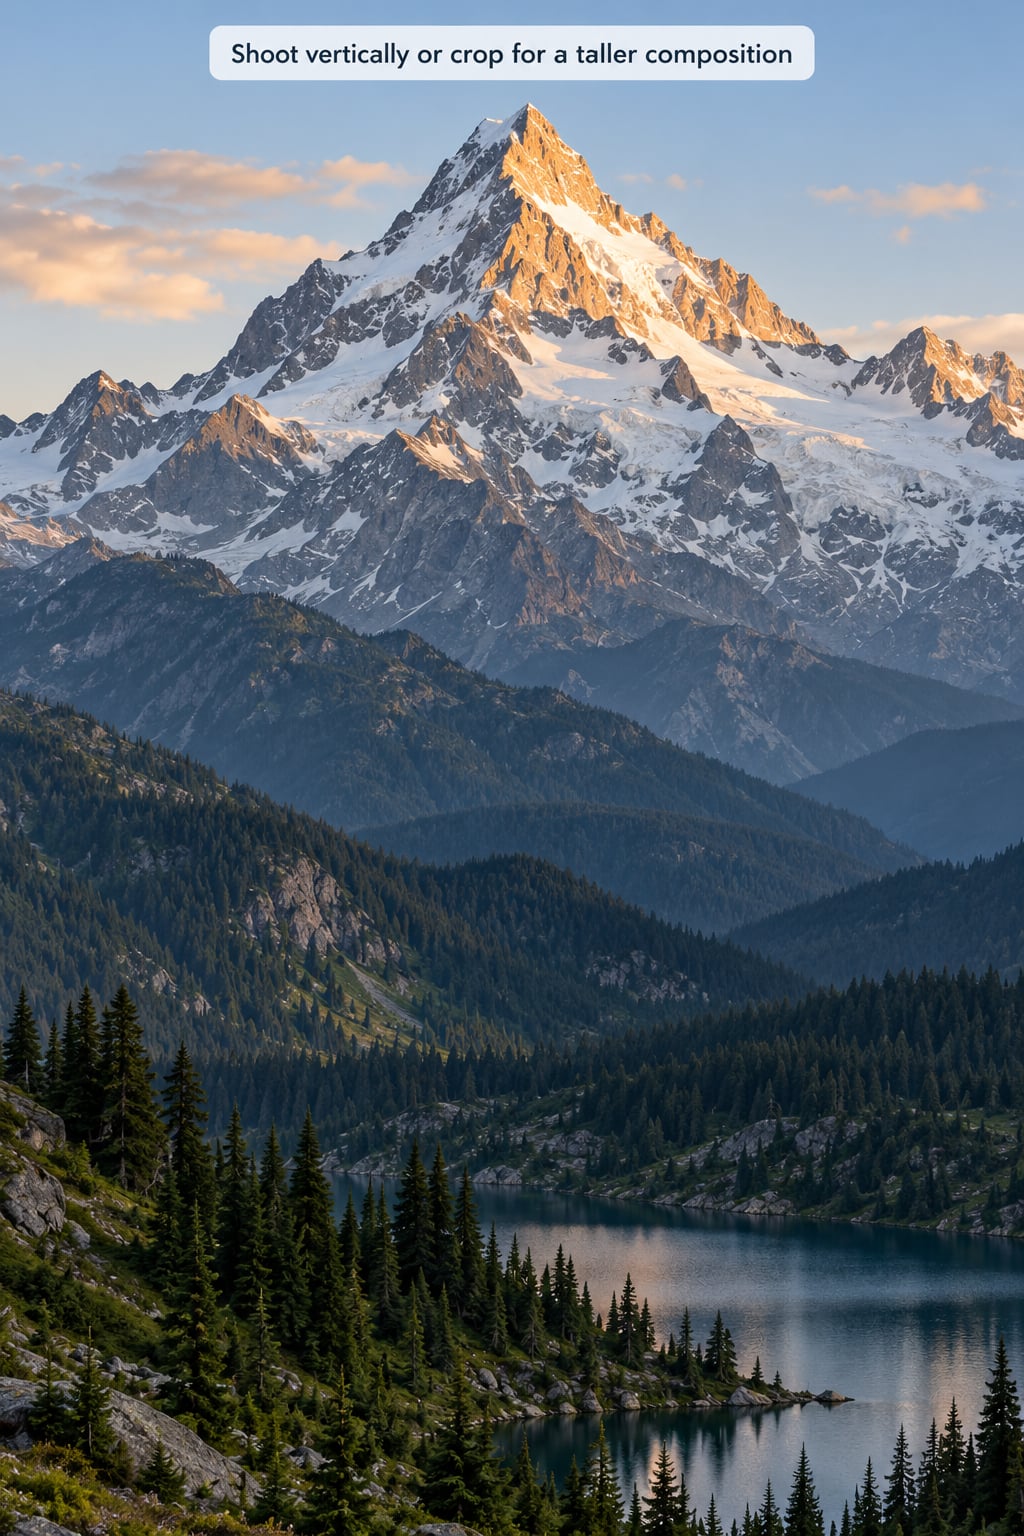
Portrait orientation reinforces vertical rise directly, because the frame itself becomes taller. It suits a single peak, a cliff band, or one narrow ridge. Rotate the camera and the summit gains emphasis without any trickery.
Landscape orientation is the right choice when the height comes from context rather than from a single summit. A range with three or four stacked ridge layers, or a peak sitting above a cloud inversion, needs width to show the layering.
If you shoot landscape and the mountain feels squat, crop to a 4:5 or 3:4 frame in the edit. Cropping empty sky from the top and dead foreground from the bottom is the fastest height fix available, and it costs no image quality while you still have pixels to spare.
Do the crop before you start dodging and burning. Everything downstream is easier when the frame is already the shape you want.
Use light and weather to reinforce the scale
Side light at roughly 90 degrees to your line of sight is the strongest tool for making relief readable. When the sun rakes across a face, every ridge, gully, and buttress casts a shadow beside itself, and the mountain gains texture and volume. Front light flattens it, and light straight from behind the peak turns it into a flat silhouette unless the sky is doing the work.
First and last light deliver alpenglow, the warm pink and orange that hits high summits while the valley is still in blue shadow. It separates the peak from everything around it, which again reads as height. Plan the timing rather than guessing: the summit light often starts 20 to 40 minutes before the light reaches your position, and a valley floor can be well behind the ridge you are watching.
Atmosphere is a depth cue you can use. Haze makes far ridges pale and blue, and the tonal steps between layers tell the eye how far apart they are. A polarising filter at roughly 90 degrees to the sun deepens blue sky and cuts glare on water, though it cannot remove haze that is far down the valley, and stacking two polarisers costs light and can band on some lenses.
Broken cloud and a valley inversion do something a wide lens cannot: they give you a clean white band to cut a dark ridge against, which separates layer from layer instantly.
Stay patient and stay safe. Weather at altitude changes fast, and a summit ridge in a building storm is the wrong place to be waiting for a better frame. Set a turnaround time before you leave the car and honour it.
Expose for detail and refine the result
Meter for the brightest part of the frame, which on a mountain is snow or a sunlit face. Snow meters as mid grey, so the average exposure comes out dull and grey. Add exposure compensation of about +1 to +2 stops and check the histogram to keep the highlights just under the clipping point. Shooting RAW gives you far more recovery room than any JPEG.
A solid starting point for most situations looks like this:
- Distant range on a tripod: f/8 to f/11, ISO 64 or 100, shutter whatever the light allows, focus at hyperfocal distance or on the nearest third of the range.
- Wide frame with a close foreground: f/11, ISO 100, tripod, and either focus about one third into the scene or bracket two or three exposures and blend them.
- 200mm handheld: f/8, shutter at 1/500 or faster, ISO auto with a ceiling you set, stabiliser on, elbows braced against your body.
- Snow-filled frame: f/9, base ISO, +1.5 stops compensation, and the histogram’s right edge just touching but not clipping.
- First light on a summit: shoot RAW, bracket the exposure because the contrast between lit peak and shadowed valley is brutal, and combine exposures in post.
Long lenses have their own failure mode. Wind moves the tripod, heat shimmer wobbles distant detail through the air, and neither is fixed by a setting. Check the image at 100% before you pack up, and if the rock texture is soft, raise the shutter and accept a higher ISO. Forum consensus on soft telephoto frames is that noise is easier to remove than motion blur.
In the edit, work in this order. Crop the sky and dead foreground first. Then apply a modest amount of dehaze to the mountain body only, which separates the summit from the haze behind it. Add local contrast or a gentle clarity mask to the peak and the ridge edges, not to the whole frame. A slight vertical perspective correction helps when you shot from a low angle with the camera tilted back. Black and white is worth trying because it removes colour distractions and leaves only shape, but it also removes the alpenglow that was doing half the work.
One warning: push dehaze or contrast too far and you flatten the very depth you were building. Ridges that should be receding start looking equally close, the haze band fills in, and the mountain shrinks back down into a cardboard cutout. If your edit looks like the mountain is closer than it was, you have gone too far.
Common Mistakes
These six account for most disappointing mountain frames I see, and each has a straightforward fix.
| Symptom | Why it happens | Fix |
|---|---|---|
| Peak is a small bump under a huge sky | Wide focal length and too much distance | Move closer, then zoom to 100mm or 200mm, and crop the sky |
| Slopes look flat and shapeless | Sun high or directly behind the camera | Return when the sun is 60 to 90 degrees off your viewing direction |
| Snow is grey and lifeless | Meter averaged bright snow toward mid grey | Add +1 to +2 stops compensation and check the histogram |
| No sense of size at all | No known-size object in frame and nothing in the foreground | Add a hiker, hut, or tree band at 2% to 5% of frame height |
| Foreground dominates, mountain becomes background | Wide lens combined with a near subject | Drop lower or step back, and use a longer focal length |
| Telephoto frames come out soft | Wind on the tripod, slow shutter, heat shimmer | Raise shutter speed, stabilise, check at 100%, accept more ISO |
A fifteen minute drill helps more than any article. Pick a peak you can see from a safe, accessible spot, and shoot the same frame at 35mm, 70mm, and 200mm without changing position. Then step 300 metres closer and repeat. Comparing the six frames on the back of the camera teaches the relationship between distance, focal length, and apparent size faster than any amount of reading.
Frequently Asked Questions
What lens is best for making a mountain look tall?
A focal length in the 70mm to 200mm range on a full frame body is the most useful range for a single imposing peak. Longer lenses remove empty foreground and sky so the mountain fills the frame. Below 24mm the peak loses unless you have a very close foreground. Remember that moving closer changes the geometry, while zoom only crops it.
Should I photograph mountains in portrait or landscape orientation?
Portrait orientation reinforces vertical rise and works well for one peak, a cliff band, or a narrow ridge, because the frame itself becomes taller. Landscape orientation suits scenes where the height comes from context, such as a range with three or four stacked ridge layers or a summit sitting above a cloud inversion. If landscape feels squat, crop to 4:5.
Can I make a mountain look taller in editing?
Yes, within reason. Crop empty sky from the top and dead foreground from the bottom first, since that is the largest single change. Then add modest dehaze to the mountain body, apply local contrast to the summit and ridge edges, and make a slight vertical perspective correction. Avoid extreme stretching, and avoid pushing dehaze far enough that the haze between ridges fills in.
How do I photograph a mountain with a phone?
Use the main rear camera rather than digital zoom, clean the lens, and enable HDR only when the contrast between sky and shadow is extreme. Hold the phone level rather than tilting it back. Tap and hold on the brightest snow to lock exposure, then drag exposure compensation up about one stop. Step closer to fill the frame, and switch to the 2x or 3x telephoto for the peak rather than cropping a wide frame.
What time of day gives the tallest looking mountain?
First and last light, with the sun between 60 and 90 degrees from your viewing direction. That angle makes every ridge and gully cast a shadow beside itself, which is what gives a mountain volume. Alpenglow on the summit before the valley lights up separates the peak cleanly from everything around it, and the summit light can start 20 to 40 minutes before it reaches your position.
Start With These Three Changes
Do this on your next mountain shoot and the difference will be immediate. Walk closer instead of zooming from where you parked, and get the camera as low as the terrain allows. Zoom to 100mm or beyond and crop the empty sky. Then wait for side light and meter for the snow, adding a stop or two. That sequence covers distance, focal length, framing, and exposure, and it fixes most flat mountain photos before any editing begins.
The technique has not changed much for a century, and that is a comforting thing to know. Get closer, get lower, fill the frame, cut the sky, and wait for the light to rake across the ridges.