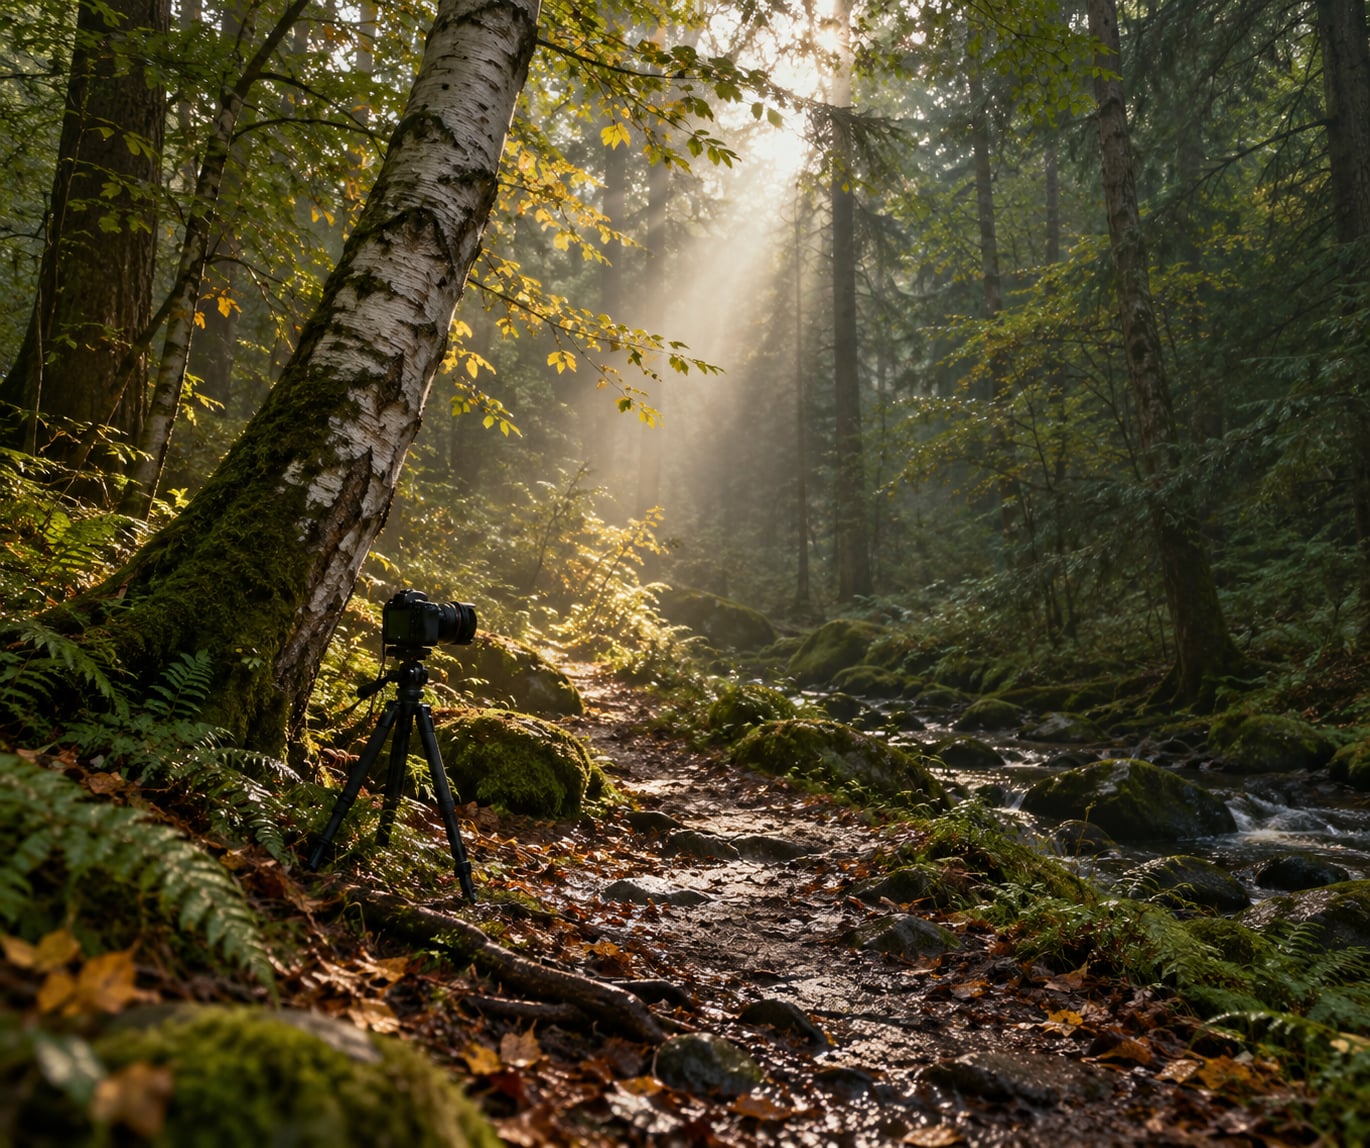
To photograph a forest without chaos, give every frame one subject and one reading order so the eye lands in a single place instead of scattering across a dozen trunks, twigs and bright gaps. The work is mostly decided before you lift the camera: scout a subject, protect your gear from damp, set one calm exposure, and then change one thing at a time. A full walk-in to first keeper takes about 20 minutes once you know the routine.
Woodland is harder than open country because it never stops producing detail. A single pine trunk can fill the frame with bark, and a hundred more trunks will offer themselves behind it. That is why most woodland photos fail before any technical problem shows up.
What follows is the process I actually use on a morning walk: a short kit list, seven steps, and a field review that keeps the frame count manageable. It works on any camera, including a phone.
Table of Contents
- What You Need
- Step-by-Step: How to Photograph a Forest Without Chaos
- Step 1: Scout the Forest and Choose One Clear Subject
- Step 2: Protect Your Gear and Work with the Weather
- Step 3: Set a Calm Exposure for Mixed Forest Light
- Step 4: Choose Focus That Matches the Scene
- Step 5: Build a Simple Composition
- Step 6: Work Around Movement and Changing Light
- Step 7: Review and Simplify the Best Frames
- Common Mistakes
- Every trunk is a subject
- Blown-out sky gaps
- Focus landed on the background
- Constant gear changes
- Overprocessing the edit
- Frequently Asked Questions
- What camera settings should I use for forest photography?
- How do I keep a camera lens from fogging up in a humid forest?
- What are the most common nature photography mistakes?
- How do I simplify a busy forest photo I have already taken?
- Can you take good forest photos with a phone?
- What time of day is best for forest photography?
- Conclusion
What You Need
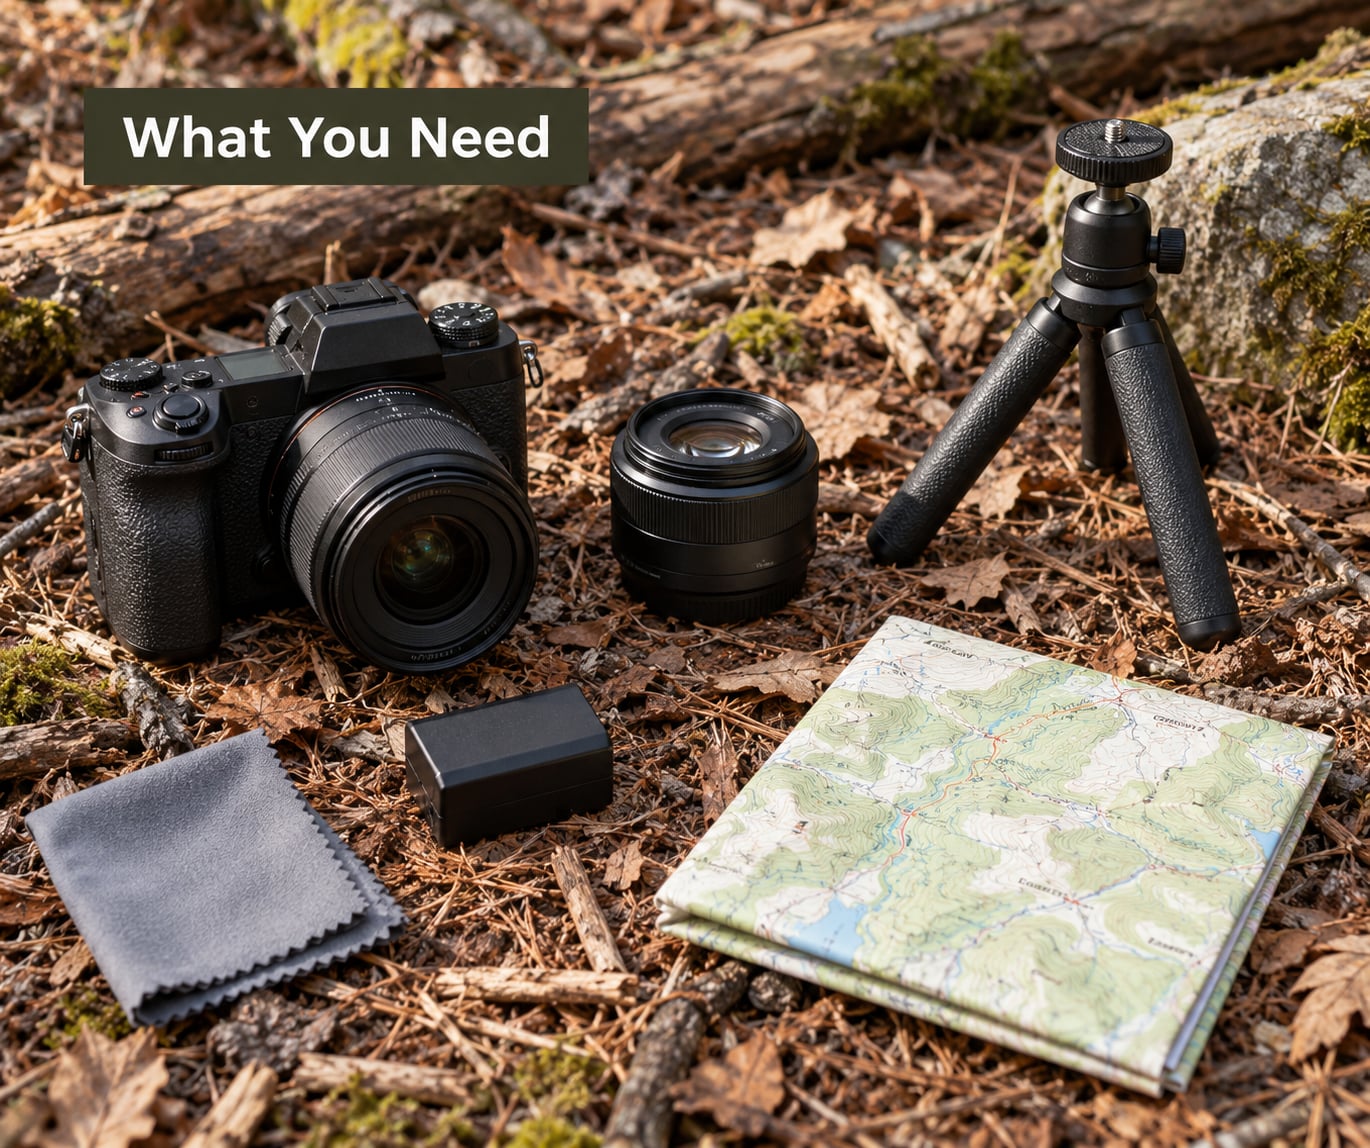
You need very little. A camera you already own, one lens, one spare battery, and a cloth are enough for a full morning in the woods. Everything else is a comfort, not a requirement.
- A camera with manual exposure. Any mirrorless body, DSLR or phone with a tap-to-lock exposure control will do. Autofocus helps, but manual exposure is what keeps the pictures consistent.
- One wide or short telephoto lens. Something in the 24 to 70mm range covers wide scenes, layered trunks and small details. A single zoom means no lens changes, and every lens change is a chance to fog the front element or miss focus.
- A spare battery. Cold mornings and long exposures both drain batteries faster than you expect. Keep it in an inside pocket so it stays warm.
- A small tripod and a remote or two-second timer. A tabletop or travel tripod under 50 cm tall is enough for forest work, and it fits in a day bag.
- A microfibre cloth and a rain cover or zipped bag. Damp woodland will find every seam in your bag.
- A folded map or a downloaded offline map. Woodland paths loop and fork more than you expect, and phone signal is unreliable under dense canopy.
Cheap alternatives work fine. A stable rock or a fallen log replaces a tripod for anything under a second, and a lens hood costs very little and blocks a surprising amount of stray light and drizzle. Skip the filter pouch until you decide you need one.
Two safety notes for wooded terrain. Watch your footing on wet roots and slopes, and set tripod legs wide and low so a gust cannot tip it. If the ground is soft or the path narrow, put the pack on the ground instead of the tripod, so you do not block a trail.
Step-by-Step: How to Photograph a Forest Without Chaos
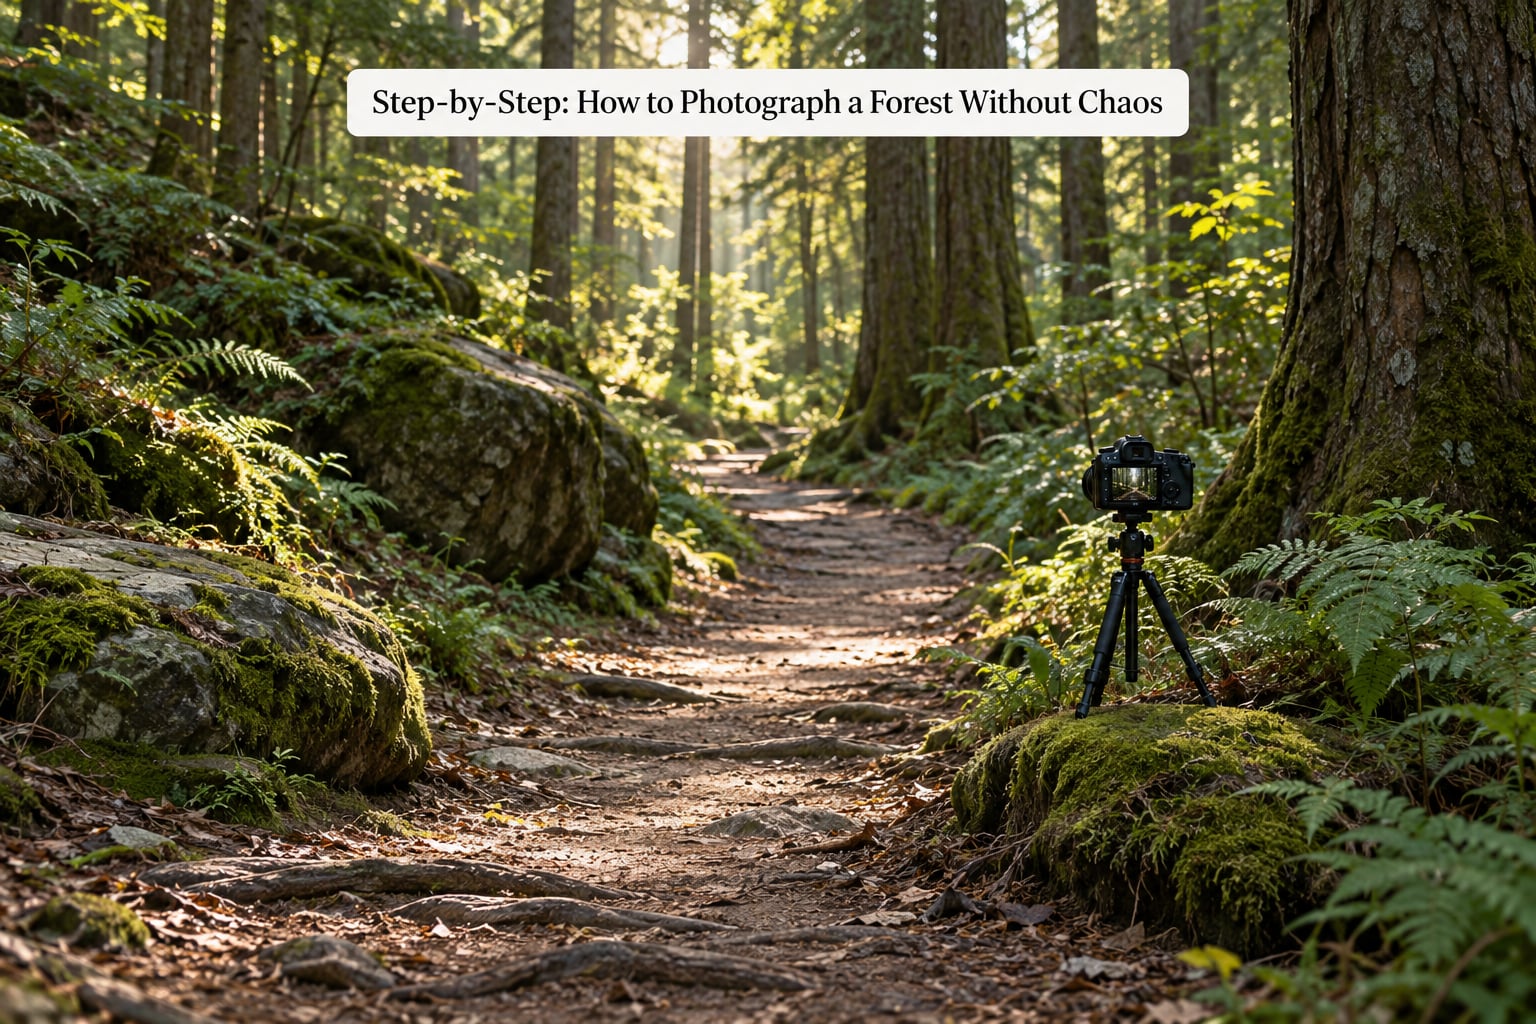
Walk in for ten minutes with the camera in your bag, then work through these seven steps in order. Success at each stage is simple to judge: one subject named, dry gear, an exposure that holds the bright gaps, focus locked where you meant, a frame with one main line, a shutter speed matched to the movement, and a small set of keepers rather than hundreds of frames.
Step 1: Scout the Forest and Choose One Clear Subject
Pick one subject before you raise the camera, and say it out loud to yourself. A leaning birch. A gap in the canopy with light on the moss beneath it. A path curving between two trunks. Naming it is what stops you wandering.
Then look for three supporting elements around that subject: something in the foreground for depth, a clean middle ground, and a background that stays simple. A path, a gap between two trunks or a wall of dark trunks behind the subject all work as negative space.
You will know the scouting worked if you can describe the shot in one sentence without waving your hands. If you need three sentences, you have more than one subject, and you should pick the strongest one and ignore the rest until the next walk.
Step 2: Protect Your Gear and Work with the Weather
Keep the camera out of the bag until you know what you are shooting. Moisture in a warm bag condenses on a cold lens, and a damp front element ruins more woodland photos than any setting error.
Before the walk, check the forecast and pick your condition deliberately. Fog gives you separation and soft background. Rain gives you saturated colour and reflective leaves. Clear midday light gives you hard dappled patches and the hardest exposures of the day. Snow gives you a simple frame with very few competing elements.
When you arrive, let the camera acclimatise in the bag for five minutes, then take it out and keep it covered between shots. If the lens fogs anyway, switch off, remove the battery, and wait. Fifteen seconds of patience beats a smeared frame.
Step 3: Set a Calm Exposure for Mixed Forest Light
Meter the brightest important area in the frame, not the average of the whole scene. Forests combine near-black bark with near-white sky gaps, and averaging the two gives you grey mush with no detail in either.
Set your aperture and shutter speed first, let the camera choose ISO, then check the histogram. If the bright gaps are clipping, add negative exposure compensation in small steps. If the shadows are unreadable, open up slowly and see whether the highlights survive.
Once the exposure is right, do not touch it again for the rest of the walk unless the light genuinely changes. Constantly adjusting three settings is the fastest route to a camera full of frames you cannot rank.
Step 4: Choose Focus That Matches the Scene
Use a single autofocus point on a distinct subject such as a single trunk or a fern. Use zone or wide-area focus when you want layers of trees sharp from foreground to background. Use manual focus with a tripod when you are composing deliberately and want the frame to stay exactly as you set it.
Test before you commit. Take one frame, enlarge it at 100 percent, and check the area you care about. Missed focus in woodland is usually a focus point placed on a bright background gap instead of on the subject.
If depth matters more than a single sharp point, focus about a third of the way into the scene rather than on the nearest trunk. That keeps the foreground from going soft while leaving the far trees acceptable.
Step 5: Build a Simple Composition
Work in three planes: foreground, middle ground, background. Include all three and the frame gains depth instantly. Fill the frame with the subject and you lose scale.
Then look for one main line and let everything else support it. A path, a stream, a row of trunks or a shaft of light all read as a line. Use trunks and doorways in the vegetation to build a frame within a frame, and leave open space in the direction you want the eye to move.
Two habits help more than any rule. Walk ten paces sideways from your first position, then ten paces forward, and look again. A small move usually removes whatever is competing with your subject.
Step 6: Work Around Movement and Changing Light
Use a fast shutter speed for anything that moves: leaves in wind, water, walkers, deer. Shoot a short burst and pick the sharp one, and hold the camera steady by bracing against a tree rather than your own body.
Use the tripod when nothing moves. With a two-second timer or a remote, a long exposure smooths moving water and lets you hold a dim forest floor without raising ISO.
Mist is worth waiting for but also worth engineering. Backlit mist hides a cluttered background, so if the light is behind the subject, step closer or change your angle so the mist sits behind your subject rather than behind the camera.
Step 7: Review and Simplify the Best Frames
Before you walk out, sit down with the camera and check five things on the frames you like: focus, clipped highlights, distracting bright edges at the frame border, balance, and how many near-duplicates you shot. A quick zoom in on the corners catches problems you cannot see at arm’s length.
Delete the near-duplicates immediately. The single biggest cause of a hopeless woodland edit is carrying 300 frames that are really 12 photographs, and forest walkers often report exactly this problem in photography forums.
Keep shooting when the light is doing something interesting and your frames are clean. Move on when you have three good compositions and the light is flat. Walking further with a clear head beats standing in one spot for an hour.
Common Mistakes
The most common forest photography mistakes all come from the same cause: trying to record everything in the frame. Here is how to spot them and what to do instead.
Every trunk is a subject
The frame has no clear priority, so the eye jumps around. Fix it by naming one subject before you lift the camera, then move physically until that subject separates from what is behind it. A step sideways is more effective than any crop.
Blown-out sky gaps
Canopy gaps are far brighter than the shaded forest, and the camera exposes for the average. Fix it by metering the brightest area you care about and adding negative exposure compensation. Pull the shadows back in editing rather than blowing the gaps in the field.
Focus landed on the background
A single focus point sits on a bright gap behind your subject. Fix it by placing the focus point directly on the subject, checking at 100 percent, and switching to zone or manual focus when the subject sits among several similar trunks.
Constant gear changes
Fogged lenses, a swapped focal length, a different tripod height and a re-metered exposure all in twenty minutes means you cannot predict any frame. Fix it by choosing a lens and an exposure at the trailhead and sticking to them for the first hour.
Overprocessing the edit
Green foliage is the hardest colour to process, and pushing it produces neon leaves. Fix it by lowering green saturation first, then pulling highlights down and adding a small amount of contrast. Work in small increments and judge the image at screen size before zooming in.
Two habits worth keeping. Take one frame, check it properly, then take the next. And expect to keep a small fraction of what you shoot, because that is normal for a woodland walk rather than a sign you did something wrong.
Frequently Asked Questions
What camera settings should I use for forest photography?
Start around f/8 for sharp layers, 1/125 second or faster when leaves or water move, and Auto ISO so the camera balances the shade. Meter the brightest gap in the frame and add negative exposure compensation until the highlights stop clipping. On a tripod with nothing moving, drop to 1/2 second or longer. Check the histogram before every burst.
How do I keep a camera lens from fogging up in a humid forest?
Condensation forms when a cold lens meets warm damp air, so the fix is prevention. Keep the camera sealed in a bag on the walk, let it acclimatise for five minutes after you arrive, and use a lens hood. If the front element still fogs, switch off, remove the battery, and wait fifteen minutes. Never wipe a wet element with a dry cloth.
What are the most common nature photography mistakes?
The recurring ones are: no single subject, blown highlights in canopy gaps, focus placed on the background, changing lenses and settings mid-walk, and pushing greens into neon colour in editing. The corrections are simple: name one subject, meter the brightest area, check focus at 100 percent, fix your kit choices at the trailhead, and reduce green saturation first.
How do I simplify a busy forest photo I have already taken?
Crop first, aggressively, to cut bright edges and anything competing with your subject. Then dodge the subject slightly and burn the brightest distraction. Lower the green saturation, pull down highlights, and add contrast in small steps. If the subject is still fighting the frame after a real crop, treat it as a lesson for the next walk rather than forcing the edit.
Can you take good forest photos with a phone?
Yes. Lock exposure by tapping and holding on the brightest area of the scene, then drag exposure down until the highlights stop clipping. Use the widest lens for layered scenes, step back to create separation, and hold the phone still against a tree for long exposures. Clean the lens first, because a smudged lens costs more than any setting.
What time of day is best for forest photography?
Early morning and the last hour before sunset give you the softest, most directional light and the highest chance of mist. Midday is hardest, because dappled light creates bright patches that pull the eye away from your subject. If you must shoot at midday, look for deep shade, use the tripod, and meter for the subject rather than the bright gaps.
Conclusion
Your first action in the forest is to stand still for five minutes and choose one subject. Then set your exposure for the brightest important area in the frame, check the focus at full size, and make a single deliberate adjustment before you take the next picture. Repeat that small loop and the chaos disappears without faster gear or expensive lenses.