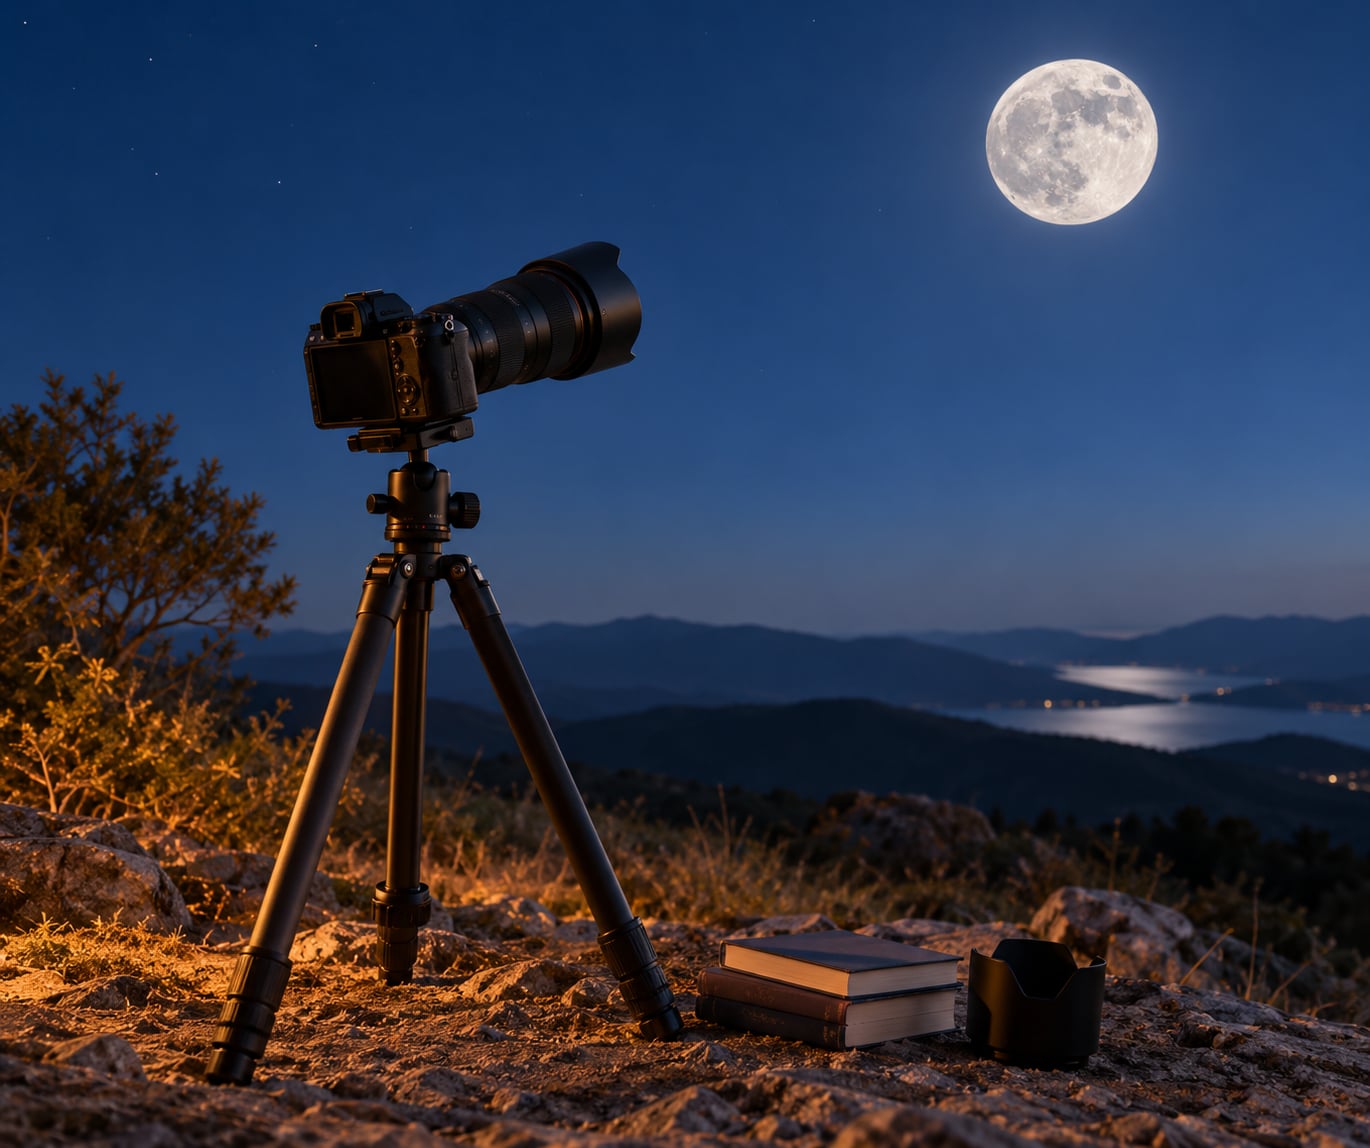
To photograph the moon with a regular camera, put it on a tripod, switch both focus and exposure to manual, and start at ISO 100, f/8 to f/11, and 1/125 to 1/250 second. Fire the shutter with the two-second self-timer, and check the histogram before you take a second frame.
That is the whole method. No telescope, no tracking mount, no expensive glass. The confusing part for most beginners is that the moon behaves like a daylight subject, not a night one, so every instinct you have about night photography is wrong here.
The moon is lit by direct sunlight. It is bright, it is moving across the sky faster than it looks, and a long exposure smears it into a blob. This guide walks through the full process for anyone who wants to learn how to photograph the moon with a regular camera, whether that is a DSLR with the kit lens still on it, a mirrorless body, or a bridge camera from a few years back.
Table of Contents
- What You Need
- How much zoom is enough?
- Step-by-Step: How to Photograph the Moon with a Regular Camera
- 1. Choose the right moon phase and viewing conditions
- 2. Set up the camera and prevent camera shake
- 3. Switch to manual focus and zoom carefully
- 4. Set shutter speed, aperture, and ISO for a bright moon
- 5. Take the photo and check for sharpness and exposure
- Common Mistakes and Quick Fixes
- Frequently Asked Questions
- Can I photograph the moon with a regular camera without a telescope?
- Why is my moon photo blurry when the camera is set to automatic mode?
- What camera settings should I start with for a bright full moon?
- Should I use digital zoom or optical zoom when photographing the moon?
- Why does the moon look white instead of showing surface detail?
- Can I photograph the moon with a smartphone if I do not have a camera?
- Conclusion
What You Need
The honest answer to the question people ask most often: no, you do not need a telescope. A telescope is actually a bad tool for this. A telescope’s optics are built to gather faint light over long exposures, which is exactly the wrong operating mode for a subject as bright as the moon.
What you need is a camera that has a manual exposure mode, any lens at all, and something to hold it still.
- A camera with manual mode. Any DSLR or mirrorless body made in the last fifteen years. Manual mode matters far more than the sensor.
- Any lens, plus as much zoom as you have. The 18-55mm kit lens you already own will produce a perfectly good moon photo. It will just be small in the frame.
- A tripod. The single biggest quality difference in the whole process. A shaky camera blurs the moon no matter how good your settings are.
- A two-second self-timer or a remote release. The timer costs nothing and is already built into your camera.
- A clear view of the sky. Not a dark site. A suburban backyard on a clear night beats a dark field through thin cloud every time.
- Optional but useful: a lens hood, an intervalometer for time-lapse, a spare battery, and a planning app such as PhotoPills, The Photographer’s Ephemeris, Stellarium, or Clear Outside.
How much zoom is enough?
Here is the honest framing. The moon subtends about half a degree in the sky. On a full-frame camera with a 50mm lens it measures roughly 45 pixels across. With a 200mm lens it is around 180 pixels. On a crop-sensor body, everything is multiplied by about 1.5, so your 200mm behaves like a 300mm and the moon gets about 45 percent larger in the frame.
| Focal length | What you get in the frame | Verdict |
|---|---|---|
| 50mm | A small but recognisable disc, plenty of sky around it | Fine for a first shot, and good with a foreground |
| 100-200mm | The moon fills a comfortable part of the frame, craters beginning to show | The sweet spot for most beginners |
| 300-400mm | Real surface detail, terminator shadows visible | Where moon photography gets interesting |
| 500mm and beyond | Crater fields fill the frame | Nice, but no beginner needs this first |
Multiply those numbers by 1.5 if your camera has a crop sensor, by 2 if it is a Micro Four Thirds body. That is the crop factor doing its arithmetic, and it answers the reach question without you buying anything.
If you have no lens longer than 50mm, do not buy one yet. Shoot the moon with what you have for a month, learn the settings, and only then decide where the gap is. A 1.4x or 2x teleconverter is a cheap way to test whether extra reach would help you before you spend on a telephoto.
Step-by-Step: How to Photograph the Moon with a Regular Camera
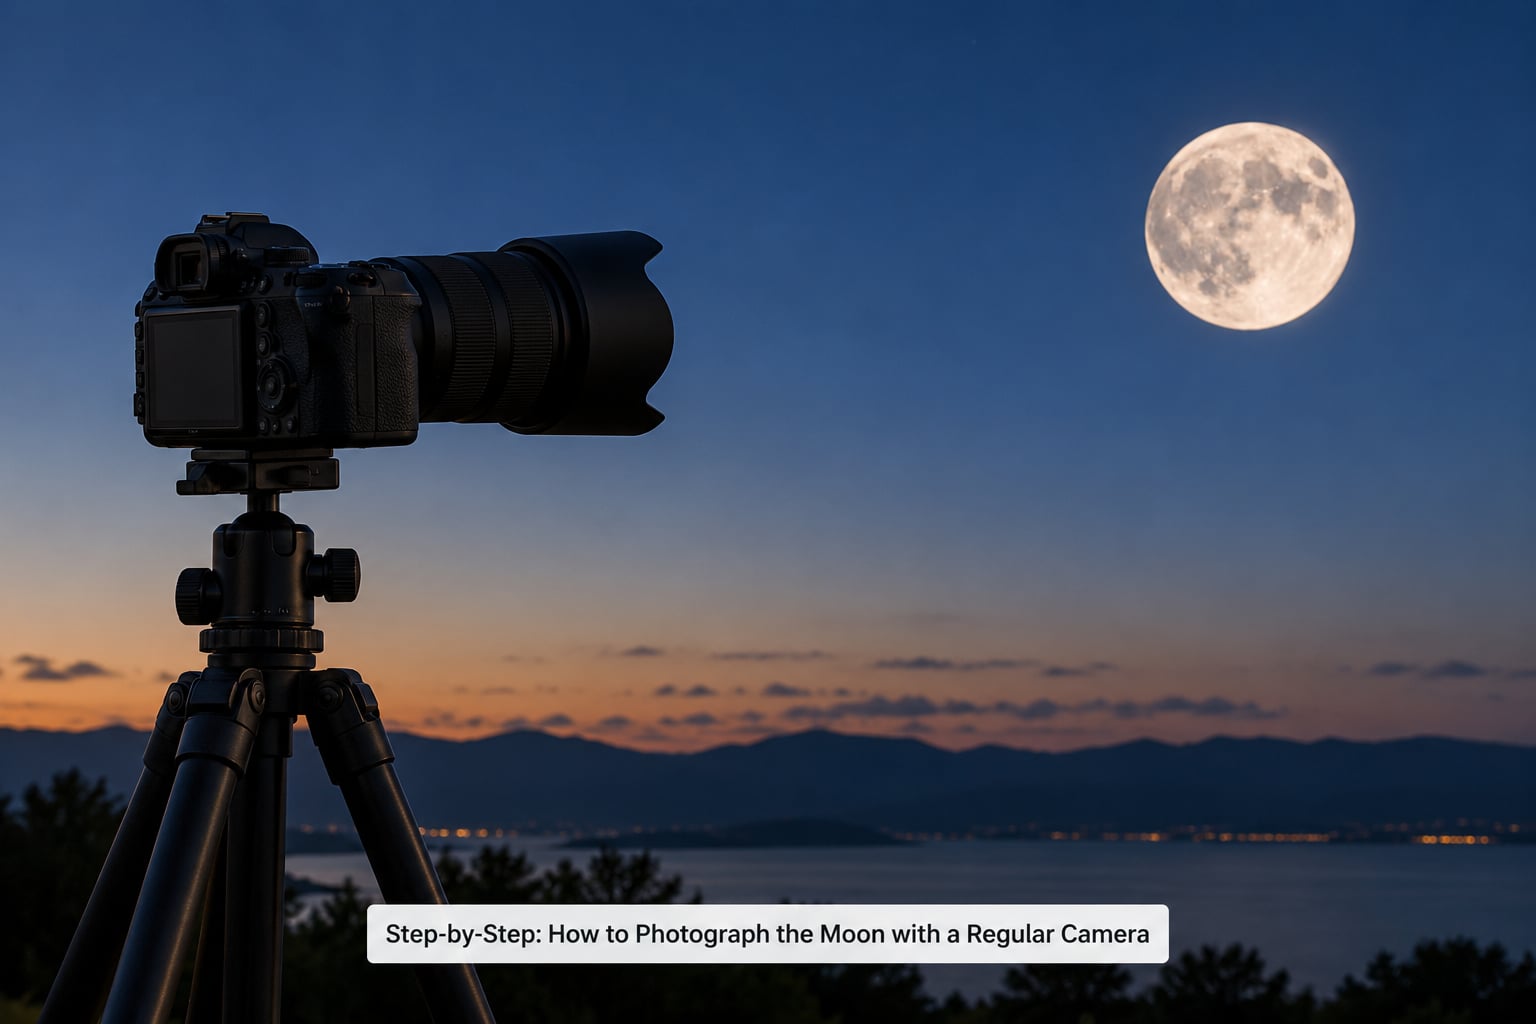
If you only remember the sequence, remember this one.
- Check the moon: is it clear, and how high is it?
- Mount the camera on the tripod, switch off image stabilisation, and aim at the moon.
- Switch to manual focus and manual exposure, and set the lens to its longest focal length.
- Zoom in with live view magnification until the moon fills the screen, then sharpen focus by hand.
- Set ISO 100, f/8 to f/11, and 1/125 to 1/250 second, then check the histogram.
- Press the shutter using the two-second timer, and inspect the result at full zoom before you change anything.
1. Choose the right moon phase and viewing conditions
The most striking moon photos are usually not taken at full moon. A gibbous or quarter moon is better, because you get the terminator, the line where lunar day meets lunar night, and everything along that line casts long shadows that make craters pop.
A full moon is flat lighting. The surface is evenly lit with no shadows, so it reads as a white disc. That is why beginner photos so often look disappointing even when the exposure is perfect.
Condition matters as much as phase. Watch the forecast, but also watch the horizon. A moon sitting low in the sky looks soft and wavy because you are looking through far more atmosphere, and the turbulent air near a horizon distorts the light before it reaches your lens. The same moon at 45 degrees up is dramatically sharper. Experienced shooters chase a high moon for exactly this reason.
Light pollution barely affects the moon. It ruins faint stars, but the moon is bright enough to overpower a city sky entirely, so a bright backyard is fine. Haze and cloud are the real problems.
One myth worth killing early: a low moon does not look bigger because of geometry. When it is near the horizon it is actually slightly further away, and it covers the same number of pixels. It only seems larger because your brain compares it to trees and buildings. If you want the moon to feel big in the picture, you need a long lens and a foreground for scale, not a low moon.
2. Set up the camera and prevent camera shake
Tripod first, everything else second. A moon shot is a long-lens shot at long focal lengths, and long lenses amplify every wobble.
Once the camera is mounted, turn image stabilisation off. This surprises people, but on a locked-down tripod, stabilisation systems hunt for motion that is not there and soften the image. The exception is when you are handholding.
Extend the centre column last, not first. The order is legs, then the head, then the centre column, because extending the column last keeps the camera from dropping at the end of every adjustment.
Frame the moon with live view rather than the viewfinder where possible. On a DSLR, the mirror flip that happens between frames moves the camera by a fraction of a millimetre, which is enough to soften a 400mm shot. Mirror lock-up or, better, electronic shutter mode removes that movement entirely.
Now set the two-second self-timer. Pressing the shutter button with your finger rocks the camera, and at long focal lengths that rock is visible. The timer is a free fix. So are a remote release, a tripod head trigger, and the self-timer you probably have never used.
Also, do not touch the tripod once it is framed. Walking around it, loosening a leg, or brushing against the centre column will undo the setup. If you need to adjust, loosen the handle, retighten it, and let the timer run again.
3. Switch to manual focus and zoom carefully
Autofocus on the moon is a coin flip. The moon is bright, high contrast against the sky, and has no texture for most contrast-detection systems to lock onto, so the camera hunts, gives up, or focuses on the sky behind it. Users on photography forums report exactly this frustration, and some even try focusing on a nearby star, which fails for the opposite reason.
The fix is manual focus with live view magnification. Turn on live view, zoom in until the moon fills the screen, and then turn the focus ring by hand in small increments. At high magnification the moment the edge of a crater snaps from soft to sharp is easy to see and easy to hold.
If you would rather use autofocus, give it something to aim at. Put a single autofocus point on the terminator, where the bright limb meets the dark limb. There is a sharp edge there, and contrast-detect autofocus will usually lock onto it. Then switch to manual and stop the lens there.
Another method that works with older bodies: focus on something distant by hand, like a far-off building or a distant tree line, then switch to manual and shoot. Infinity is not quite infinity, and this approximation is good enough for a moon that is effectively at infinity anyway.
On zoom, use optical zoom and nothing else. Digital zoom crops the image after the sensor has already recorded it, so you are throwing away pixels and getting softness on top. On most cameras the digital zoom button is a fast way to a bad photo. If your lens is stuck at 55mm, accept a small moon and crop evenly afterwards instead.
4. Set shutter speed, aperture, and ISO for a bright moon
Here is the part that trips up almost everyone. The standard night-sky advice says to use long exposures and a high ISO. For the moon, that advice is exactly wrong.
The moon is moving. Across the sky it travels about 13 degrees per hour relative to the stars, and relative to a fixed tripod it shifts fast enough to soften within a fraction of a second. If your shutter is slow, the image blurs. So the moon needs the fast shutter speeds you would normally use in daylight, paired with a low ISO to keep the image clean.
That combination is sometimes called the f/11 rule: ISO 100, f/11, and 1/250 second. It works because the three settings roughly cancel out. Stop down to f/11 for extra sharpness from the lens, keep the shutter at 1/250 so the motion is frozen, and drop the ISO to 100 so the sensor stays cool and the sky stays black.
| Subject | ISO | Aperture | Shutter speed | Note |
|---|---|---|---|---|
| Full moon close-up | 100 | f/8 to f/11 | 1/125 to 1/250s | Flat light, so shoot near the terminator for shadow |
| Quarter or gibbous moon | 100 | f/8 | 1/250s | Best detail of any phase |
| Crescent moon | 200 to 400 | f/8 | 1/125s | Bigger contrast range, so watch highlights |
| Daytime moon | 100 | f/8 | 1/500s | Or use your camera’s daylight metering |
| Lunar eclipse | 800 to 3200 | f/5.6 | 1/60 to 1/15s | The moon dims, so everything else changes |
| Moon over a wide scene | 100 to 200 | f/5.6 to f/8 | 1/60s or faster | Expose for the moon, then blend a second frame for the ground |
| Smartphone | Auto | Auto | 1/1000s or faster if exposed | Use a 2x or 3x optical lens, never digital zoom |
One more rule worth keeping, because it answers the question most beginners never think to ask: your shutter speed should stay at least as fast as the reciprocal of your focal length. It is called the reciprocal rule, and it is the standard defence against camera shake.
| Focal length | Minimum safe shutter speed, handheld | On a tripod, for a static moon |
|---|---|---|
| 50mm | 1/60s | 1/250s |
| 100mm | 1/125s | 1/250s |
| 200mm | 1/250s | 1/250s |
| 300mm | 1/500s | 1/500s |
| 400mm | 1/500s | 1/500s |
| 600mm | 1/1000s | 1/500s |
The last column is the one to use. On a tripod, the only motion left is the moon itself, so stay at 1/250 second or faster up to about 400mm. Beyond that, the moon’s own drift starts to matter and 1/500 second is the safer number.
Set exposure with spot metering on the moon if your camera allows it, or simply switch to manual and use the histogram. A full moon at ISO 100 and f/11 wants roughly 1/250 second. If the histogram runs to the right edge with a pile-up of pixels, you are overexposed, and you need a faster shutter or a narrower aperture.
Blown highlights on the moon cannot be recovered later. This is the one place where overexposure is genuinely, permanently destructive, so protect it. Shoot RAW rather than JPEG, because RAW keeps far more latitude for the shadows on a crescent moon, but the lit edge still clips if you push too far.
5. Take the photo and check for sharpness and exposure
Press the shutter with the timer, wait two seconds, and hear the click. Then judge it properly.
Look at the histogram first. A well-exposed moon has a spike that stops short of the right edge, and a long flat floor to the left representing the black sky. If the spike runs off the end, you are overexposed.
Next, zoom the playback to 100 percent and look at the edge of the moon. If that edge is hard and clean, focus is right. If it has a soft halo or looks slightly doubled, you have movement or missed focus, and the culprit is almost always the shutter speed being too slow or the focus ring not being quite where you thought.
Judge sharpness at the limb, not in the middle. The centre of the moon is bright and forgiving. The edge is where a soft lens, a low moon, and a slow shutter all show up together.
When you want more detail than one frame allows, shoot a short burst at identical settings and stack them. Eight or ten frames averaged together in Lightroom, or blended in Photoshop, remove most of the noise and reveal craters that a single frame flattens. Keep every setting identical between frames or the stack will not line up. Exposure bracketing for a moon over a scene works the same way: one frame exposed for the moon, one for the ground, blended in post.
And save your EXIF. The focal length, aperture, shutter speed and ISO are stored in the file, so you can look up exactly what worked and repeat it. That habit is how moon photography gets easy fast.
Common Mistakes and Quick Fixes
Almost every bad moon photo is one of six problems. Find yours in the Symptom column and the fix is in the last one.
| Symptom | Cause | Fix |
|---|---|---|
| The moon is a featureless white disc | Overexposure, often from night mode or a long exposure | Switch to manual, ISO 100, f/8 to f/11, 1/250s, and check the histogram |
| Edges look soft, doubled or smeared | Shutter too slow for the focal length, or the moon’s own drift | Raise the shutter to 1/250s or faster and re-shoot on a tripod |
| Everything is blurry, including the tripod legs | Image stabilisation hunting on a locked-down tripod, or movement from the mirror | Turn stabilisation off and use electronic shutter or mirror lock-up |
| The moon is tiny in the frame | Short focal length, or digital zoom used instead of optical | Zoom optically to 200mm or more, and crop evenly in post if you must |
| The moon is dark against a grey sky | Lens hood off, internal reflections, or light leaking onto the front element | Fit the hood and shield the front element from stray light |
| Noisy, grainy photo | ISO pushed high in an attempt to brighten the frame | Drop back to ISO 100 and compensate with aperture or shutter speed instead |
If you have no tripod at all, you still have options. Rest the lens on a stack of books, on a wall, or on a car roof. A bean bag filled with uncooked rice and laid on a flat surface is a genuinely stable platform. A folded jacket on a fence post works. Users on photography forums confirm all of these, and most of them got their first good moon shot leaning against something.
Handheld is possible too, but only with a fast shutter. At 200mm, 1/500 second and f/8 with ISO 400 gives you a real chance. Below about 1/250 second at that focal length, accept that the image will be soft.
Two final tips. Shoot in RAW so you can rescue a slightly dark crescent later, and take a bracket of three frames every time. The cost is nothing, and you are guaranteed one good exposure.
Frequently Asked Questions
Can I photograph the moon with a regular camera without a telescope?
Yes, and a telescope is actually the wrong tool. The moon is lit by direct sunlight and is far too bright for the long exposures a telescope is built for. A DSLR or mirrorless body with any lens, a tripod, and a two-second timer will get you a sharp, detailed moon. The lens matters only for how large the moon appears in the frame, not for whether you can photograph it at all.
Why is my moon photo blurry when the camera is set to automatic mode?
Automatic mode has no idea what it is pointing at. It sees a bright object on a dark background, guesses that you want a night scene, and either slows the shutter down for a long exposure that smears the moon or hunts for focus and lands on the sky. Turn on image stabilisation only if you are handholding, set focus and exposure both to manual, and use the two-second self-timer so the shutter press does not shake the camera.
What camera settings should I start with for a bright full moon?
Start at ISO 100, f/8 to f/11, and 1/125 to 1/250 second in manual mode with RAW capture. That combination is sometimes called the f/11 rule and it works at any focal length from about 100mm to 400mm. Check the histogram after the first frame: if the bright spike runs into the right edge, speed up the shutter a stop until it stops clipping.
Should I use digital zoom or optical zoom when photographing the moon?
Always optical. Digital zoom crops the frame after the sensor has already recorded it, so you lose detail and end up with a softer image of a soft image. If your lens stops at 50mm, frame the shot wider and crop evenly afterwards in your editing software, which gives you a better result than the camera’s own digital zoom. A phone is the exception that proves the rule: use its 2x or 3x optical lens, never the digital zoom.
Why does the moon look white instead of showing surface detail?
Two causes. The most common is overexposure: the lit surface clips to pure white and no detail survives. Check the histogram and speed up the shutter. The second cause is the phase itself. A full moon is lit straight on, so it has no shadows and reads as flat, while a quarter or gibbous moon has a terminator, the line between day and night, where craters throw long shadows. Shoot near the terminator for the detail you want.
Can I photograph the moon with a smartphone if I do not have a camera?
Yes, and it is a genuinely good way to start. Use the 2x or 3x telephoto lens rather than digital zoom, tap the moon to focus, then pull exposure down two or three stops with the sun icon so the surface does not blow out. Steady the phone against something solid, set a timer if your phone has one, and shoot in RAW or the highest resolution available. A phone will never match a camera with a 300mm lens, but a sharp crescent moon is well within reach.
Conclusion
Start tonight, with whatever camera is in the cupboard. Set the tripod, switch to manual, and dial in ISO 100, f/8, and 1/250 second. That first frame will not be perfect, and the histogram is where you will find out what to change.
Two habits do most of the work from there: keep the camera absolutely still with a tripod and the self-timer, and focus manually on the moon in live view rather than trusting autofocus. Everything else is a variation on those two.
Then photograph the same moon across several phases over a month without changing your settings. Watching a gibbous moon turn to quarter and then crescent with the same exposure will teach you more about light than a dozen tutorials, and you will end up with a set that is actually yours.