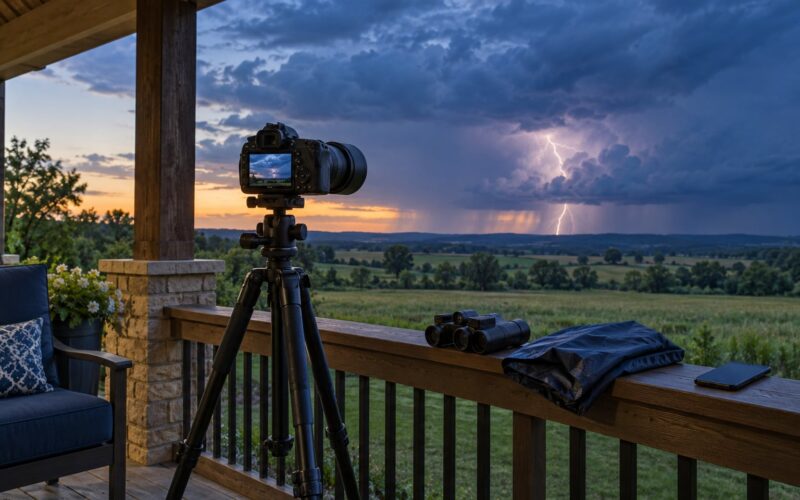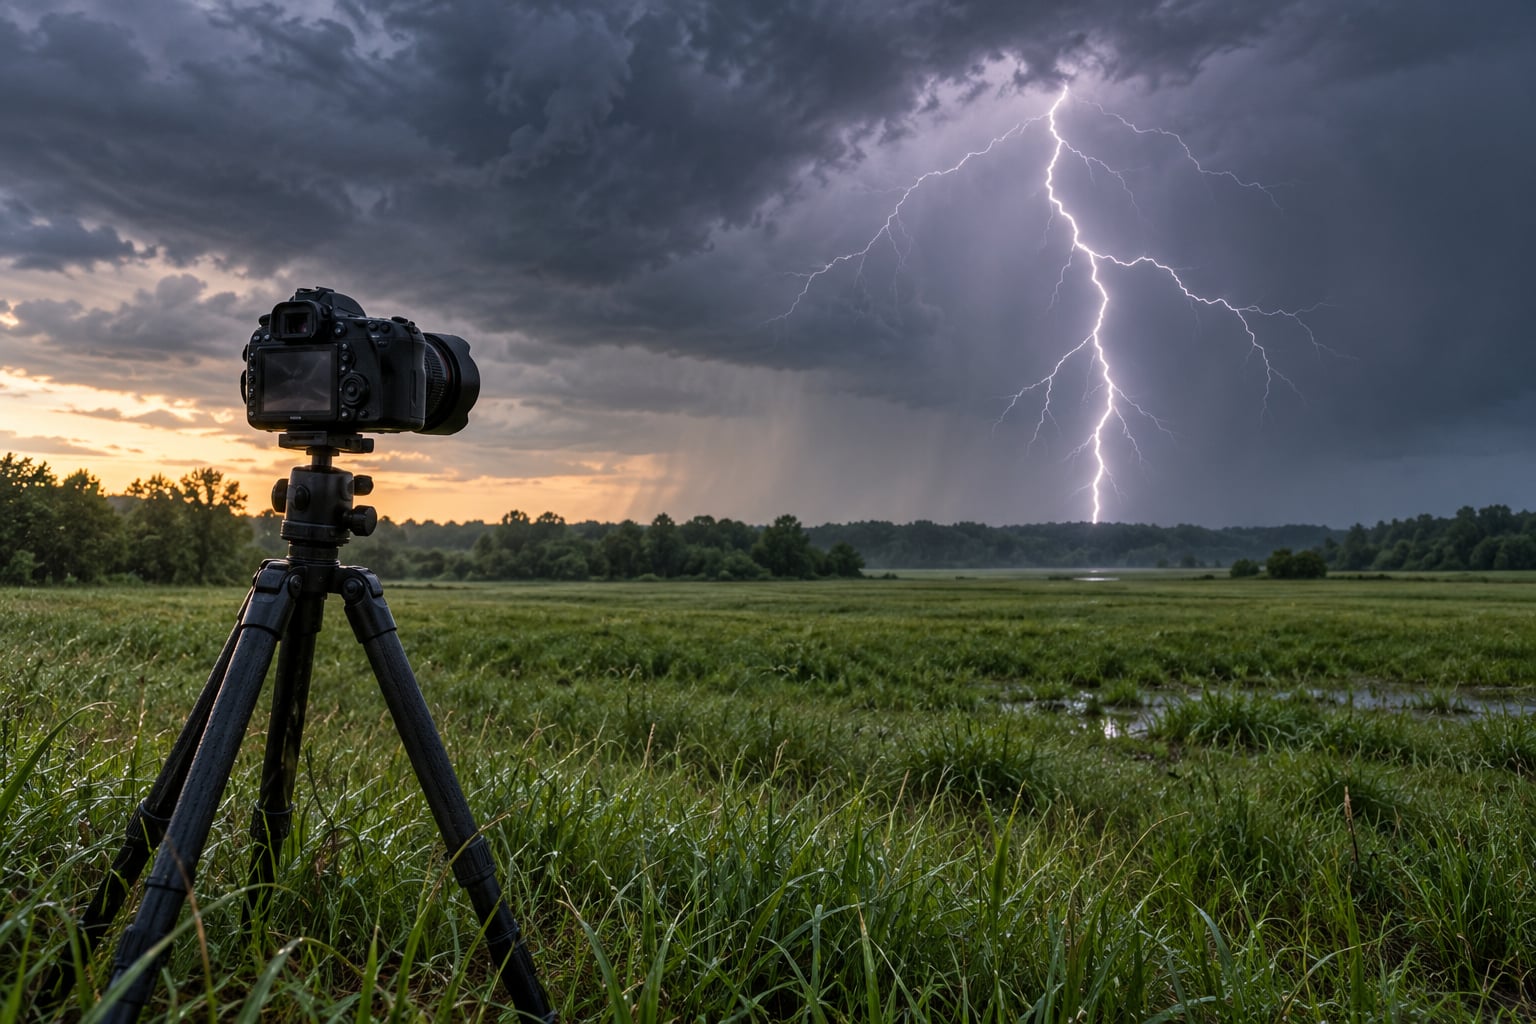
To photograph lightning, set a tripod, switch the camera to manual mode, focus at infinity, drop to base ISO (100), open up to f/5.6 or f/8, and either fire a long 15 to 30 second exposure or use a lightning trigger to open the shutter only when a strike fires. Everything else on this page is detail: which storm to chase, how to stay safe, and how to frame it.
I have shot enough storms to know that the settings are the easy part. The hard part is picking a storm that will still be alive when you arrive, and knowing when to walk back to the car.
This guide takes about ten minutes to read and covers the whole field workflow, from the radar map on your phone to the stacking edit at your desk. It assumes any camera with manual shutter, aperture and ISO control, plus a tripod. A lightning trigger helps, but it is not required.
Table of Contents
- What You Need
- Step-by-Step
- Plan Around the Storm
- Set the Camera for Lightning
- Compose the Scene
- Trigger the Exposure
- Capture Multiple Formats
- Common Mistakes
- Frequently Asked Questions
- What is the best shutter speed for photographing lightning?
- What is the 30/30 rule for lightning?
- What is the 5-second lightning rule and how far away is it?
- How do I take lightning photos on my iPhone?
- Why is it so difficult to take photos of lightning?
- Do I need a lightning trigger to photograph lightning?
What You Need
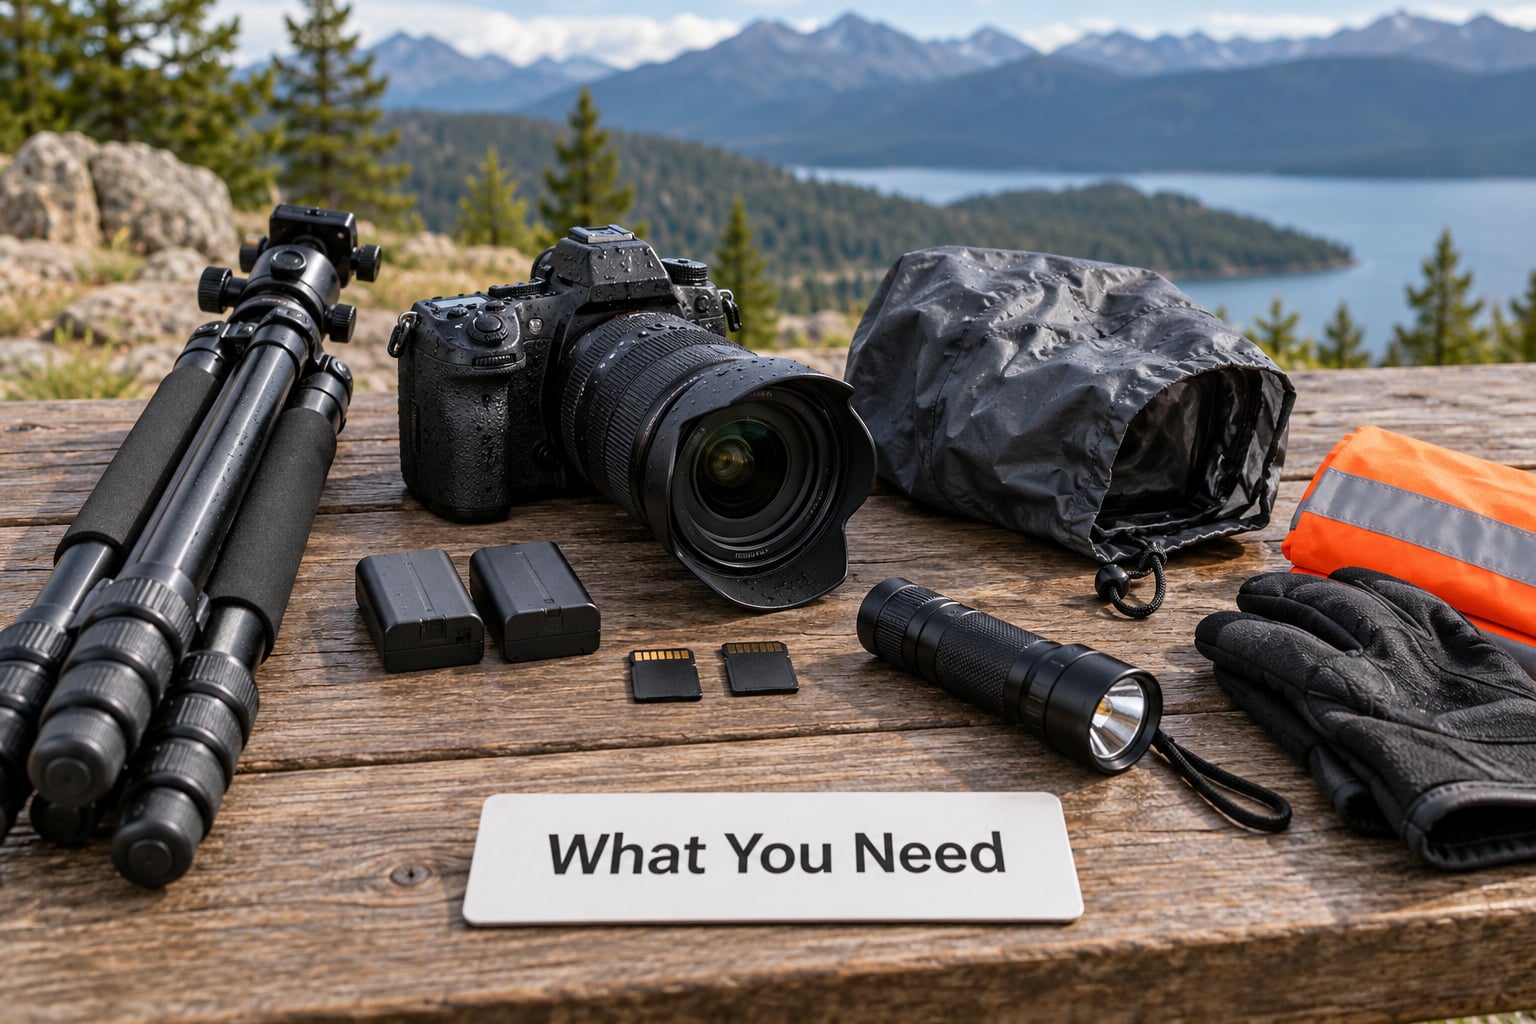
Bring less than you think and pack it better than you expect. Rain finds every seam, and cold nights drain batteries faster than warm ones.
- Camera with manual mode. Any DSLR, mirrorless body or point-and-shoot that lets you set shutter, aperture and ISO by hand. Auto exposure will blow out every bolt it records.
- Wide-angle lens, ideally 14mm to 35mm. You will crop later. A bolt that fills the frame nicely is a bolt that runs off the edge the moment you reframe.
- Sturdy tripod with a decent head. A light folding tripod will shake in the wind, and a shaky bolt is a soft bolt. Hang your bag from the centre column as extra weight.
- Remote release, intervalometer or trigger. Any of the three lets you stop touching the camera while a strike is in progress.
- Lens cloth or microfibre wipes, plus a rain cover. A cheap silicone cover or even a large plastic bag and an elastic band will do.
- Spare batteries and at least two memory cards. Long exposures and cold air eat both.
- Headtorch. You will be changing settings in the dark, and fumbling for a phone screen ruins your night vision.
- Safety gear and shelter. A substantial building or a fully enclosed vehicle within reach, warm layers, and something reflective if you are near a road.
That is the whole kit. A lightning trigger is the one optional extra, and it is worth explaining properly later in this guide, because people spend good money on one without knowing what it replaces.
If you shoot from a car window, your list shrinks to a camera, a short lens and a cloth. Shooters on the photography forums report that many of their best bolts came from a parked car rather than an open field, and the metal body is a far better shelter than a folding tripod.
Step-by-Step
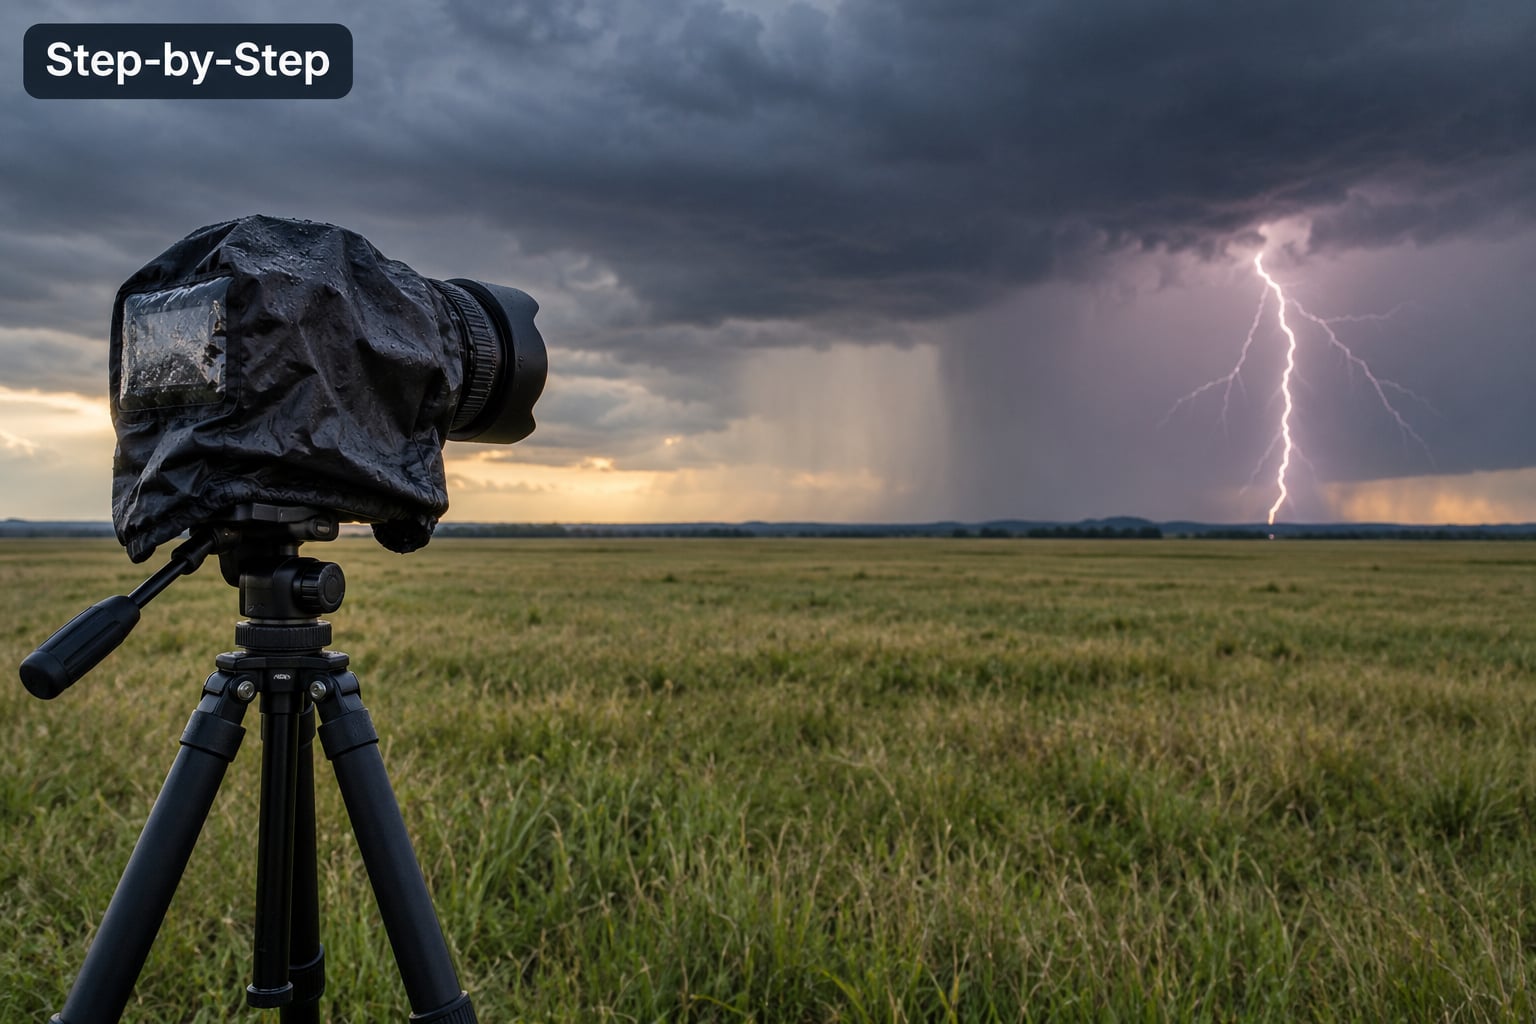
Plan Around the Storm
Plan the shoot from radar and lightning maps before you drive anywhere, because a storm that looked organised at noon can be a dying anvil by the time you set up.
Open a radar view and a lightning map together. Radar shows where the rain is, the lightning map shows where strikes are actually landing right now, and the gap between the two tells you where the best frames will be. As a general rule you want to be several miles ahead of the core, looking back at it, with a wide open field and a dark sky filling most of the frame.
Storms in the US typically move from southwest to northeast. Shooting from the southeast side gives you the moody, underlit look with deep grey cloud; shooting from the northwest puts the bright sunlit side behind you, which flattens everything. Pick your side before you arrive.
| Flash-to-bang delay | Approximate distance | What to do |
|---|---|---|
| Counting seconds | Under 1 mile | Get inside now. Do not unpack. |
| 1 to 3 seconds | Under 3 miles | Shoot only from inside a building or enclosed vehicle. |
| 3 to 5 seconds | 3 to 5 miles | Shelter. This is the last comfortable distance for open shooting. |
| 5 to 10 seconds | 5 to 10 miles | Open field shooting is reasonable if you can reach shelter quickly. |
| Over 15 seconds | Over 15 miles | Safe enough to work, and far enough to use a telephoto lens. |
That table is the 30/30 rule in practice. If thunder follows a visible flash within 30 seconds, the strike is close enough to hurt you, so get inside a substantial building or a fully enclosed vehicle and stay there until 30 minutes after the last thunder.
Set the Camera for Lightning
The starting point is manual mode, focus set to infinity, base ISO 100, an aperture around f/8 and a shutter of 15 to 30 seconds on Bulb. Everything from there is a small adjustment based on how the storm looks.
- Mode: Manual. Switch off evaluative metering, auto ISO and any auto white balance.
- ISO: Base ISO, usually 100 or the lowest ISO your camera offers (64 on some models). Raising ISO adds noise to a long exposure that gains nothing.
- Focus: Manual, set to infinity. Do it properly: switch to live view, magnify to 10x, point at the brightest light on the horizon, and set focus there. Checking the horizon helps because a bolt might land anywhere in the sky.
- Aperture: Start at f/5.6 for close, bright strikes and f/11 for distant, dim ones.
- Shutter: 5 seconds for a single clean frame, 15 to 30 seconds to catch multiple strikes, Bulb with a remote if you want to control the end yourself.
- File type: RAW. You will want the recovery room when the bolt clips.
- Long-exposure noise reduction: Off. It applies a second dark frame after every shot, which doubles your gaps between strikes.
- White balance: Daylight or a fixed Kelvin value around 4000 to 5500. Forum shooters deliberately push it cool for an electric feel rather than leaving it automatic.
Use the rear screen histogram to check a frame after the first big flash. If the bolt has a wide flat white core with no detail at all, close the aperture by a stop or underexpose by one to two stops. Photographers report that underexposing by a stop or two preserves the bolt shape and helps with city light behind the storm.
| Storm brightness | Close bolts | Mid distance | Distant bolts |
|---|---|---|---|
| Blinding | f/4 | f/5.6 | f/8 |
| Average | f/5.6 | f/8 | f/11 |
| Dull | f/8 | f/11 | f/16 |
If a bolt is dim in the frame, open the aperture rather than raising ISO. Long exposures also mean your foreground will record as a silhouette unless you light it, which is a choice, not a fault.
Compose the Scene
Frame much wider than feels natural, then aim for 60 to 80 percent sky and 20 to 40 percent ground.
A bolt needs somewhere to land. If you fill the frame with a dramatic sky, you will crop the one flash that mattered straight out of the picture. Anchor the bottom of the frame with something readable: a lone tree line, a lake, a fence, a building edge. Reflections on water double your chances because a bolt that misses the reflection still lands.
Keep the horizon level and use something in the foreground for scale. A lone barn reads as a landscape, the same barn shot straight on reads as a snapshot. If the storm is close and the cloud base is dramatic, switch to a vertical frame; tall bolts need a tall picture.
A telephoto compresses distant strikes and fills the frame with smaller bolts, which works when the flash-to-bang delay is over 10 seconds. At five seconds you are inside the danger zone, so the wide-angle lens in open ground is the honest choice.
Trigger the Exposure
Choose one of three ways to open the shutter, based on how much ambient light you have and how much control you want over the timing.
| Method | How it works | Use it when |
|---|---|---|
| Bulb with a remote | You open and close the shutter by hand | Bright skies, city light, or any time you need an exact exposure length |
| Intervalometer | Camera fires a frame every X seconds | Dark skies and long waits. You will shoot hundreds of empty frames. |
| Lightning trigger | An optical or wired sensor fires the shutter when it detects a flash | When you want every frame to be a real frame and you have budget |
The flash-to-bang delay decides how long you need the shutter open. Five seconds plus the length of the discharge means a bolt roughly ten miles away needs about 15 seconds open to be caught in one go, so on distant storms Bulb mode with a remote or a 20 second fixed exposure is the practical choice.
Test your exposure before the storm arrives. Take one frame of the sky at your chosen settings and check the histogram. Then set up, step back from the tripod, and do not touch the camera again.
During the shoot, keep a flashlight in your pocket for the foreground if you want to light paint it, and wipe the front element every few minutes. Rain on the lens scatters the flash into a blob and you will not see the damage until you are home.
Capture Multiple Formats
Capture several formats in one session, because you cannot predict which one you will want.
A single dramatic frame is worth aiming for when the storm is close and bright. Use short bursts with a remote when the storm is distant and quiet, and let the buffer run. When the bolts are close together, one long exposure that catches two or three strikes tells the story better than three separate frames.
Shoot a few vertical compositions as well as horizontal ones, and take a couple of wide frames with a long exposure that includes the whole storm. Post-processing crops are free; missing a bolt you never photographed is not.
Stacking is where a session with 200 near-identical frames pays off. Select the frames with a visible discharge, load them as layers, set the blend mode to Lighten or Maximum in Photoshop, and the brightest bolt in the set wins. Shooters describe returning with dozens of frames and needing exactly one, so this is not optional at the desk.
Common Mistakes
Nearly every bad lightning frame comes from one of eight problems, and each has a straight fix.
| Symptom | Cause | Fix |
|---|---|---|
| Bolt is white, fat and haloed | Overexposure from ambient light or a closing flash | Close the aperture a stop or underexpose 1 to 2 stops |
| Frame is completely black | The exposure closed before the strike | Extend the exposure or switch to a lightning trigger |
| Bolt is soft or doubled | Wind rocking the tripod | Heavier tripod, hang your bag from it, shield it with your body |
| Foreground is sharp, sky is not | Autofocus hunting in the dark | Switch to manual focus and set it before the storm starts |
| Bolt runs out of frame | Framed too tight | Shoot wide, aim high, crop in afterwards |
| Flash becomes a fuzzy glow | Rain on the front element | Lens cloth between frames, and a rain cover on the body |
| Frames are noisy at long exposures | Hot pixels and high ISO | Base ISO, RAW capture, noise reduction in post |
| Storm image looks flat grey | Strong light pollution | Shorter exposures, or move away from city glow |
The safety mistakes are not on that table because they have no fix at the shutter. Never stand near power lines, water, an isolated tall tree or a hilltop. A metal tripod does not make you safer; it makes you a better conductor.
Two more habits worth naming. Do not leave a vehicle window cracked while shooting from inside, and do not rely on a fixed time delay from the moment thunder reaches you, because the nearest strike is rarely the loudest one you can hear.
Frequently Asked Questions
What is the best shutter speed for photographing lightning?
Start at 5 to 15 seconds for distant bolts, and use 15 to 30 seconds or Bulb mode when you want to catch several strikes and can control ambient light. Short 1 to 3 second exposures keep the foreground dark and give you a strong silhouette. The flash-to-bang delay matters: a strike about ten miles away needs roughly 15 seconds open to be recorded.
What is the 30/30 rule for lightning?
If thunder follows a visible flash within 30 seconds, that strike is close enough to hurt you. Get inside a substantial building or a fully enclosed vehicle immediately, and stay there until 30 minutes have passed since the last thunder. The rule exists because a single close strike does not need to hit you directly to be fatal.
What is the 5-second lightning rule and how far away is it?
Sound travels roughly a mile every five seconds, so counting the gap between a flash and its thunder tells you the distance in miles. A five-second delay puts the strike about five miles away. That is past the point for open-field shooting, so at five seconds you should already be sheltering and shooting from inside if at all.
How do I take lightning photos on my iPhone?
Mount the phone on a tripod or a solid surface, clean the lens, and use a manual-mode app or the stock camera with its longest available exposure. Lock exposure and focus on the brightest part of the sky, then shoot repeated frames from the same position and stack the good ones later. Shoot in bursts, because you will miss most of them.
Why is it so difficult to take photos of lightning?
A bolt lasts only milliseconds, appears in an unpredictable part of the sky, and lights the whole scene for the length of the flash. Most exposures therefore contain nothing at all, and the ones that do record a strike are easy to overexpose because ambient light is already near the limit. Long exposures and a trigger narrow that window but never close it.
Do I need a lightning trigger to photograph lightning?
No. A trigger is a sensor that fires the shutter the instant it detects a flash, which saves frames and card space, but Bulb mode with a remote and a 15 to 30 second exposure works on any camera. If you are starting out, learn the manual settings first and treat the trigger as an upgrade for a second season.
Start with the simplest session you can run: manual mode, ISO 100, f/8, focus at infinity, 20 second exposures on a timer, and a wide frame with 70 percent sky. Find a storm five miles or more out, stay ready to move, and let the histogram do the teaching. Master that, and everything else on this page is a refinement.