To photograph a thunderstorm from a distance, set up on a tripod at least 10 miles from the storm’s core, shoot long exposures of 10 to 30 seconds at f/8 to f/11 and ISO 100 to 200, and get out of the rain. Distance is what makes the shot possible and what keeps you safe, because the danger comes from standing under a storm, never from the camera in your hands.
The technique is simpler than it sounds. Put the camera on manual, focus to infinity, leave the shutter open long enough that a bolt has a decent chance of landing somewhere in the frame, and repeat until the storm moves off. Most of the skill sits in choosing the distance, the lens, and the moment to pack up.
Expect a low hit rate. Photographers working storms seriously report shooting 200 to 400 frames and coming home with fewer than a dozen usable images, and occasionally with nothing at all. Plan the evening as an experiment, not a guaranteed result.
Table of Contents
- What You Need
- How to Photograph a Thunderstorm From a Distance: Step-by-Step
- 1. Check the forecast and choose a safe viewpoint
- 2. Prepare the camera and protect it from rain
- 3. Frame the storm with a strong composition
- 4. Set exposure for dark skies and bright lightning
- 5. Monitor changing weather and know when to stop
- 6. Review the images and make careful edits
- Common Mistakes
- Frequently Asked Questions
- How far away can you photograph lightning safely?
- What are the best settings for taking lightning photos?
- What type of lens is best for taking lightning pictures?
- How do I photograph lightning with my phone?
- What is the 30 second rule for lightning safety?
- How hard is it to photograph lightning, and how rare is a good bolt?
- Final Storm-Shooting Checklist
What You Need
You need far less gear than storm photography gets credit for. A camera with manual exposure, a tripod that will not buzz in wind, and a place to stand with a roof is enough to get started.
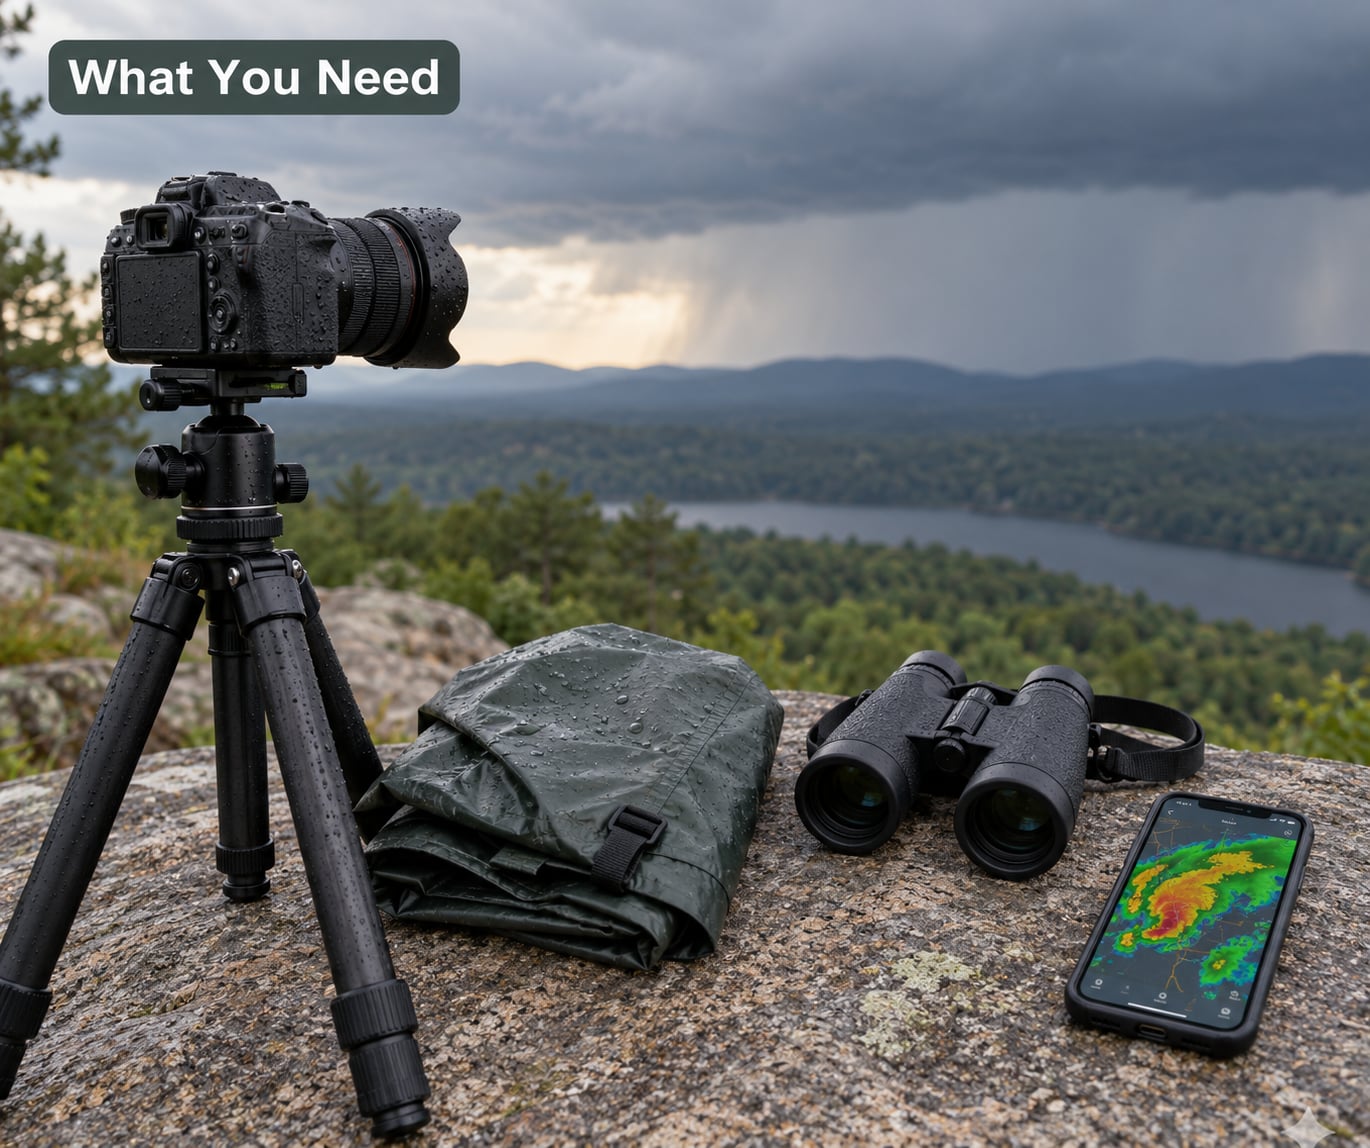
- A camera with manual exposure and a live-view screen. Phones qualify, with limits covered later.
- A sturdy tripod. Lightweight travel tripods transmit wind vibration into 20-second exposures, so buy weight if you own only one.
- A remote release or intervalometer. Built-in interval shooting is usually on the camera itself, so no extra purchase needed.
- A spare battery and a spare card. Long exposures drain more than people expect, and rain makes card changes awkward.
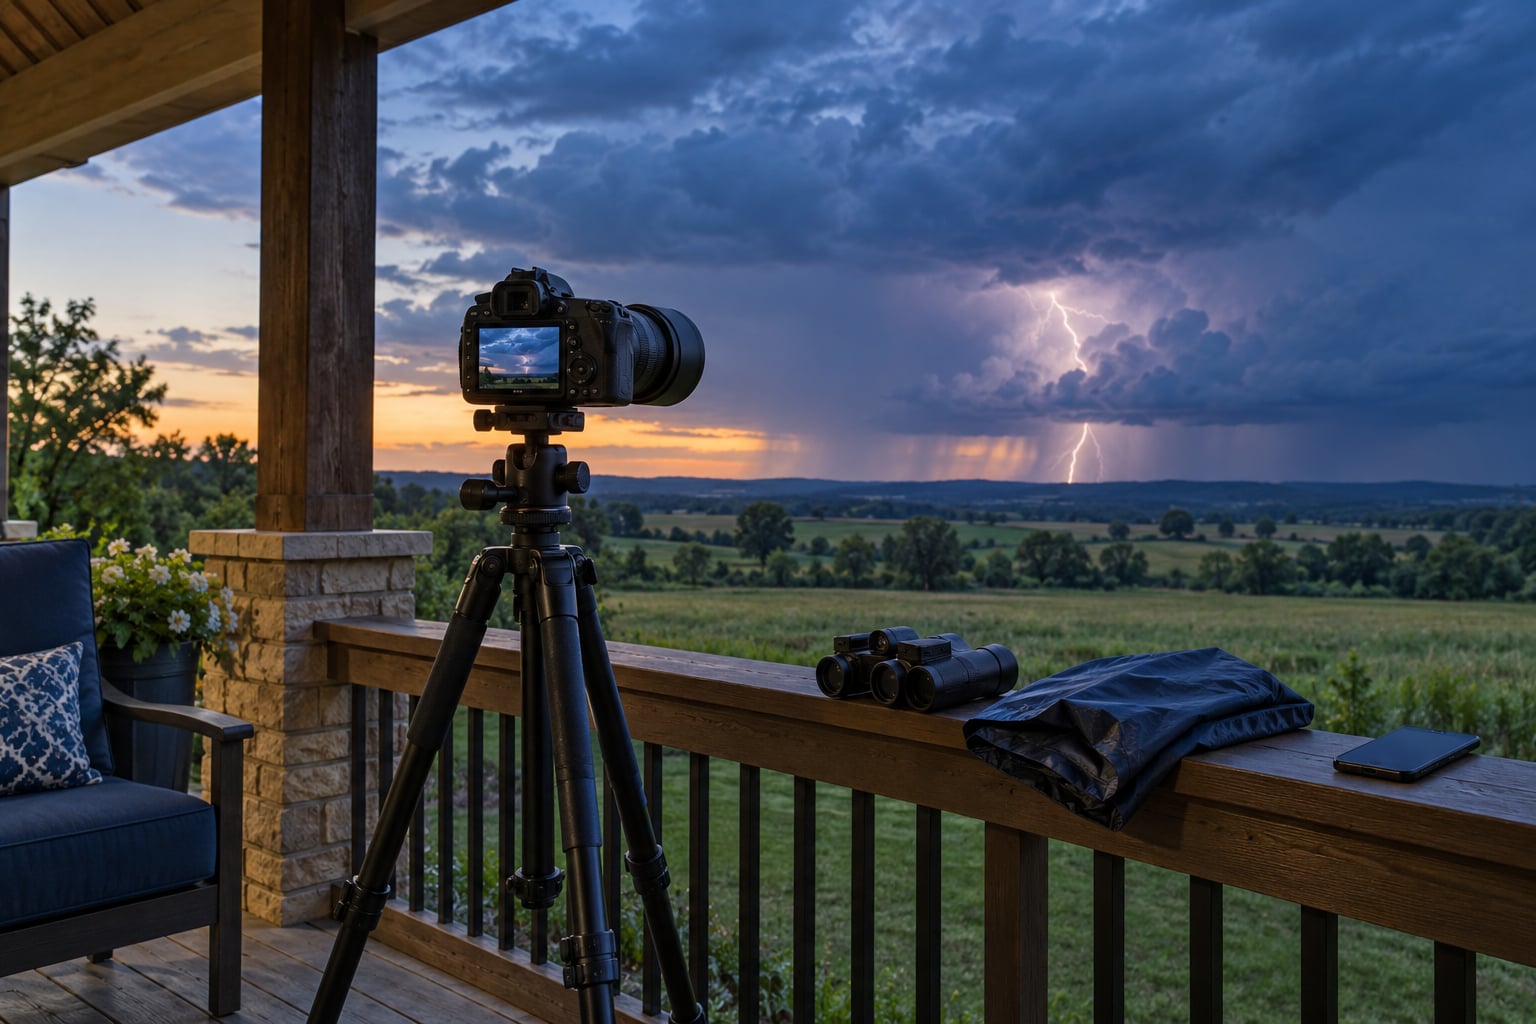
- A rain cover or a large plastic bag with a hole cut for the lens. Both are cheap and both have saved a camera.
- A weather radar app on your phone. NOAA’s radar and Windy are the two I keep open.
- Binoculars if you want to read a distant cell’s structure before you commit to a spot.
- Optional: a lightning trigger, a window clamp mount for shooting from a vehicle, and a neutral density filter for daylight storms.
How to Photograph a Thunderstorm From a Distance: Step-by-Step
Here is the full workflow, from radar check to final edit. Each step assumes a storm already 10 or more miles away, and none of them require you to move closer to it.
1. Check the forecast and choose a safe viewpoint
Read the radar before you drive anywhere, then again when you arrive. You want the storm’s core, the intense convection in red or purple, positioned 10 miles or more away and moving away from or across your location rather than straight at it.
To estimate distance without an app, count the seconds between a flash and the thunder that follows. Sound travels roughly 1,100 feet per second, so a five-second gap puts the bolt near a mile away and a 30-second gap near 8 miles. Most people underestimate this badly.
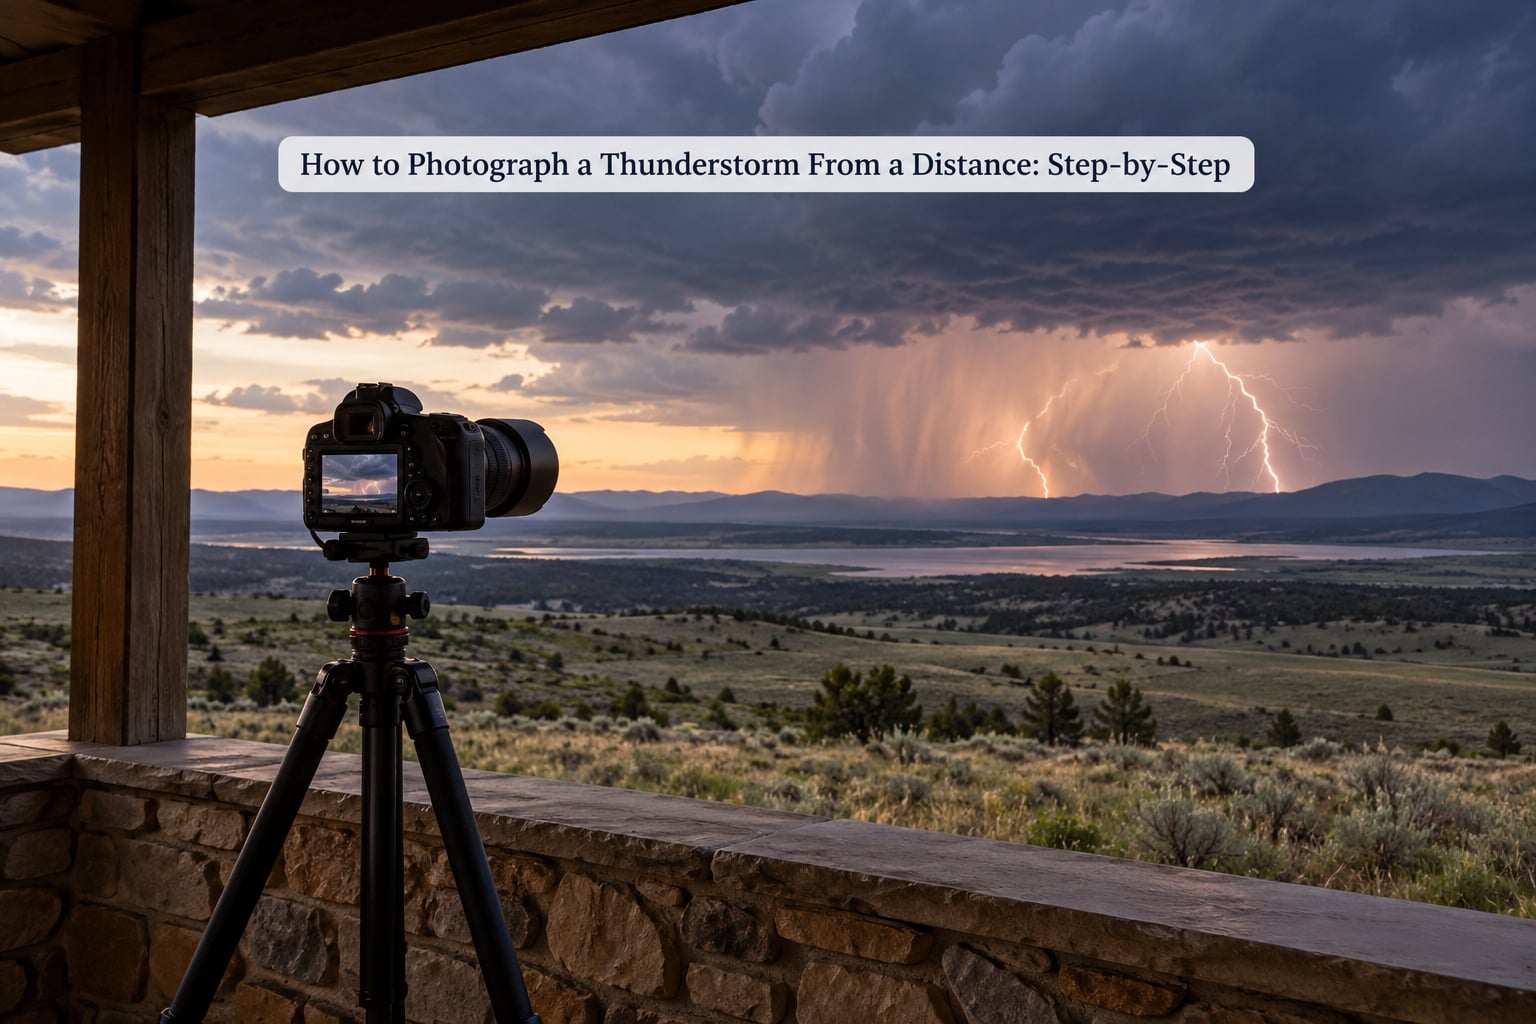
Pick a viewpoint with a clear line of sight and a roof: a porch, a balcony, a bedroom window, or a parked car. Open ground with a distant view is what makes a safe distant shot possible, and the shelter is what lets you stay there through the whole cell. Stay clear of isolated trees, open water, hilltops, fences, poles, and anything metal.
2. Prepare the camera and protect it from rain
Set up before the storm arrives, because you do not want to fiddle with a wet lens in a gale. Mount the camera, switch to manual exposure, turn off autofocus so it never hunts in darkness, and shoot RAW so you have room to recover the sky later.
Focus manually to infinity. Do not trust the infinity symbol on the lens barrel: cheap lenses often mark infinity a little short. Zoom in on something far away in live view, sharpen until it looks slightly too crunchy, then back the focus off by a hair.
Batteries and cards go in now rather than later. Keep the spare battery warm in a pocket, since cold nights slow them down, and keep the rain cover on the tripod or in your hand from the start.
3. Frame the storm with a strong composition
A wide establishing shot shows the whole thunderhead in profile, and profiles are where storms get interesting. The top and bottom of the cell are often visible at a distance in ways they never are from underneath, and that silhouette does more work than any amount of editing.
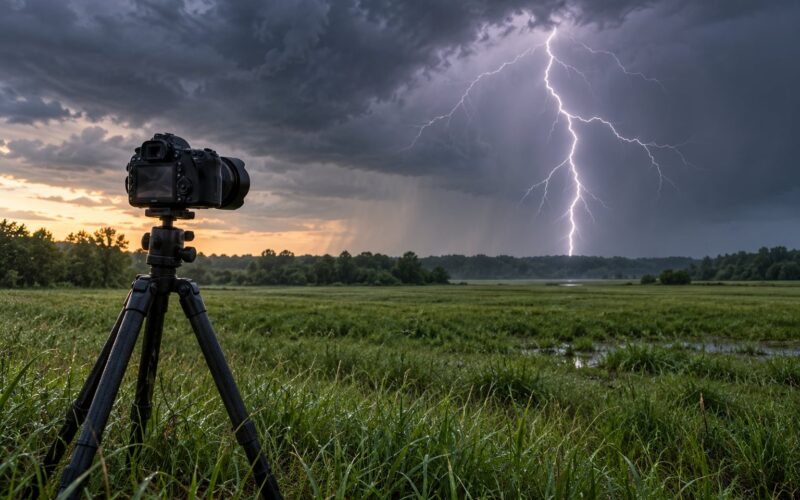
Give the frame something in front of the storm: a ridge, a lake, a lone tree, wet grass, a fence line. A bolt over an empty foreground is a postcard; a bolt behind a lake with a treeline is a photograph. Use leading lines and place the cell on a third rather than dead centre, and re-frame as it moves, because a storm that was 30 miles away can be 20 miles in twenty minutes.
Keep the foreground dark. Meter for the sky and let the land fall to silhouette, which is easier to rescue in editing than a blown-out horizon.
4. Set exposure for dark skies and bright lightning
Start at 20 seconds at f/8 on ISO 100, then adjust. A long exposure raises the odds that a randomly-timed bolt lands inside the frame, and a low ISO keeps the ambient light from washing the frame out over 30 seconds of accumulated brightness.
| Distance to storm | Shutter speed | Aperture | ISO | Lens |
|---|---|---|---|---|
| About 10 miles | 5 to 10 seconds | f/11 | 100 | 16 to 35mm wide angle |
| About 15 miles | 15 to 20 seconds | f/8 | 100 | 24 to 70mm or 70 to 200mm |
| 30 miles or more | 25 to 30 seconds | f/8 | 200 | 70 to 200mm telephoto |
Stop down to f/11 when bolts are blowing out to white with little internal detail. Open up if frames come back almost black. Shoot a test frame and check the histogram rather than guessing from the screen, because bright bolts lie to the display.
A lightning trigger is optional, not essential. It opens the shutter for a fraction of a second the moment it senses a strike, which freezes a bolt sharply and avoids the ambient wash of a long exposure. The catch most people hit is that a trigger can fire on bolts outside your frame, so set its sensitivity high and aim slightly wider than you plan to crop.
How you fire the shutter matters less than most guides claim. An intervalometer shooting back-to-back 20-second frames fills your card and gives you many bolts to stack later. A single long exposure gives you fewer, cleaner frames. A trigger maximises sharpness and bolt detail if bolts are frequent.
| Method | Sharpness | Bolt hit rate | Best for |
|---|---|---|---|
| Intervalometer at 20 seconds | Good | Good | Stacking several bolts into one frame |
| Single fixed long exposure | Fair | Good | Simple trips with one camera |
| Lightning trigger | Excellent | Moderate | Detailed bolts, frequent strikers |
Treat lightning as random, not as a subject you can time. Forums are full of people who framed a beautiful bolt perfectly and missed it because the shutter was closed. Volatility is the price of the long-exposure method.
5. Monitor changing weather and know when to stop
Thunder being audible is your signal, not the forecast. If you can hear thunder, you are close enough to be struck, so treat any thunder as a reason to reconsider your distance, and repeated thunder as a reason to leave.
The rule people ask about most is the 30/30 rule: if you see a flash and count 30 seconds before hearing thunder, the strike is about 6 miles away, and staying at or beyond that distance keeps you out of the danger zone. Stop counting lower than 30 seconds, and go indoors.
Watch for the signs that a storm is turning: rain crossing your view, wind arriving ahead of the rain, the anvil spreading overhead, the cell reversing direction. Dumping water, hail, or a sky that goes green and rotating means stop now, not finish the sequence. Storms also grow upward faster than people expect, and a cell that looked safe ten minutes ago can be overhead in five.
Have a backup shelter identified before you set up. Leaving early always costs you fewer frames than leaving late costs you everything.
6. Review the images and make careful edits
Start with the raw file and keep edits restrained. Lift shadows to bring back the foreground, pull highlights down where bolts clipped to white, and add a modest amount of contrast. Resist heavy clarity and heavy dehaze, because a natural storm still looks like weather.
Correct the white balance toward the storm’s own blue or green rather than forcing a warm sunset look. You cannot make the sky more dramatic than it was; you can only recover what was recorded.
To stack multiple bolts into one image, open your best frames as layers and set the upper layers to the lighten blend mode, which keeps only the brightest pixels from each. Align them on a shared foreground, mask out the sky of all but the sharpest layer, and flatten. Do not add or clone in bolts that were never there.
Common Mistakes
Most ruined storm photos come from one of six mistakes, and each has a straightforward fix.
Getting too close. The excitement of a good sky pulls people forward. Fix: pick your distance before you leave, mark the turn-around time in your phone, and stay behind it no matter how good the light gets.
Leaving the camera exposed. The front element beading with water ruins frames quietly, and water inside the body is expensive. Fix: bag or cover the camera before the rain arrives, check the front element every few minutes, and never wipe a wet lens with a dry cloth, since that grinds grit into the coating.
Focusing on the background. Autofocus lands on a distant tree or a fence and misses a storm 20 miles out. Fix: manual focus to infinity, verified in live view, and do not touch the lens again afterwards.
Underexposing the sky. The sky looks bright on the camera display and the histogram tells a different story. Fix: check the histogram on a test frame and stop down if the bolt core is solid white with no internal branching.
Chasing lightning. Following a cell down the road turns a safe shoot into a dangerous one. Fix: pick the vantage point once, track the storm from there, and treat movement as the trigger to leave rather than the trigger to drive.
Editing too hard. Pushed shadows and aggressive dehaze turn a moody storm into a poster. Fix: judge edits at the size the image will actually be viewed, and stop before it stops looking like real weather.
A few tips that cost nothing: keep the tripod legs low in strong wind to reduce buzz, never touch the camera during an exposure, bring more cards than you think you need, and shoot a wide version of every frame you love because the crop you want may not exist.
Frequently Asked Questions
How far away can you photograph lightning safely?
Keep the storm’s core at least 10 miles away, and treat any thunder you can hear as too close. If you see a flash and count 30 seconds before hearing it, the strike is roughly 6 miles out, which is a reasonable buffer. Shooting from inside a vehicle or under a solid roof adds a further layer of protection, and the best shots come from exactly this kind of distance anyway.
What are the best settings for taking lightning photos?
Start at manual exposure, ISO 100 to 200, f/8, and a shutter speed of 15 to 30 seconds, with focus set manually to infinity. Shoot RAW and use an intervalometer or remote release so you never touch the camera during an exposure. Close down to f/11 when bolts blow out to featureless white, and check a test frame on the histogram rather than trusting the rear screen.
What type of lens is best for taking lightning pictures?
A wide angle such as a 16 to 35mm covers a whole thunderhead in profile and gives bolts more room to land in the frame. A 70 to 200mm isolates distant strikes above a horizon and fills the frame with a cell that would otherwise be tiny. Many photographers carry both and switch when the storm moves from 30 miles to 10.
How do I photograph lightning with my phone?
Use Night mode or a manual app with a 5 to 15 second exposure, brace the phone against something solid, and cover the lens with a cloth to kill stray light. Shoot short bursts rather than single frames so you have several chances. Free stacking apps combine the brightest frames into one image the same way lighten blend mode does on a computer.
What is the 30 second rule for lightning safety?
Count the seconds between seeing a flash and hearing its thunder. Every five seconds is roughly a mile, so 30 seconds means about 6 miles away. If the count drops below 30, you are closer than the standard safety buffer and should move to a building or vehicle. The same count also tells you which lens to reach for and whether the sky is brightening.
How hard is it to photograph lightning, and how rare is a good bolt?
It is mostly waiting, which is harder than it sounds. Serious photographers report 200 to 400 frames per storm yielding fewer than a dozen usable images, and sometimes nothing. The technique is reliable; catching a striking bolt in a good composition is simply low probability. Shoot in bursts and stack your keepers to raise the odds.
Final Storm-Shooting Checklist
Check the radar first and confirm the core is 10 miles or more away. Choose a viewpoint with a clear view and a roof over your head, and identify a fallback shelter before you start.
- Set up and focus manually to infinity before the rain starts.
- Begin at ISO 100, f/8, 20 seconds, and check a test frame on the histogram.
- Use an intervalometer or remote release, and leave the camera alone during exposures.
- Cover the body and wipe the front element often once rain arrives.
- Count flash-to-thunder seconds; below 30, stop and move to shelter.
- Edit conservatively, and stack your keepers with lighten blend mode.
Start with one storm, one vantage point, and a fixed distance. Once that feels routine, the technique stops being about luck and starts being about weather.