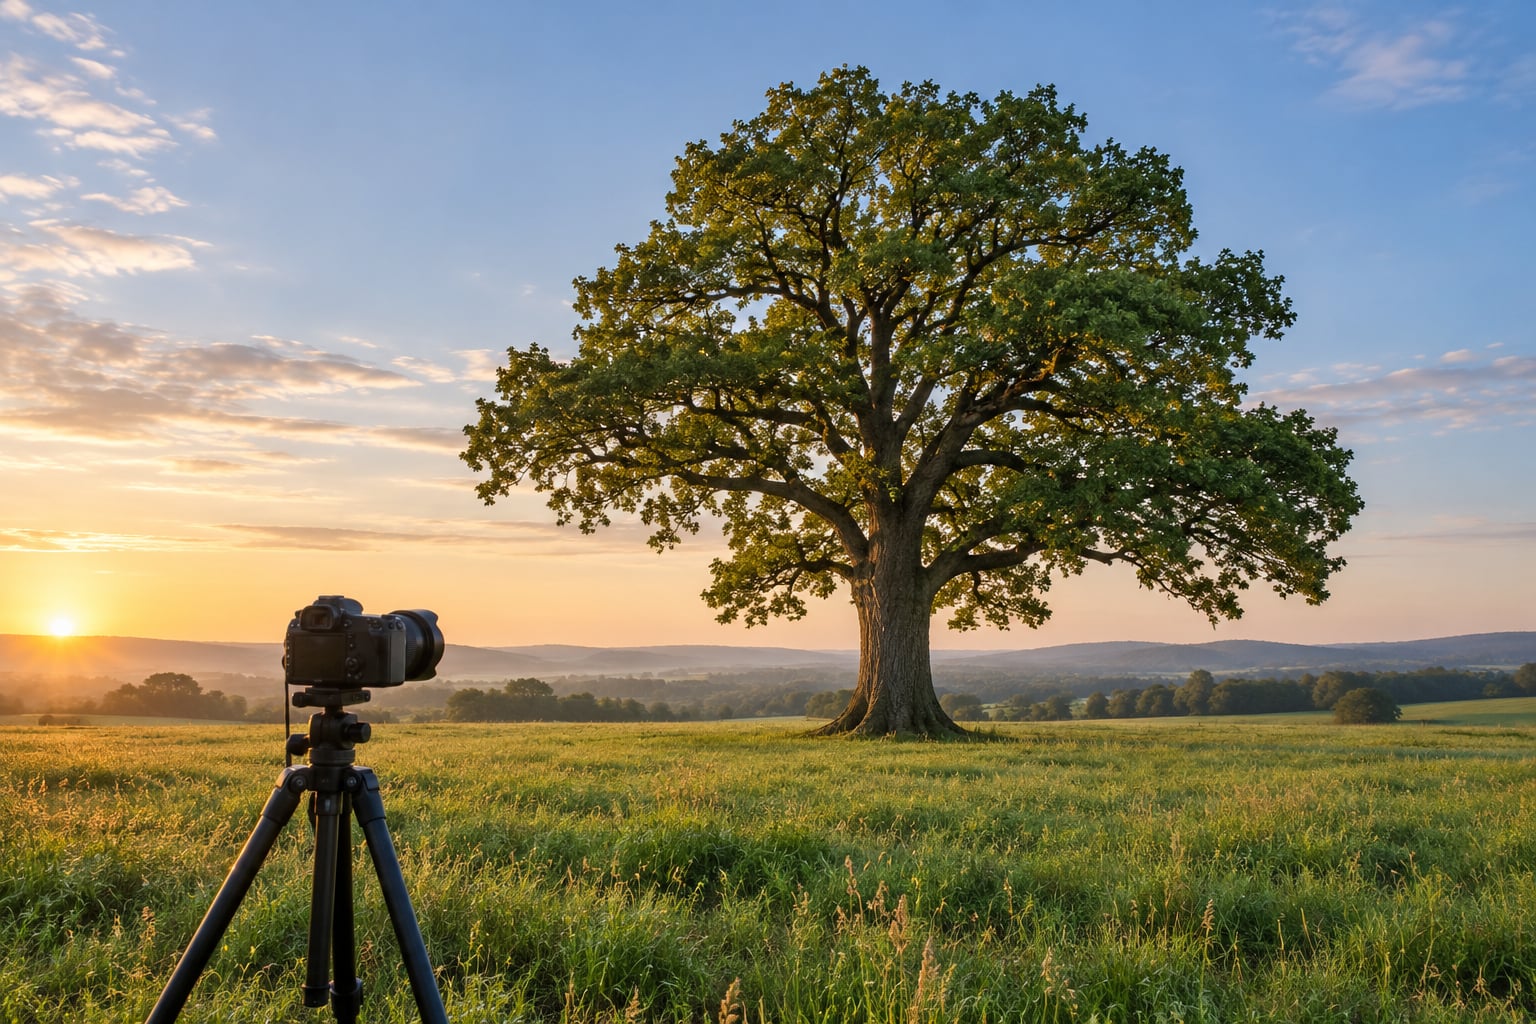
To photograph a single tree means making one tree the unmistakable subject of the frame: the whole tree standing in its setting, or one striking part of it such as the trunk or canopy, with nothing else in the picture pulling attention away. The method is short enough to learn in an afternoon: pick a tree with real character, move until the background is clean, use light that reveals shape, then set focus and exposure so the brightest foliage stays intact. Expect about twenty minutes per tree once you know what to look for.
Table of Contents
- What You Need
- Step-by-Step
- Choose the Tree and Define Its Character
- Find the Best Viewpoint and Background
- Use Light to Reveal Shape and Texture
- Compose the Frame
- Set Focus and Camera Settings
- Make Several Versions and Review the Results
- Common Mistakes
- Frequently Asked Questions
- What is the best time of day to photograph a single tree?
- Can I photograph a tree well with a smartphone?
- Should the whole tree be in focus for a single-tree photo?
- How do I make a tree stand out from a busy background?
- What camera settings work best for a large tree outdoors?
- Should I photograph the same tree in different seasons?
- Conclusion
What You Need
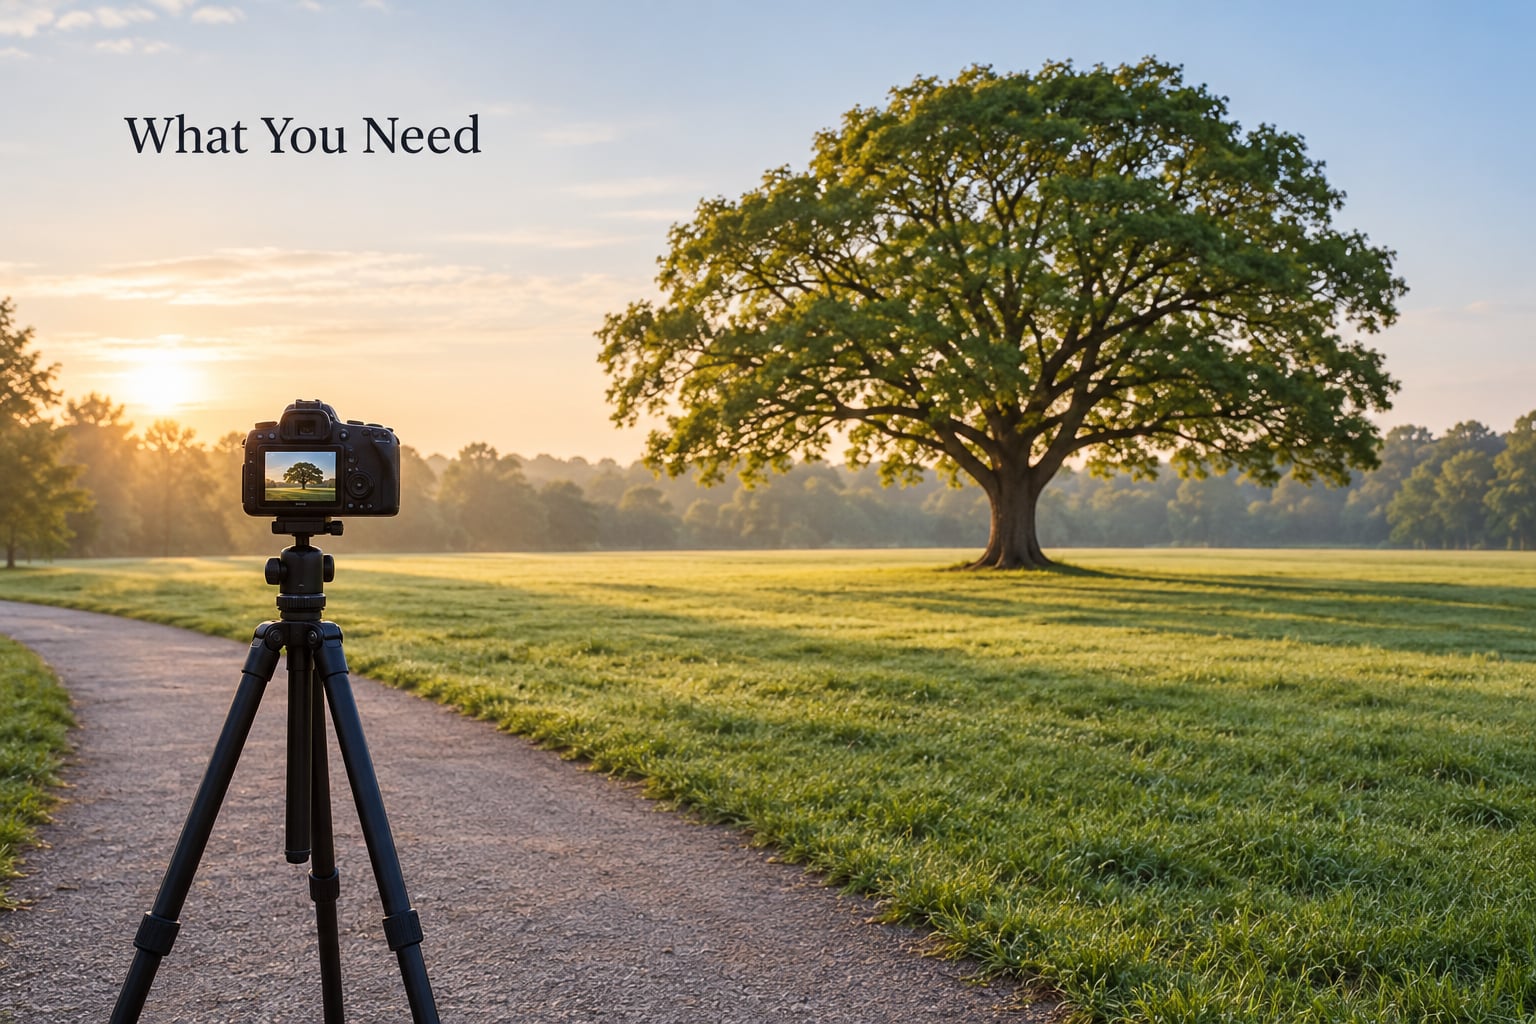
A camera with a lens you already own. That is the honest starting point. Everything below is optional, and the one item that genuinely changes your framing is free.
A wide angle lens changes the problem entirely. Standing close to a trunk and pointing up exaggerates the taper and makes a tall tree look even taller, and the same lens close to a branch turns bark ridges into a world of their own. A telephoto lens does the opposite work: it compresses layers so a line of trees behind your subject flattens into a soft band of green, and it lets you fill the frame from a distance when the ground is wet, steep or crowded.
A tripod earns its weight in three situations: you are stopping down past f/8 for a sharp foreground and background, you are in fog or low light where a slower shutter blurs moving leaves, or you want the whole frame sharp at a wide aperture. In bright daylight a tree is a subject you can handhold at 1/250 sec, and carrying a tripod you never need trains you to leave it at home.
A circular polarizer is the one filter worth mentioning here. A community member on a dpreview forum thread about fall foliage photography recommends one specifically because it deepens blue sky and cuts glare off wet bark and leaves, which is what makes a canopy hold its colour against a bright background. It costs more than a stack of filters you will never use, so buy it last.
Then there is the frame card. Cut a rectangle of mat board to your camera’s aspect ratio, hold it at arm’s length, and close one eye. You get a rough preview of a short telephoto view without raising the camera, which makes it easy to test a composition before you commit to standing there. Walk left, walk right, and decide in three seconds rather than three steps.
Two free tools do the planning. Google Earth shows you the terrain around a tree you have not visited yet, and any sun-position app gives you the exact time the sun clears a building or a hedge on a given date. Both are how you decide whether to return at all before you make the drive.
Finally, clothes for the weather rather than the camera. Trees are shot in rain, fog and frost more often than photographers expect, and wet bark photographs better than dry bark because it stops being grey and starts being reflective.
Step-by-Step
This is the working sequence for how to photograph a single tree from arrival to final frame. Each step is one decision, and you can tell it worked the moment you look at the result on the camera screen.
Choose the Tree and Define Its Character
Pick the tree for a reason before you pick the settings. A leaning trunk, a split fork low down, deeply furrowed bark, a branch that curves back on itself, blossom, fruit, autumn colour, or a tree that simply stands apart from its neighbours all give you something to build a photograph around.
Write down the reason in one sentence before you unpack anything. It sounds fussy, and it is the step people skip. “Autumn oak against a field” and “old gnarled trunk with lichen” are different photographs of the same tree, and the sentence tells you whether to frame the whole tree or work in close on the trunk.
Look at how the tree relates to its surroundings, too. A lone tree in open ground reads as solitude and scale. The same tree hemmed in by others is a texture problem, not a portrait problem, and that changes your whole approach.
Find the Best Viewpoint and Background
Making one tree stand out from a busy background is the hardest part of this task, and almost all of it happens with your feet. Walk a full circle around the tree, at two or three different distances, before you take a single frame.
Watch for tangencies: the moment a background branch appears to grow out of your tree’s branch, or a fence post lines up with the trunk and the tree stops being one object. A two-metre sidestep is often the whole difference between a confusing frame and a clear one. Keep the camera height low, then try it at chest height, then standing tall, because the background changes completely with each.
Three more moves help. Put open space behind the tree rather than detail, since negative space is what gives a single subject room. Choose a focal length that fills the frame without the background creeping in at the edges. And wait for conditions to do the work for you: fog, fresh snow, frost or backlight all separate a tree from its surroundings without you changing anything.
If the ground is messy, moving to a different side is usually faster than cleaning anything up. A tree photographed from across a road with a soft background is better than the same tree from six feet away in a thicket.
Use Light to Reveal Shape and Texture
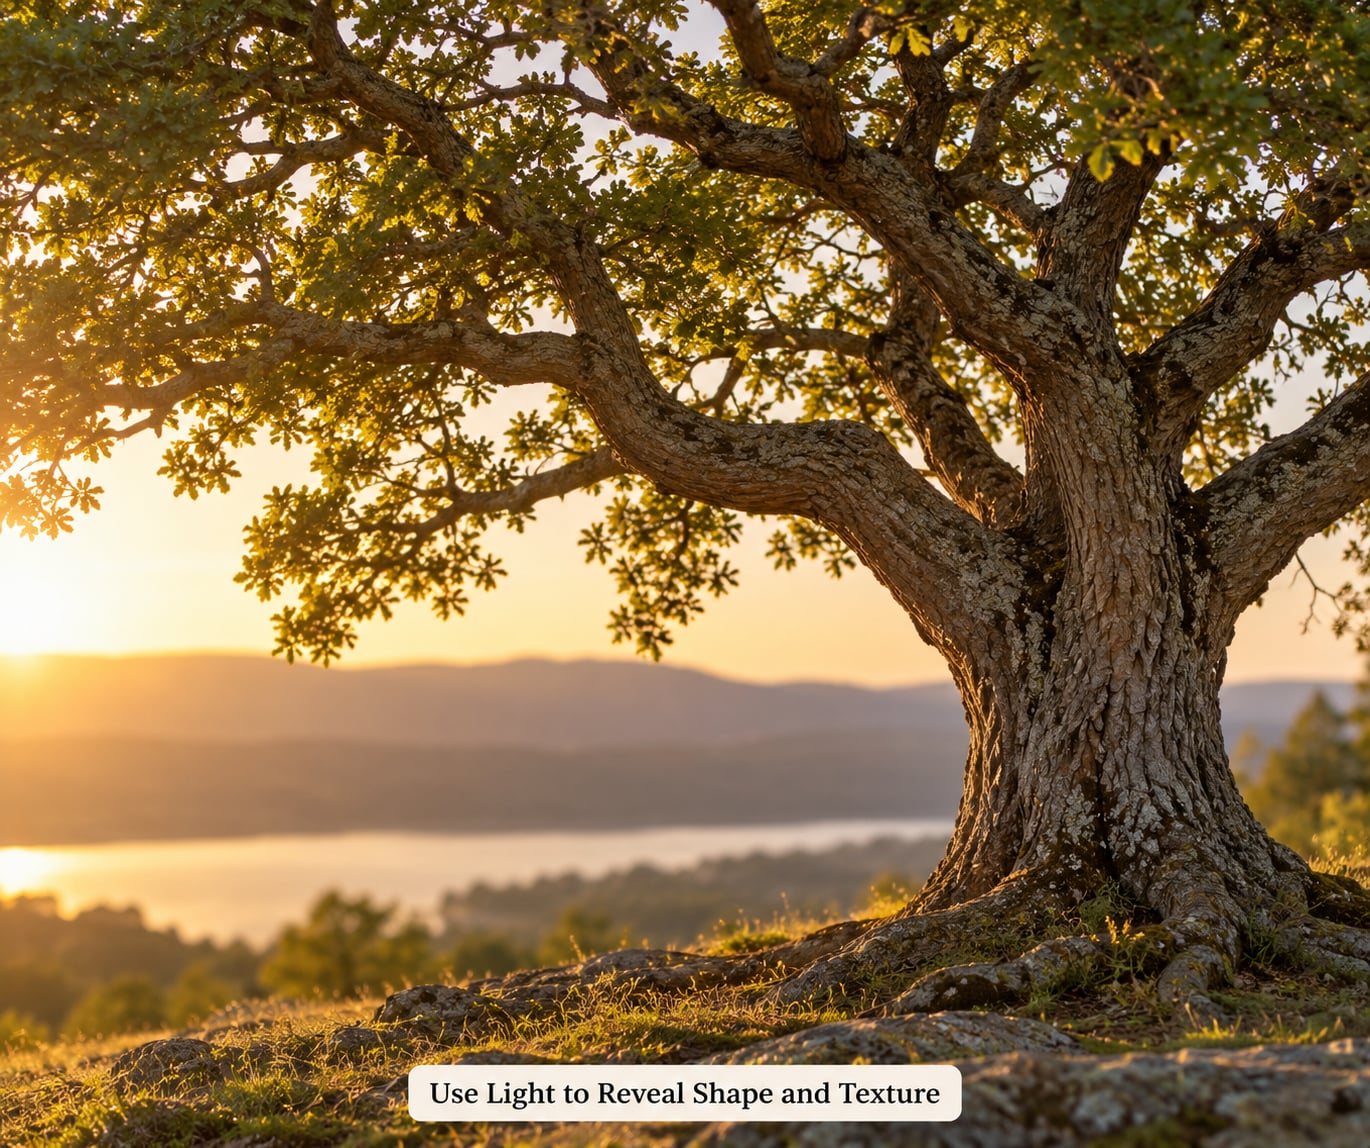
Golden hour is simply the period when the sun sits low in the sky, roughly the first hour after sunrise and the last hour before sunset. Photographers like it because low light arrives at a shallow angle: it skims across bark, it rims the edge of a canopy, and it casts long shadows that give a tree volume instead of a flat green shape.
Three light directions matter, and each does a different job. Backlight comes from behind the tree, lighting the outer leaves so the crown glows and the trunk falls dark, which is how you get a silhouette or a rim-lit edge. Side light comes from one side and is the best light for bark texture and for the sweep of a branch, because every ridge throws a small shadow. Overcast light is soft and even, and it is the reliable choice for holding detail in the whole canopy without blown patches.
Flat light straight onto the front of the tree is the one to avoid. It flattens the form, kills the texture, and turns the crown into a single bright mass. If that is the only light you have, move until a small part of the canopy crosses the trunk, because even a little shadow gives the eye somewhere to rest.
Weather helps more than most people expect. Rain darkens bark and saturates foliage, mist softens every background behind the subject, and a hazy or smoky sky acts like a giant diffuser. There is no such thing as bad light for a tree, only light you did not plan for.
Compose the Frame
Match the frame to the subject. A tall, narrow tree wants a vertical frame that runs with it. A broad, spreading specimen wants a horizontal frame, because the branches travel sideways and a vertical crop will throw half of them away.
Rule of thirds is a useful default: place the trunk on a third line and give the canopy the open side of the frame, leaving the tree somewhere to look. Leave the room in the direction the tree grows, and if it leans, give the lean somewhere to go.
Symmetry works when the tree is genuinely symmetrical, such as a young tree planted either side of a path. Shoot dead centre and put the horizon on a third line instead of the middle.
Use leading branches to carry the eye. A limb that enters from a corner and points toward the trunk is a line the viewer follows without being told to, and a low shooting angle looking up into the canopy fills the frame with converging branches that all lead to a single point of light.
Check the edges before you press the shutter. A branch that leaves the frame and does not return reads as an accident, and so does a trunk cropped at the base, because the eye needs to know the tree is standing on something.
Set Focus and Camera Settings
Set ISO to its base value, usually 100 on a full-frame camera, and use single-point autofocus or manual focus rather than a wide area, so you decide exactly where the sharp plane sits. Meter for the subject, not the sky, and check the highlight warnings on the back of the camera before you shoot, because clipped leaf edges cannot be recovered in editing.
Use exposure compensation when metering is fooled by a bright sky behind a dark trunk, dialing down until the foliage is no longer flashing. Metering a dark subject against a bright background is the single most common exposure error with this subject, and the fix is usually two-thirds of a stop down.
Watch the wind. Leaves on a wide crown move constantly, and a slow shutter at a narrow aperture will give you a soft, half-blurred tree. Either speed the shutter until the leaves stop or accept the movement and expose for it. Shooting in a lull between gusts works better than anything else.
These starting settings cover most single tree photographs in daylight. Adjust the shutter to suit the light and the wind.
- Full tree with context: f/8 to f/11, ISO 100, 1/125 sec, 24 to 70mm, tripod optional.
- Trunk and bark detail: f/4 to f/5.6, ISO 100, 1/250 sec, 70 to 200mm, no tripod needed.
- Silhouette against sky: f/8 to f/16, ISO 100, any shutter, raise the speed if wires are near the frame, 70 to 200mm, tripod recommended.
- Backlit canopy: f/8 to f/11, ISO 100, 1/250 sec, 24 to 105mm, tripod optional.
- Fog and atmosphere: f/5.6 to f/8, ISO 100, 1/30 to 1/60 sec, 70 to 135mm, tripod recommended.
- Minimalist negative space: f/8 to f/11, ISO 100, 1/60 sec, 135 to 200mm, tripod recommended.
One note on focal length: at 24mm you can stand close and still get the whole tree, but a wide lens close to a trunk stretches the outer branches outward in a way that looks unnatural if you go too close. Back off and use a longer lens when the tree’s proportions matter more than the sense of height.
Make Several Versions and Review the Results
Shoot three frames from every position: the wide view that shows the tree in its setting, a medium view that fills more of the frame, and a detail of bark, a fork or a cluster of leaves. Reviewing how to photograph a single tree is half knowing which of those three is your actual picture.
On the camera screen, zoom in to 100 percent and check the focus at the base and at the canopy. A tree can be sharp at the trunk and soft at the top, and that is the most common way an otherwise good frame fails.
Check the histogram too. A silhouette is supposed to be dark, but leaf edges along the top of the frame should show some tone, not flat white.
Then edit lightly. Straighten a leaning horizon, crop with intent, pull the highlights down if the sky clipped, and add a little local contrast to the trunk so the texture reads. If you find yourself pushing further than that, the problem was the position or the light, not the file.
Common Mistakes
Cropping the top of the tree is the most common failure. The canopy is the subject, and cutting it leaves the viewer with a stub.
Centering without thinking is the second. A tree that leans or spreads asymmetrically placed in the middle of the frame wastes the shape that made it worth photographing. Offset it toward the open side.
Metering for a bright sky leaves the tree as a black mass. Meter for the foliage and check the warnings instead, or deliberately underexpose for a clean silhouette.
Stopping down too far softens a moving subject. f/22 is not automatically sharper when leaves are moving in the wind, and a lot of small apertures only add diffraction and shake.
Leaving clutter behind the trunk is fixable in ten seconds of walking. Power lines, a parked car and a bin are not part of your photograph, and no amount of editing fixes them as cleanly as stepping sideways.
Handholding a wide tree at 1/15 sec and wondering why it is not sharp. Either use the tripod or raise the shutter until the leaves stop moving.
Visiting once and leaving is the slowest mistake of all. A tree changes weekly, and the photograph you build a mental image of in the first ten minutes is rarely the one you end up with. Go back.
Frequently Asked Questions
What is the best time of day to photograph a single tree?
The hour after sunrise and the hour before sunset, when the sun sits low and its light arrives from the side or from behind the tree. That low angle rims the canopy, throws long shadows across the trunk and gives bark its texture. Midday sun flattens the tree from above. An overcast day is the other reliable window, because soft even light holds detail in the whole crown without harsh highlights.
Can I photograph a tree well with a smartphone?
Yes, and most single tree photographs are taken on a phone. Turn on the grid lines and place the trunk on a third line, tap the screen on the trunk to set focus, and use exposure compensation by dragging the sun icon down if the sky blows out. Avoid portrait mode for a full tree, since it blurs the canopy. A phone against a tree or wall beats a shaky two-handed hold.
Should the whole tree be in focus for a single-tree photo?
If the whole tree is your subject, yes. Stop down to f/8 or f/11 and focus about a third of the way into the canopy so the base and the crown are both sharp. If you are isolating the trunk or one branch, open up to f/4 or wider and let the background soften. Remember that a 24mm lens close to a tree gives shallower depth of field than a 70mm at the same framing.
How do I make a tree stand out from a busy background?
Move your feet first, because repositioning is free. Walk a full circle around the tree and look for tangencies, where a background branch lines up with yours or a fence post merges with the trunk. Then try a longer focal length, a lower camera height, and a different distance. If the background is still busy, wait for fog, snow or backlight, or shoot the tree against open sky rather than detail.
What camera settings work best for a large tree outdoors?
Start at ISO 100, f/8 to f/11 for a sharp whole tree, and a 24 to 70mm lens from far enough back to fit the canopy. Use a tripod whenever you are stopping down at f/11, shooting fog, or working in low light. Meter for the foliage rather than the sky, and dial in negative exposure compensation if the brightest leaves start flashing.
Should I photograph the same tree in different seasons?
Yes, and it is the easiest way to build a body of work without travelling. Return to the same spot on the same lens and the same height: bare branches in winter, blossom in spring, full green canopy in summer, autumn colour in the fall. The series documents change as much as trees, and a subject you have photographed before is far easier to frame well than a new one.
Conclusion
Pick one tree today. Walk around it, find the side where the background is cleanest, wait for light that comes from the side or behind, take the wide frame, and only then move in for the bark. Do that once a month through the year and you will have a set instead of a snapshot.