To photograph a home cooked meal well you need three things: soft light, a clean surface and about five minutes. Put the dish beside a window rather than under a ceiling bulb, shoot from an angle that suits the shape of the food, add two props at most, and correct the white balance before anything else. That is the whole method, and none of it needs gear you do not already own. It is the process I fall back on in 2026 when dinner lands on the table and everyone is already calling from the other room.
The gap between a phone photo that looks like food and one that looks like a meal is rarely the camera. It is usually yellow kitchen light, a cluttered table, and a plate shot from an angle that hides the food instead of showing it. Fix those and the picture improves more than any settings change will.
Table of Contents
- What You Need
- How to Photograph a Home Cooked Meal Step by Step
- Prepare the Meal and the Photographing Area
- Use Natural Light or One Simple Light Source
- Style the Meal for a Natural Look
- Frame the Meal and Choose Camera Settings
- Capture Movement Without Help
- How to Photograph a Home Cooked Meal in Three Shots
- Recovering a Shot After the Food Goes Cold
- Common Mistakes
- Frequently Asked Questions
- Can I photograph a home cooked meal with just my phone?
- How do I photograph a meal without natural light?
- Should I use plates and props that match my kitchen?
- How do I keep food looking fresh while taking photos?
- What is the best angle for photographing a home cooked meal?
- How much editing does a food photo need?
- Conclusion
What You Need
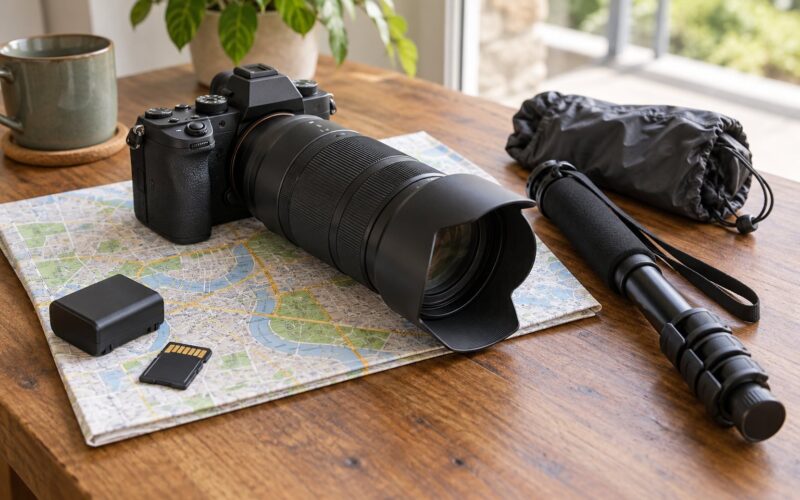
The equipment list for photographing dinner at home is short enough that you can assemble it before the food is finished cooking.
- A phone or any camera with manual controls. A recent smartphone is genuinely enough. Manual mode is a bonus, not a requirement.
- A window with soft daylight. North or east-facing windows give even light all morning and afternoon. Direct sun is harder to control but usable through a sheer curtain.
- A clear table or a sheet of plain paper. A neutral surface removes most background clutter without buying anything.
- A white card, a sheet of paper or a piece of foil. This is your bounce card. It fills the shadow side of the dish and it costs nothing.
- A neutral cloth. A linen napkin or tea towel breaks up a plain table and gives the plate something to sit against.
- A small prop set. The fork you ate with, the spoon you served from, the raw ingredient you started with. Those read better than anything bought for a photo.
A tripod is useful for overhead and pour shots but it is not a requirement. A stack of books at the right height works nearly as well, and bracing the phone against a mug is enough for a still plate.
How to Photograph a Home Cooked Meal Step by Step
The sequence below follows the order that actually matters, because hot food and fading daylight will not wait for you to fiddle with a menu.
Prepare the Meal and the Photographing Area
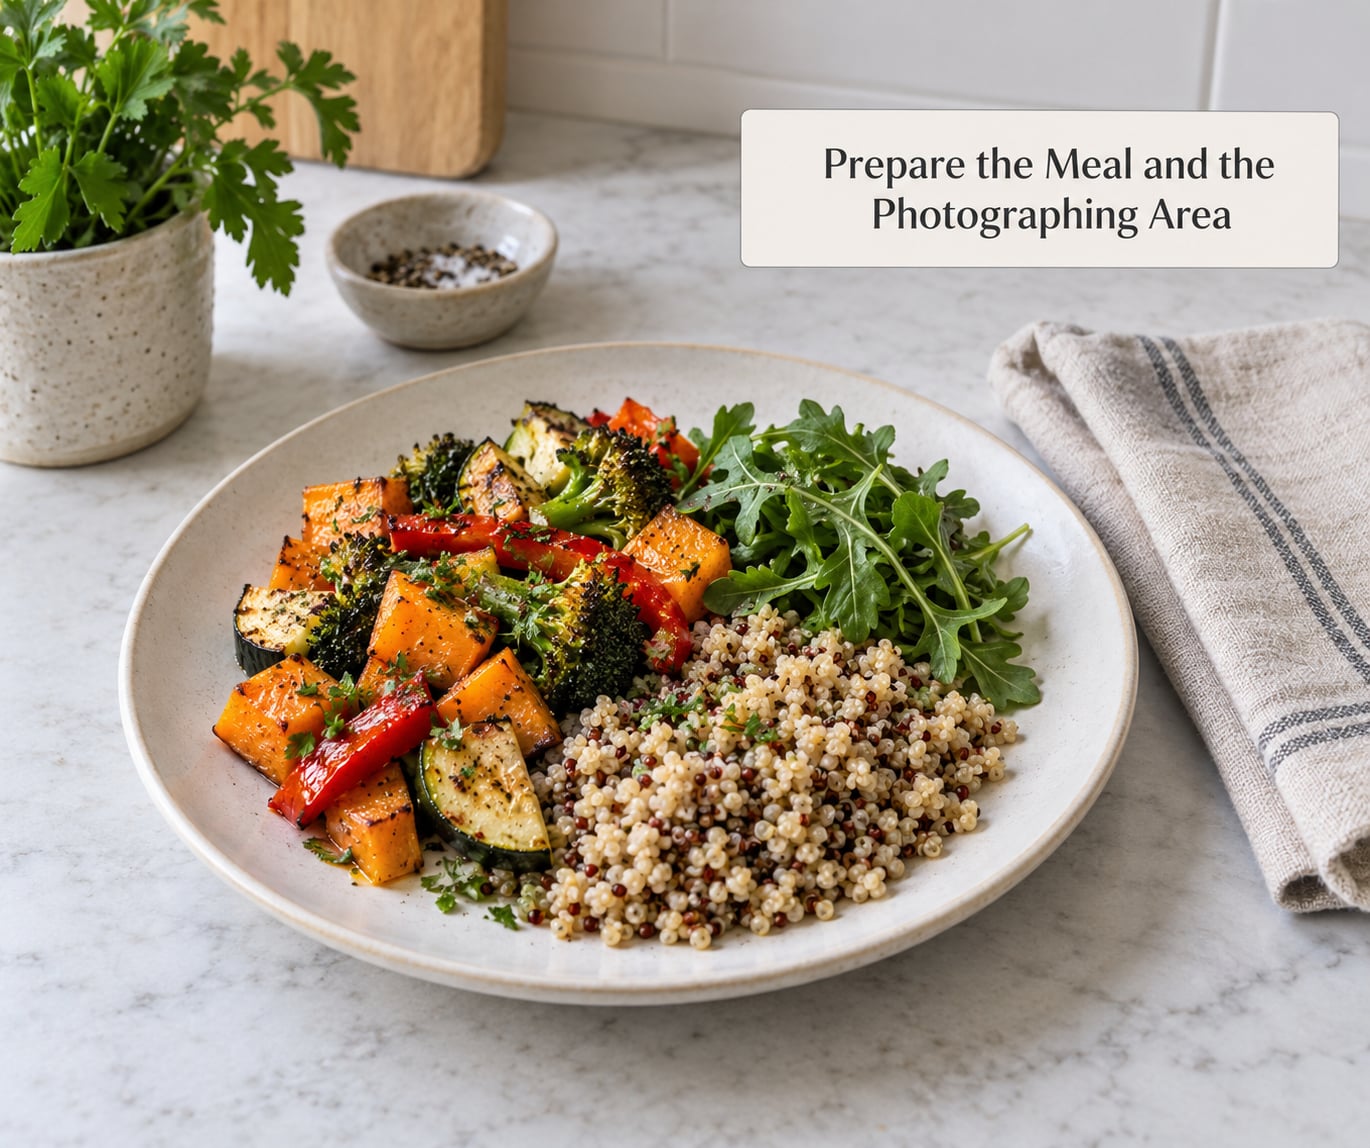
Finish cooking, then give yourself a hard five-minute staging window before anyone sits down. Wipe the rim of the plate, spoon the food onto the hot plate rather than the cold one, and move the whole dish to the clear table immediately.
Food safety matters here. Poultry should reach 165°F / 74°C internally, ground meat 160°F / 71°C, and whole cuts or fish 145°F / 63°C. If you must hold the dish while you set up, keep it in the oven above 140°F / 60°C or return it to the fridge, and never leave a perishable dish sitting on a warm counter for the length of a photo session.
While the food rests, put your props within reach so you are not walking around the kitchen mid-shoot. Wipe smudges off glasses and bowls now, because a fingerprint reads much larger in a close frame than it does on the table.
Use Natural Light or One Simple Light Source
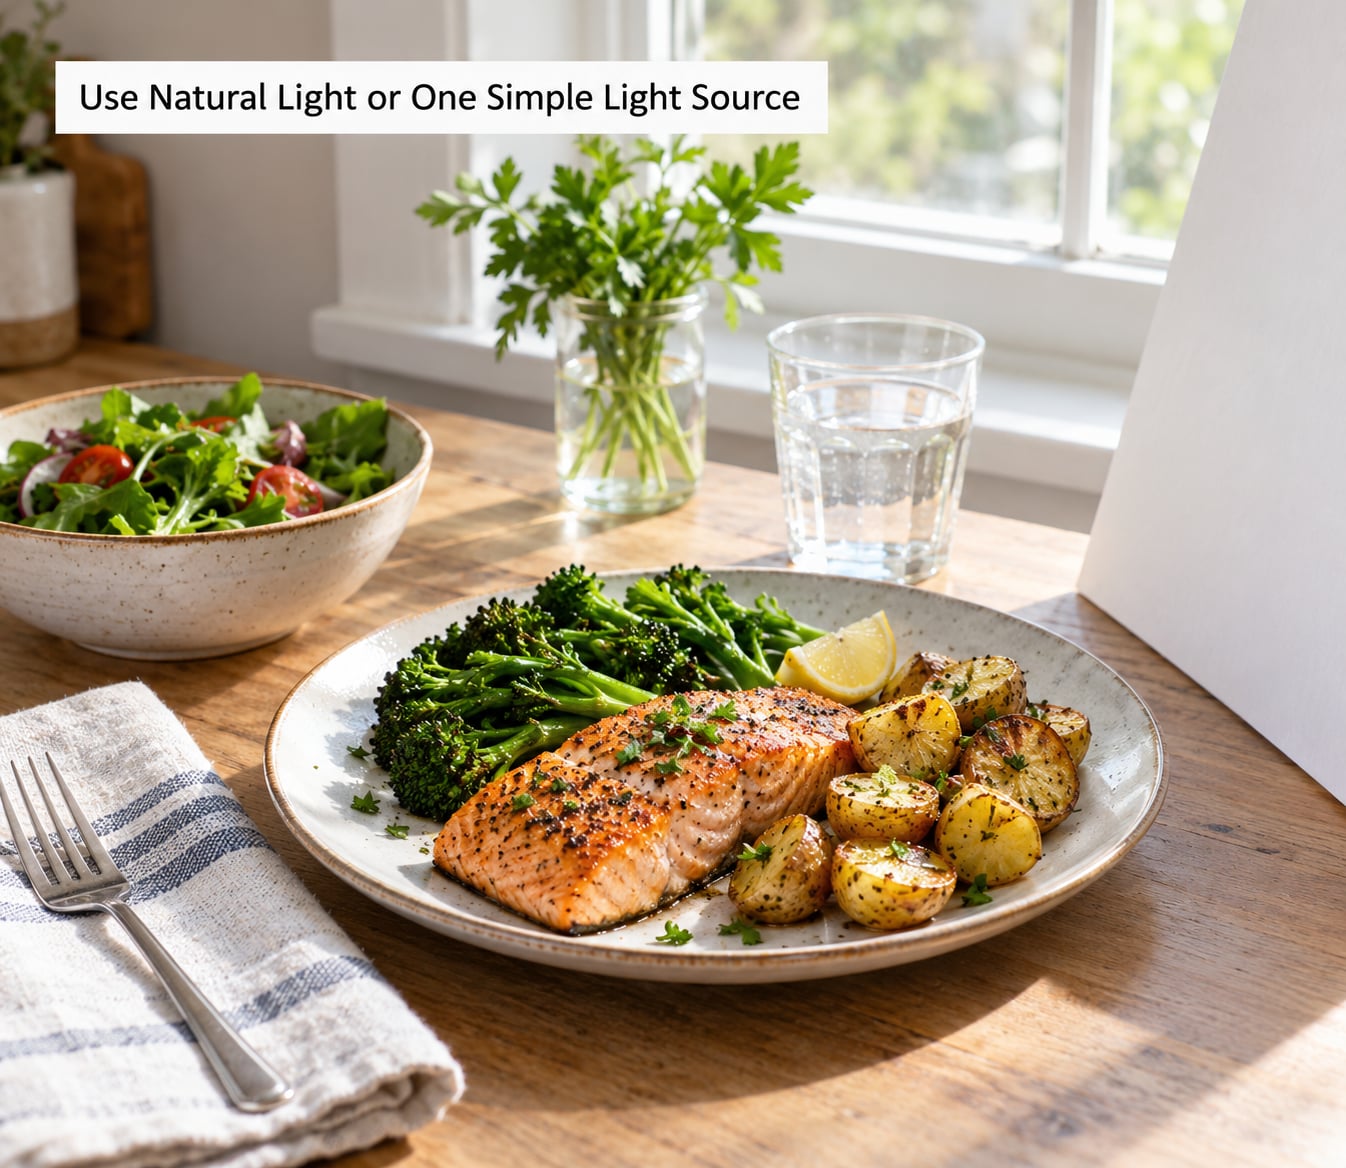
Put the dish beside the window, not under it. Placing the plate with its closest side toward the glass gives soft light across the whole surface. Placing it opposite the window, with the glass behind or behind the camera’s shoulder, gives harder directional light and stronger shadows, which suits heavily textured food like grilled bread or a stew with a crust.
Stand the plate within a few feet of the window rather than across the room. Photographers repeatedly give the same advice: move the food toward the light, not the other way round. Turn off the ceiling bulb, because mixing warm overhead light with daylight gives you two colours in one frame.
For a softer look, hang a sheer curtain or a white sheet over the glass. For a shadow you want to keep, block stray light with black card or a folded piece of cardboard.
If you are shooting in the evening with no daylight at all, one lamp is enough. Put a single soft lamp about 45 degrees to the plate and a little above it, bounce the return off a white sheet of paper, and keep every other light in the room switched off so the white balance has only one colour to correct.
Style the Meal for a Natural Look
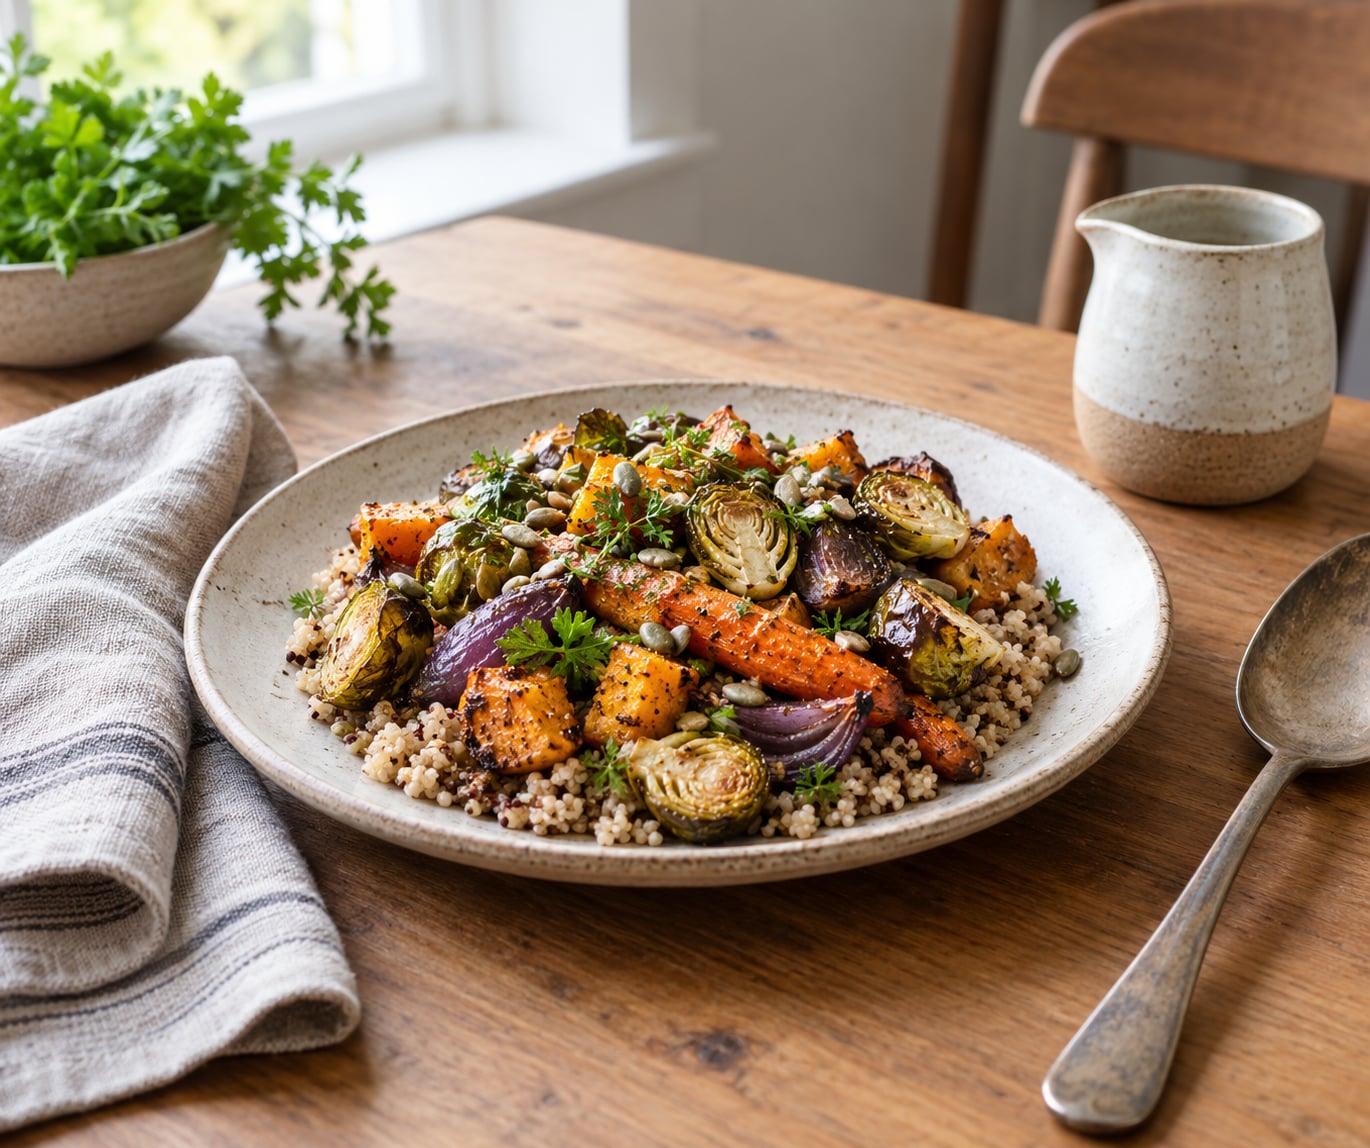
A real dinner rarely needs rescuing, but it does need arranging. Use odd numbers, vary heights and leave some breathing room.
- Odd numbers. Three pieces of garnish or two spoons beat a symmetrical row of four every time.
- Varied heights. Stand the serving spoon in a small jug or lean a glass on a folded cloth so the frame is not one flat plane.
- Negative space. Leave one side of the plate emptier than the other and put your napkin there.
- Visible texture. Torn herbs, a crumb of cheese against a dark plate, the grain in a rice dish. Texture is what makes viewers reach for the dish.
- Two props, three at most. The serving spoon, a linen napkin, and one ingredient from the dish itself.
Only add what belongs to the meal. A wooden board under a soup bowl lifts the composition without buying a riser, and a small smear of sauce or a few drops of oil on the surface restores the gloss that a hot dish naturally has.
Frame the Meal and Choose Camera Settings
Match the angle to the shape of the food, then hold the camera steady rather than reaching for complicated settings.
| Dish | Angle that works | Why |
|---|---|---|
| Pizza, flat lays, pastry | Overhead | Shows the shape and the cut of the whole thing |
| Salad, grains, a shared platter | Overhead or 45 degrees | Overhead flattens it; 45 degrees gives depth |
| Stacked burger, layered cake | Eye level | The layers are the story and a side view shows them |
| Soup, stew, risotto | 45 degrees | Shows depth in the bowl plus steam and surface texture |
| Plated dinner, pasta | 45 degrees | The most forgiving angle for a home plate |
| Roast meat, tall plated dish | 45 degrees, slightly lower | Keeps height in frame without tipping the horizon |
For an overhead shot, hold the camera exactly parallel to the table or the plate becomes a trapezoid. Turn on the grid lines and use them to centre the plate rather than eyeballing it.
Start with normal exposure and let the device decide, then work from there. Anything the dish is doing should stay sharp, so use the widest aperture your camera offers if you have manual control. If you want to freeze a pour or a falling crumb, the working baseline is around 1/125 sec and ISO 400 to 800, with the camera on something solid rather than in your hands.
On a phone, clean the lens first, tap the dish to lock focus and exposure, stay out of digital zoom, and brace the phone against a stack of books for overhead frames. Portrait mode adds background blur, which is often too much for a busy table, so try it and check the edges before you rely on it.
Capture Movement Without Help
A pour, a scattering of herbs or a curl of steam is the one shot most home photos miss, because every tutorial assumes someone standing there holding the jug. You can do it alone in three ways: use the self-timer and press the shutter before you step into frame, hold down burst or continuous mode and move your hand once the shot starts, or trigger the camera from a distance with a remote or the manufacturer’s Wi-Fi app.
Whichever way you fire it, the shutter speed has to carry the motion. Around 1/125 sec at ISO 400 to 800 is a workable baseline for a steady pour; go faster for a fast drizzle and expect to raise ISO in exchange. Support matters more than usual here, because a wobbling camera ruins an otherwise clean frame.
Do a test pour into a bowl off to one side before the real one. Liquid has to be the right consistency to read on camera, so thin a sauce that is too thick with a little hot water and warm a thin one so it pours instead of dribbling. Ten seconds of checking beats twenty retries.
How to Photograph a Home Cooked Meal in Three Shots
Shoot a wide frame first to show the whole table, then move in for a detail, then take one overhead. Review each frame before you eat, because a cold dish cannot be fixed by reshooting it.
Look for four things: exposure that is not clipping the highlights on a glossy sauce, white balance that has not gone yellow, steam or gloss that still reads, and background objects you did not notice until the shot was framed. Also check crumbs on the plate edge, smudges on a glass, and a fork that has been left at an odd angle.
Make one change at a time and take the frame again. The usual winner is moving the plate two inches closer to the window, not adjusting a setting.
Recovering a Shot After the Food Goes Cold
If the meal has already sat out and the steam has stopped, do not throw the session away. Mist a spray bottle from behind and slightly above the dish, then shoot immediately, before the fine droplets fade. A pastry brush loaded with water or a thin glaze gives dry food a fresher surface. Warming the plate for a minute restores gloss on a sauce that has gone matte, and a light pass with the back of a spoon moves pooled juices back across the surface.
Lower the ambition instead. Cold food photographed honestly, with the browning and the texture it actually has, is better than a warm-looking frame that no one believes.
Common Mistakes
Almost every disappointing dinner photo comes from one of the same handful of errors.
- Shooting under the ceiling bulb. Kitchen bulbs are warm, hard and usually the only light in the room. Switch it off and use the window or a single lamp at 45 degrees.
- Leaving the white balance uncorrected. Correct white balance first, before exposure and before contrast. It is the single fastest fix for dull, yellow food.
- Photographing the food after it has cooled. Steam, gloss and texture fade in minutes. Shoot the wide frame as soon as the plate is down, then take your time with the detail shots.
- Crowding the plate. More props do not make a meal look more appetising. Two deliberate objects beat a full table of clutter.
- A busy background. Move the plate, turn it away from the room, or put a plain sheet of paper behind it. Cropping is a fallback, not a fix.
- An awkward angle. An overhead shot of a tall dish or an eye-level shot of a flat one hides the food. Check the table above and choose again.
- Direct midday sun through the window. It creates hard-edged shadows and blown highlights on glossy food. Diffuse it with a sheer curtain.
- Filters that change the colour of the dish. Heavy food filters push warm dishes toward orange and cool dishes toward green. Shoot neutral and add warmth in editing instead.
- Buying a camera before learning the controls. More megapixels do not rescue a badly lit plate. A phone used well beats an expensive camera used badly.
Photographing the table while the meal is still hot, then shooting your best single frame first and the extras afterwards, is the habit that fixes most of these at once. Keep a phone tripod or a small reflector within reach of wherever you cook and the whole job becomes five minutes instead of twenty.
Frequently Asked Questions
Can I photograph a home cooked meal with just my phone?
Yes. A recent phone camera handles a well-lit plate better than most people expect. Clean the lens, tap the dish to lock focus and exposure, avoid digital zoom, and turn on the grid lines so the plate sits straight. Shoot in the highest quality mode your phone offers and edit the white balance first. The limits are low-light noise and shallow background blur, neither of which matters much for a dish beside a window.
How do I photograph a meal without natural light?
Use one lamp and turn off everything else. Place a soft lamp about 45 degrees above and to one side of the plate, bounce the fill off white paper or foil from the kitchen drawer, and cover any other bulb you were using. Mixed colours are what make evening food photos look muddy, so a single source at a single distance fixes most of it.
Should I use plates and props that match my kitchen?
Neutral is safer than matching. White, cream or matte stone plates suit most dishes because they let the colour of the food carry the frame, while busy patterns compete with texture and garnish. Props from your own kitchen, such as the serving spoon, a linen napkin or the ingredient you cooked with, look more natural than bought props. Choose two or three and put them to work.
How do I keep food looking fresh while taking photos?
Shoot the wide establishing frame the moment the plate is down, then take detail shots from there. Keep hot dishes in a warm oven rather than on the counter, and limit the session to a few minutes before anyone eats. If the food has already cooled, mist it from a spray bottle behind and slightly above the dish and shoot immediately, since the droplets disappear within seconds.
What is the best angle for photographing a home cooked meal?
Forty-five degrees is the most forgiving angle because it shows both the top surface and the depth of the bowl or plate. Overhead works best for flat, shaped dishes such as pizza, pastry or a shared platter. Eye level earns its place for stacked or layered food, where the height is the point. If a home setup is too small or too cluttered for a side angle, shoot overhead.
How much editing does a food photo need?
Most of it needs fixing, not restyling. Start with white balance, then exposure, then a modest contrast lift and a small increase in vibrance. Free mobile apps such as Snapseed and Lightroom Mobile cover all four. Resist heavy saturation and warm filters, since they turn ordinary food orange. If the correction stack runs past a couple of minutes, the problem was the lighting and is better solved at the window than on the screen.
Conclusion
Start with the simplest possible action. Finish the meal, clear the nearest surface, turn the dish toward a window, and take one overhead frame on your phone before you add a single prop or open an editing app. From there, add one prop at a time, correct the white balance, and take two more frames from 45 degrees and at eye level.
The photographs people remember from a home kitchen come down to clear light, restrained styling and a few deliberate variations rather than expensive equipment. Photograph your actual dinner, browning and all, and it will look like something worth cooking again.