Knowing how to photograph a parade comes down to two habits: scout the route and claim a vantage point before the first entry rolls around, then set your camera for movement with a shutter speed between 1/250s and 1/500s, continuous autofocus, and a mix of wide, medium and tight framing. Shoot short bursts, never stop to check the screen, and accept that half your frames will not be usable.
A parade is the least forgiving subject in photography. Everything moves, you cannot ask for a second take, the light changes every thirty seconds as a float rolls from sun into shade, and a stranger’s elbow lands in your back just as the colour guard reaches the corner.
What separates a usable parade album from a folder of blurry frames is almost entirely preparation. Below is the eight-step workflow I use, in the order it happens, from checking the route map the week before to backing up files that night.
Table of Contents
- What You Need
- How to Photograph a Parade Step by Step
- 1. Check the Route and Schedule
- 2. Scout Your Position
- 3. Prepare the Camera for Hours Outdoors
- 4. Choose Settings for Movement and Light
- 5. Frame for More Than the Passing Moment
- 6. Photograph the Parade in Motion
- 7. Protect Your Shot When Conditions Change
- 8. Review, Organize, and Back Up Your Images
- Common Mistakes
- Frequently Asked Questions
- What lens is best for photographing a parade?
- What camera settings work best for a parade in bright daylight?
- Can I photograph a parade with a smartphone?
- How do I keep subjects sharp while they are moving?
- Where should I stand to get a clear view of a parade?
- How do I fix a parade photo with motion blur?
- Conclusion
What You Need
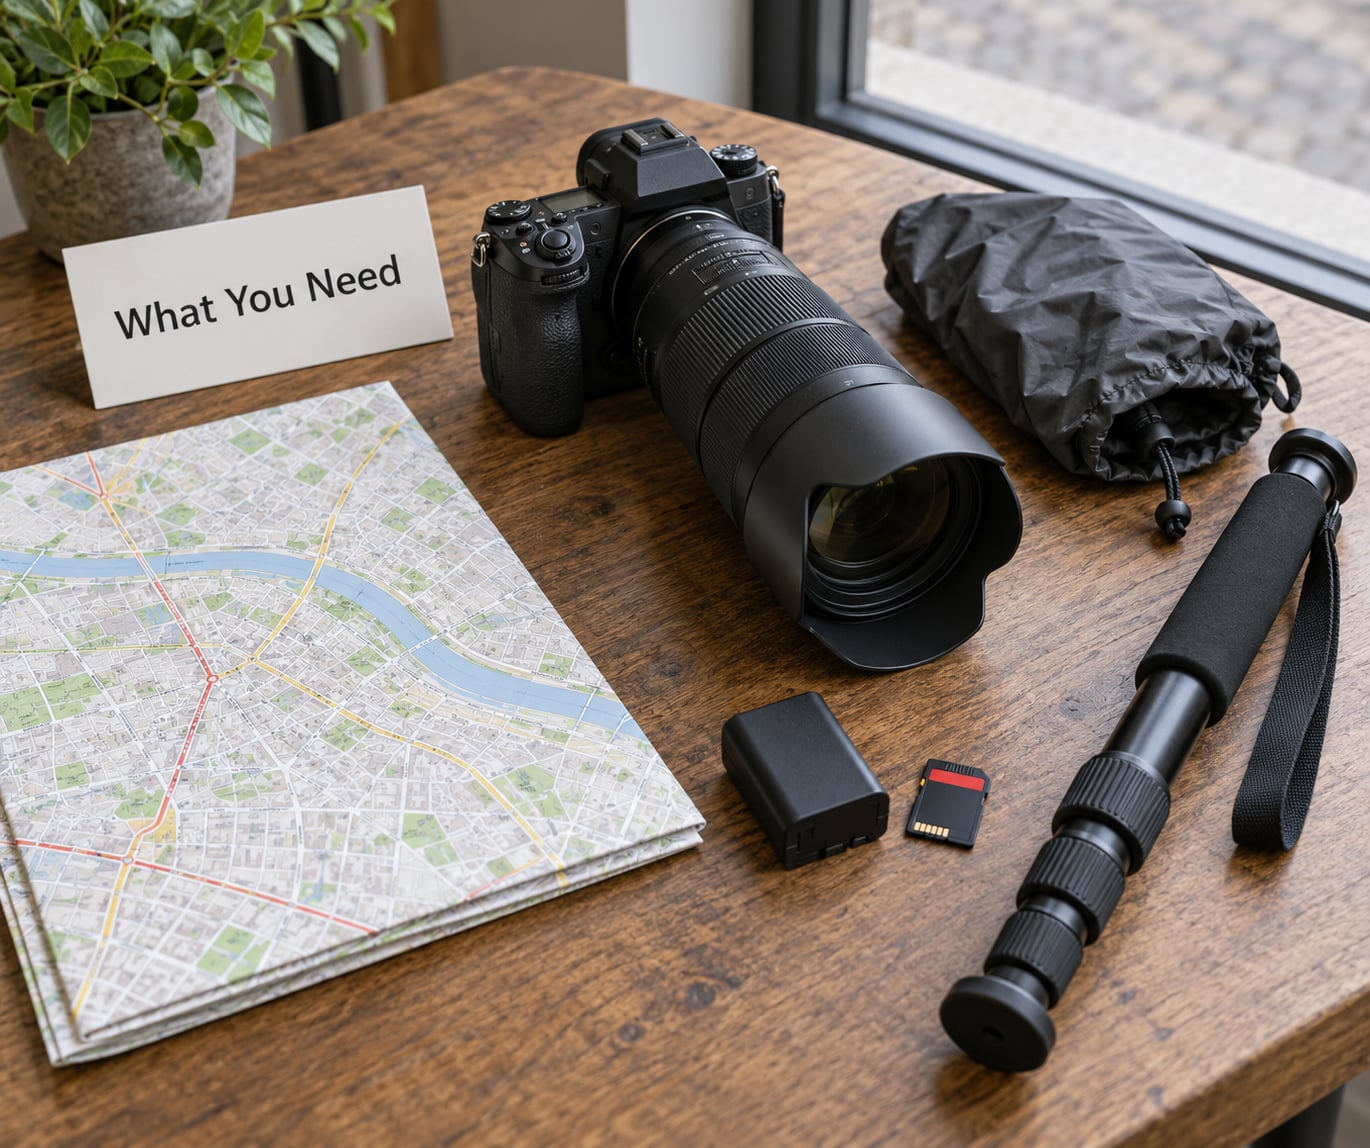
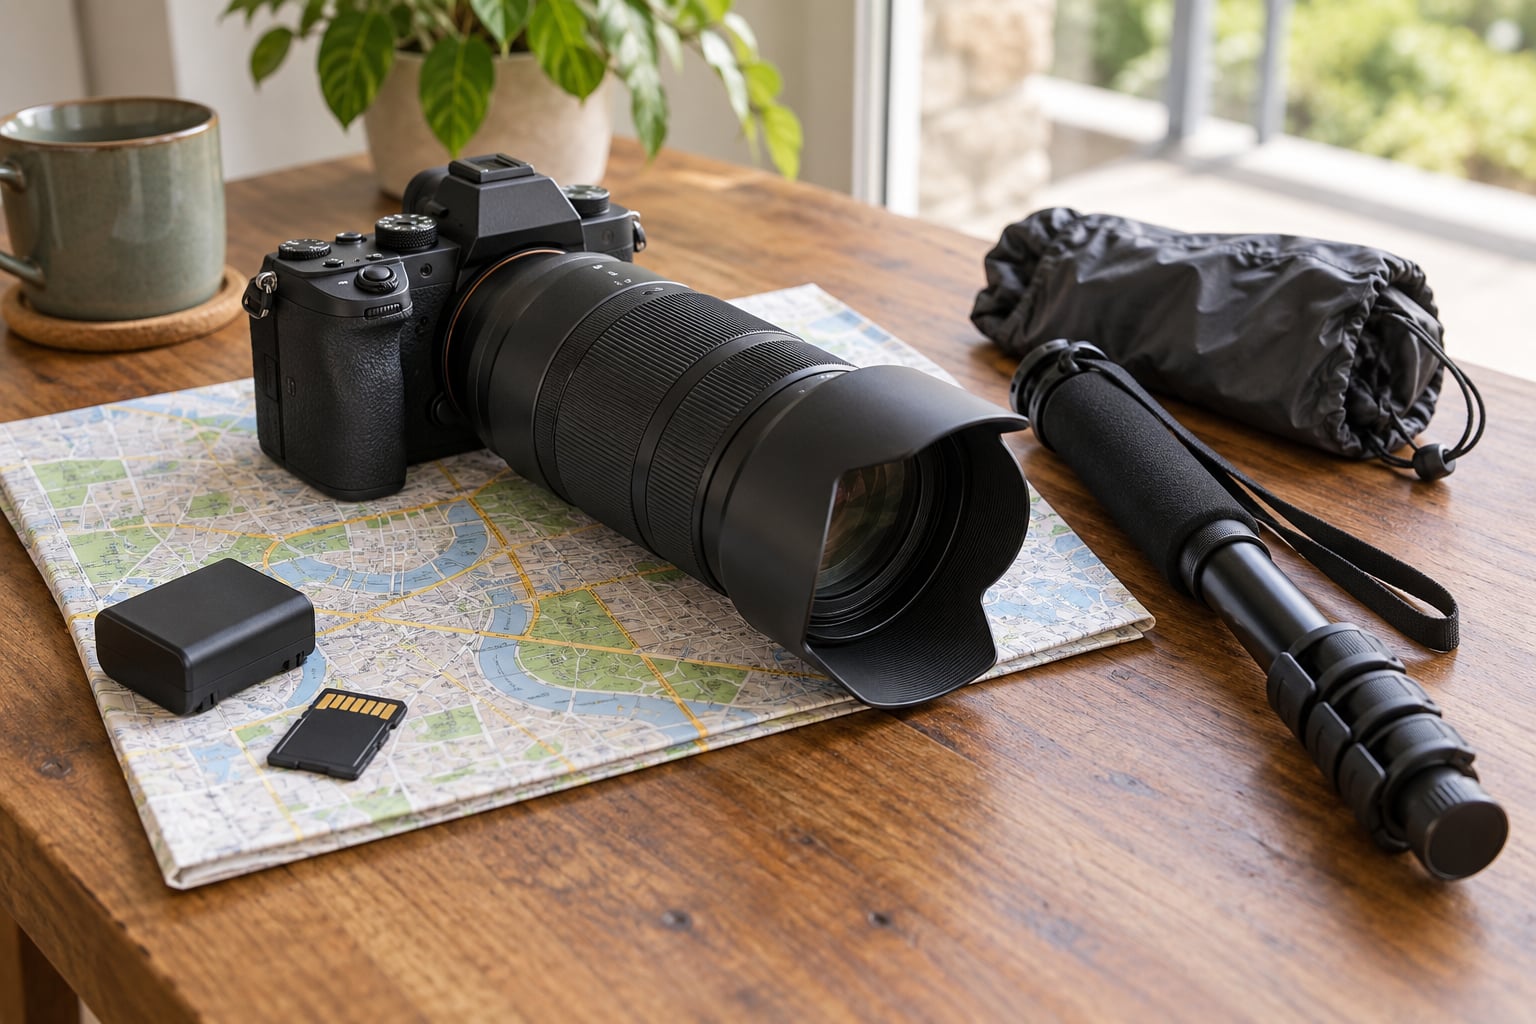
Bring a camera with a usable autofocus and a zoom that reaches roughly 70-200mm equivalent. That range covers everything: the wide end gets the whole float with the street, the long end isolates one face or one baton twirler.
A monopod earns its place in a crowd where a tripod does not. It steadies a 200mm lens, it fits through people without sprawling legs someone trips over, and one hand stays on the grip so nobody can shoulder-check you out of your shot.
Also in the bag: two spare batteries, a card reader, a microfibre cloth, a rain cover or a large plastic bag for the body, and a small bottle of water. Batteries matter more than the camera’s megapixel count. Cold mornings and constant burst shooting drain them fast, and the parade will still be halfway down Main Street when your first one dies.
For memory cards, do the maths honestly. A 24-megapixel RAW frame runs about 50-60MB, so a 64GB card holds roughly a thousand frames. An hour of steady bursts will fill it. Bring two, format the second at home, and if your camera writes to two slots, set it up to split the files across both.
Wear broken-in shoes and layers you can shed. You will be standing still for three hours and then walking a quarter mile to catch up with the tail end, and wet cobblestone in flat shoes is a miserable way to finish a good shoot.
How to Photograph a Parade Step by Step
1. Check the Route and Schedule
Find the route map, the start time and the posted order of entries. Parades publish these through the local council, the parade committee or the tourism office, and the unit list is more useful than it sounds, because the marching band that arrives at minute forty gives you time to walk ahead to the next corner.
Note the road closures too. Closures start earlier than the parade itself, which is your window to drive to a spot and park near it. If you arrive after the closure, expect to walk a long way with gear on your back.
Check the viewing rules on the same page. Some parades ban photography from the street entirely, some require you to stay on the pavement, and some have a marshal-controlled crossing point mid-route that lets you reposition once. That one crossing is worth planning around.
2. Scout Your Position
Corners are the best seat in any parade. Entries slow to turn, they bunch up, and the light angle changes as they round the bend, which means one spot gives you three different looks in a couple of minutes.
Second choice is a side street the parade crosses, where you can stand back far enough to get the whole float in frame instead of a cropped nose. Third is anywhere with a slight rise: a stoop, a plaza step, a low wall. Elevation compresses the line of entries into layers and tells the viewer how long the parade is.
Then work out where the sun will be. Note the compass direction the parade travels and note the sun’s position for the hour you plan to shoot. You want the sun behind or beside the entries, never straight into your lens, so the people on the float are not squinting and the light separates them from the background.
Finally, stand in the spot for five minutes before the parade starts. Look at what is behind your subject: a fire hydrant, a bus shelter, a tangle of power lines. A clean background matters more than a long lens, and you cannot fix a cluttered one in editing. Keep an exit path, too. If you are boxed in at the front with a hundred people, you will not get a single extra frame when something great happens.
3. Prepare the Camera for Hours Outdoors
Set everything up while you are still at home. Work out your settings for the expected light, find them on the dial, and store the whole combination in one custom mode or one memory slot. On the road you should be able to raise the camera and shoot within two seconds, not hunt through menus while the band passes you.
Switch to continuous autofocus before you leave the house, not when the first float appears. On most cameras that is AI Servo, AF-C or Servo AF, depending on the brand. Also set the drive mode to high-speed burst, roughly 5 to 10 frames per second.
Format the card in the camera, not on your computer, so the file numbering starts clean. Give the lens front element a wipe with a cloth, and check that you are not shooting through a dirty filter or a smudged phone screen, because parade shots are exactly the kind where you end up cropping in hard.
If rain is forecast, put the body in a cover before the first drop. Water on the front element ruins frames, and the parade will not pause for you.
4. Choose Settings for Movement and Light
Shutter speed is the setting that decides whether a moving subject is sharp. For general parade action, 1/250s to 1/500s is the working range: fast enough to hold a walking marcher, slow enough to let in more light. Push to 1/1000s for baton twirlers, drum line sticks, horses and anything throwing confetti toward you.
Below 1/125s, moving subjects smear. That is not a flaw you fix afterwards, it is information the sensor never captured, and it cannot be recovered by sharpening.
The trade-off everyone struggles with at night is speed against noise. Raising ISO keeps the shutter fast but adds grain; dropping the shutter lowers grain but adds blur. For most night parade frames, stay at or near 1/125s, open the aperture wide, and push ISO to 1600 or 3200 rather than slowing down. A slightly grainy sharp frame beats a clean blurry one every time.
Use these as starting points, then adjust for the light in front of you.
| Light condition | Shutter | Aperture | ISO | Autofocus |
|---|---|---|---|---|
| Bright sun | 1/500s | f/8 | 100-200 | AF-C with wide/zone area |
| Overcast or open shade | 1/250s | f/4 | 400-800 | AF-C, tracking |
| Golden hour, low sun | 1/250s | f/5.6 | 200-400 | AF-C with subject tracking |
| Night parade with lit floats | 1/125s | f/2.8 | 1600-3200 | AF-C, larger area box |
| Fireworks or parade of lights | 2-15s on a monopod | f/8 | 100-200 | Manual focus at infinity |
One more exposure habit saves frames: check highlights, not shadows. The sky above a parade is the brightest thing in most frames, and if it is clipping you are losing the costume detail and the float trim. Add minus one to minus two stops of exposure compensation when the sky dominates, and accept a darker street in exchange.
If your camera has auto ISO, pair it with shutter priority mode and a floor and ceiling you trust. That combination gives you a correct shutter speed in changing light with no dial work at all, which is worth more than the small control you give up.
5. Frame for More Than the Passing Moment
Leave room in the direction the subject is travelling. A marcher walking frame left with no space ahead looks trapped; the same marcher framed with a metre of street in front of them looks like they are going somewhere.
Shoot the same float three ways. Get a wide that shows the float in its street with spectators for scale, a medium that isolates the group on the float, and a tight that catches one face or one pair of hands. That is a small complete story instead of one frame of a truck-shaped gap in a crowd.
Watch your edges. A tight shot that crops a float’s legs in half reads as a mistake, and a tight shot that crops the front performer out of a two-person tableau loses the moment entirely. Zoom in a little further than feels right, then pull back.
Photograph the spectators too. A kid on a parent’s shoulders waving at a rider, or someone on a step craning for a view, tells you what the parade meant to the people watching it. Those frames are usually the ones you keep years later.
6. Photograph the Parade in Motion
Keep both eyes open and your left eye on the action while your right eye tracks through the viewfinder. The instinct to check the back of the camera after every burst costs you far more good frames than out-of-focus ones do.
Use short bursts of three to five frames, not continuous fire for ten seconds. You get several chances at the peak of the action and a fraction of the near-identical duplicates that make cicking through the evening miserable.
Autofocus tracking wants a subject it can hold. When a marcher passes behind a pole or another person’s head, the camera will hunt and the frames in that gap are lost. Watch for gaps in the crowd and fire into them.
When you want to show movement rather than freeze it, pan. Follow the subject with the camera, move with it, and press the shutter while still moving. The subject stays reasonably sharp while the background streaks, which is far more convincing than a slow shutter pointed at a static camera, where the whole frame smears equally. If your lens has stabilisation with multiple modes, choose the panning mode that stabilises horizontally only, otherwise the lens fights your movement.
7. Protect Your Shot When Conditions Change
A float rolling from full sun into building shade can drop two stops in a second, and a camera metered to the sunny street will expose that shadowed float like a silhouette. Watch the histogram and pull compensation down as the subject enters shade, rather than waiting for the metering to catch up.
Light rain and dust are the other two things that end a shoot. A rain cover costs nothing and keeps water off the front element; if you have none, a large plastic bag over the body with a hole cut for the lens works better than nothing. Dust and confetti get wiped off a dry lens immediately, because every frame after that is progressively softer.
Camera shake in a dense crowd is a physical problem, not a settings problem. Brace your elbow into your ribs, or against a wall, lamppost or fire hydrant. Ask a friend to stand between you and the push of the crowd. Take your weight on both feet.
When your battery is down to its last bar and the tail end of the parade is still two blocks away, stop shooting bursts. Single frames, save the card, and spend what you have left on the entries you travelled furthest to see.
And get one frame in the safe settings early in every sequence. Not the clever one, just a clean, correctly exposed, in-focus shot at 1/250s and f/5.6. If everything after it falls apart, you still walk away with a usable picture of the parade rather than nothing.
8. Review, Organize, and Back Up Your Images
The parade itself is the shortest part of the day. Before it, entries are lined up in the staging area or on the side street, decorated but static, lit by flat light and free of the crowd. That is when you shoot the hero images: the float with the best paintwork, the banner with a legible detail, a horse that is standing still and looking at you.
After the last entry passes, volunteers are stripping the street, and the parade comes down off the truck. Those frames close the story and nobody else bothers to shoot them.
That night, cull before you edit. Look for sharp eyes, a subject that is not half hidden behind a head, and frames with breathing room in the right direction. Check each keeper at full size for focus and clipped highlights, then crop or convert to black and white where a frame has flattened out in shade or turned into colour chaos.
Do not reformat the card until the files exist somewhere else. Offload to a laptop and an external drive, confirm the file count matches, then format. A parade day you cannot back up is a parade day you will be quietly upset about a year from now.
Common Mistakes
Starting at 1/60s and hoping. Below 1/125s, walking subjects blur and no edit brings the detail back. Raise the shutter, open the aperture, raise ISO.
Standing in the route. Marshals will move you mid-sequence, and you will lose the shot you were waiting for. Stay on the pavement or wherever the official map says spectators belong.
Leaving autofocus in single-shot mode. Single AF locks once and stops. If the camera is set that way when a float arrives, you get a whole card of sharp backgrounds and soft people. AF-C is the default for anything moving.
Metering off the sky. A bright sky over a shaded float will blow the float out. Check highlights and drop compensation until the sky is no longer pure white.
Bringing one card. A thousand frames is about an hour of steady bursts at 24MP RAW. Bring a second, and format it before you leave.
Chimming. Looking at the screen after every burst means watching the parade with your back to it. Check the screen when the band is out of earshot.
Firing on-camera flash at a night parade. The range is far shorter than the distance to the first float, it drains the battery, and it puts a hard shadow on a scene that floodlights already handle well. If you want flash, use it low-power as fill at close range, or leave it off.
Frequently Asked Questions
What lens is best for photographing a parade?
A 70-200mm equivalent zoom covers almost every parade situation. The wide end gives you the whole float in its street, the long end gives you a single face or a twirling baton, and you can change framing without moving through a packed crowd. If you only own one lens, that range is more useful than a prime. A 50mm or 85mm is workable at close parades but leaves you too far away for tight, emotive frames at most route lengths.
What camera settings work best for a parade in bright daylight?
Start at 1/500s, f/8, ISO 100 in open sun and let continuous autofocus (AI Servo or AF-C) track the entries. Drop to 1/250s when you move into open shade or the light turns overcast, since that costs you a stop of light but still freezes a walking subject. Check highlights rather than shadows, because a parade sky clips first and takes the float detail with it.
Can I photograph a parade with a smartphone?
Yes. Use the fastest shutter your phone offers, tap the entry to lock focus and exposure, then reduce exposure slightly so the sky does not clip. Burst mode gives you a handful of frames per pass. You will not match a dedicated camera for panning or low light, but for wide shots of the route and colour-dressed street scenes a phone is genuinely enough.
How do I keep subjects sharp while they are moving?
Three things together: a fast shutter (1/250s or faster, 1/1000s for fast action), continuous autofocus, and a clear line to the subject. Shoot short bursts as the subject reaches its peak so you get several chances at the moment. If you are consistently losing focus at long focal lengths, step physically closer and use a shorter lens rather than pushing the zoom further.
Where should I stand to get a clear view of a parade?
Corners first. Entries slow and bunch as they turn, which gives you more time and more angles than a straight stretch of pavement. Side streets where the route crosses give you room to fit a whole float in frame. Look for a slight rise, and check what sits behind your subject before the parade arrives. Arrive an hour early if you want the pick of these spots.
How do I fix a parade photo with motion blur?
Usually you cannot. Blur from subject movement happens because the light was too low for the speed you needed, and that detail was never recorded. You can crop salvaged frames, apply moderate noise reduction on high-ISO night shots, or recover some clipped highlights, but sharpening a blurred frame only exaggerates it. The fix happens at the camera, not in the editor.
Conclusion
If you only do one thing before a parade, spend the hour before it standing in the position you plan to shoot from, sun direction included. Everything else on this list is recoverable from a settings mistake, but the vantage point is gone the moment someone else takes it.
Then: set the camera for movement before you leave home, take one safe frame at the start of each sequence, and shoot a mixture of wide, close and detail frames the whole way along. Back the files up that night. 2026