To photograph a window display without reflections, move off the straight-on angle first, get the front of the lens as close to the glass as you can, and set your exposure for the lit interior rather than for the pavement. Those three moves solve most of the problem before you touch any settings. This guide covers photographing a shop or store window display — the mannequins, props and lettering behind the glass — not DIY window picture displays or stock photography.
Glass is the hard part. It bounces a slice of your street back at you, and it also throws the brightest part of the frame at your meter. Most bad window display photos are not focus failures or bad cameras. They are angle failures.
The method below is what I use on a small mirrorless body with a kit zoom, and it works just as well on a phone with a little more care. Budget about ten minutes per display once you know the sequence.
Table of Contents
- What You Need for Photographing a Window Display
- What if you only have a phone?
- Step-by-Step
- 1. Inspect the display and choose your shooting position
- 2. Reduce reflections and unwanted glare
- Why your polarising filter is not working
- 3. Set the camera for accurate detail and color
- 4. Focus on the display rather than the glass
- 5. Compose around the strongest visual elements
- 6. Take several variations and check the results
- 7. Edit for clarity without making it look artificial
- Common Mistakes
- Frequently Asked Questions
- How do I take a photo through a window without reflection?
- How do I stop my camera reflecting off the window?
- What filter gets rid of reflections?
- How do I photograph a shop window at night?
- How do I photograph a window display with a phone?
- Do I need permission to photograph a shop window?
- Conclusion
What You Need for Photographing a Window Display
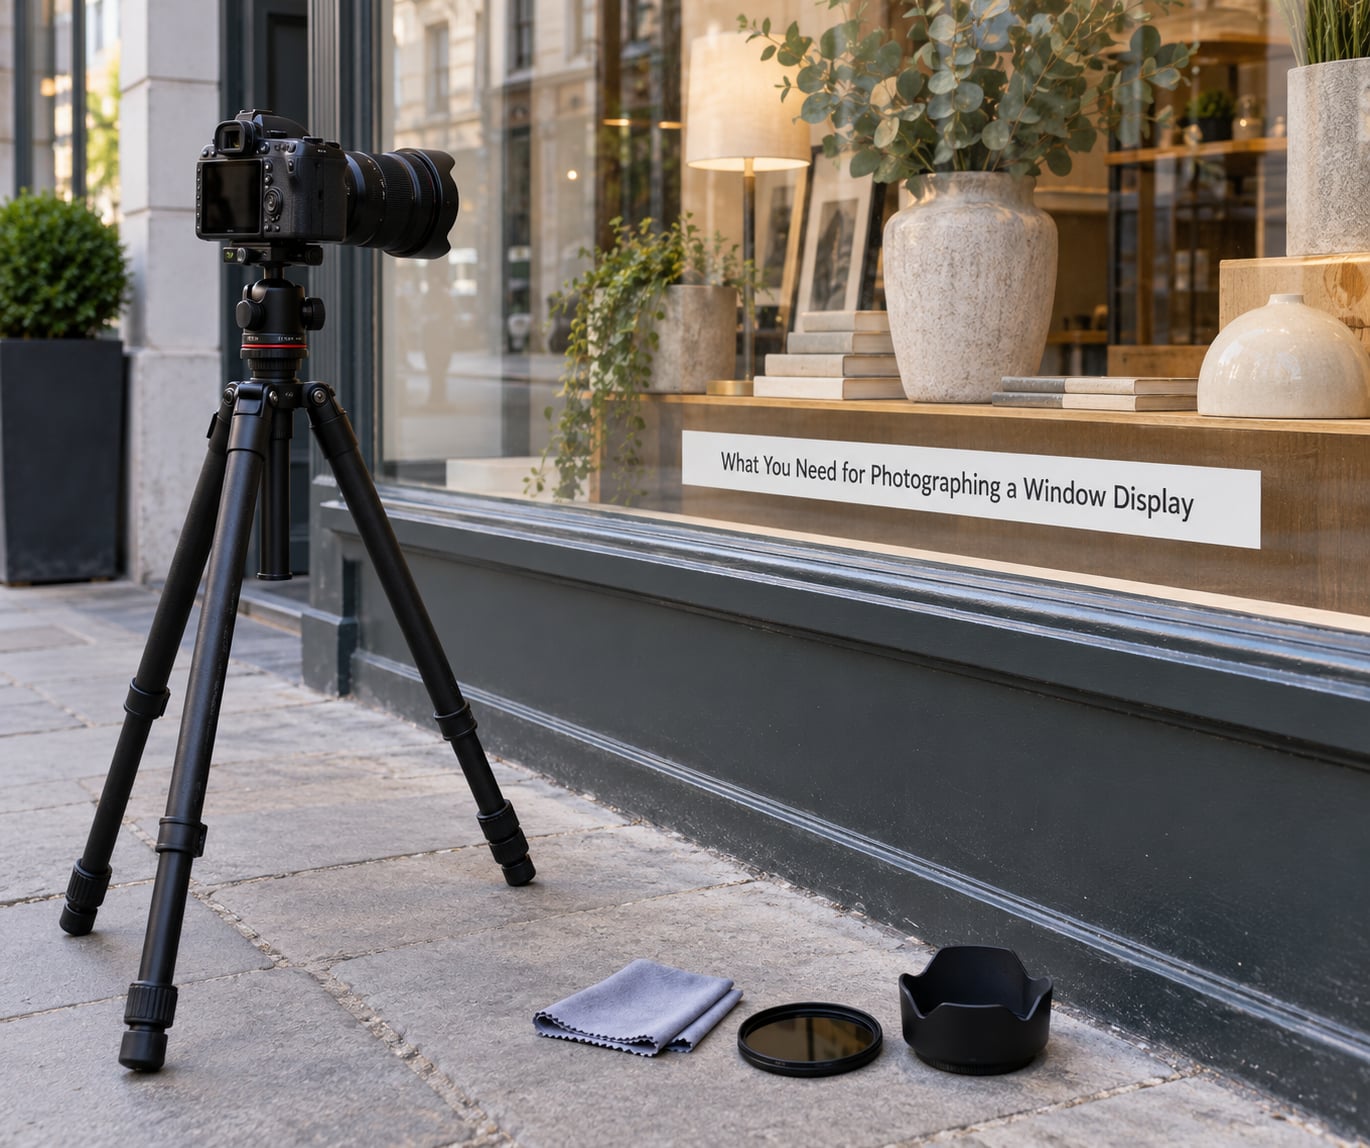
You need very little. A camera with manual exposure, a way to keep it steady, and something to keep stray light off the front element. Everything beyond that is optional.
The free tools do most of the work. Your own dark jacket shades the glass and hides your reflection, your elbow rests on the tripod or a wall, and standing in the display’s own shadow block stops a big chunk of the reflection forming at all.
Worth adding, in rough order of usefulness:
- A circular polarising filter. Helpful at oblique angles, useless head-on. I’ll explain the catch in step 2.
- A lens hood or rubber lens skirt. Cuts flare from off-frame light sources and is the cheapest fix for a hazy frame.
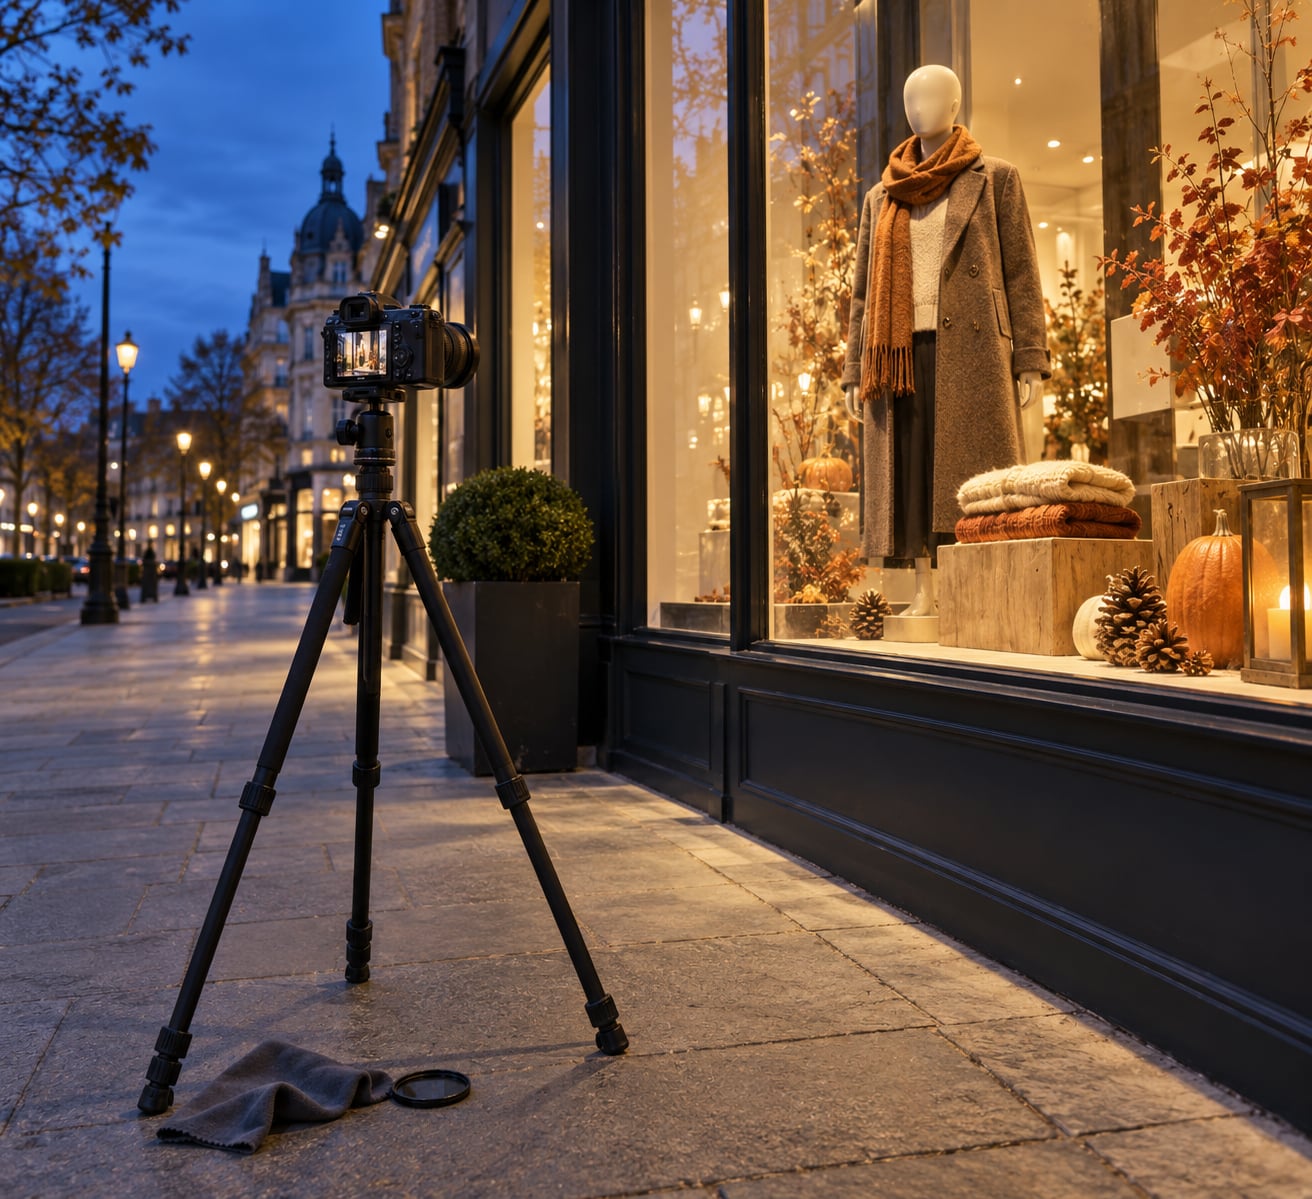
- A tripod. Only really needed at night or on a dim display. On a bright daytime window, a fast shutter is faster than a tripod.
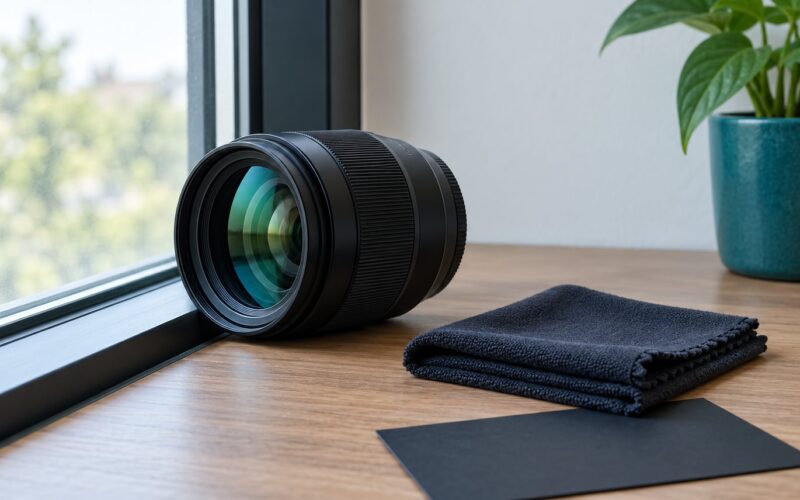
- A lens cloth and a blower. Shop glass has fingerprints, rain spots and dust on the inside as often as the outside.
Skip the expensive polariser and any filter marketed as a “reflection killer” for windows. On glass the physics is fixed: no filter quality level changes what happens when you shoot perpendicular to the pane.
What if you only have a phone?
A phone is a genuinely capable tool here. Clean the lens first, which sounds obvious but it’s the single biggest cause of hazy phone window shots. Then tap and hold on the display to lock exposure and AE/AF, and drag the exposure slider down about half a stop. Step back a few inches until the screen looks evenly bright. Night mode will stack several frames, so keep the phone still against something.
Step-by-Step
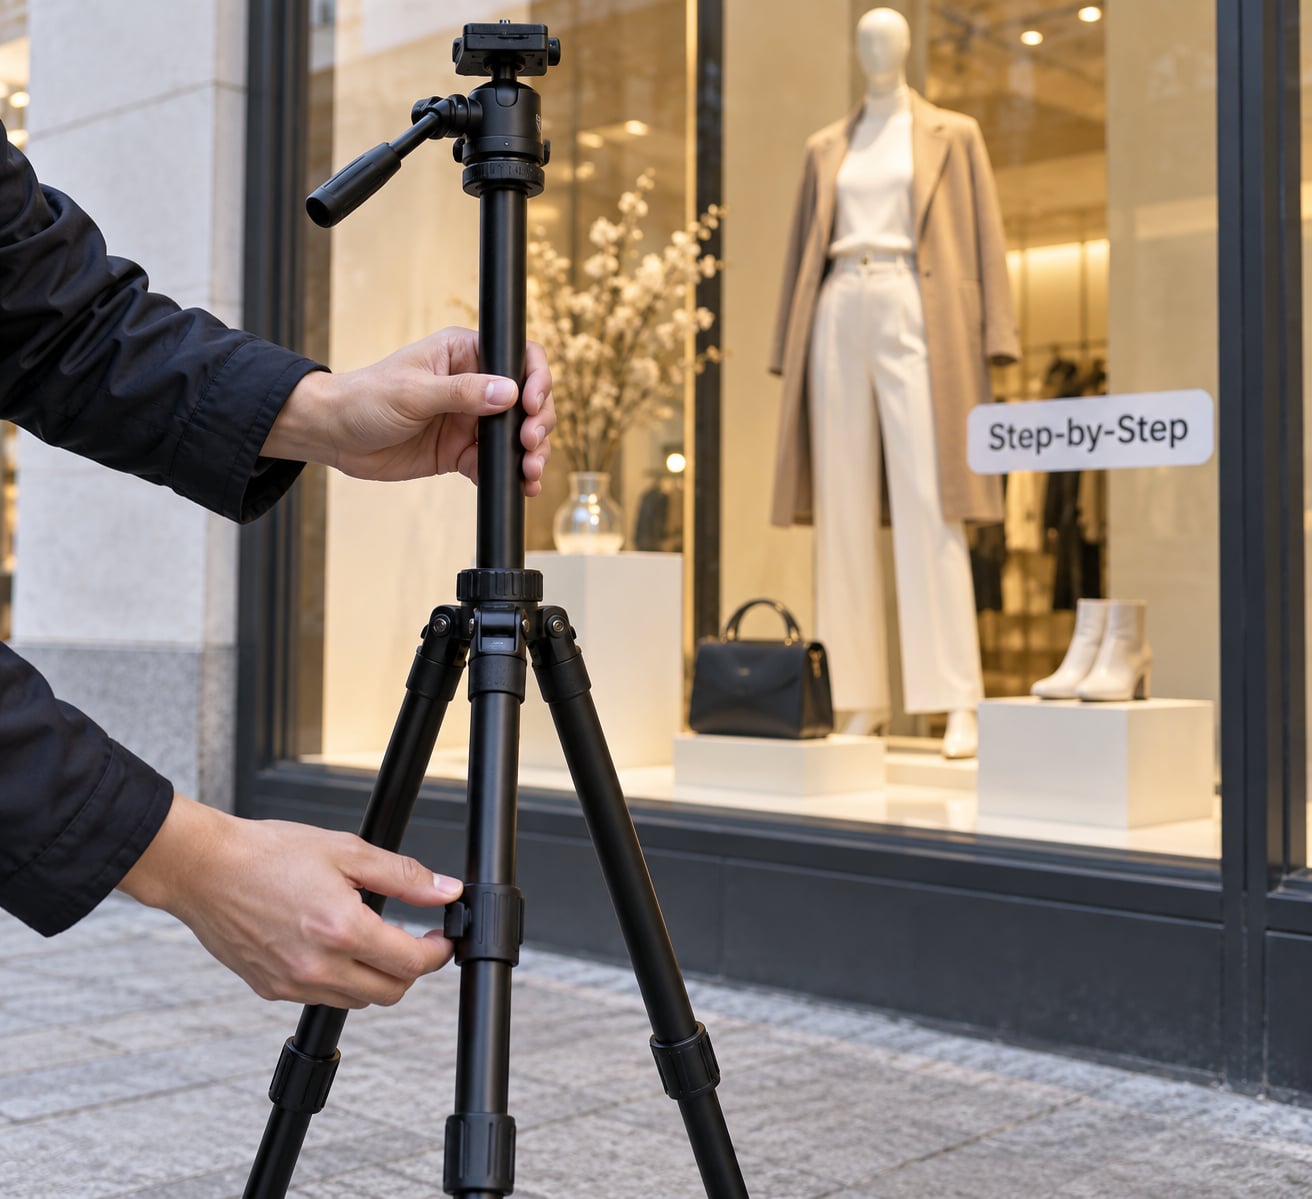
Seven steps, in this order. The order matters: position solves the problem, settings only clean it up.
1. Inspect the display and choose your shooting position
Start by walking past it once without raising the camera. Find the actual subject — usually one hero product, a mannequin’s face, or the strongest prop cluster — and ignore the rest until you have that right.
Then look for obstructions: a bin, a bicycle, a queue of people, a tree trunk, a poster covering half the glass. Moving three paces sideways often solves a problem that no filter will.
Compare angles before committing. Stand square to the glass and note what the reflection shows you, then shift 30 to 45 degrees and check again. You’re looking for a position where what the glass mirrors back is something dull, like tarmac or a dark wall, not a row of shop signs or a bright sky.
Light matters as much as angle. A display lit for daytime will look flat and grey under flat cloud, and blown-out at midday. Shoot seasonal and holiday displays in the last hour of light when the interior looks warmest against a darkening street.
2. Reduce reflections and unwanted glare
The core rule of shooting through glass: reflections are strongest when you face the pane square, and weaken as you move off-axis or bring the lens very close to the glass.
That gives you the ladder of fixes below, best first.
- Change your angle. The most powerful fix and the only free one. Step sideways until your reflection leaves the frame entirely.
- Move into shadow. Stand where the building opposite, a tree or a large umbrella puts you in shade. Reflections need a bright source to form, so remove yours.
- Darken what you wear. A black jacket against the glass removes most of what is left of you.
- Get the front element close. Rest the lens directly against the pane. Nothing can reflect off a surface your lens is touching.
- Fit a lens hood or skirt. It stops flare and veiling haze from light just outside the frame.
- Add a polariser. It reduces glare off glass at an angle, and costs you a little light and roughly half your shutter speed.
- Make the outside darker than the inside. Shoot at dusk when the street has dimmed and the display has not. This is why blue hour is the easiest time to shoot a lit window.
Why your polarising filter is not working
A circular polarising filter cuts reflected light at roughly 45 degrees to the surface. Shoot a shop window straight on and your reflections arrive at 90 degrees, where a polariser does almost nothing. Multiple experienced photographers on the DPReview forums say the same thing in different words: if you want to shoot head-on, no filter will save you.
A cheap filter also has a weak extinction coefficient, meaning it doesn’t dim the reflected light fully. That is why an upgrade feels disappointing on glass. Spend the money on a lens hood, or save it and use the angle.
Two more things a polariser does that catch people out. Rotating it past the point where glare disappears can enhance reflections, which is a trick worth knowing when you want glass to mirror deliberately. And each stop of light it removes means a slower shutter, so check your histogram before you raise ISO.
3. Set the camera for accurate detail and color
Start at base ISO, usually 100 or 200, and use the largest aperture your depth of field allows so less shutter speed is needed. If the frame fills with the display and you are square to it, f/4 to f/5.6 usually holds a whole window in focus.
Shoot RAW. A shop window is brutal on dynamic range: spotlights, neon tubes, pale props and black velvet all in one frame, and the RAW file keeps detail in the bright areas long enough for you to recover it.
Set white balance manually. Windows are usually lit by fluorescent tubes or LED while the street outside runs on sodium or tungsten, and auto white balance will bounce between the two and hand you a green-magenta skin tone that matches nothing. Fix it to the display’s own lighting and correct the rest later.
Meter for the display, not the street. Use spot metering or exposure compensation of about minus one stop, then check the histogram. If you meter the bright pavement you’ll get a grey window; meter a dark area of the display and the highlights will clip.
These are starting points, not rules. Adjust for the light in front of you.
| Light condition | Shutter speed | Aperture | ISO | Steadying | Notes |
|---|---|---|---|---|---|
| Overcast day | 1/125s | f/5.6 | 100 | Handheld | Easiest light to expose. Watch the pavement reflection. |
| Midday sun | 1/500s | f/8 | 100 | Handheld | Stand in shade; hard light blows out the props. |
| Golden hour | 1/250s | f/5.6 | 100 | Handheld | Warm street light, good contrast with the interior. |
| Blue hour | 1/60s | f/4 | 400 | Tripod advised | Outside darkens, reflections mostly disappear. |
| Night | 1/8s to 1s | f/2.8 | 1600 to 6400 | Tripod | Tripod the shutter if people are not passing; check noise. |
4. Focus on the display rather than the glass
Autofocus is easily confused here. The camera cannot tell whether the display or the reflection is the subject, so it hunts. Use single-point autofocus, place the point on the most important product or the mannequin’s face, and check the result at maximum magnification.
Manual focus is often quicker. Focus through the glass on your subject, then switch to manual and leave it there. The frame is static and nothing inside will move.
If you want the reflection deliberately, aim for the midpoint between the subject and its mirror image and focus there. Both will be acceptably sharp because the difference is only a few centimetres.
5. Compose around the strongest visual elements
Window displays are usually symmetrical by design, so fight the urge to angle everything. Step back until the vertical frame members are parallel, then keep them vertical with the camera held level. A tilt-shift lens does this correctly; in post, apply a mild vertical perspective correction and stop before the window bows.
Use the frame members as leading lines pointing at the hero product. Leave a little air above the display and space below the base so it doesn’t feel jammed against the edge of the picture.
Don’t fill the frame with the window. Including a slice of pavement or the shop’s fascia gives scale and tells the viewer where they are. That matters when the same picture has to work on a Google Business Profile page as well as a portfolio.
Reflections don’t all have to go. A faint reflection of the street can add depth, and a sharp one can be the subject if a bright shopfront sits opposite. Decide which way you want it and commit.
6. Take several variations and check the results
Shoot four frames before you pack up: the full window straight on, a detail of the hero product, a wider frame that includes the fascia, and the same view one stop darker.
Check the histogram after each one. Highlight warnings mean the display’s brightest areas have no data left; a histogram sitting hard against the right edge means the pavement has taken over the exposure.
Look at the shadows too. Black velvet and dark backgrounds inside displays clip easily, and lifting those shadows afterwards amplifies noise. If the shadows are empty in the file, underexpose a third stop and shoot again.
Zoom in on the hero product at 100%. Window shots look sharp on the back of the camera and soft on the screen, usually because focus drifted after you pressed the button.
7. Edit for clarity without making it look artificial
Work in this order and the results stay natural.
- Recover highlights first. Pull the whites or highlights down on the brightest lamps and neon. RAW files keep some data there; JPEG files often don’t, so this is where shooting RAW pays off.
- Lift shadows carefully. Open the shadows to reveal props against a black backdrop, in small amounts. Every stop you open adds noise.
- Set white balance. Pick a neutral patch, usually the white wall or paper inside the display, and correct from there. Fix any remaining green or magenta cast afterwards with a tint slider.
- Add modest contrast. A gentle S-curve is plenty. Heavy contrast makes window shots look crunchy.
- Crop and straighten. Straighten verticals and correct any remaining perspective before you resize.
- Noise reduce, then sharpen. Noise reduction on the areas you lifted, then sharpening applied with its mask held low so the glass and edges don’t sparkle.
Clone out a small leftover reflection if it’s in a flat area like sky or tarmac. Leave it if it’s crossing the product. A visible patch job is worse than the reflection it replaced.
Common Mistakes
Eight errors I see over and over, each with the fix.
- Shooting straight on with a polariser and expecting it to work. Move off-axis or move the lens to the glass. No filter does this job at 90 degrees.
- Letting the meter read the pavement or the sky. Use spot metering on the display and check the histogram, or apply minus one stop compensation.
- Leaving auto white balance on. Fluorescent inside, tungsten outside, and the camera splits the difference into a colour nobody sees in real life.
- Mixing every available light source. Turn off your flash. A burst of flash through the glass reflects straight back and flattens the whole display.
- Shooting into a midday sun. The reflection is at its strongest and the display’s highlights are already clipping. Return at dusk.
- Overcorrecting the colour in editing. Match the white wall and stop there. Pushing skin tones further produces the mint-green mannequin look.
- Cropping too tight on the first good frame. Shoot the wide one too, then decide. Cropping to a tight hero shot later is free; re-shooting at dusk is not.
- Rushing the last ten minutes. Reflections move, people walk past and light changes. Stand still for a few extra frames before you lower the camera.
A few situations come up often enough to name here. If the display sits higher than you are, the community answer is to match your camera height to the middle of the mannequin, roughly halfway between its shoes and the top of its head, which also happens to kill more reflection. If the glass is curved or double glazed, accept some softness and flare and shoot wider. If you want to photograph your own display for social media or a website, ask permission anyway and keep out of shoppers’ faces.
That last one matters more than people expect. On a pavement, a tripod foot is a trip hazard for someone with a pushchair, and a display can include real people browsing inside. Stay clear of the entrance, work small, and move on when you are asked to.
Frequently Asked Questions
How do I take a photo through a window without reflection?
Move off the straight-on angle first, because glass reflects most strongly when you face it square. Stand in shade or wear dark clothing, fit a lens hood, and bring the front element close to or against the pane. A circular polarising filter helps at an angle but does nothing head-on. Shoot when the street is darker than the display, usually around dusk.
How do I stop my camera reflecting off the window?
The reflection is you, so move out of the frame or put yourself in shade. Step sideways a few paces, check what the glass mirrors back, and repeat until it shows something dull. A dark jacket helps, a lens hood cuts flare, and getting the front element against the glass removes the last of it. Changing angle beats every filter.
What filter gets rid of reflections?
A circular polarising filter is the one that reduces reflections off glass, but only when you shoot at an angle. At 45 degrees to the pane it works well; aimed straight on, it removes almost nothing and costs you a stop of light. Buying a more expensive version will not change that, so spend on a lens hood instead.
How do I photograph a shop window at night?
Use a tripod, keep ISO at its base value, and lengthen the shutter until the exposure is right. If people pass through the frame, raise ISO instead and accept some noise, or use image stabilisation and a faster shutter. Check the histogram for clipped highlights around the spotlights, and white-balance manually because street and window lighting rarely match.
How do I photograph a window display with a phone?
Clean the lens, tap and hold the display to lock exposure and focus, then drag the exposure slider down about half a stop. Step back until the brightness evens out, use Night mode with the phone held still, and avoid digital zoom because it crops after processing. Shoot RAW through a third-party app if you want to recover highlights later.
Do I need permission to photograph a shop window?
In many places you can photograph a display from a public pavement, but rules differ by country and commercial use may need more. The practical advice is to ask, especially if you need the images for a client or your business. Avoid photographing customers up close, keep out of the entrance, and be ready to move on when staff ask.
Conclusion
Photographing a window display comes down to one habit: fix the reflection with your feet before you fix it with a dial. Angle away from square, stand in shade, dark clothes, hood fitted, lens near the glass. Then set exposure for the lit interior, focus manually on the hero product, and shoot four frames.
If you only do three things today, move sideways until your reflection leaves the frame, dial in minus one stop of exposure compensation and check the histogram, and take one straight-on shot plus one detail shot before you walk away.