To photograph a sunset without a silhouette, you have two workable options: change the angle so the sun is no longer directly behind your subject, or keep the sky exposure and add light to the shadow side with a flash, a reflector, or a white surface. There is no third option, and pretending otherwise is what produces the black-outline photo most people complain about.
The reason is simple. A sunset sky is the brightest thing you will point a camera at all day, and a subject standing in front of it is in its own shadow. The gap between the two is typically five to seven stops of light, and that is far more than a sensor or a phone screen can hold in one frame.
This guide covers the equipment you actually need, a repeatable process you can run at the shoot, the phone version for anyone without a manual-mode camera, and the handful of settings that fix most shots. It works for couples, families, pets, and solo travel frames. Guide current for 2026.
Table of Contents
- What You Need
- Step-by-Step: How to Photograph a Sunset Without a Silhouette
- Choose a Scene With Foreground Detail
- Meter for the Brightest Part of the Sky
- How to Photograph a Sunset Without a Silhouette: Set the Exposure
- Focus on the Foreground, Not the Bright Sky
- Add Light to the Foreground
- Compose and Check the Result
- Do It on a Phone
- Common Mistakes
- Frequently Asked Questions
- Can I photograph a sunset without a silhouette if I use my phone camera?
- What exposure compensation should I use for a sunset without silhouettes?
- Should I use aperture priority or manual mode when photographing a sunset?
- How do I keep both the sunset and the foreground in focus?
- Is it better to expose for the sky or the foreground at sunset?
- Can I fix a silhouette in photo editing afterward?
- Conclusion
What You Need
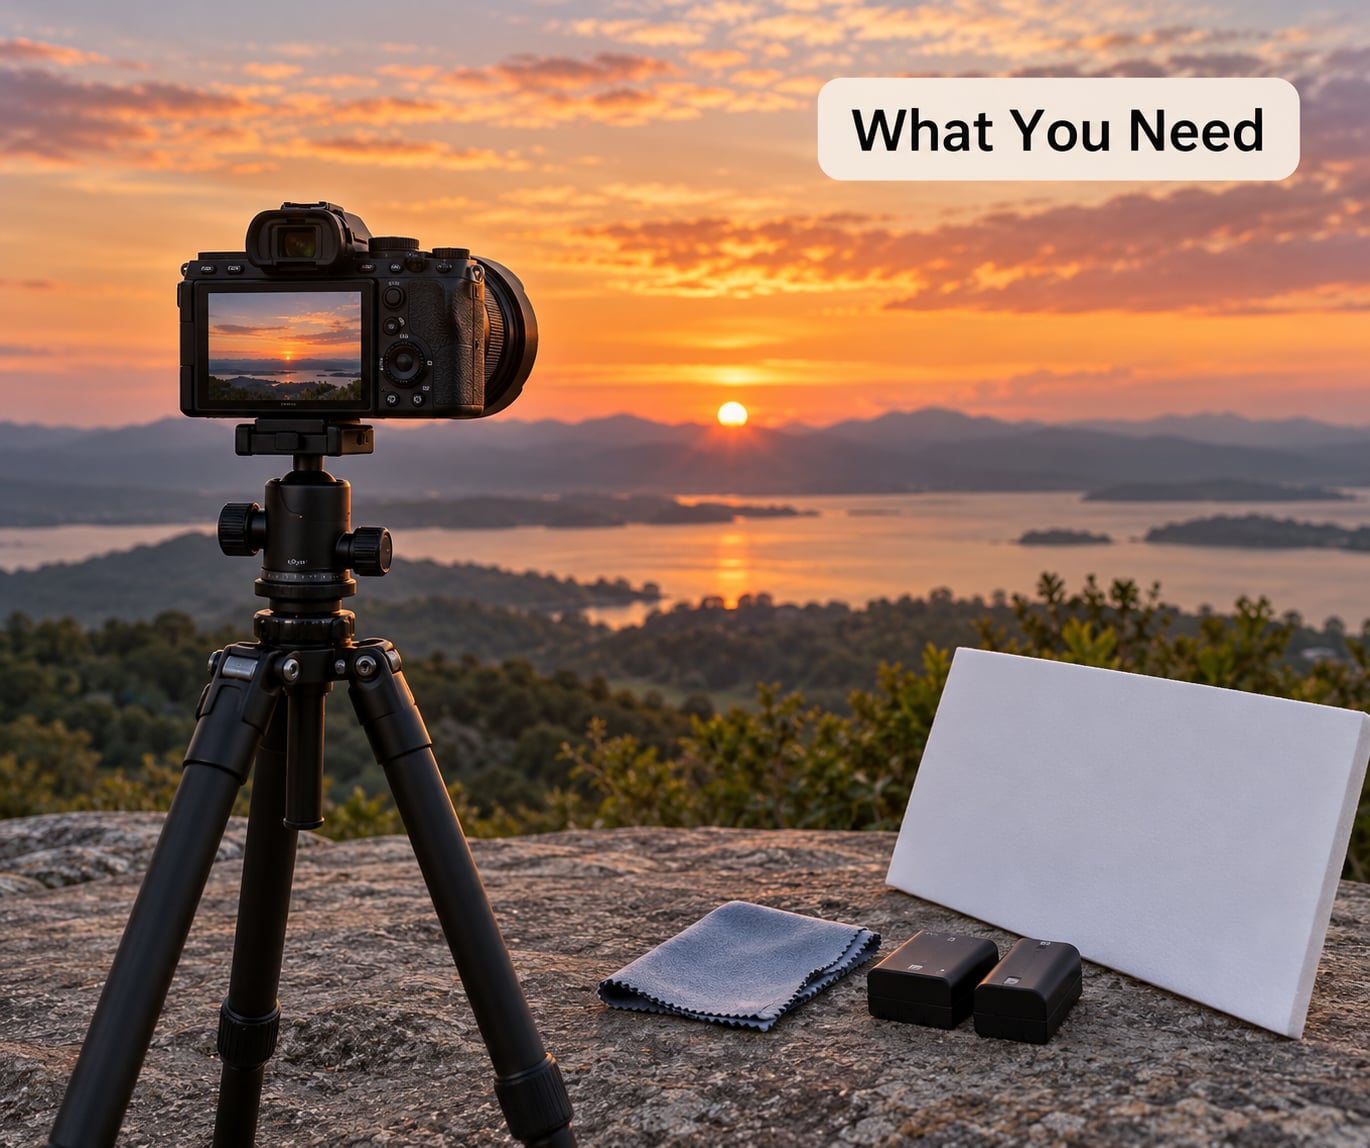
The minimum is any camera with adjustable exposure, any lens, and a stable place to put it. That last one matters more than people expect, because a bracketed sequence or a reflector setup takes longer to set up than a single handheld frame.
A tripod is helpful for bracketing and for any long exposure near the water. If you have no tripod, a flat wall, a fence post, or a sturdy rock works fine. Bring a spare battery too, since continuous shooting and screen brightness drain them faster than you would expect in the cold.
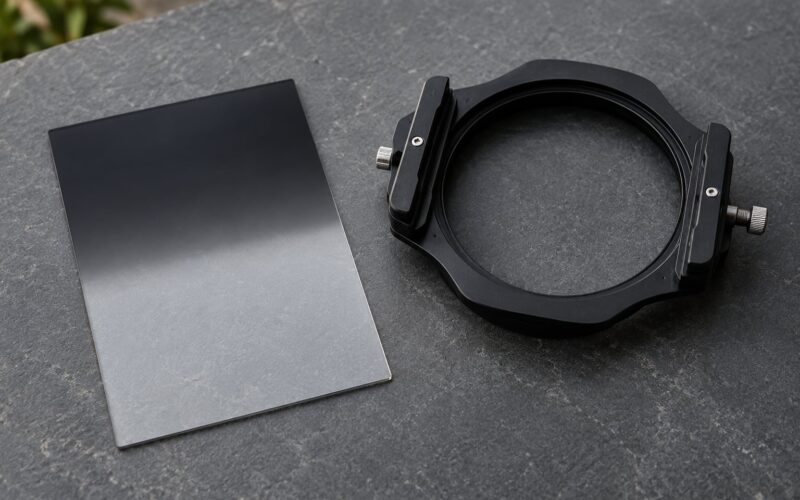
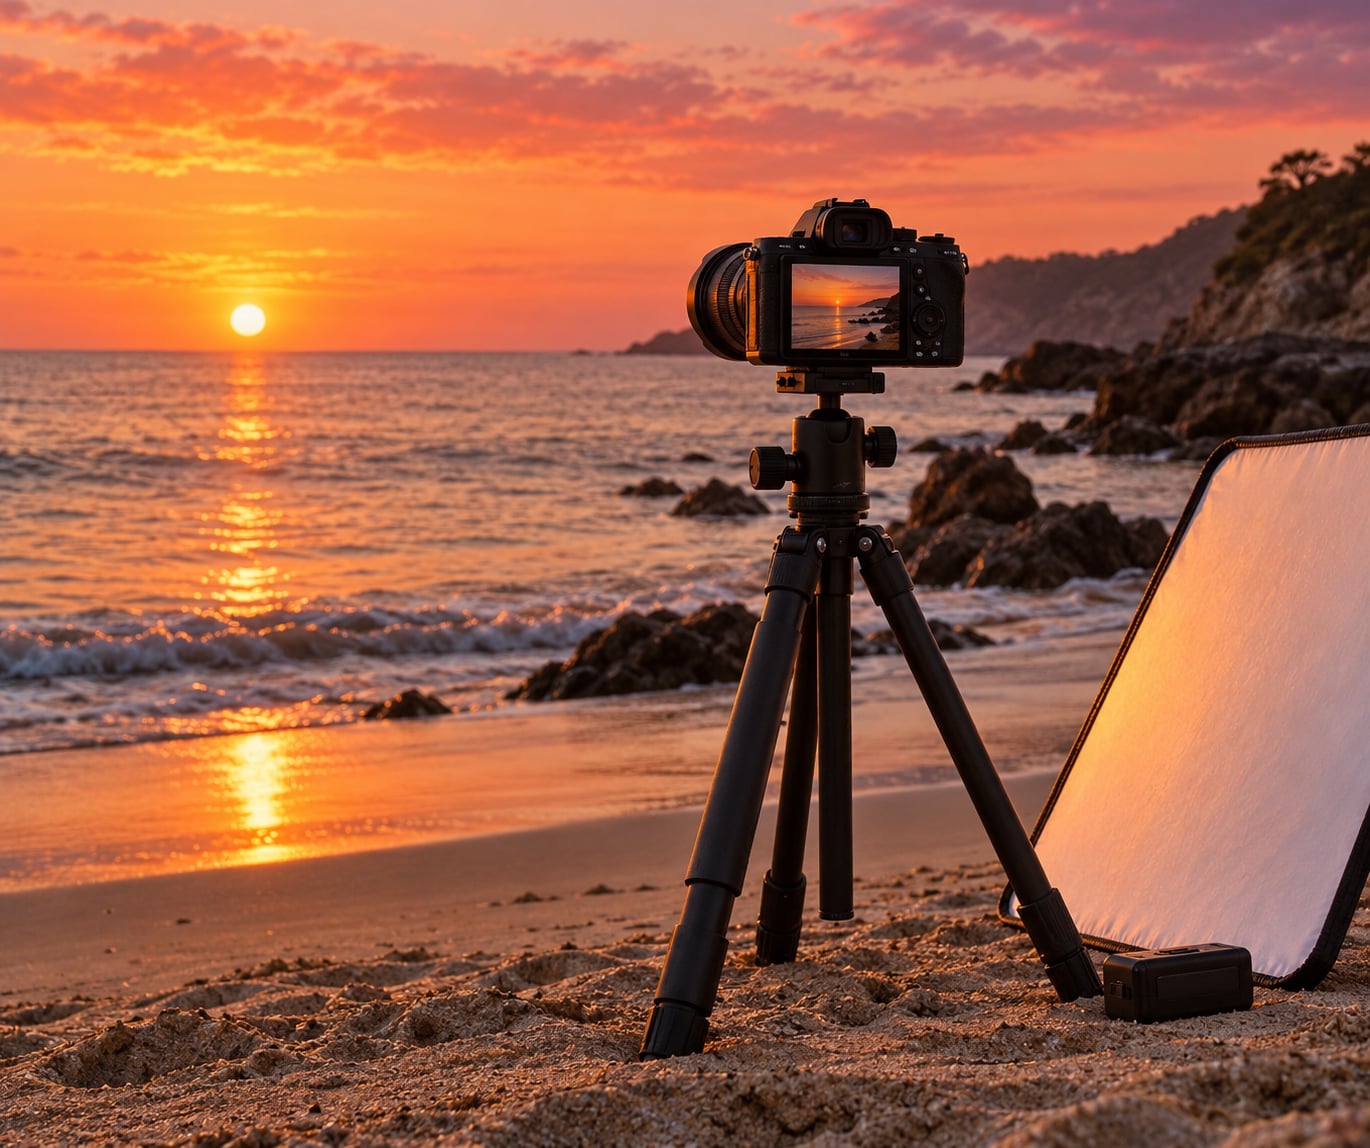
Optional gear that genuinely changes the result: a white reflector or a piece of white foam board, a small speedlight, and a lens cloth. A reflector is a few dollars and solves the most common version of this problem on its own. Skip the graduated filter discussion that dominates older tutorials; it helps the sky, which is the part you are not struggling with.
Step-by-Step: How to Photograph a Sunset Without a Silhouette
Choose a Scene With Foreground Detail
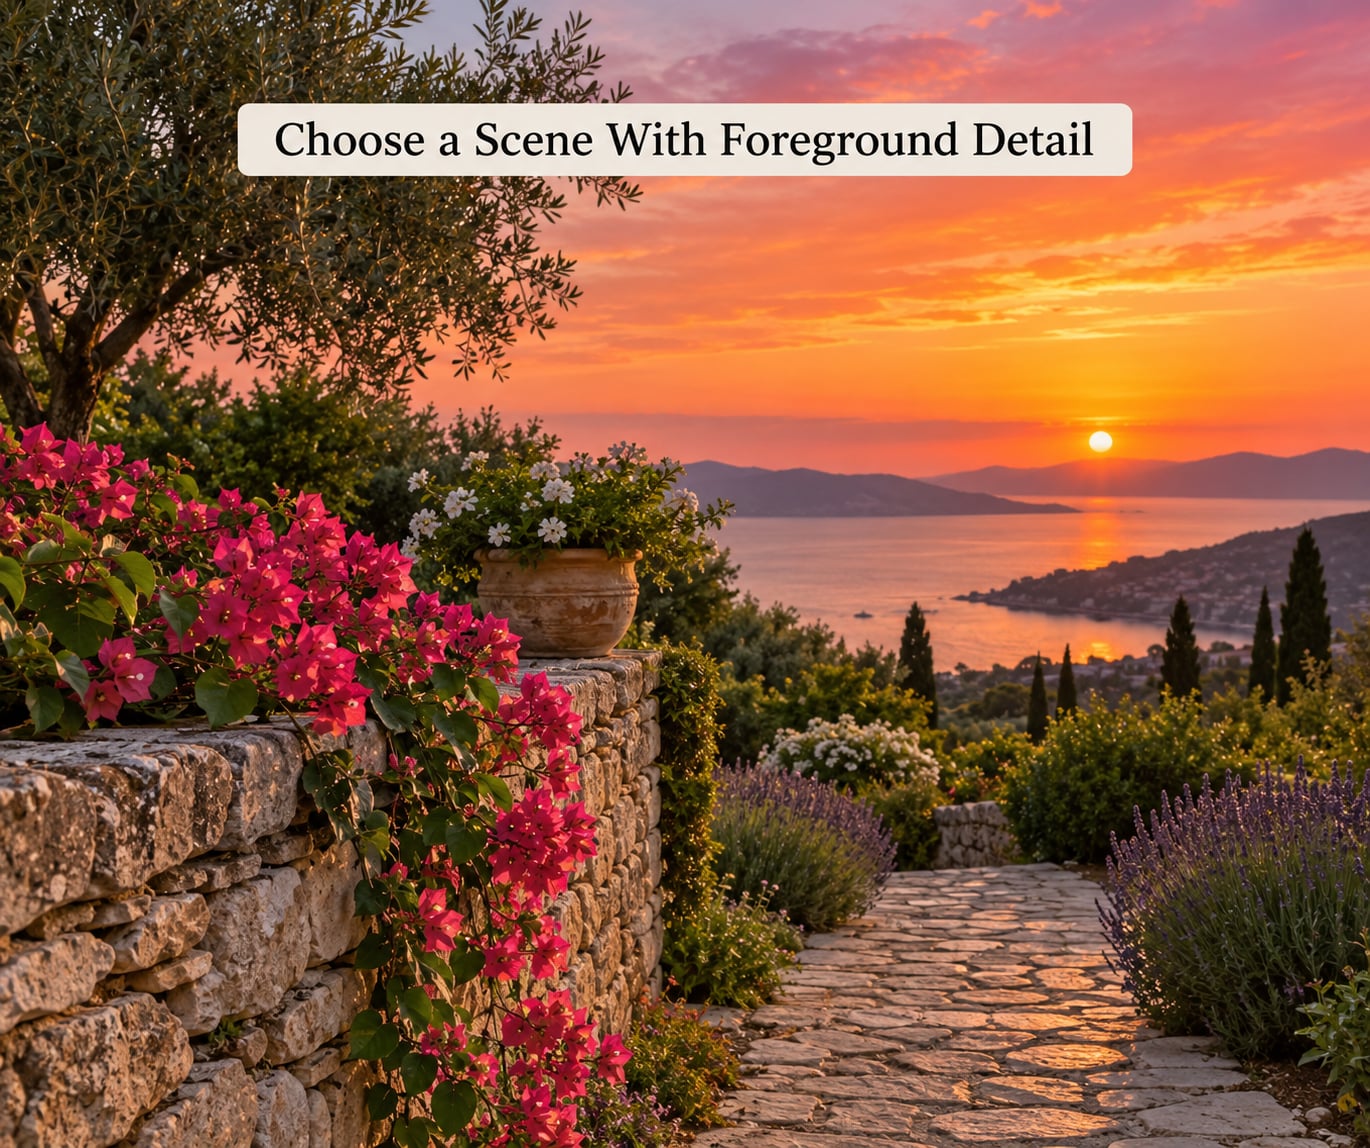
Start by choosing what must stay visible: flowers, a fence, a wet boardwalk, a building face, or a person. If nothing in the frame needs detail, stop and shoot the silhouette on purpose, because that version is easier and it is a legitimate choice. The technique below only matters when you have decided the subject matters more than the outline.
Then move the sun out of the way. Rotate 45 to 90 degrees so the light rakes across the subject instead of coming straight from behind them, or put the subject in open shade near a building. The rim or hair light that backlighting creates is worth keeping in the frame, just not as the only light in it.
Meter for the Brightest Part of the Sky
Switch to manual mode, set ISO to the lowest native value (usually 100 or 64), and choose an aperture around f/2.8 to f/4 if you want the background soft, or f/5.6 to f/8 if you want it sharp. Then point your meter at the brightest part of the sky near the sun, not at the subject.
Check the histogram before you commit. Aim for the right edge to sit just short of the far wall so you are not clipping highlights, then adjust exposure compensation until the sky color holds. If the histogram is jammed against the edge and the sky is going flat white, you are a stop or two hot and no amount of editing will bring the color back.
That sky setting becomes your baseline. Everything else in the shot is measured against it.
How to Photograph a Sunset Without a Silhouette: Set the Exposure
With the sky set, decide which side of the exposure gap you close. Expose for the subject instead, dial in negative exposure compensation, and accept a slightly bright sky with a gradient. Or keep the sky as it is and light the subject. Both are valid; mixing them halfway is what gives you the muddy half-lit result.
For a subject facing the sun head-on, the honest answer is that your body blocks the key light, so you need fill. For a landscape, rocks, or architecture, you usually do not, because surfaces reflect skylight from the side and the gap shrinks to two or three stops.
Shoot in RAW. Highlight recovery in post gives you a stop or two of room, and it is the difference between a sky you can pull back and a sky that is permanently white.
Focus on the Foreground, Not the Bright Sky
Backlit scenes pull autofocus toward the bright background, which leaves your subject soft. Put your focus point on the subject or the nearest foreground element and confirm it, rather than trusting the camera to choose. In a very dark scene, switch to manual focus and use a magnified view to check.
When you want everything from a foreground flower to the horizon sharp, use a hyperfocal distance instead. Set focus to that distance, move the camera to get the far edge of your depth of field just past the horizon, and both ends of the frame stay sharp. Stopping down past f/11 at sunset rarely helps, because the light is already thin.
Add Light to the Foreground
This is the step that closes a five-stop gap, and there is a free version of it. Hold a white reflector, a white foam board, or even a sheet of white paper at 45 degrees to the subject, just outside the camera’s view, and bounce the bright sky back into the shadow side. Start with the reflector close and move it away until the fill matches. Open shade along a building wall does the same job with no gear at all.
If you own a speedlight, off-camera flash gives you far more control than the built-in pop-up, which is harsh and lands flat on the face. Set the flash to TTL, then use the flash exposure compensation dial to bring it down; full-power fill is the single most common beginner mistake. Aiming the head at a nearby wall to create a soft, larger source is a good trick. If the flash still leaves the background two stops hot, move the subject and the camera rather than fighting with power.
Match the flash to the ambient color or gel it slightly warm. Mismatched color temperature is what makes skin look orange against a warm sky.
When your gear cannot close the gap, exposure bracketing can. Shoot three or five frames at two-stop intervals and blend them, or stack the shadows in post from the darkest frame. It takes longer than the light lasts if you wait too long to start, so set the sequence up before the color peaks.
Compose and Check the Result
Zoom in and inspect the frame at 100 percent for highlight clipping on skin and bright surfaces. Confirm the histogram, then the shadows, then the edges of the frame. If the subject is still reading as a dark shape, the fix is light, not editing.
Only touch the sliders in post when the RAW file has the information. A gentle shadow lift with highlight recovery and a small amount of dehaze usually finishes the job. Avoid global brightening, since it lifts the sky along with the subject and pushes you back to the blown-out problem.
Do It on a Phone
Phones have no manual mode, so you work with what the screen gives you. Tap and hold on the subject to lock exposure and focus, then pull the sun or brightness slider down one or two notches until the sky holds color. This works in the stock camera app on both iPhone and Android.
Turn off Smart HDR and Night mode if the sky is going pale and flat, since both pull the shadows toward brightness. A phone flashlight or a small LED panel held out of frame works as fill in a pinch, at very low output. Portrait mode will not help you here, because it simulates a shallow depth of field and fakes the background blur; it does not change the exposure of the person in front of it.
Common Mistakes
Shooting straight into the sun with no plan for the foreground. This is the source of nearly every bad sunset shot, and repositioning 45 degrees fixes it before the camera is even out of the bag.
Leaving exposure compensation too low. Adding a stop or two of positive compensation after metering the subject is a real fix, but only if the gap is two or three stops. Beyond that it just blows out the sky.
Firing fill flash at full power. It creates hard shadow edges and hot spots on the forehead and nose. Turn the flash exposure compensation down until the flash contribution is subtle.
Focusing on the sky because it is the bright, obvious subject. Put the focus point on your subject or the foreground and verify it before the light changes.
Mixing flash and ambient carelessly, which gives you a hard on-camera flash that looks pasted onto a soft sunset. Off-camera, bounced, or diffusion-sourced light blends far better.
Editing only the shadows and never checking the sky. If the sky is already clipped, brightening the subject just makes a bright blob against white. Fix the sky in the file or accept the loss.
Waiting too long to start bracketing. The best color after the sun drops lasts minutes, not half an hour. Arrive 45 to 60 minutes early, scout with a sunset-direction app, and be shooting before the light turns.
Frequently Asked Questions
Can I photograph a sunset without a silhouette if I use my phone camera?
Yes. Tap and hold your subject to lock exposure and focus, then pull the brightness or sun slider down one or two notches until the sky holds its color. Turn off Smart HDR and Night mode if the sky is going pale. Since a phone has no manual mode, moving the subject out of direct backlight gives you far more than any slider will.
What exposure compensation should I use for a sunset without silhouettes?
Start at zero after you have metered the sky, then add between one and three stops of positive compensation when you are metering a subject instead. Check the histogram each time and stop as soon as the right edge reaches the wall. If you need more than three stops, no amount of compensation will work and you need fill light or a change of position.
Should I use aperture priority or manual mode when photographing a sunset?
Manual gives you more repeatable results because the light changes every few seconds and aperture priority keeps shifting your shutter speed underneath you. If you only shoot in aperture priority, meter the sky, switch to auto ISO, and lock exposure compensation with the same dial. Either way, check the histogram rather than trusting the screen.
How do I keep both the sunset and the foreground in focus?
Focus on your subject or nearest foreground element instead of letting autofocus lock onto the bright sky. For full front-to-back sharpness, focus at the hyperfocal distance and stop down to about f/8 to f/11. Beyond that the thin light at sunset will cost you more sharpness than the extra depth of field is worth.
Is it better to expose for the sky or the foreground at sunset?
Expose for the sky when the subject is genuinely backlit, then add fill light to the subject until it matches. Expose for the subject when you have repositioned into open shade or the surface is reflecting skylight, and the sky will hold as a bright gradient. Protecting sky color matters more, because a clipped sky cannot be recovered.
Can I fix a silhouette in photo editing afterward?
Partly. Shoot RAW, then use highlight recovery first to pull the sky back, followed by a shadow lift on the subject, and check both ends of the histogram as you go. If the sky was already clipped to pure white in the file, the color is gone and no slider brings it back, so the fix has to happen at the shoot.
Conclusion
Start at the histogram, not the viewfinder. Meter the bright part of the sky, watch the right edge stop short of the wall, then add one to three stops of compensation or add fill light until your subject carries visible detail. Turn 45 degrees and put the sun at your back if the gear argument gets old, because repositioning costs nothing and solves more than any accessory.