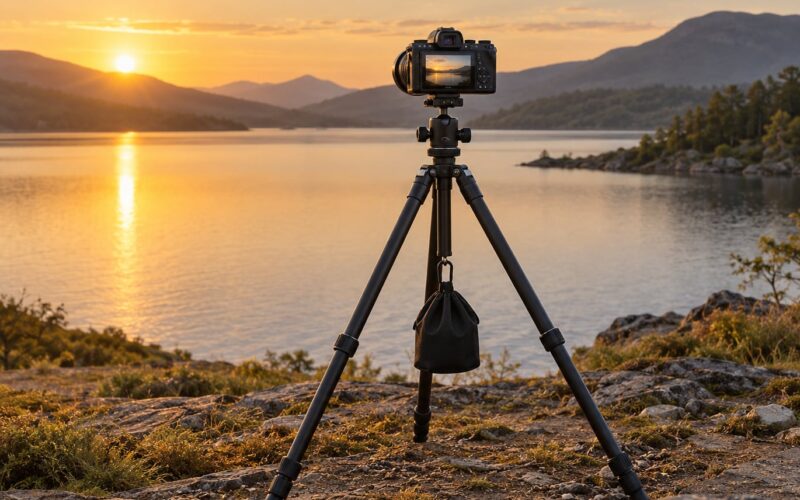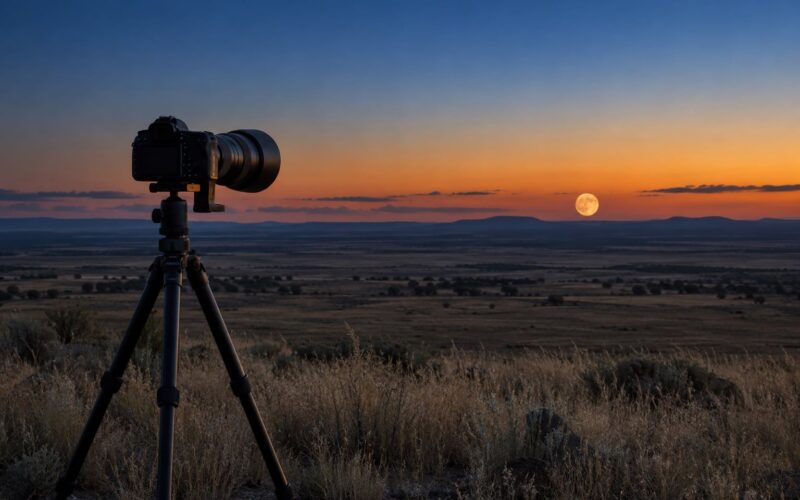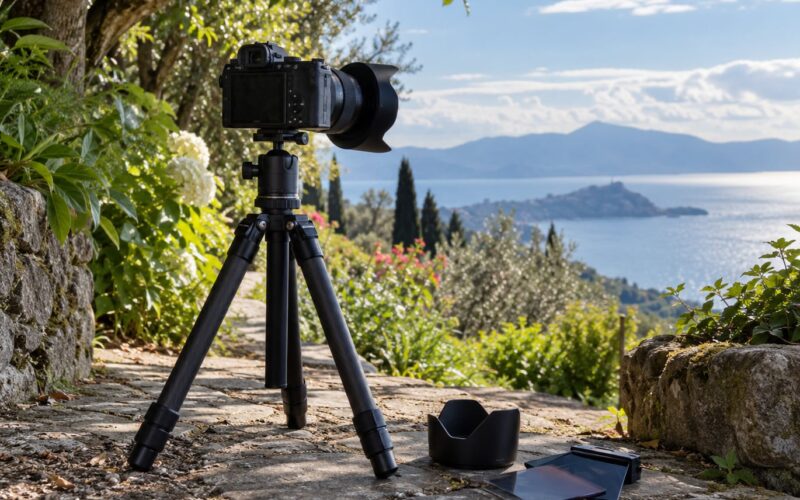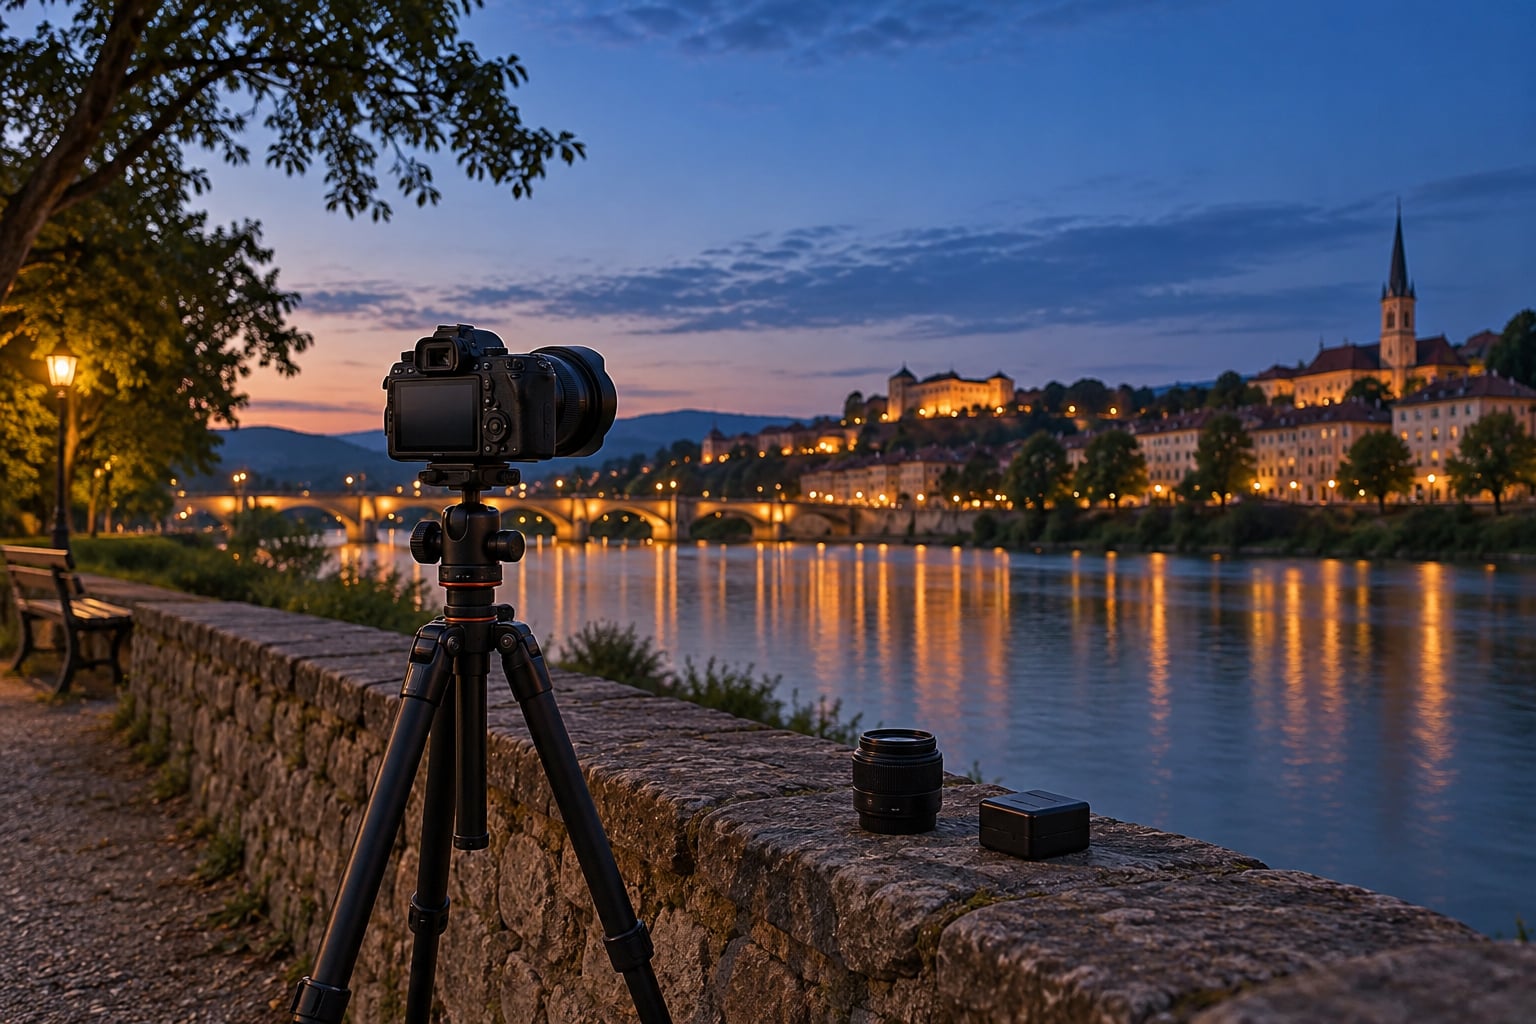
The time after the sun goes down is photographers’ favourite 40 minutes of the day, but only if you plan for it. Knowing how to photograph after the sun goes down means arriving before sunset, working in manual mode, focusing by hand and watching the histogram so street lamps glow instead of blowing out. Here is the workflow I use, whether I have a tripod or I’m balancing the camera on a wall.
What you are shooting in that window is called twilight, and the best-known part of it is the blue hour: roughly 20 to 60 minutes after sunset, when the sun is a few degrees below the horizon and the sky still holds colour while lamps and windows are bright enough to photograph. After that it becomes night photography, which is a different job with different settings.
Table of Contents
- What You Need
- How to Photograph After the Sun Goes Down Step by Step
- 1. Plan the Shoot: Know When to Photograph After the Sun Goes Down
- 2. Set the Camera for a Reliable Starting Exposure
- 3. Focus Carefully in the Dark
- 4. Stabilize the Camera
- 5. Control Colour and Contrast
- 6. Make Several Deliberate Exposures
- Common Mistakes
- Frequently Asked Questions
- Can I photograph after the sun goes down without a tripod?
- What settings work best for photographing at night as a beginner?
- How do I focus when it is too dark to see clearly?
- How do I photograph stars with a camera that is not designed for astrophotography?
- Should I photograph during blue hour or wait until full darkness?
- How do I reduce noise and keep bright lights from looking blown out?
- Conclusion
What You Need
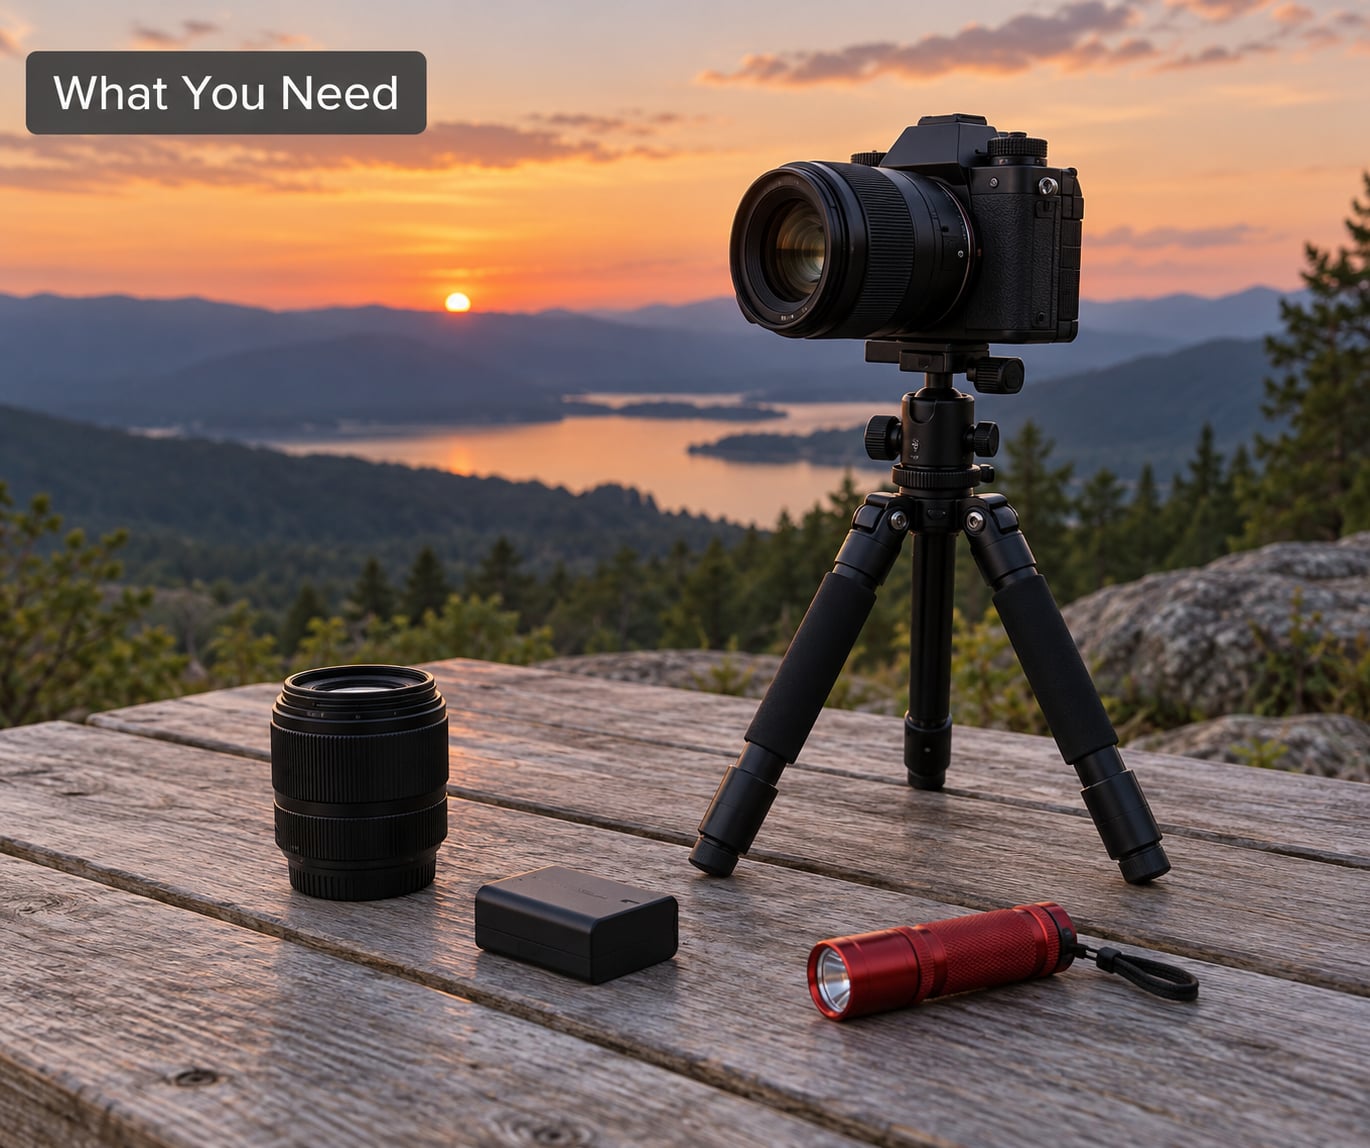
The essentials are smaller than most people expect. You need a camera you can put into manual mode, a lens, something steady to hold it on, and a way to see your subject while you fiddle with dials in the dark.
- A camera with manual mode. Aperture priority gets you started, but manual is where the light stops changing faster than the camera can decide.
- Something steady. A tripod is ideal, but a wall, a railing, a step, a rucksack or a flat rock does the same job. Pushing the camera against something solid is the cheapest stabilization there is.
- Spare power. Night frames are long, and cold air drains a battery faster than you would expect. One spare battery in a pocket is the difference between finishing the shoot and going home.
- A light source. A small torch or headlamp lets you find your foreground and check focus before the frame gets dark. Red light preserves your night vision, so a red-filtered torch is worth the small fuss.
- A soft cloth. Stepping out of a warm car into damp night air can fog the front element. Wipe it before you shoot, not after.
A fast wide lens helps a great deal, but it is not the first thing to buy. A tripod and patience will get you much further at this stage than an f/1.2 prime will.
How to Photograph After the Sun Goes Down Step by Step
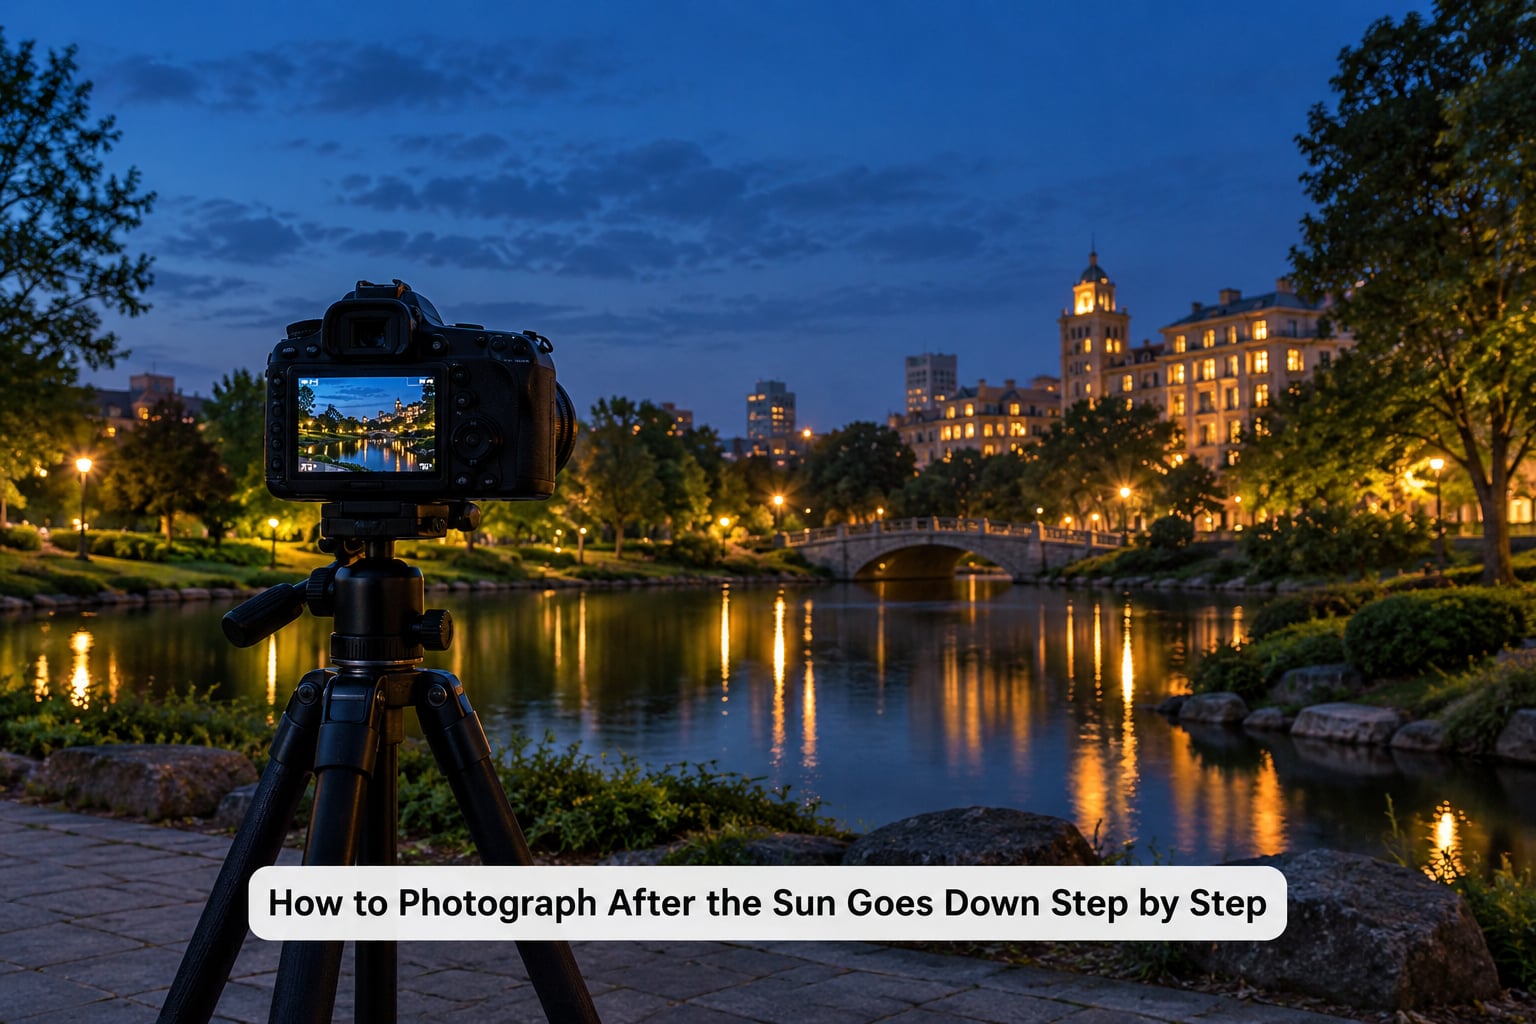
1. Plan the Shoot: Know When to Photograph After the Sun Goes Down
The light changes fast, so the timing is the actual technique. Look up the exact sunset time for your location on the day and aim to be set up and framed 30 minutes before it, not after.
Scout the spot in daylight if you can. Work out where the lights will be, check for obstructions that will be invisible until the sun is gone, and pick one subject rather than trying to include everything. A bridge, a harbour, a single street with lit signs or an illuminated building gives you something to build a frame around.
Treat your own arrival time as the deadline. The blue hour is the easiest thing in landscape shooting to miss, because it starts while you are still packing the car.
2. Set the Camera for a Reliable Starting Exposure
Switch to manual, set a low ISO of 100 to 400, open the aperture as far as you are comfortable with, and start the shutter around two seconds. Then take a test frame and read the histogram rather than trusting the screen brightness, which lies at night.
You are aiming to keep the sky’s blue colour without clipping it to white, and you accept a darker foreground. If lamps are blowing out, pull exposure compensation down by a third or a half of a stop rather than stopping the aperture down, which costs you shutter speed you need for sharpness.
Here are the numbers that have worked for me at each phase. Treat them as starting points, not gospel, because a bright city needs two stops more than a dark field.
| Phase | Time after sunset | ISO | Aperture | Shutter speed | White balance |
|---|---|---|---|---|---|
| Golden hour | Before to 0 min | 100-200 | f/5.6-f/8 | 1/125 s to 1 s | Daylight, 5200K |
| Blue hour, brightest | 20-35 min | 200-400 | f/4-f/5.6 | 2-8 s | 6500K-7500K |
| Blue hour, deep | 35-50 min | 400-800 | f/2.8-f/4 | 8-20 s | 7000K-9000K |
| Night, city lights | 60 min and after | 800-1600 | f/2.8-f/4 | 5-15 s | 3000K-4000K or fixed |
Keep frames under about 30 seconds while lights and crowds are still in the picture. Beyond that you are crossing from twilight photography into star work, and anything that moves starts to smear.
3. Focus Carefully in the Dark
Autofocus hunts badly in low light, so switch to manual focus. Turn on focus peaking if your camera has it, and the illuminated edges of sharp subjects show up while everything soft stays dim.
For a distant skyline, set focus to infinity by focusing through a bright light at least 30 feet away, then use the lens barrel’s distance scale rather than trusting the viewfinder. For anything closer, use a torch to throw light onto your subject, focus, then switch the torch off before the exposure.
Always confirm focus before a long exposure. A blurry 15-second frame is worse than no frame, because you spent the time anyway.
4. Stabilize the Camera
Stability is what separates a sharp night photograph from a soft one. Mount the camera on your support, turn image stabilization off if you are on a tripod, and use a two-second timer or a remote release so your hand is not on the shutter button.
Do not touch the tripod once the exposure starts. Wind on an exposed waterfront or a footstep on a pavement can spoil an otherwise clean frame, and in very strong wind you may want to hang your bag from the centre column to settle it.
If you have no support at all, look for another option: braced elbows, the camera turned upside down on a flat surface, or a fast lens wide open at a higher ISO so the shutter stays at 1/60 s or better.
5. Control Colour and Contrast
Shoot RAW. It costs nothing at this stage and it is what gives you room to correct the colour later, which matters because a frame with a blue sky and orange sodium lamps will never look right at one white balance.
Set a fixed Kelvin value rather than auto, so every frame in the set matches. Around 7000K keeps the twilight blue honest; drop toward 4000K if you want the street lights to dominate and the scene to feel warm.
If you would rather separate them, treat the frame in two parts: the sky near 6200K with a small negative tint and about a fifth of a stop of underexposure, the foreground near 5400K with a small positive tint and a fifth of a stop up. Watch the bright points rather than the average, and pull them back before you leave the scene.
6. Make Several Deliberate Exposures
Night scenes have more dynamic range than the sensor can hold in one frame, so stop trying. Shoot a bracket: the same composition at your starting exposure, then one and two stops under.
That gives you a clean frame for the sky, a mid frame that often works on its own, and a dark frame for the ground that you can lift in editing. Work out which shutter speed keeps moving people and water under control, then vary the aperture or ISO around it rather than pushing the shutter indefinitely.
Keep shooting after the good frame. Light shifts every few minutes, and the frame you thought was the one often turns out to be the one before.
Common Mistakes
Street lamps are solid white blobs. The brightest point in the frame is setting your exposure. Dial in negative exposure compensation, or meter for the sky and accept the clips, then recover highlights from the RAW file in editing.
Everything is slightly soft. Almost always shake rather than bad focus. Check the two-second timer, confirm stabilization is off on the tripod, and make sure nothing is touching the camera.
Focus never locks. Stop hunting with autofocus in the dark. Manual focus with focus peaking, or the torch trick, is faster and more reliable than waiting for the camera to guess.
The image is grainy and flat. You raised ISO because you could not get enough shutter speed. Try holding the ISO at 400 to 800 and finding steadiness instead, or accept noise and lift the shadows later.
The colours fight each other. Blue sky, orange lamps and green exit signs are three light sources with three temperatures. Fix one white balance and let the rest be corrected selectively in editing.
You turned up and the light was gone. The blue hour does not wait. Arrive with the frame composed, make a test exposure while you can still see, and only then move into the darker exposures.
Frequently Asked Questions
Can I photograph after the sun goes down without a tripod?
Yes, but you have to change how you work. Prop the camera on a wall, a step or a rucksack, or brace your elbows against your body and shoot at a fast shutter speed instead. Without support you will need ISO 1600 to 3200 and a wide aperture to keep the shutter at 1/60 s or faster. You will get noise, and long exposures of water and light trails are out of reach.
What settings work best for photographing at night as a beginner?
Start in manual at ISO 400, f/4 and a two-second shutter, then adjust from the histogram. Raise the shutter to 8 or 15 seconds once the blue deepens, and raise ISO only when you need a faster frame for moving subjects. Shoot RAW and set a fixed white balance near 7000K during twilight so the whole set matches.
How do I focus when it is too dark to see clearly?
Switch to manual focus and use a torch to light your subject while you set focus, then turn the torch off. If your camera has focus peaking, the sharp edges highlight in a bright colour and the soft areas stay dark, which makes focusing on a distant skyline straightforward. Focusing on a bright light 30 feet or more away and setting focus to infinity is the quick option.
How do I photograph stars with a camera that is not designed for astrophotography?
Any camera with manual focus and a bulb or 30-second shutter mode will do. Mount it, focus to infinity, set ISO 800 to 1600 and an aperture around f/2.8 to f/4, and shoot frames of 15 to 25 seconds to keep stars from trailing. You will not get a single perfect sky, so stack several frames in editing and blend one good twilight foreground underneath.
Should I photograph during blue hour or wait until full darkness?
Shoot both, back to back, without moving. Blue hour, roughly 20 to 60 minutes after sunset, gives you a coloured sky and lit detail together. Full darkness gives cleaner contrast and visible stars. Shooting a twilight foreground frame and a later star frame, then blending them, is how you get both in one picture.
How do I reduce noise and keep bright lights from looking blown out?
Keep the ISO as low as your shutter speed allows and lift shadows in editing from a RAW file, since noise reduction works best on data you have not already destroyed. Bright lamps clip because your meter reads them as the subject, so apply negative exposure compensation and shoot a bracket, then pull the highlights back before the shadows.
Conclusion
The first thing to do is get there early. Arrive 30 minutes before sunset, find your composition in daylight, mount the camera, switch to manual and make a test frame before the light moves on.
After that it is repetition: focus manually, watch the histogram, bracket the exposure and keep shooting for as long as the colours are changing. That is the whole of how to photograph after the sun goes down, and it rewards anyone willing to stand still for forty minutes.
Last updated: October 2026.