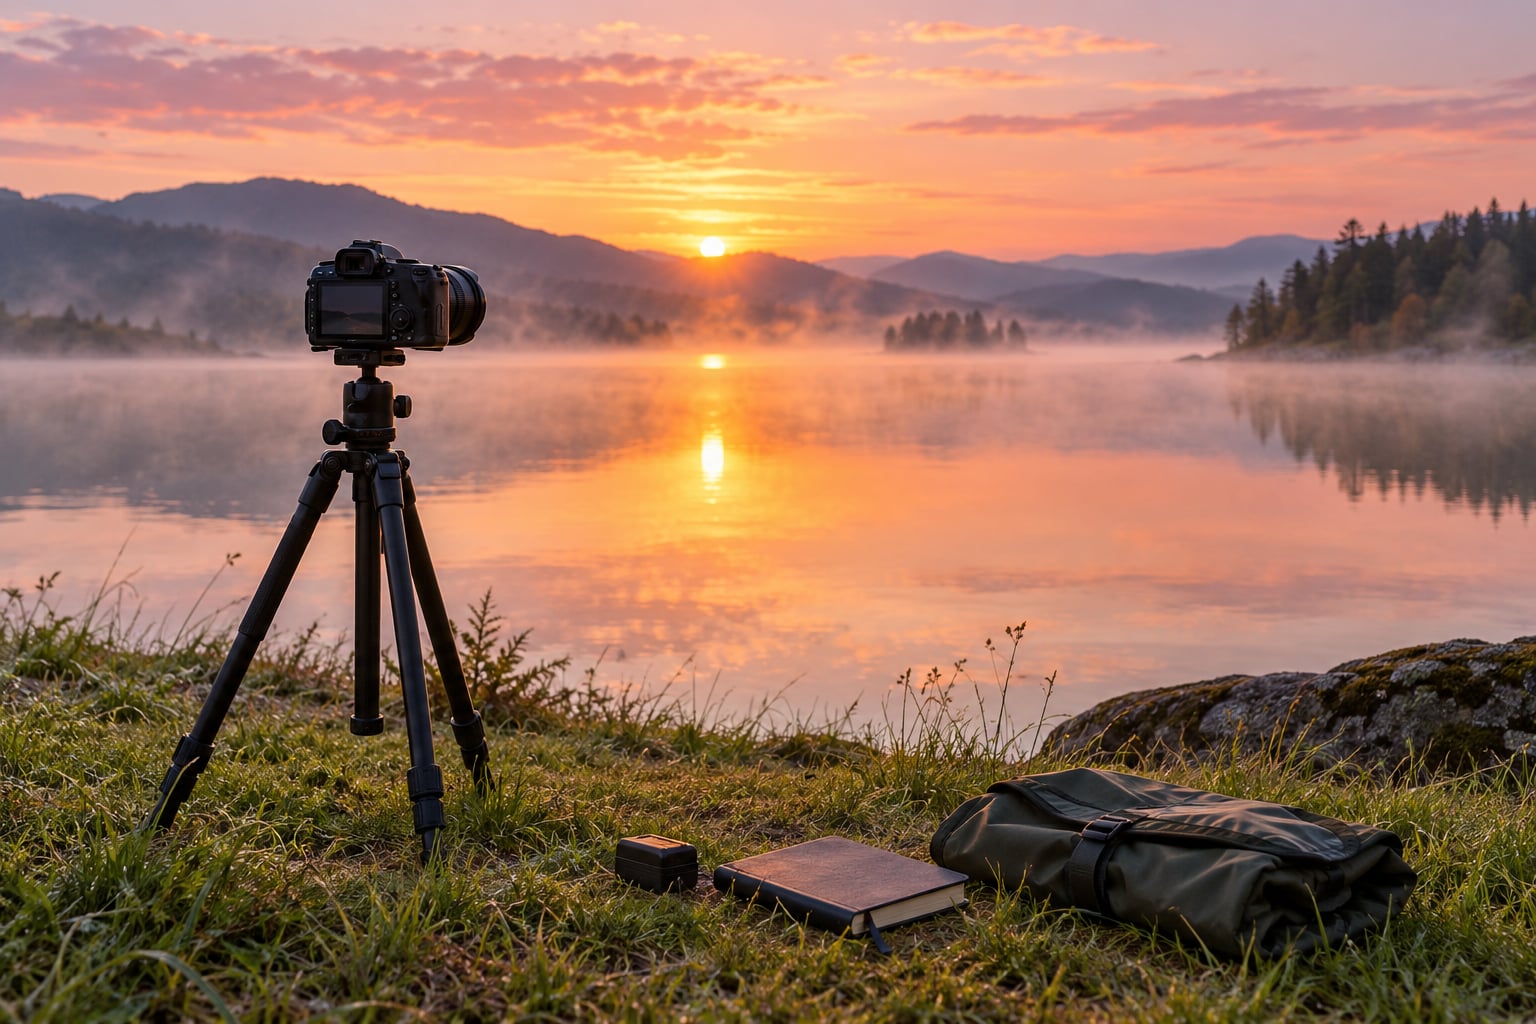
Learning how to photograph a sunrise for beginners is mostly about timing and patience: get to your spot 30 to 60 minutes before local sunrise, work in manual mode at a low ISO and a small aperture, focus once, and then keep shooting for another 20 minutes after the sun first clears the horizon. The light changes faster than most people expect, and the best frame is often not the first one. Allow an hour from arriving to packing up, and expect the field work to be cold, dark and quiet.
The same method works for sunset, just with the timings reversed. If you have no camera at all, a phone will get you a genuinely good result once you know the three controls to touch, which I cover near the end.
Table of Contents
- What You Need
- Step-by-Step: How to Photograph a Sunrise
- Choose Your Location and Check the Sunrise Time
- Prepare the Camera Before the Light Changes
- Set the Exposure for Soft Sunrise Light
- Focus and Compose the First Photograph
- Keep Shooting as the Sun Rises
- Review and Protect Your Images
- Common Mistakes
- Frequently Asked Questions
- What camera settings are best for photographing a sunrise?
- Can I photograph a sunrise with a smartphone?
- Should I use a tripod for sunrise photography?
- How do I prevent the sunrise sky from being overexposed?
- Should I photograph the sun directly when it rises?
- What should I do if the sunrise is cloudy?
- How to Photograph a Sunrise With a Phone
What You Need
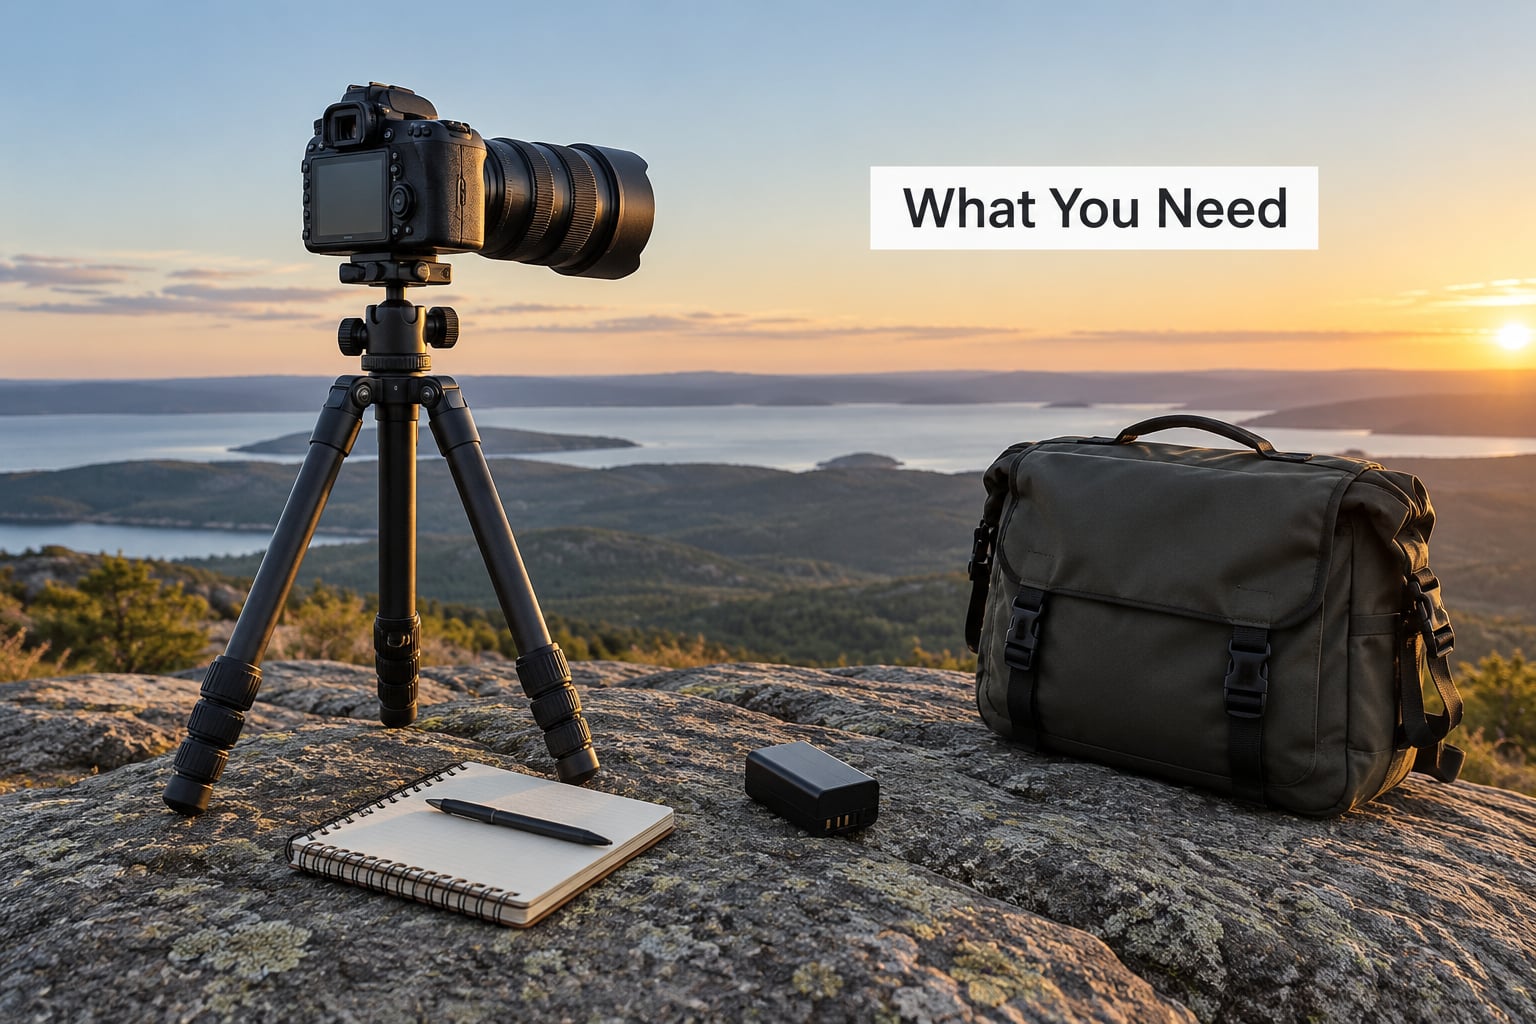
Start with whatever camera you already own. The list below is what a sunrise shoot actually uses, not a shopping list.
- Any camera with manual mode. A DSLR or mirrorless body is ideal because you can hold ISO, aperture and shutter speed steady while the light changes. Phones are covered separately below.
- A wide lens. Somewhere around 24mm on a full-frame body, or the 16-35mm range. Experienced photographers on r/photography consistently say a kit 18-55mm is perfectly workable for a first sunrise trip, and that is genuinely true. Do not buy glass before you know you need it.
- A tripod. Almost every dawn is too dim for a handheld shot at 1/60s or slower, and forum regulars describe a tripod as the one thing that goes from optional to essential the moment you see the first frame.
- Spare batteries and a formatted memory card. Cold drains batteries faster than you would expect, and a card that fills at 15 minutes before first light ends the shoot.
- A headlamp with a red or low mode. You need to see your feet on uneven ground. Red light preserves your night vision and will not ruin the frame you are about to take.
- Weather protection. A rain cover or even a large plastic bag and a microfibre cloth. You will be standing still in damp grass for an hour.
- Planning apps. PhotoPills and The Photographer’s Ephemeris both show sunrise time, sun direction and a compass bearing for where the sun will clear the horizon at your exact spot. This is the single most useful thing to check the night before.
- Optional: a graduated ND filter. A filter that darkens the top of the frame to match a bright sky. It is a shortcut for a problem you can also solve for free with bracketing.
Step-by-Step: How to Photograph a Sunrise
Choose Your Location and Check the Sunrise Time
Pick a spot with a clear view in the direction the sun will rise, and something in the foreground worth photographing: water, rocks, a jetty, a line of trees, rooftops. A wide empty horizon photographs as an empty horizon.
Check the local sunrise time the night before and note when the sun clears the horizon at your location, not just when official sunrise begins. Arrive 20 to 30 minutes before official sunrise if you have scouted, or 45 to 60 minutes before if you have not. That headroom is what turns a panicked scramble into a calm routine.
Scout in daylight whenever you can. Walk the frame, find the foreground elements, check what is behind you for backlight, and note where you will stand. Scouting at noon tells you things a pre-dawn walk in the dark cannot.
Prepare the Camera Before the Light Changes
Do everything that does not need good light now, in the dark, so you are not fumbling at the moment colour arrives. Clean the front element with a microfibre cloth, it is the most common cause of soft, hazy sunrise frames. Charge or swap the battery, clear or format the card, and delete old files.
Switch to manual or aperture-priority with auto ISO off. Turn the flash off completely; a flash at dawn fires into the scene, flattens the sky and ruins the frame. Set the file format to RAW if your camera offers it, since RAW keeps far more colour information for the edit later. If you can only shoot JPEG, set the white balance to the cloudy preset rather than auto, because auto will quietly cancel out the warm colour you came for.
Mount the camera on the tripod, attach the lens, and set your framing before the light gets interesting. Switching focus to manual or single-servo autofocus now saves a lot of fumbling later.
Set the Exposure for Soft Sunrise Light
For wide sunrise scenes, start at ISO 100 or 200, an aperture of f/8 to f/11, and the fastest shutter speed that still gets a bright enough image. Check the histogram, the little graph that shows how much of the frame is near black or near white. You want the sky to sit below the right-hand edge, not against it.
The core difficulty at sunrise is dynamic range, the gap between the brightest and darkest parts of the scene. A bright sky can sit four or five stops above a shaded foreground, which is more than a single frame can hold. You have two honest ways to deal with it: expose for the sky and accept a dark foreground, which can look great as a silhouette, or shoot a bracket, which means the same frame at three exposures, then blend them later.
Bracketing is easy. Take one shot at your metered exposure, one two stops under, and one two stops over. The camera can do it automatically if you enable exposure bracketing in the drive mode menu, usually three frames at two stops apart. Reviewers on photography forums describe the same thing: beginners lose the sky and rescue it in post because nobody warned them the range was that wide.
| Light level | ISO | Aperture | Shutter speed | Focus |
|---|---|---|---|---|
| Blue hour, before sunrise | 400 to 800 | f/8 | 1/4s to 2s on tripod | Manual |
| First light, sun just below horizon | 200 to 400 | f/8 to f/11 | 1/2s to 1/15s | Manual |
| Golden hour, sun on the horizon | 100 to 200 | f/8 to f/11 | 1/15s to 1/125s | Single AF or manual |
| After sun clears, afterglow | 100 | f/11 | 1/125s to 1/250s | Single AF or manual |
Small apertures like f/11 and f/16 give more depth of field, so more of the scene lands in focus, and they produce sun stars, the star-shaped points of light caused by the aperture blades. Stopping down past f/16 adds diffraction, which softens fine detail, so f/11 is a sensible ceiling.
Focus and Compose the First Photograph
Darkness confuses autofocus. The first thing to do is switch to manual focus. Turn the lens to infinity, then use live view to zoom in on a foreground object near the frame edges, adjust until it is sharp, and leave it. A simpler version that works for wide scenes: focus on the horizon, which is what you want sharp anyway at a small aperture.
You will know it worked if you zoom in on the back screen and the foreground edges look crisp rather than smeary. That check takes five seconds and saves the whole shoot.
Then frame it. Put the horizon on a third rather than dead centre, check the horizon is level, and include something with texture or shape in the lower third. If you are shooting into the sun, compose so the brightest area is not exactly in the middle of the frame, which pulls the eye to the emptiest part of the picture. Leading lines, a shoreline or a fence running toward the sun, do more for a frame than any filter.
Keep Shooting as the Sun Rises
Stop and watch the light for two minutes before you shoot more. Colour does not arrive all at once. It usually starts on the clouds opposite the sun, spreads, and then hits the cloud edges nearest the horizon just as the sun appears. That first two minutes of direct light is the highest contrast moment of the day, which makes it the best time for a silhouette and the worst time for exposing the whole scene at once.
Take a bracket, then a silhouette, then a frame with the sun itself just over the horizon at f/11 for a starburst. Then keep going. The strongest colour often comes 10 to 20 minutes after the sun is up, and a lot of people pack the camera away the moment light touches the land and miss it.
A few more things worth trying while you are there. If there is water, get low and shoot a reflection; a vertical frame often works better for reflections than a horizontal one. If it is overcast, look for a bright band near the horizon and underexpose by a stop or two, which is how a grey sky gets its drama back. And if you have a second memory card, set the camera to shoot a time-lapse of the whole colour change and the stills at the same time.
Review and Protect Your Images
Before you leave the location, check the frames on the back screen at full size. Look for soft images, a tilted horizon, and blown-out skies, and reshoot anything soft while you are still standing there. Then back the cards up before you drive home, not at a petrol station two hours later.
Edit gently. A straightening crop, a lift to the shadows, pulling the highlights back in RAW, and a small warmth adjustment is all a good sunrise needs. Heavy clarity and saturation sliders are what make a sunrise look like a postcard, and they are hard to undo.
Common Mistakes
Almost every beginner sunrise problem has a simple fix, and it is usually one of these.
- The sky is blown out to white. The meter is fooled by the dark foreground. Check the histogram and take a shot one or two stops under. If the sky is still white, you cannot recover it in editing, so bracket instead.
- The foreground is completely black. Shooting into the sun without a bracket is the cause. Either accept the black and compose it as a silhouette on purpose, or shoot a bracket and blend it.
- Everything is soft. Either the shutter speed was too slow for handheld, or autofocus hunted in the dark. Use a tripod, and switch to manual focus or single-servo autofocus on a foreground object.
- The whole frame is hazy and low contrast. The lens is probably dirty or fogged. Clean the front element before you leave the house and again if you are somewhere damp.
- Flash went off. It flattens the sky and lightens the foreground in a way that looks like a mistake, because it is one. Switch it off and leave it off.
- You arrived at sunrise time. You missed the blue hour entirely. Sunrise photography is not a single moment, it is a 60-minute window that starts before the sun does.
- The horizon is tilted. Common and easy to fix. Turn on the camera’s electronic level or the grid overlay, or just straighten the frame in editing.
- The colours look dull or flat orange. Auto white balance is cancelling out the sunrise colour. Shoot RAW, or set a custom white balance around 5000 to 6000K to hold the warmth.
- You framed a wide empty horizon. The top result for this query on r/photography is still a debate about lenses, but the critique communities keep landing on the same advice: include a point of interest and check the horizon is level. Composition is a trial-and-error skill, and different crops of the same frame can all be defensible.
- You felt nervous working in the dark. Far more common than people admit. Tell someone your location and expected return time, bring a headlamp, go back to the car for a warm drink if you need to, and remember that standing still with a camera is one of the safest things you will do all week.
Two habits cover most of the rest. Write your settings down or check the frame you just shot, so you are adjusting rather than guessing. And stay longer than feels reasonable, because the light at minute 45 is a different photograph from the light at minute 5.
Frequently Asked Questions
What camera settings are best for photographing a sunrise?
Start at ISO 100 to 200, an aperture of f/8 to f/11, and the fastest shutter speed that still gives a bright enough frame. Increase ISO toward 400 during the blue hour when light is genuinely low, and use a tripod for anything slower than 1/60s. Shoot RAW and check the histogram so the sky is not clipping to white.
Can I photograph a sunrise with a smartphone?
Yes, and most phones do it better than people expect. Open the native camera app, tap and hold on the sky to lock exposure, then drag the sun icon down slightly to protect the highlights. Turn on the RAW or Pro mode if your phone has one and set ISO to its lowest value. Clean the lens first, brace the phone against something solid, and shoot burst frames at the moment of colour.
Should I use a tripod for sunrise photography?
Almost always. At dawn the light forces shutter speeds of 1/60s or slower, and the rule of thumb is that below 1/60s you need a tripod. That also lets you use small apertures for more depth of field and try long exposures for water and mist. A light travel tripod is fine as long as it is rigid enough not to vibrate when you press the shutter.
How do I prevent the sunrise sky from being overexposed?
Check the histogram before every shot and aim for the sky sitting just under the right edge rather than against it. If the sky is still blowing out, underexpose by one or two stops. When the contrast between sky and land is too wide for one frame, shoot a bracket at plus or minus two stops and blend the frames in editing.
Should I photograph the sun directly when it rises?
You can, but it changes what you are photographing. Pointed at the sun, you get silhouettes, lens flare and sun stars, and you lose all foreground detail. Turn your back on the sun and the opposite sky is often where the best colour is anyway, with front-lit landscape below it. Most photographers shoot both within a couple of minutes of each other.
What should I do if the sunrise is cloudy?
An overcast sunrise is not a wasted trip, you just change the goal. Look for a bright band near the horizon, underexpose by a stop or two, and the grey sky becomes layered and moody rather than flat. Miss and fog are also better than a clear sky, and a solid cloud deck reflecting on still water is a common favourite.
How to Photograph a Sunrise With a Phone
Most people starting out only have the phone in their pocket, so it is worth doing properly rather than treating it as a backup. Open the default camera app, not a filter app, because the default app gives you the raw exposure and the filters do the colour work for you afterwards.
- Clean the camera lens. This is the single biggest difference between a hazy phone sunrise and a sharp one.
- Switch to the widest lens available on the Pro or 0.5x setting. You want the wide field of view, not the 1x or 2x lenses.
- Tap and hold on the sky to lock exposure and focus, AE/AF lock.
- Drag the sun icon down slightly, maybe a quarter to a third of the way. This is your highlight protection and it makes the difference between a coloured sky and a white one.
- If there is a Pro or Manual mode, set ISO to its lowest value and a shutter speed around 1/60s. If exposure is manual is not available, the lock plus the sun icon is enough.
- Brace the phone against a rock, a bag or a railing. There is no tripod and the light is low.
- Shoot a burst when the colour peaks, because most of the burst will be sharp and some will not be.
That is the whole workflow. Phone sensors handle a sunrise highlight gap worse than a camera sensor does, so if the sky still goes white, pull the exposure down further rather than up.
Before you set off for your first shoot, do one thing: choose your location tonight, check the sunrise time and sun direction in a planning app, and set your alarm for 45 minutes before that time. Everything else in this guide is refinement. Being on location with a charged camera, a clean lens and enough time is what actually produces the photograph, and none of this advice will be out of date in 2026 or any year after it.