Meter for the sky and lift the shadows. In a frame with a bright sky over a dark ground, point the meter at the bright area, set the exposure so the sky sits just below clipping, and open the shadows up in post. A clipped highlight is gone for good; a dark shadow is only a few clicks from normal.
Working out how to meter for a bright sky and dark ground takes about ten minutes to learn and a minute to apply in the field. It is the single most useful fix for a washed-out outdoor photo, because it turns a compromise you accidentally stumbled into into a decision you made on purpose.
Your camera’s reflective light meter does one thing: it measures light bouncing off the scene and sets an exposure that renders that light as middle grey, roughly 18% reflectance. That works beautifully on a scene with a normal spread of tones. A sky-and-ground scene breaks it, because the bright top and the dark bottom average out to something near middle grey. The camera aims for the average, the sky clips, and the ground crushes to black.
The gap between the two ends is usually four to six stops of light, which is more than one frame can hold on most sensors. Something has to give, and the only real question is which end you sacrifice. The answer has a short, learnable reason behind it, so let us start with the tools and then walk through the method.
Metering menus get renamed every few years, but the physics has not changed since film, so the workflow below holds on current camera bodies in 2026 just as it did on a mechanical SLR.
Table of Contents
- What You Need
- Step-by-Step: How to Meter for a Bright Sky and Dark Ground
- 1. Identify the Subject and the Detail You Must Protect
- 2. Switch to Spot Metering or Evaluative Metering
- 3. Take a Metering Reading and Add Exposure Compensation
- How Many Stops Apart, and What to Do About It
- 4. Shoot a Test Frame and Check the Histogram
- 5. Use RAW, Bracketing, or a Graduated Filter When Needed
- Four Scenes, Four Different Calls
- Snow field under blue sky
- Bright sky over a shadowed forest floor
- Sunset over water
- Full moon over dark water
- Common Mistakes
- Frequently Asked Questions
- Should I meter for shadows or highlights?
- Is it better to shoot overexposed or underexposed?
- Why is the sky blown out in my photos?
- Can I use my phone as a lux meter?
- Do I still need a graduated ND filter if I shoot RAW?
- Conclusion
What You Need
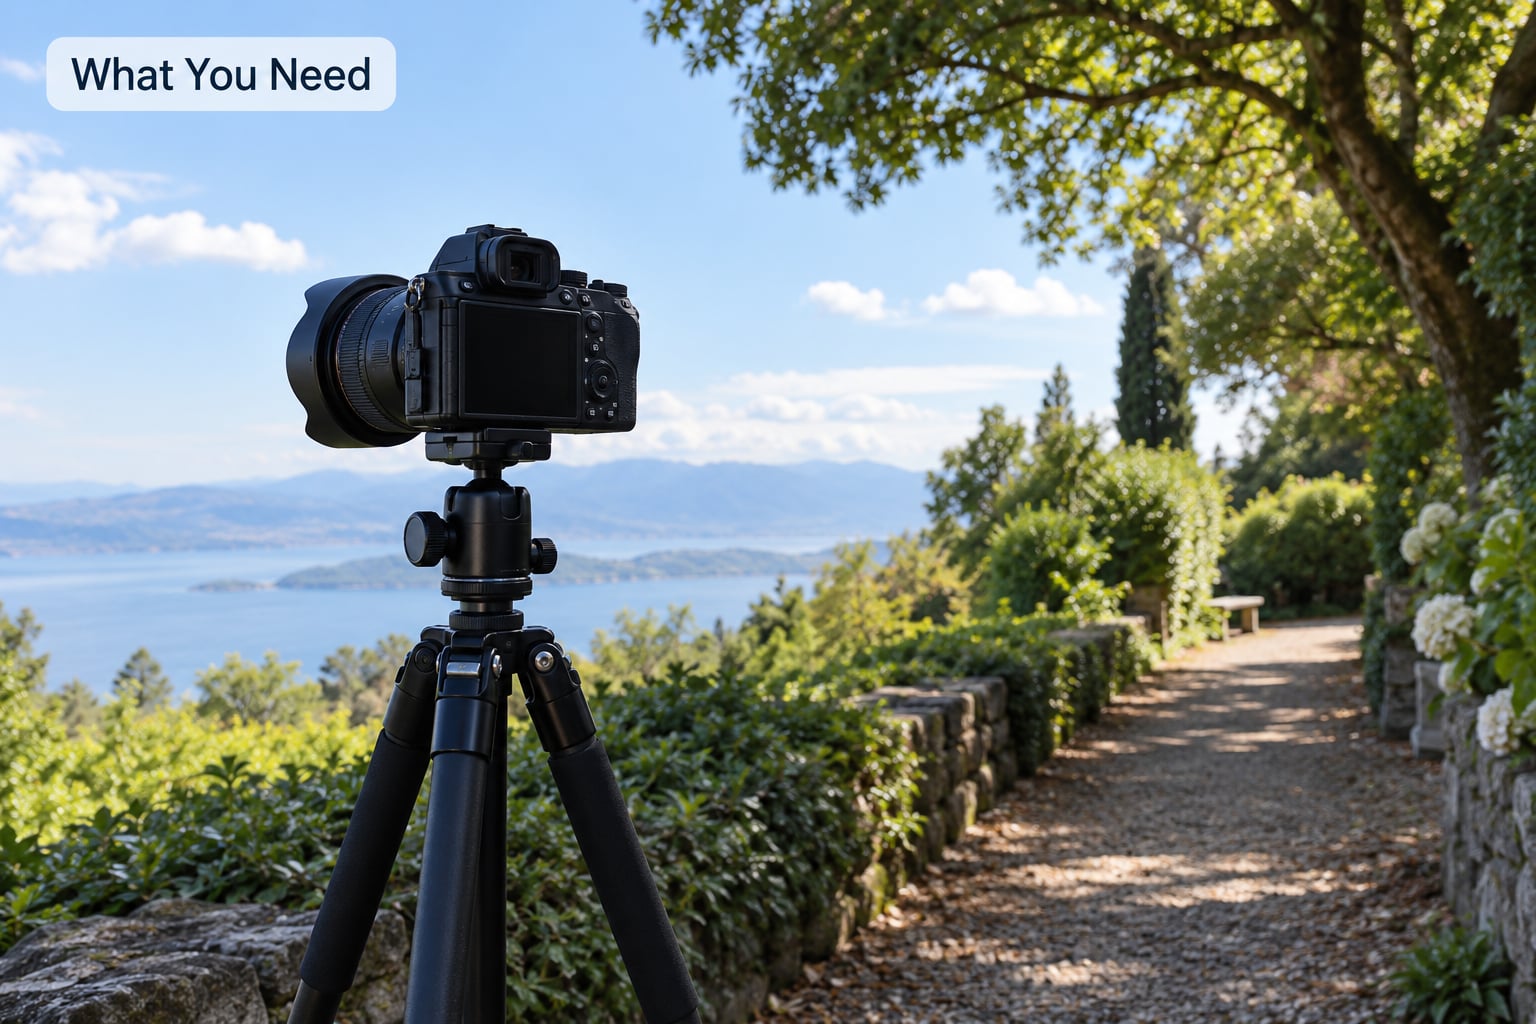
You need less than most people expect. No filter, no expensive meter, no special software. Here is the honest list.
- A camera with a manual mode. Aperture priority is fine for the first frame, but manual is where the technique lives, because it stops the meter from changing its mind every time you move the camera.
- Any lens that frames the scene. A wide or normal zoom does the job. Nothing about this technique cares about focal length.
- RAW capture. This is the one that really matters. A RAW file holds far more shadow information than a JPEG, and lifting those shadows afterwards is routine.
- A live histogram and a highlight alert. Almost every camera made in the last decade has a blinking-highlight warning or zebra stripes. In bright daylight the rear screen is close to useless, so the histogram becomes your real display.
- Spot or partial metering available. Every camera has it, buried in a menu or a button. The plan covers how to find it per brand.
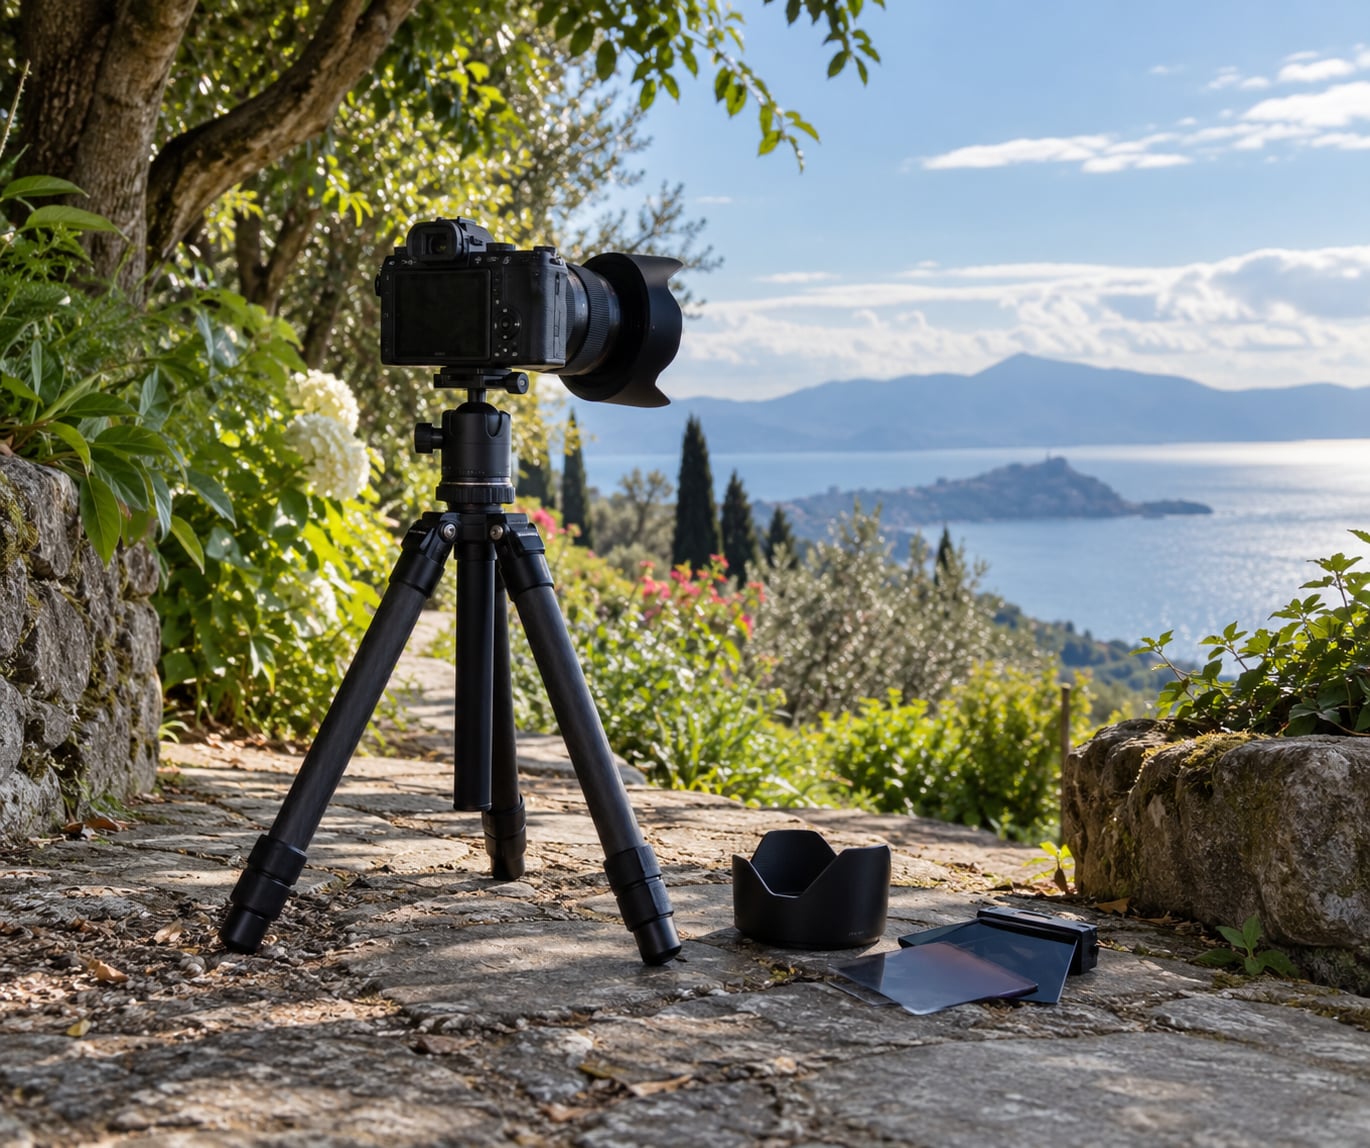
- Optional: an 18% grey card, a tripod, a graduated ND filter. The card and tripod help in low light. The filter is only needed when the gap exceeds what a single frame can hold.
One warning about gear shopping: the fastest way to waste money here is buying graduated filters before you have tried a single exposure. Most bright-sky scenes are entirely solvable with one frame shot in RAW.
Step-by-Step: How to Meter for a Bright Sky and Dark Ground
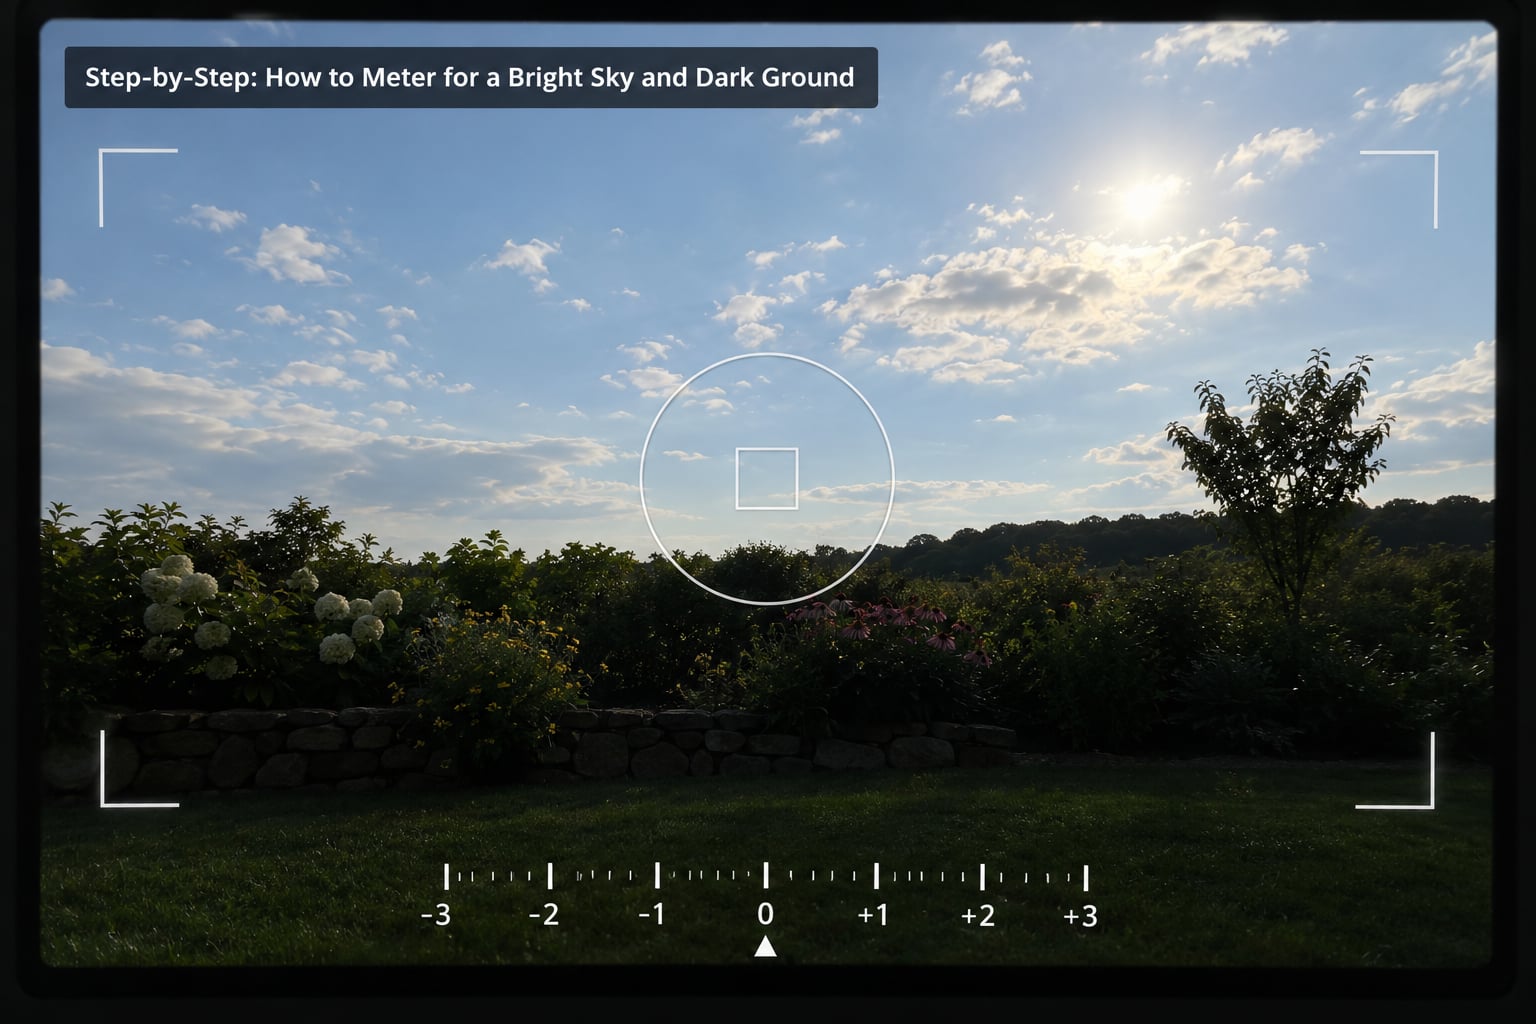
This is the repeatable field workflow. It assumes you have already decided that the sky is the detail you care about, which is the right call for most outdoor scenes.
1. Identify the Subject and the Detail You Must Protect
Decide what the picture is about before you touch a button, because the metering decision falls out of that choice every time. Three outcomes are common:
- Sky detail matters (snow, big cloud shapes, a moon over water). Expose for the sky, let the ground go dark, then lift the ground in post.
- Ground detail matters (a shadowed forest floor, a city street, a person standing in shade). Expose for the ground, accept some sky loss, and use a filter or a blend if the sky is critical to the story.
- Silhouette is the intent (a tree line or a hiker against a sunset). Expose for the sky and let the ground fall to near black on purpose. This is not a failure of the technique; it is the technique.
For this guide, we are protecting the sky. That is the safer default because of the recovery asymmetry, which we get to in step 5.
2. Switch to Spot Metering or Evaluative Metering
Evaluative metering, also called matrix or multi-segment, splits the frame into zones and averages them toward 18% grey. On a split-tone frame, averaging is exactly what you do not want: the sky and the ground cancel each other out and you get a middle-grey average with a blown top and a black bottom. Keep it for scenes with an even spread of tones, and switch away from it for this one.
Spot metering reads a small circle in the frame, typically about 2% to 3% of the area depending on the model. That small area is the point. Aim it at the sky, near a bright but unremarkable patch rather than straight at the sun, and the meter tells you what exposure makes that patch middle grey instead of telling you what the average should be.
Partial metering sits between the two and covers a larger area, which makes it steadier for beginners with a shaky hand. Center-weighted reads a large middle portion and ignores the corners.
| Metering mode | What it reads | Verdict for this scene |
|---|---|---|
| Evaluative / matrix / multi-segment | Many zones across the whole frame, averaged toward 18% grey | Avoid. The average of bright sky and dark ground is the problem itself. |
| Center-weighted | A large central area, corners ignored | Workable, but it will include dark ground if the circle is generous. |
| Spot | A small circle, roughly 2% to 3% of the frame | Best default. Point it at the sky and the reading becomes repeatable. |
| Partial | A middle-sized area, steadier than spot | Good compromise if holding the camera steady over a small target is hard. |
| Highlight-weighted | Weights the brightest zones in the frame | Genuinely useful here, and built into some bodies as a dynamic range priority option. |
If your camera offers a highlight-weighted or dynamic range priority metering mode, that is arguably the most honest option for a bright sky over a dark ground, because it biases the reading toward keeping the brightest areas intact. The rest of this guide works with plain spot metering, which every camera has.
Finding the mode takes thirty seconds once you know where it lives. On most bodies it is a dedicated button, sometimes marked with a circle and a line, sometimes hiding behind a hold-and-press on the metering or drive dial.
- Nikon (DSLR and Z): press and hold the metering mode button, usually the one marked with a circle and dot, then turn a dial until the display reads M (matrix), C (center-weighted) or S (spot). Release to confirm. On many Z bodies the button is assigned through the custom controls menu instead.
- Canon (EOS R and DSLR): press the metering mode button and turn the main dial. The symbols are an evaluative icon, a partial circle for partial, and a small circle for spot. On recent models the button may be mapped to a custom control.
- Sony (Alpha): hold the metering mode button and turn the rear dial, or tap the metering icon in the shooting menu on touch models. Sony labels the options Multi, Center, Spot, and Entire Screen Avg on some bodies.
- Fujifilm (X and GFX): hold the metering button and turn the command dial to cycle Multi, Spot, or Average. Fujifilm’s spot option covers a small area around the focus point, which pairs neatly with subject-recognition autofocus.
The exact labels move between generations, and the button is reassignable on all four brands, so check your own manual if the icons do not match. What does not change is the order: spot for this scene, evaluative when tones are spread evenly.
3. Take a Metering Reading and Add Exposure Compensation
With spot metering active, place the metering circle on the sky, away from the sun itself, and take the reading. Now the part that confuses people: the meter will want to render that bright patch as middle grey, which would turn a bright sky into a dull grey one. You will usually want to give back a little light, not add it.
In aperture priority, that means dialling in negative exposure compensation, usually somewhere between minus one third of a stop and minus one full stop for a bright sky. In manual, it means moving the shutter speed down from the metered value by the same amount. The exposure compensation scale on your camera runs from minus 3 to plus 3, and it is worth learning to read, because it turns a vague feeling into a number.
Two more rules keep this repeatable. If you are in aperture priority, remember that changing the aperture does not change the amount of light reaching the sensor, only the depth of field, so the exposure holds and no re-metering is needed. And once you settle on a reading, move to manual. Locking the exposure stops the meter from re-deciding every time you recompose, which is the single biggest source of frustration outdoors. This is the step where how to meter for a bright sky and dark ground becomes a repeatable habit rather than a guess.
How Many Stops Apart, and What to Do About It
Knowing the size of the gap tells you which technique you need before you start shooting, and you can measure it in about thirty seconds. Meter the sky in spot and note the shutter speed. Then meter the ground and note that shutter speed. Count the full-stop clicks between the two.
| Gap between sky and ground | What one RAW frame can do | Right tool |
|---|---|---|
| 1 to 2 stops | Comfortable. Both ends survive a single frame. | Meter for the sky, lift the ground in post. |
| 3 to 4 stops | Workable. The ground keeps some usable detail. | Meter for the sky, shadow slider in post. |
| 5 to 6 stops | Marginal. Expect a soft, noisy ground. | Bracket two frames and blend them. |
| More than 6 stops | Not possible in one frame. Something is lost either way. | Bracket, or use a graduated ND filter. |
Two cautions on that count. The spot circle is small, so a tiny misplacement changes the reading, and dark subjects fall below the meter’s working range at the bottom end, so a spot reading on a very dark shadow can be misleading. And the gap in stops is not the same as the number of stops the sensor can hold; it is only a guide to which problem you are facing.
Now the arithmetic that makes the whole thing concrete. Suppose the sky needs f/16 at 1/125 second to sit just under clipping, and the shaded ground in the same frame needs f/16 at 1/8 second. 1/125 to 1/8 is four stops: 1/125, 1/60, 1/30, 1/15, 1/8. No amount of clever metering closes a four-stop gap inside one frame. You are choosing which four stops to lose, not trying to win them back.
4. Shoot a Test Frame and Check the Histogram
Take one frame, then check it on the histogram rather than on the screen. In open daylight the rear display is washed out, which is exactly when you can least afford to judge exposure by eye. Turn on the highlight alert so that any pixel at or above the clipping point blinks or shows zebra stripes.
What you are looking for: the histogram’s data should run from the left edge to somewhere short of the right edge, and the right-hand end should stop just before the wall. If the graph slams flat into the right side, the sky is clipping and you need to come down a fraction of a stop. If the dark end of the histogram is piled against the wall, that is fine and often correct, because shadows are recoverable.
Check again after you recompose. If the metering is still active, moving the camera can change the reading. This is another reason to switch to manual once the first reading is set. A useful habit is to expose to the right: put as much of the histogram as you can against the right edge without going past it. Brightness and contrast can be added afterwards; clipped data cannot.
5. Use RAW, Bracketing, or a Graduated Filter When Needed
One RAW frame handles a gap of roughly four to five stops. Beyond that, you need a second idea, and there are three.
RAW and shadow recovery. A RAW file records far more information at the shadow end than at the highlight end. That is why the community advice keeps repeating itself on photography forums: recover the shadows, not the highlights. A ground that looks dead black on the screen is often full of recoverable detail in the file. Open it in your editor, lift the shadows, and pull the highlights down a touch. This is the reason the default answer is to meter for the sky, and it is the reason slightly underexposing beats slightly overexposing here.
Exposure bracketing and blending. Shoot three frames, one stop apart, and blend two of them rather than tone-mapping all three into a flat-looking composite. Blending a sky-metered frame with a ground-metered frame gives you detail at both ends and a natural result, because only the areas that differ get adjusted. It takes a few extra seconds per frame and most landscape shooters consider it the reliable answer.
Graduated ND filter. A soft grad darkens the sky while leaving the foreground untouched, so you can expose for the ground and still hold the sky. Hard grads have a sharp transition and suit flat horizons such as a sea or a lake; soft grads blend and suit trees, hills and anything uneven. The key is rotation: turn the grad so the transition sits along the horizon rather than across it. A filter also costs light, so it pairs naturally with a tripod.
For film shooters the arithmetic tightens, because a negative has less highlight latitude than a sensor. The older practical answer was to meter the deepest shadow so the sky was not lost. That advice predates RAW and does not transfer cleanly to digital, where the recoverable end has moved.
Four Scenes, Four Different Calls
The method is the same every time; the decision inside step 1 is what changes. Here are the four outdoor scenes that come up most, with the call I would make and the reason.
Snow field under blue sky
Snow is the classic trap, because the camera meters it as a bright subject, underexposes the whole frame, and turns white into grey. Meter the snow itself in spot, and if the result still looks dark, add up to two stops of positive compensation. This is the one scene where you deliberately give the meter more light rather than less, because a genuine mid-to-bright subject should land near middle grey.
Bright sky over a shadowed forest floor
Here the ground is the subject and the sky is context. Spot-meter the forest floor if you want its texture, and accept a flatter sky, or meter the sky and lift the ground heavily, knowing the deepest shadows will turn noisy. For a forest interior I would bracket and blend: a canopy edge against a dark trunk layer is a textbook case where two frames beat one.
Sunset over water
Meter the sky away from the sun, give back about a stop, and switch to manual. The reason for going manual is the light itself: sunset changes by more than a stop in a couple of minutes, and a locked exposure stops the camera from chasing a target that keeps moving. If you want smooth water, come back for a bracket once the exposure is set.
Full moon over dark water
Both the moon and the water are above average brightness, so this is not really a bright-sky-dark-ground problem. Spot-meter the water rather than the moon, because pointing at the moon’s disc will underexpose everything else by several stops. Let the moon clip slightly; an overexposed moon disc is normal and reads as a moon.
Common Mistakes
Metering the whole scene. This is the big one. Any mode that averages a bright sky with a dark ground will land on a middle-grey average that satisfies neither. The fix is a small spot reading on the end you decided to protect in step 1.
Trusting the LCD in daylight. The screen lies to you in exactly the conditions where high-contrast scenes happen. Use the histogram and the blinking highlight alert instead, and treat the screen as a composition tool only.
Underexposing so hard that the sky is grey rather than blue. Giving back a stop is sensible. Giving back three stops is not, because you have simply made a flat, dull sky and you still have a dark ground. Keep the compensation small, usually between one third and one stop, and let the RAW file do the rest.
Assuming a healthy histogram guarantees a good picture. A well-exposed frame can still be ugly: flat contrast, a muddy colour balance, a foreground that reads as noise once lifted. Clipping tells you what you cannot recover, not what will look right. Judge the histogram for data loss, and judge the picture for everything else.
Leaving the meter on and re-metering constantly. As light shifts during golden hour, or as a cloud passes, the reading keeps shifting, and it is easy to lose track of the settings you already chose. Switch to manual once the reading is set, and treat that as your working exposure for the rest of the scene.
Buying a filter before testing the digital fix. Bracketing and blending are free and produce better results in most cases. Filters earn their place when you need a single long exposure, or when the gap is genuinely beyond the sensor.
Frequently Asked Questions
Should I meter for shadows or highlights?
Meter for the highlights. A sensor holds far more information in its shadows than in its highlights, so a dark foreground can usually be lifted back in post, while a clipped sky cannot be recovered at all. Set the exposure so the brightest area sits just under the clipping point, then open the shadows in editing. That single rule is the reason most photographers tell you to expose for the sky and fix the rest later.
Is it better to shoot overexposed or underexposed?
In a high-contrast scene, slightly underexposed. Aim for the point where the histogram data ends just short of the right-hand wall, which puts your brightest tones as close to clipping as you can without crossing it. Brightness and contrast are trivial to add back in post, and a JPEG can brighten. Data that has been clipped in a RAW file is simply not there any more, and no amount of editing will bring it back.
Why is the sky blown out in my photos?
Because the camera averages the frame toward 18% grey, and a bright sky over a dark ground averages out near middle grey. The camera then targets that average, which clips the sky and crushes the ground at the same time. Bracketing the exposure, or switching to spot metering on the sky and adding a little negative compensation, gives you a reading that reflects the part of the frame you actually care about.
Can I use my phone as a lux meter?
Yes, and it is more useful than most people expect. Lux meter apps give repeatable readings you can log across a shoot, which helps when light is changing fast during sunrise or sunset. Accuracy varies by phone sensor and by any ambient interference, so calibrate against your own camera meter on an 18% grey card before trusting it. For plain exposure decisions, the camera’s own meter is still more reliable.
Do I still need a graduated ND filter if I shoot RAW?
Usually not. Most bright sky and dark ground scenes are solved by a single RAW frame, because the shadow data survives long enough to be lifted in post. A graduated filter earns its place when the gap between sky and ground is wider than a single frame can hold, or when you need a long exposure that would otherwise clip. Rotating a soft grad along the horizon also saves you a lot of editing time on a big print.
Conclusion
Start here: decide which end of the frame you are actually protecting, then work backwards from that. If it is the sky, switch to spot metering, put the circle on a bright patch of sky away from the sun, give back a fraction of a stop, and switch to manual so the reading survives the recompose. Shoot one frame in RAW, check the histogram rather than the screen, and confirm the highlights stop short of the right-hand edge.
If the gap between sky and ground still exceeds what one frame holds, move in order of cost: shoot a bracketed set and blend two frames first, and reach for a graduated filter only when you need the single long exposure or the shot has to be right the first time.
That is the whole method for how to meter for a bright sky and dark ground. Protect the data you cannot get back, accept that the other end will need work afterwards, and the flat midday photo starts looking like a photograph again.